No.1 Porter: Snow Plough

Underway on the cleared track with the flatcar.

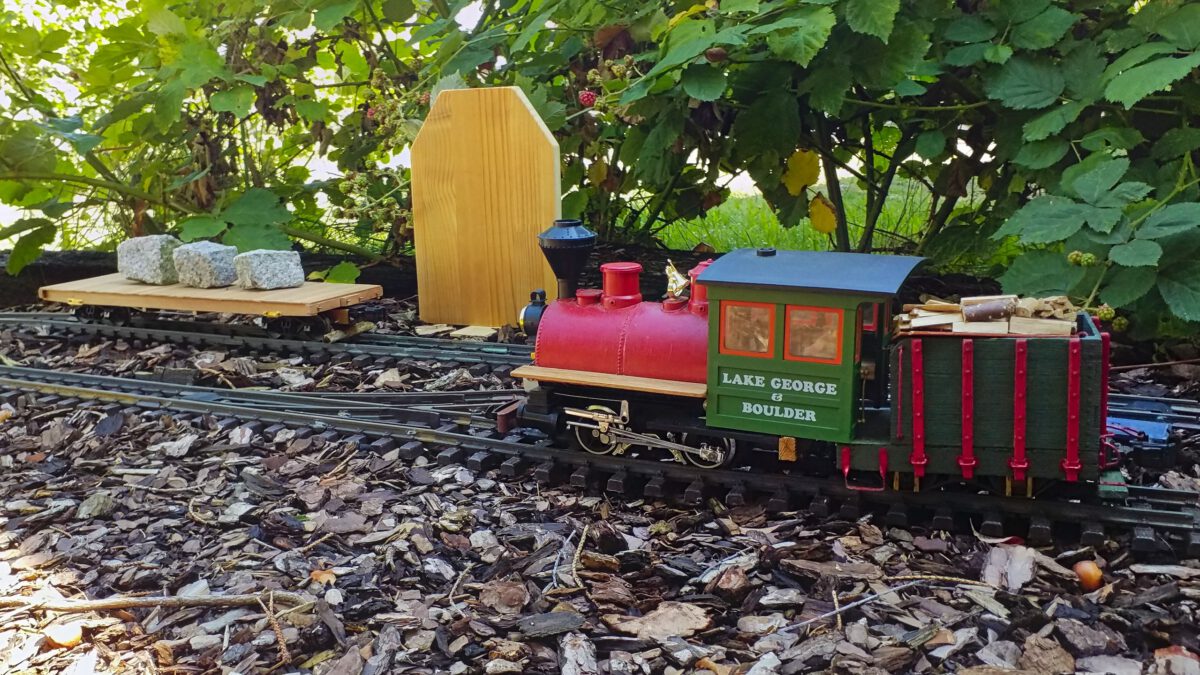
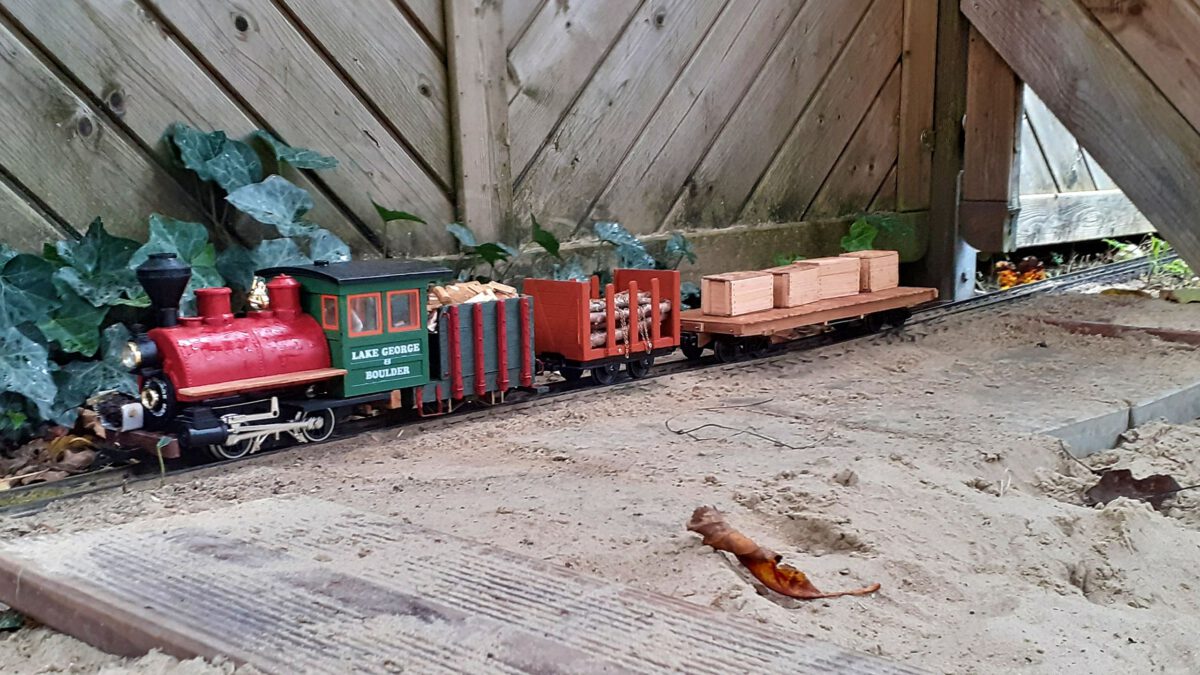
Last week, after many years we finally had snowfall. I couldn’t miss out on that one, so out came the rolling stock and off we go!

Januar 17th, 2021: Operations in the snow, for the first time since the 1990s.

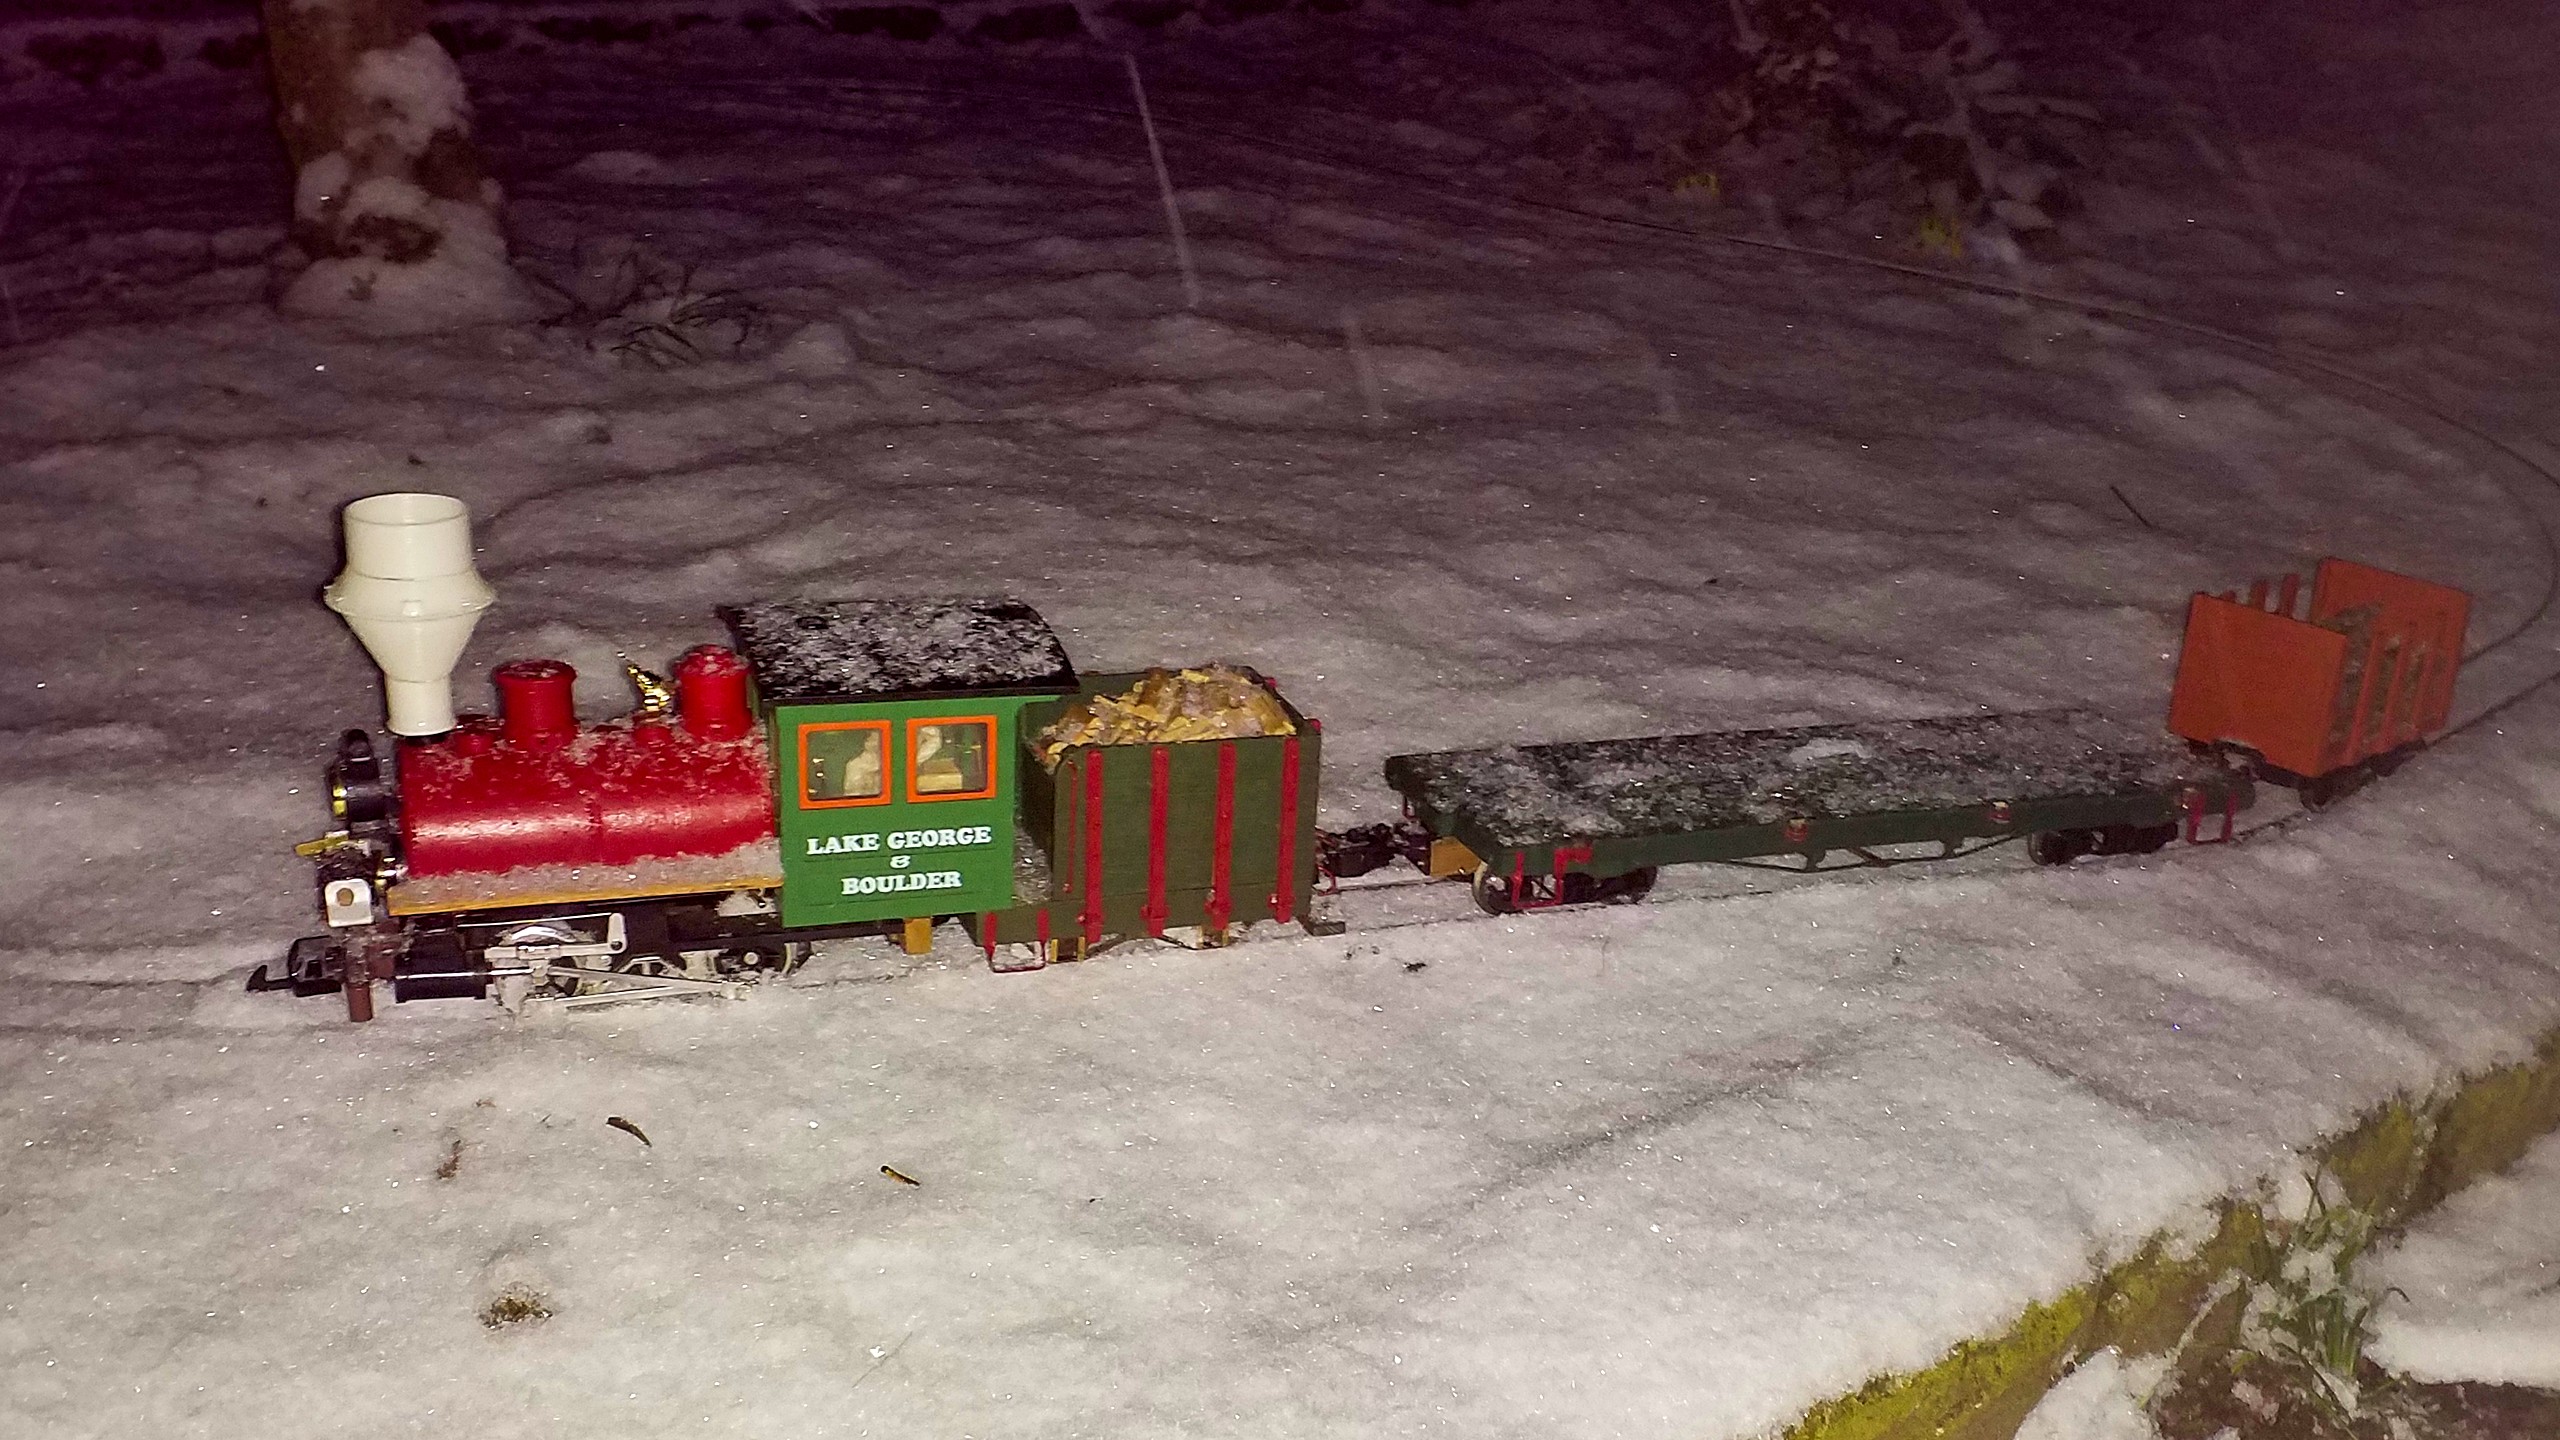
The joy got somewhat marred, though, since the falling snow caused all the wheels to build up ice and caused many derailments. However, the snow remained and when the snowfall finally stopped at 11 o’clock the next morning, the whole layout was covered in a white blanket. I just couldn’t miss out on that opportunity! So, off to the workshop.

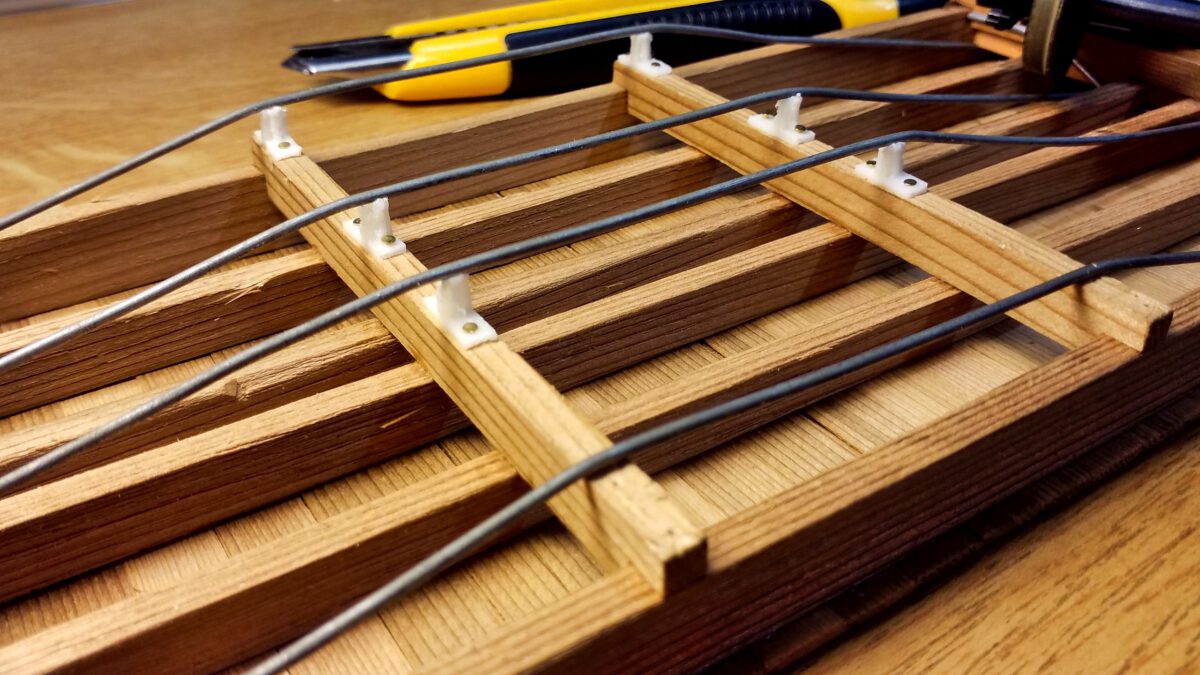
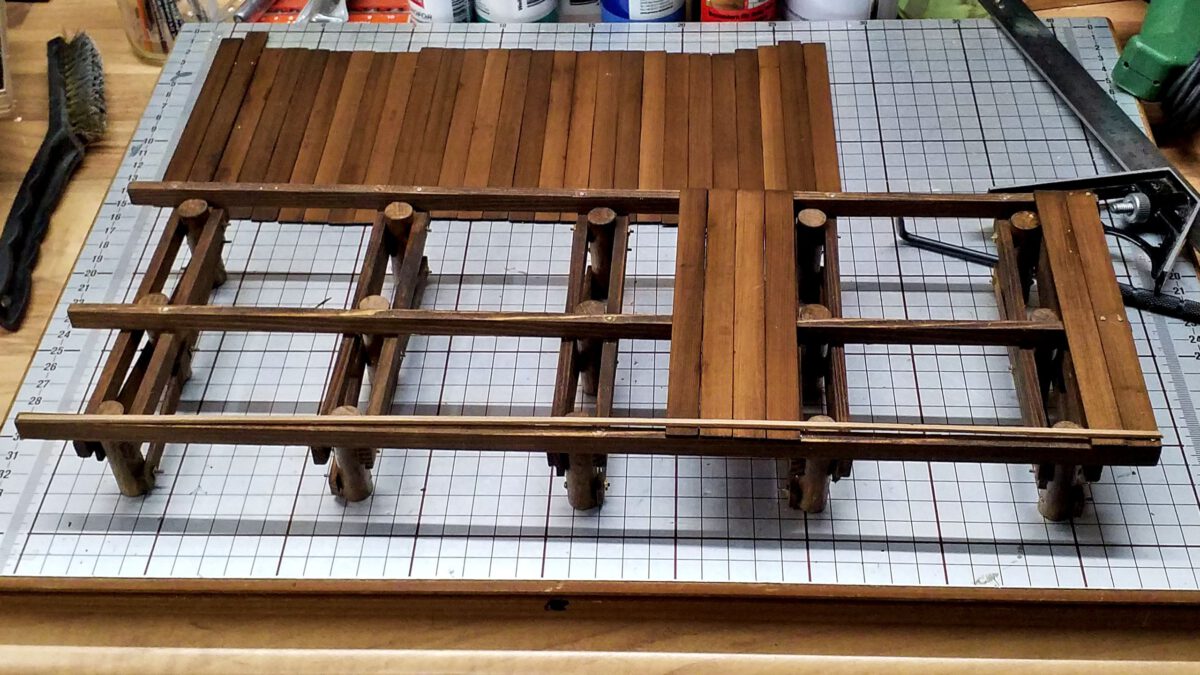
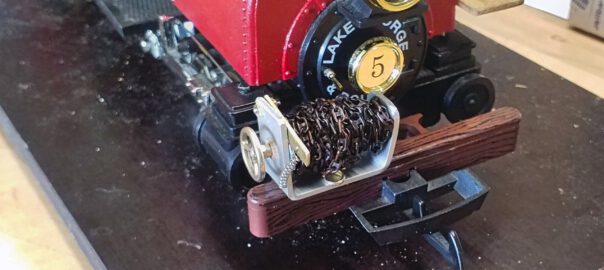
Below, I’d like to show how one can improvise a working snow plough in less than one hour.

Flatcars Prototype: Detailing the Underside

The queenposts withstand the forces.

After busying myself for a while with the bogies and couplers, it’s time to start detailing the flatcar. Though they are not that striking at first glance, the details will significantly add up to the overall picture. And since they are the most visible parts, I’m starting with the trusses or more specifically the queenposts.

New Garden Railroad: The Lead Road Railway

A loading gauge template serves as a station building.

Those of you who have been following along for some time will remember, that I started my first own garden railroad during 2017. After I got stuck with it, so to speak, it was at the end of 2019 with a heavy heart that the railroad got deconstructed and I refocused on rolling stock. However, on the one hand I do need some sort of test track and on the other hand I don’t want to banish the dream of some future garden railroad altogehter.

So I’m pleased to announce that during the summer of 2020 the Lead Road Railway came into being.

Operation Session Autumn 2020

Short Train on duty.

This time, believe it or not, we’ve had three battery-powered units in service, most of the time each had its own operator, too. Alas, the weather didn’t play along all the time, so a spontaneous layout extension was realized at the roofed porch. My No.1 braved the rain several times and did quite well. The encapsulated electronics really pay for themselves.

Loading Ramp: Deck and Load

The platform's boards are nailed in place.

Since the operation session draws closer I’m focused on having a working interim result rather than completing all steps perfectly. So the ramp is now being put into working order. First off, the individually constructed bents have to get connected. After that, it’s planking time.

Flatcar Prototype: Bogie-Mounted Couplers

The draw timbers are mounted to the bogie.

Based on my lessons learned during the last operation session, I’ve already started to mount couplers to the bogies. The result works very well, however I’m not quite happy with the looks: too clumsy, too heavy. So I’m trying a more delicate approach for the second coupler.

New Construction Report: Loading Ramp

Pins prevent the posts and timbers to slip while being drilled.

In order to prepare for the next operation session, I set myself the goal to arrange for some operations. So this time there will be no new waggon, but a loading ramp and some cargo.

The ramp’s design is inspired by Scott Perry’s Blog, who has published a very nice and extensive series. If you look for a step-by-step guide, you can find it there.

Flatcars Prototype: Lessons Learned from the Operation Session

The body bolsters' are drilled to fit M5 threads.

Our Summer Operation Session was a lot of fun, but most of all it was informative. I learned three very important lessons concerning my flatcar prototype:

  1. Frame-mounted couplers need large radii
  2. Bogies need clearance for operational reliability
  3. Bogie-mounted couplers increase reliabilty

Back on Track

After several months of break, I’m back online. Sadly, this break was unvoluntary; on the one hand my PC broke down and the repair took its sweet time, on the other hand there were some issues with my friends and family which kept me from tending my hobbies.

This post relaunches the weekly updates. Even though I couldn’t must much time and strength, the last months have seen some exciting things happening. I will relate one after the other.

No.1 Porter: Chain Winch

Completely assembled and mounted.

Besides other insights, the Summer Operation Session 2020 revealed that my Porter needs a better stowing place for the shunting chain.

On the one hand the chain easily drops from the loco if it isn’t properly secured, on the other hand it’s quite fidgety to fixate the chain at a given lenght. So I more or less spontaneously got the idea to tinker on a chain winch.

The first steps happend on a whin and I was sure that they wouldn’t succeed, that’s why I didn’t take any pictures. But after I realized I was onto something, I made some after the fact.