

Since a good friend of mine has lent me his 3D printer, I’m trying to gain experience with it and find suitful fields of application. One of these experiments is to letter the freight crates which I’ve built for my model railway.
Model railroaders know plenty of techniques for lettering: printed paper signs, transferring laser-printed toner with an iron, templates for airbrushing.
My first attempt was to 3D print a template in order to apply acrylic paint with a brush. However, that turned out to be next to impossible because the template is quite fragile and one needs a lot of patience.
Then my wife suggested to flip the approach, so to speak, and print a stamp. Typical touch of genius: Why didn’t I think of that myself? So, a 3D model of the stamp is created.

Alas, that turned out to be a game of patience: First I made the error not to use mirror writing – I only noticed after the first test run…
And then the 3D program just won’t build a valid printing file because mirroring the writing scrambles the volume calculation. In the end it took me 15 tries until I’ve got a working file.
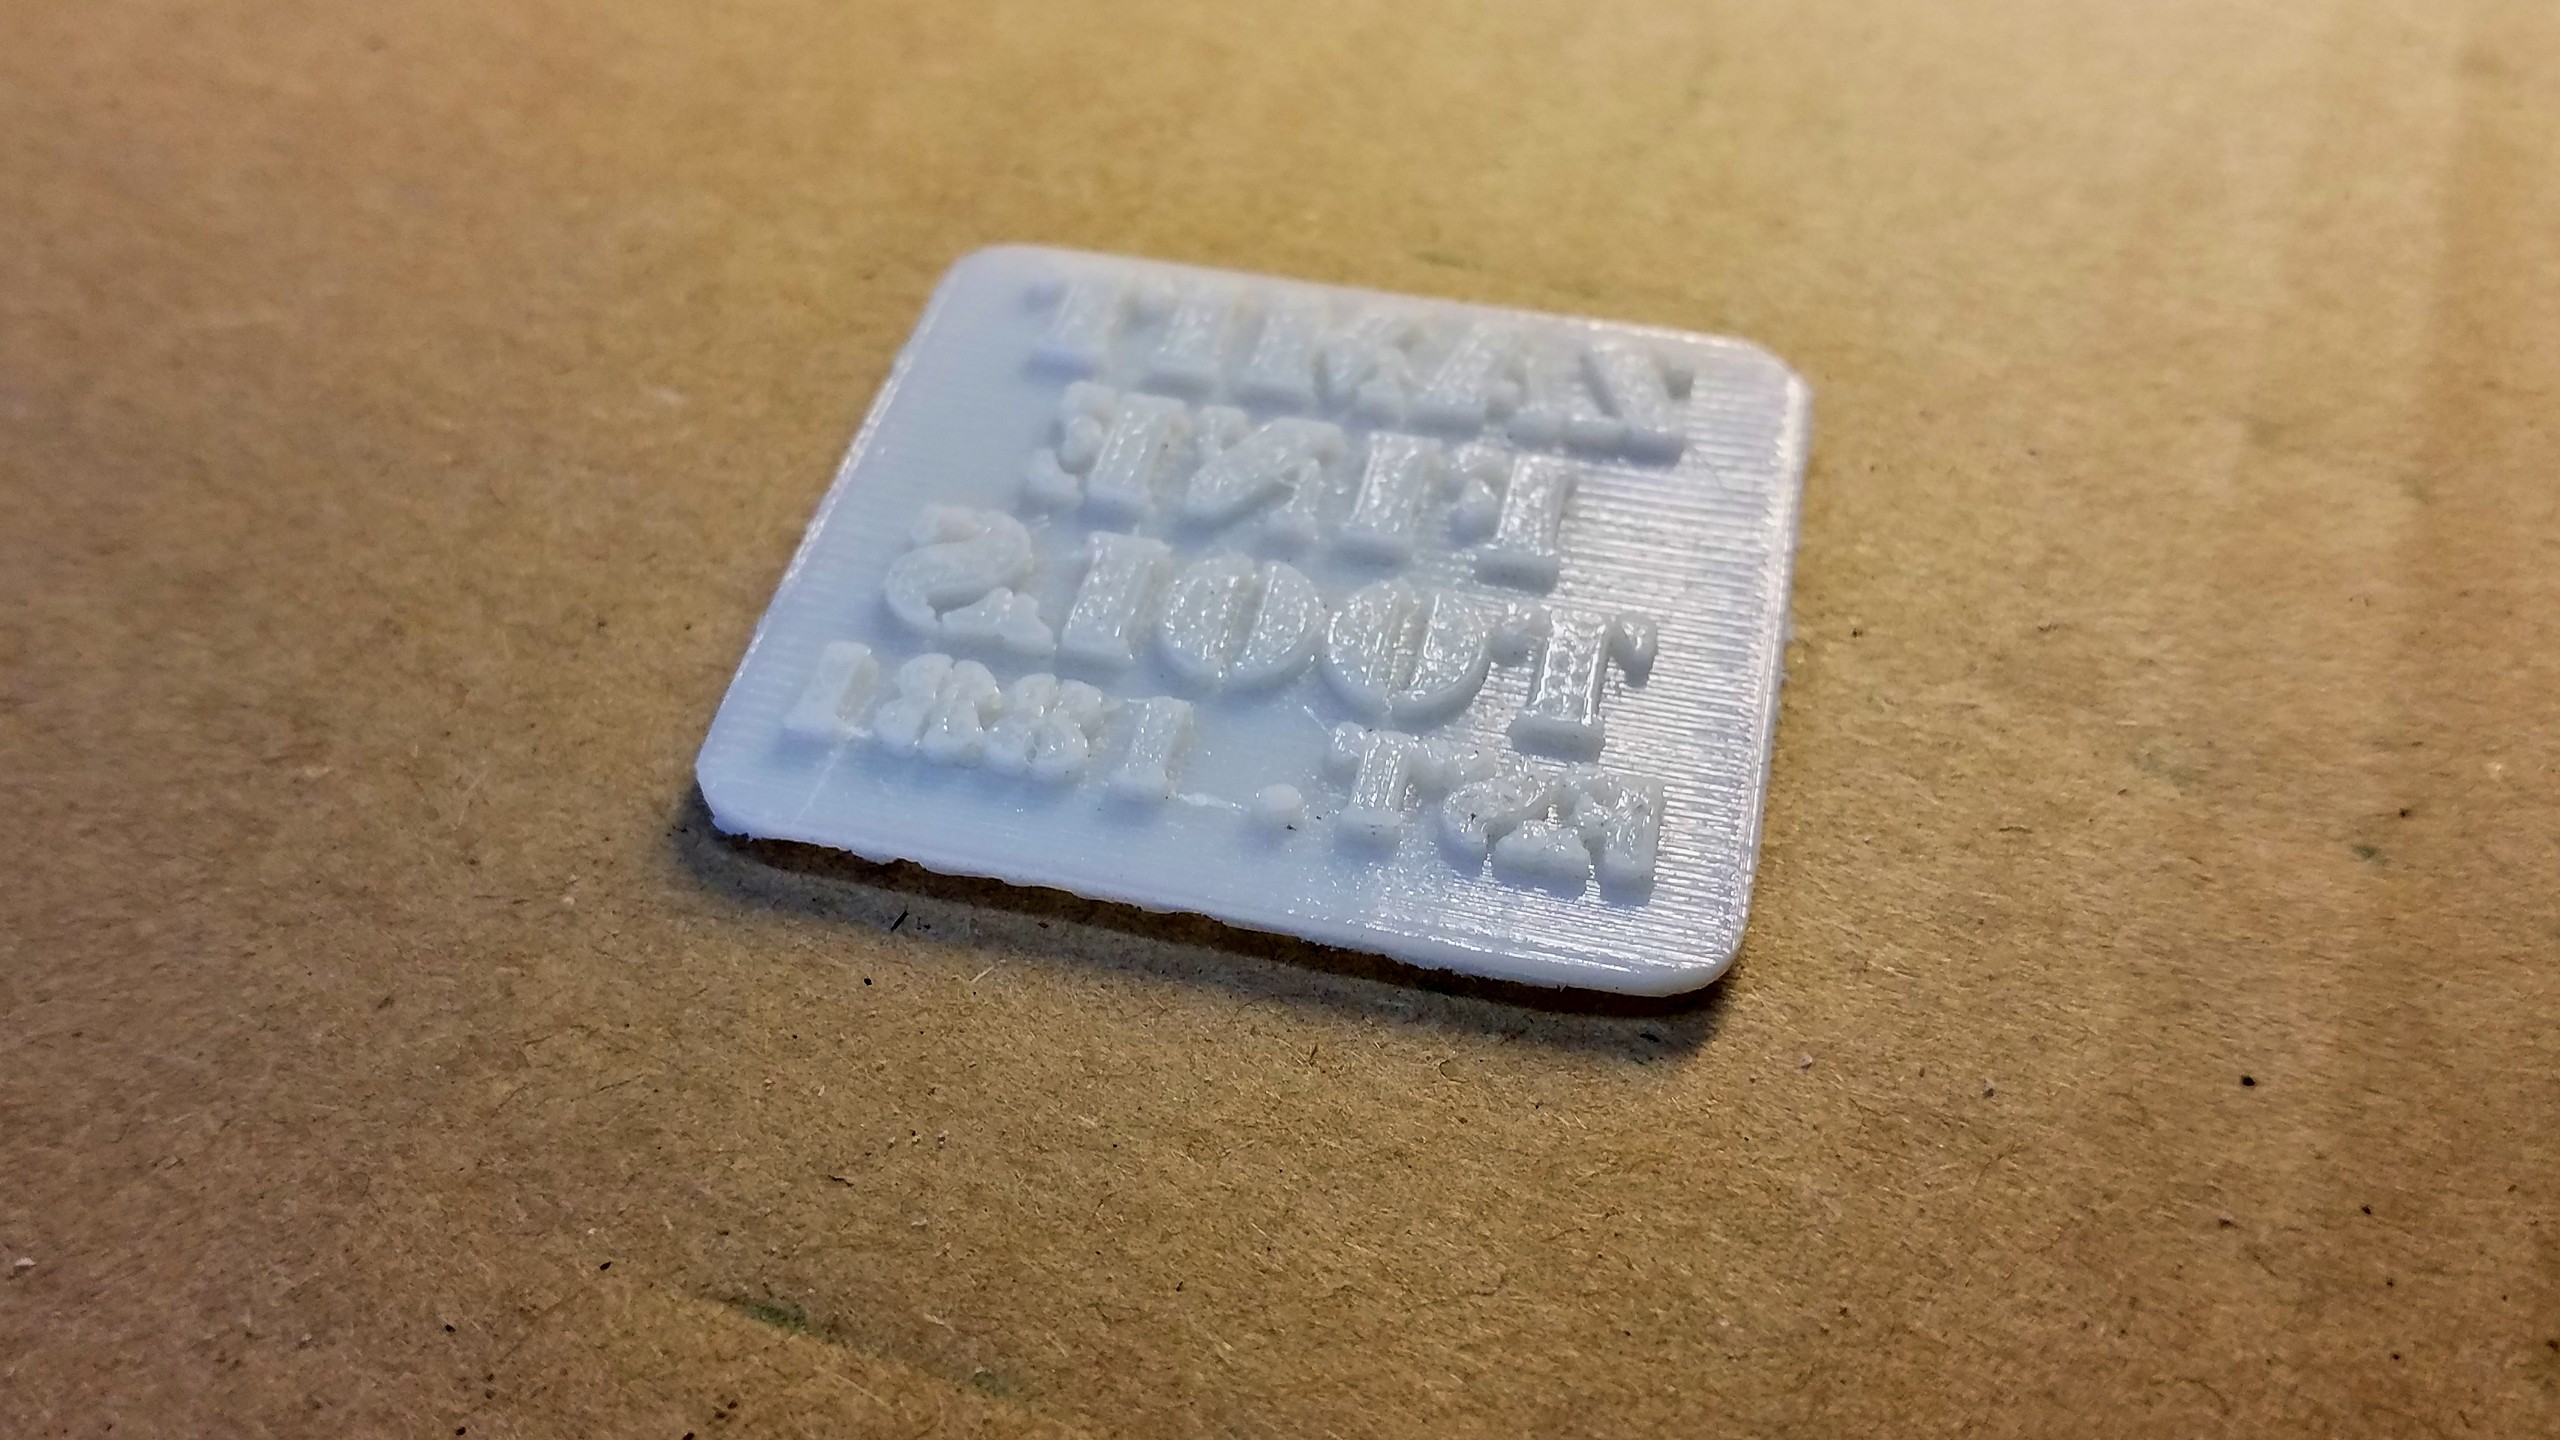
After that it’s a walk in the park: Letters and cyphers are carefully painted with a thin coat of acrylic paint and swiftly pressed against the crate walls.
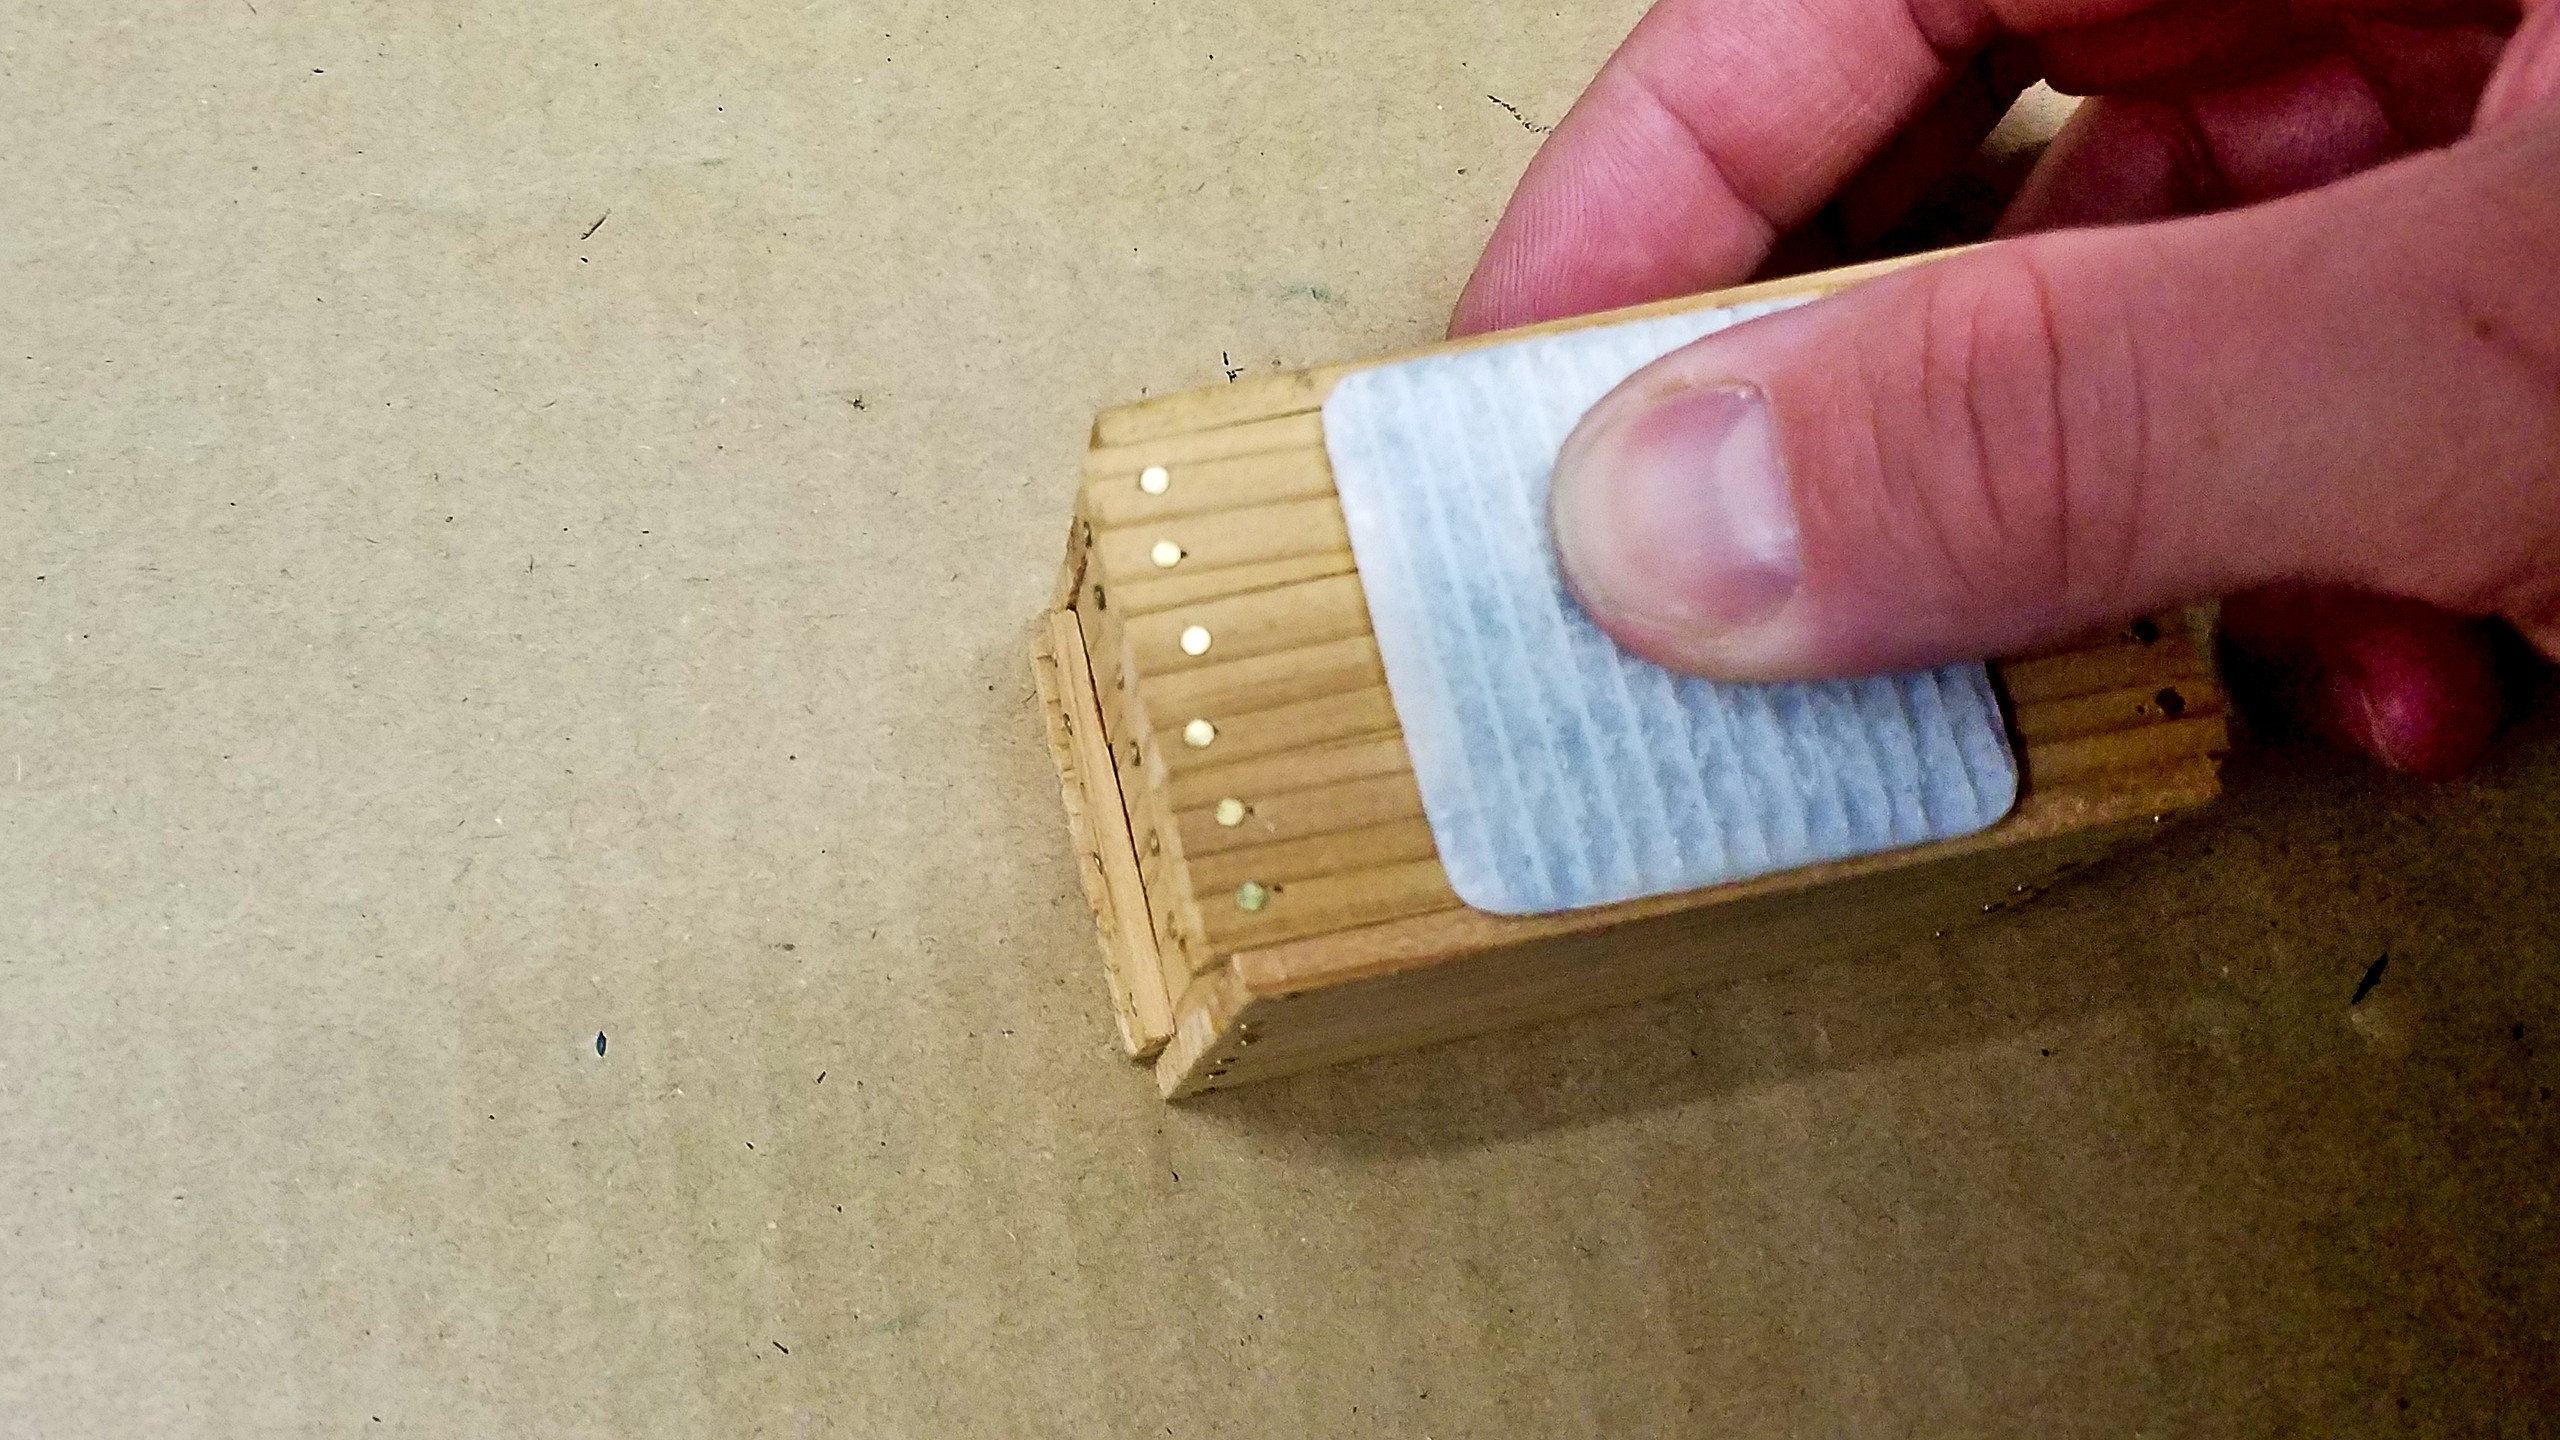
Since the stamp is quite stiff, the surface needs to be very smooth and one has to apply a lot of pressure. So the edges turn out to be a little fuzzy. Nevertheless, the first attempt really looks good and from a small distance the less-than-perfect quality doesn’t catch the eye.

Even though I don’t have a perfect result yet, I’m really buying into this technique: Applying the lettering is a single working step and one can repeat it as often as one likes. The 3D program allows to produce any lettering very fast, if(!) the printing file can be rendered. However that’s my personal challenge since I’m not quite familiarized with the software and its configuration yet.
From my point of view the only thing I find lacking is some appropriate filament. I will do some research in order to find some sort of flexible material, that would allow me to stamp curved or uneven surfaces. Time will tell.