

After finishing the stake pockets, I’d like to address the lettering. Encouraged by the good results of lettering the freight crates, I’ve created stamps for the railroad company, waggon number and some technical numbers. And I managed to find flexible 3D printing filament, namely TPU.
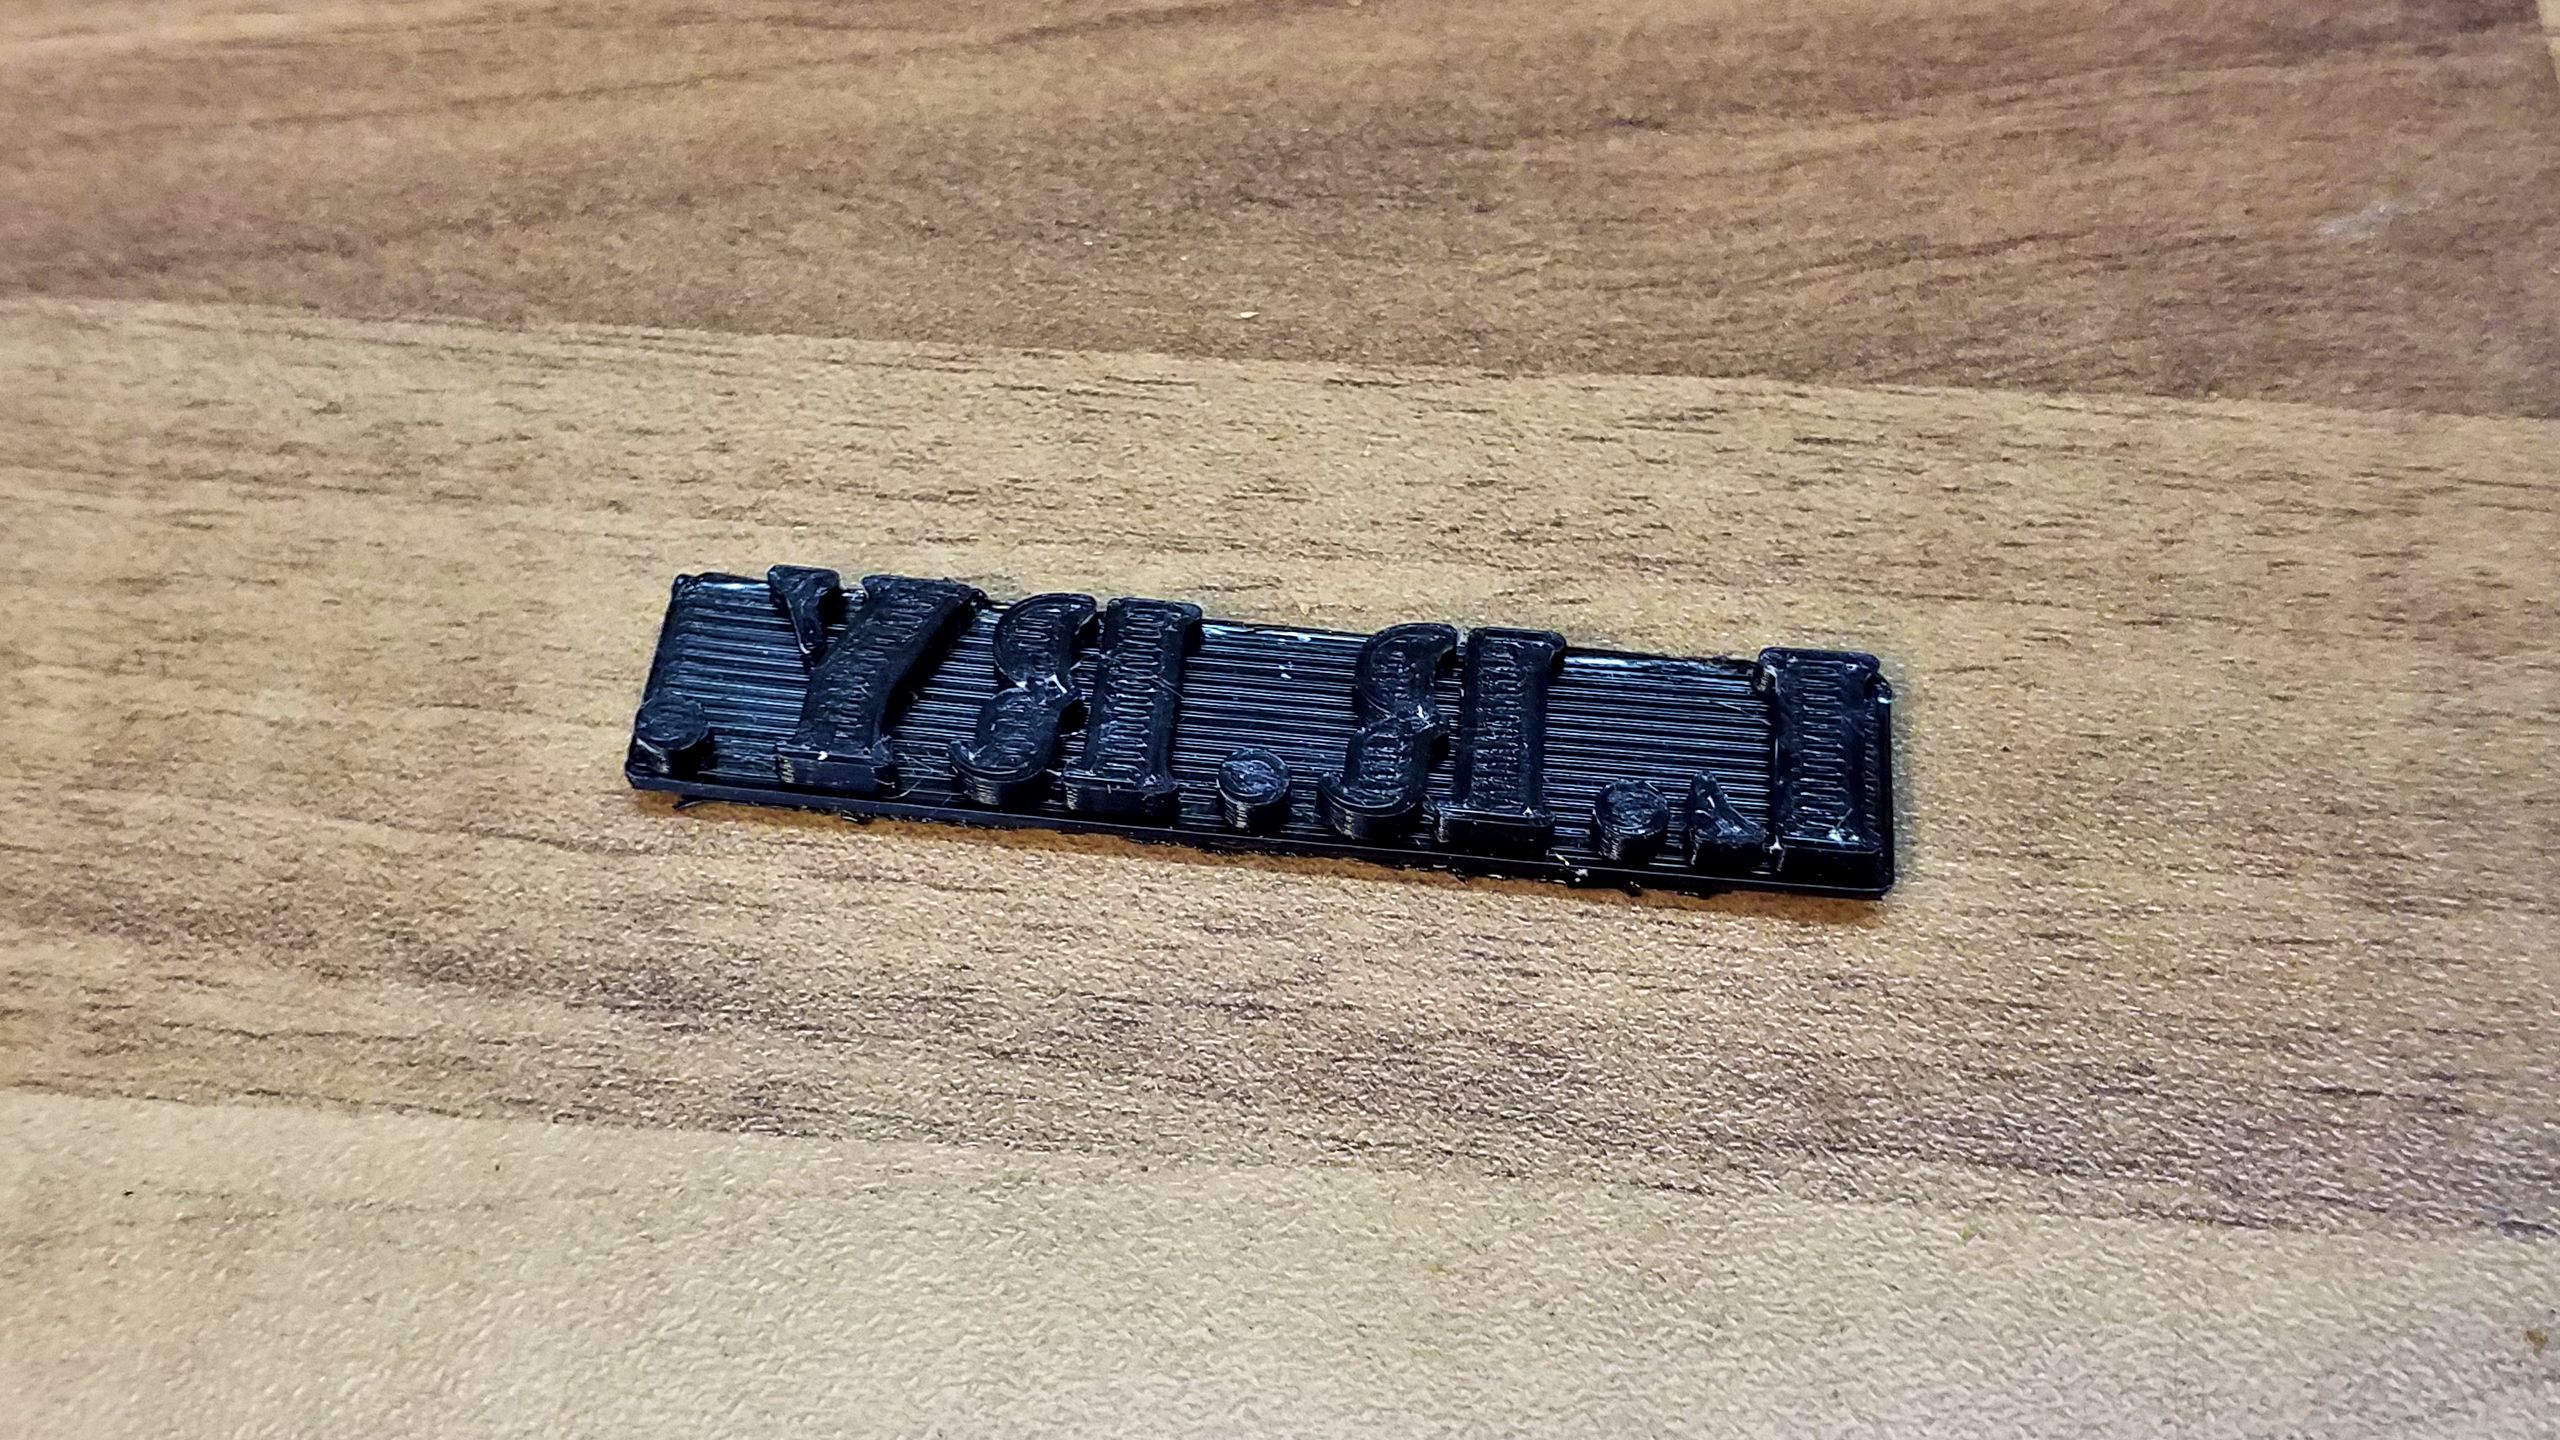
This time I’m luckier with creating the printing files. I start with the shorthand symbol of the Lead Road Railway Company. They feature a font size of 11 mm in order to catch the eye on the waggon. The 3D file exports straight away and the printing passes without issues.
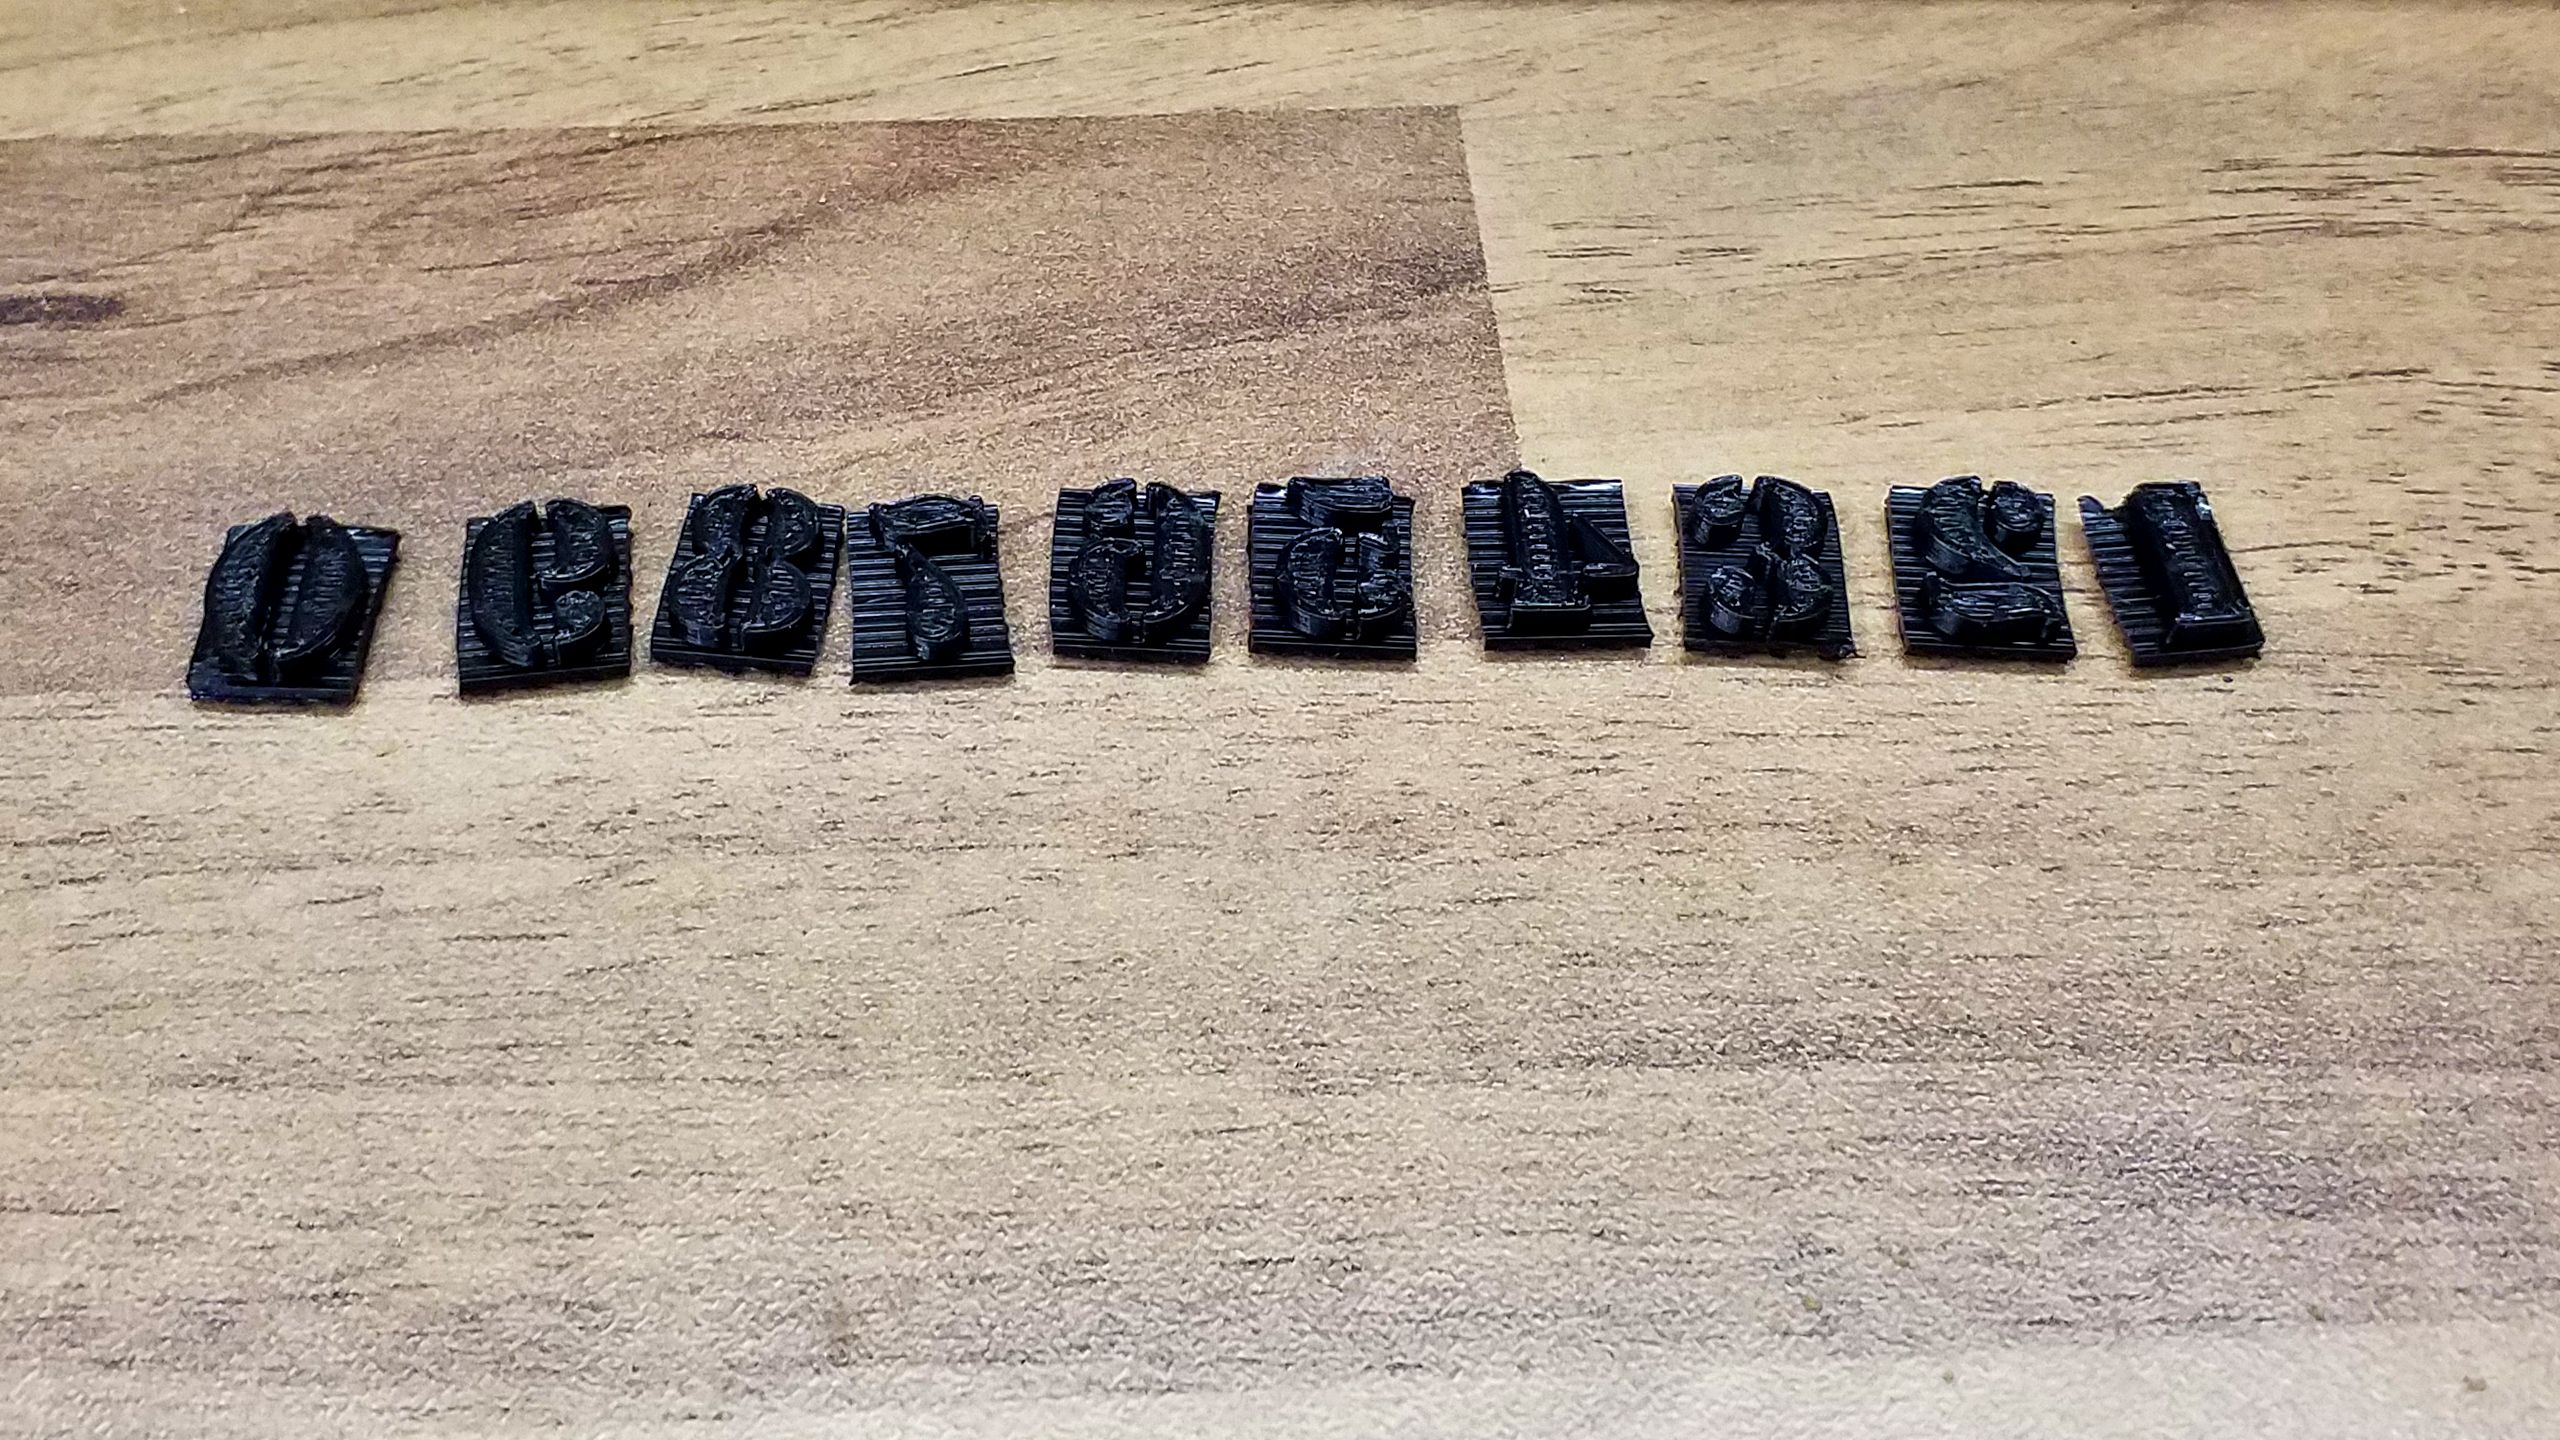
Next I print cyphers from zero through nine to be used for the waggon numbers, with the same font size. And since I don’t want to print one stamp for each waggon, these are printed en bloc and then cut to singular cyphers. Easily done so with a pair of scissors.
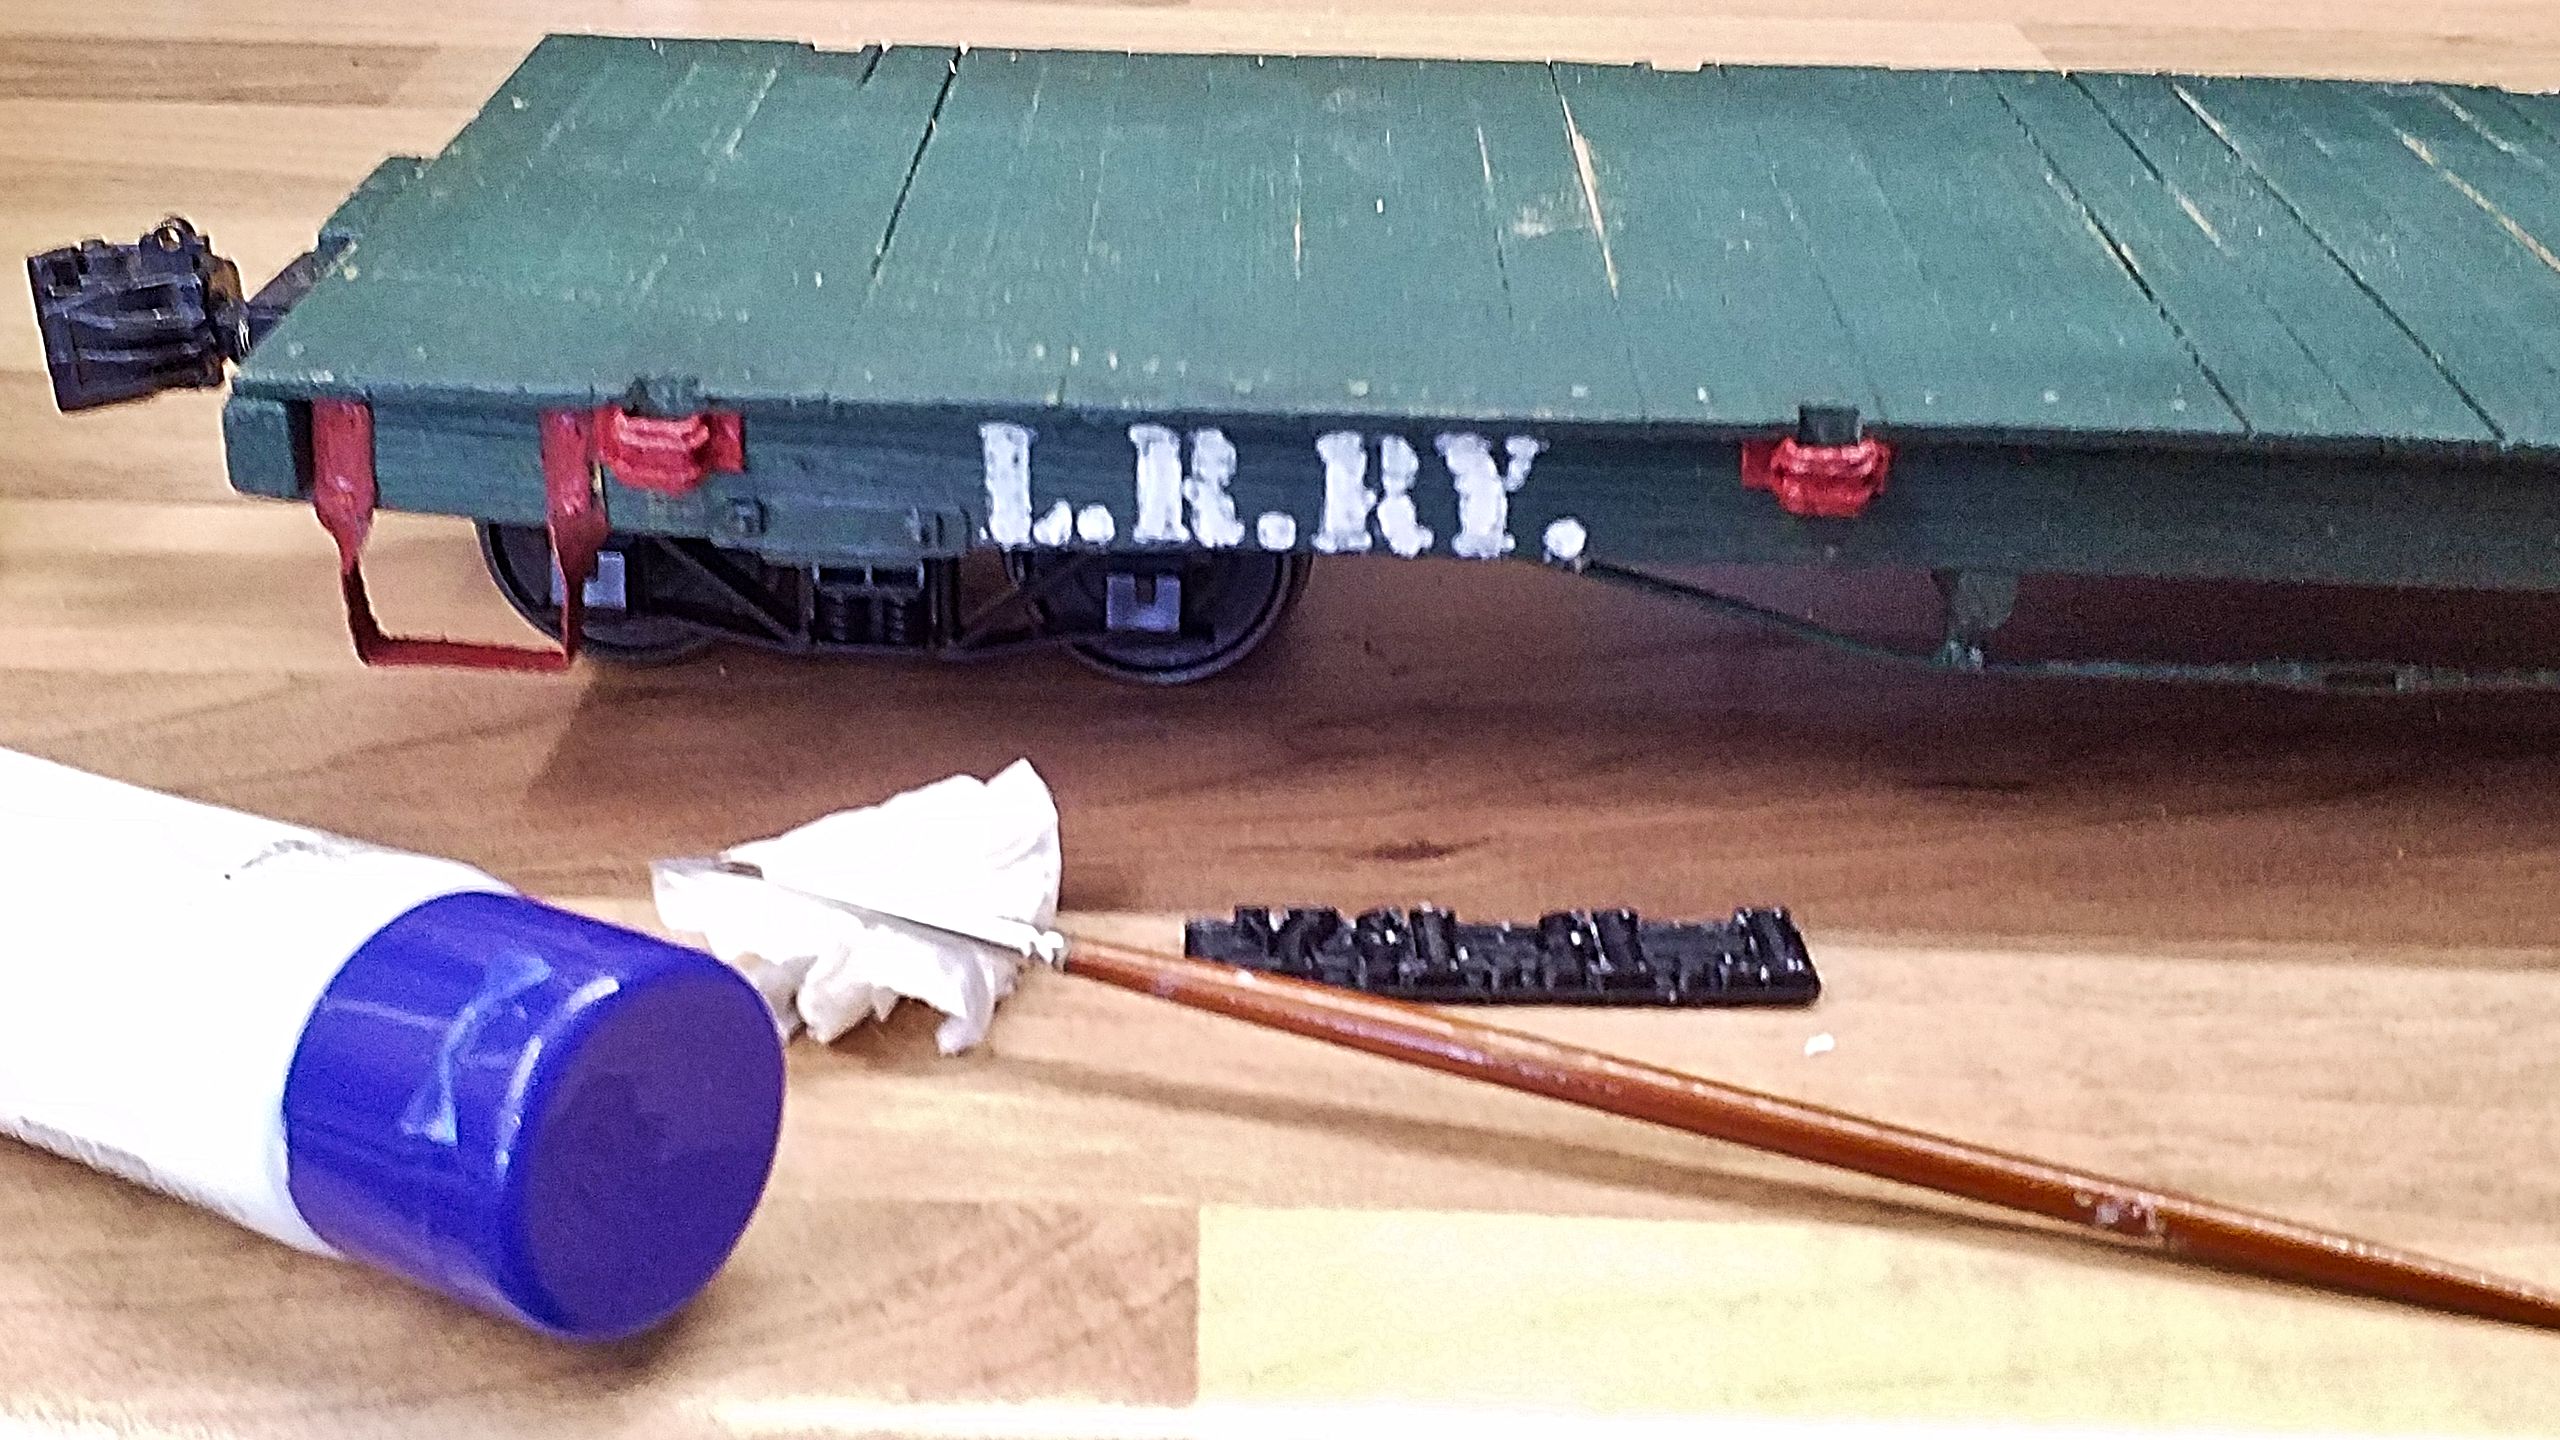
Just as with the crates, applying the lettering is a single working step: the stamp is coated with acrylic paint and pressed carefully, but firmly onto the side sill. The TPU really makes good on its promise, the flexible stamp allows for sharper contours. However, if one uses too much paint, it will overflow. Fortunately, a botched lettering can be wiped off with a wet tissue and one can try again. For picture-perfect results, the wiped-off spot can be lightly sanded and recoated with the waggon’s paint. However I find that even on prototypical railways a lettering job might fail without the waggon getting repainted.
The somewhat faint imprint is smoothed and filled with a brush. Less is more because the imperfect lettering has the air of weathering.
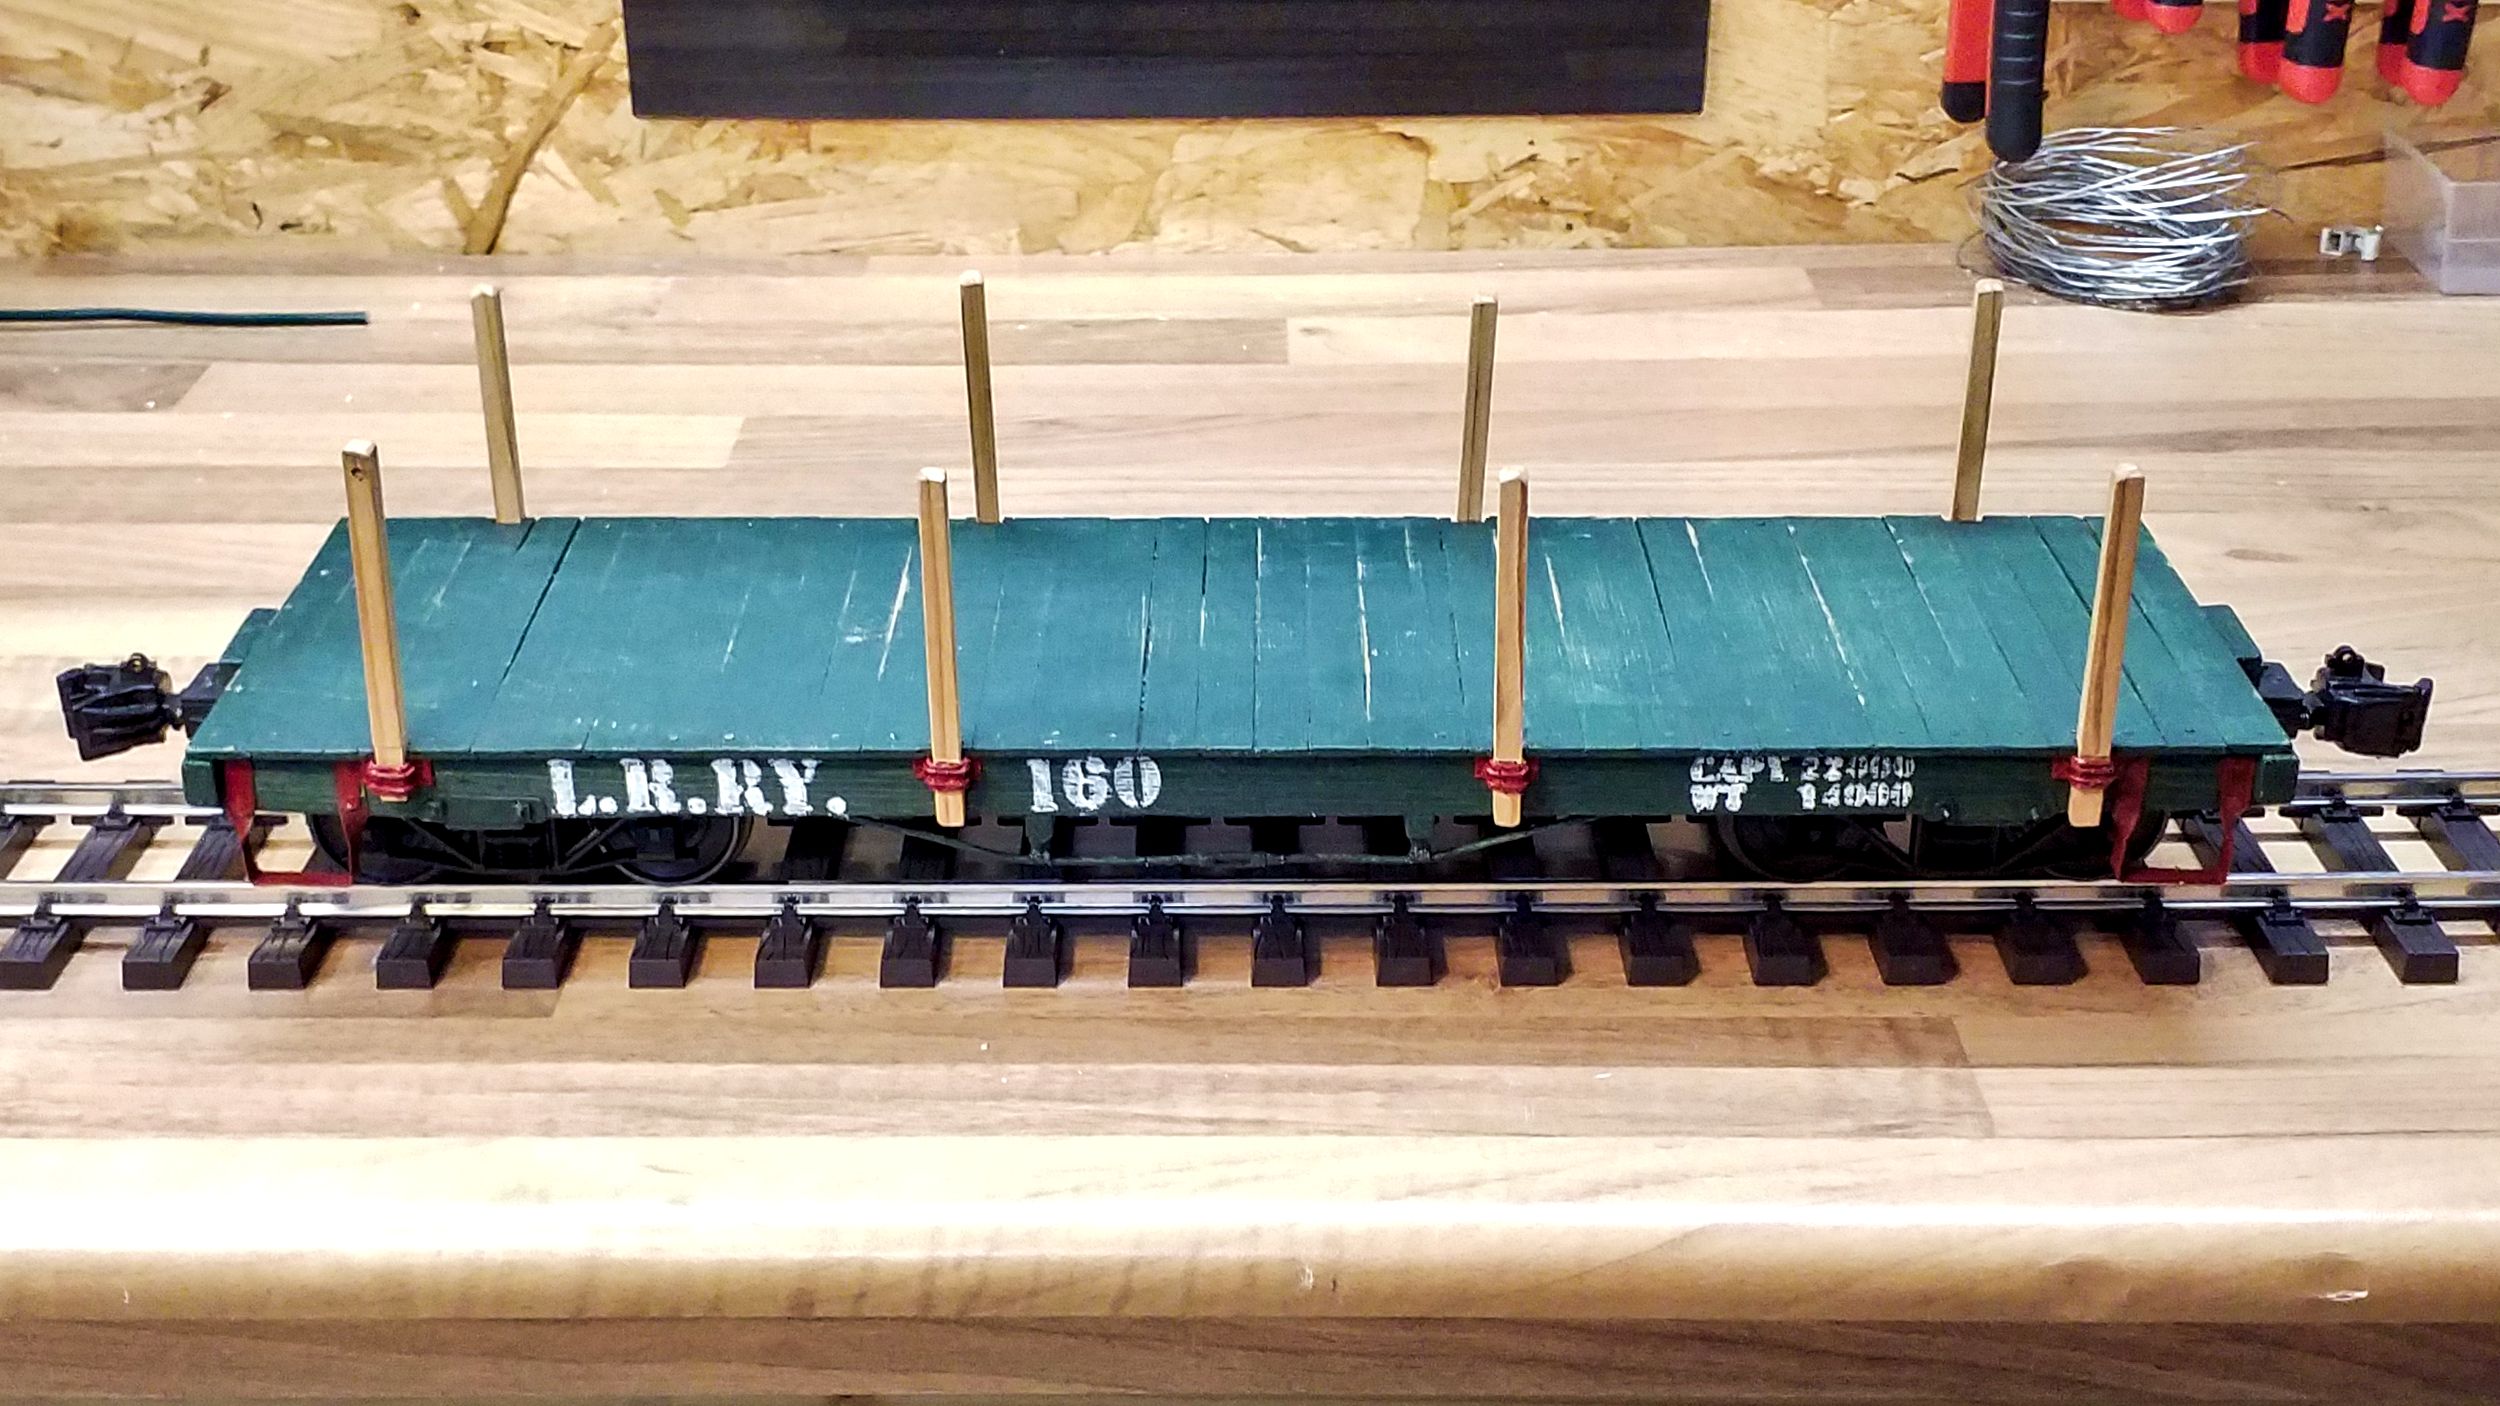
And then there’s the specification of weight and maximum capacity. Thanks to the help of the really friendly members of the railroad-line forums I could quickly settle on plausible numbers. One learns with every step of the way. These numbers are printed in two rows with the smaller font size of 5 mm.
Unfortunately, the 3D printer doesn’t agree with these small prints. I managed two tries with several cyphers or letters incomplete and on top of that two rounds of frozen printing programs. At last, I got one tolerably usable stamp. I’m probably going to try again in the next weeks in order to get a better result. As described, sanding, repainting and relettering won’t be a problem.

I’ve had some headache with applying the waggon number since the single cyphers can’t be aligned as precisely – the longer the stamp, the easier it is to align. And I really don’t want to try that with the smaller letters and cyphers. However, I can reuse this stamp for every future flat car, so I don’t mind too much. And now, the waggon really looks like it could enter service:
However, there’s one important and quite visible piece of operation security missing: the hand brake. I’m coming back to that next time.