
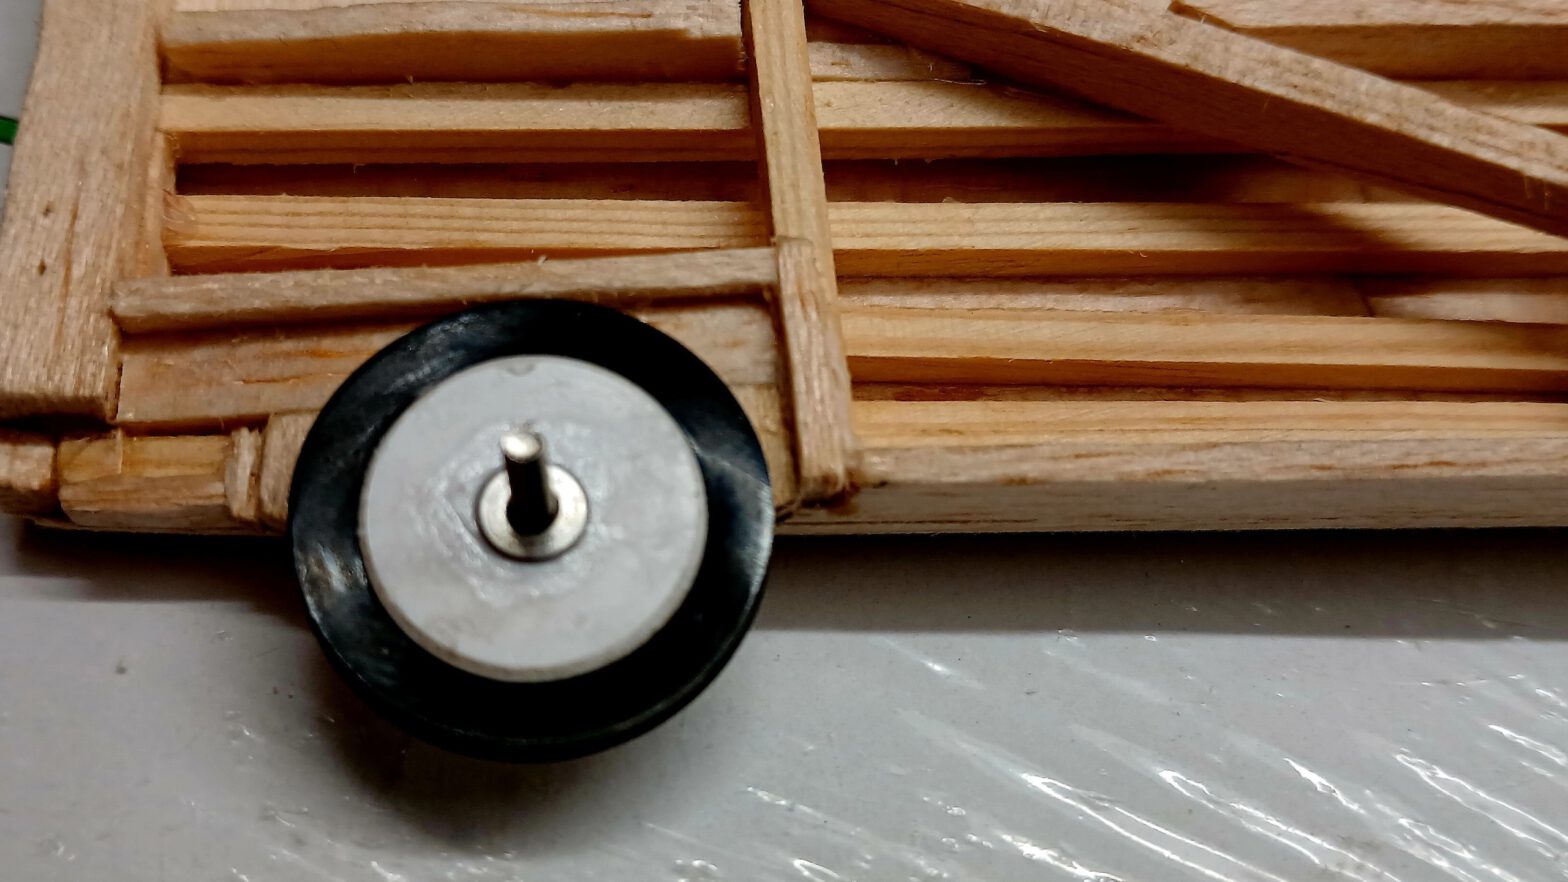
One small detail about the Fauvette bothered me: although it has landing gear, only a skid is provided for the tail. So, I set out to find a tailwheel that was lightweight, small, and above all narrow enough to install in my Fauvette. An hour of online research later, I came to the conclusion that I could have built one myself in that time.
The basic technique can be found on Cliff Harvey’s Youtube channel, you only have to keep in mind that wood isn’t suitable for small wheels, because there will always be a spot where the wood’s grain runs across the rim’s edge and will break easily.
So, I grabbed a spare water tap washer, took a scrap piece of ABS plastic, and got straight to work. Since the washer was 2.5 mm thick, I laminated two layers of 1.5 mm ABS together using superglue and roughly cut out a circle with tin snips. I then drilled a hole in the centre of this blank and mounted it onto the mandrel of my rotary tool. Using the lowest speed, I shaped it into a perfect circular disc (or rim) on a disc sander before clamping it into the drill press.
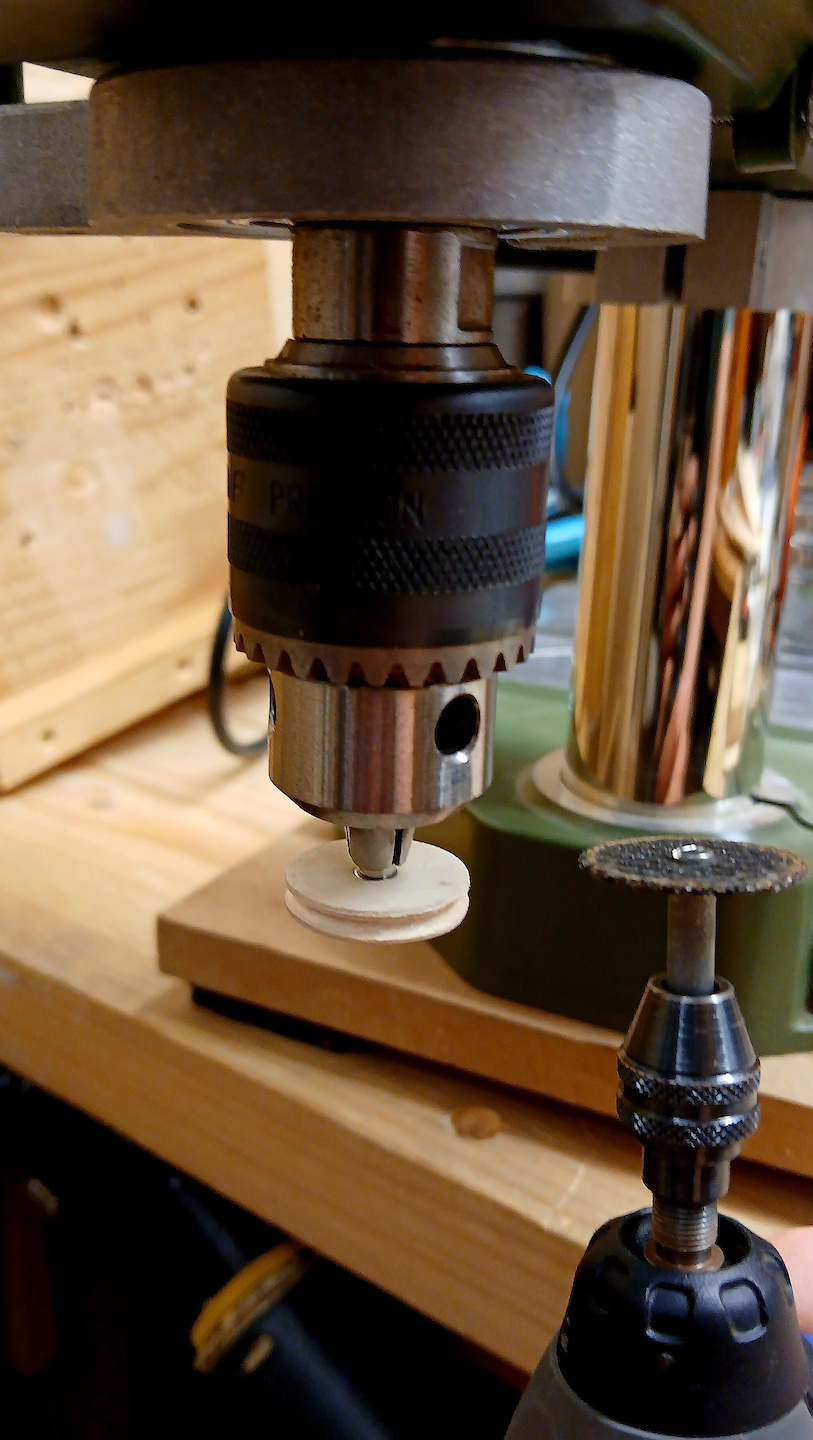
To prevent the seal (or tire) from slipping off the rim, it was mounted to the drill press, and a fine groove was ground into the rim using a grinder disc on my mini drill. After drilling the rim’s centre hole out to the final axle diametre, now the tire can then be easily fitted.
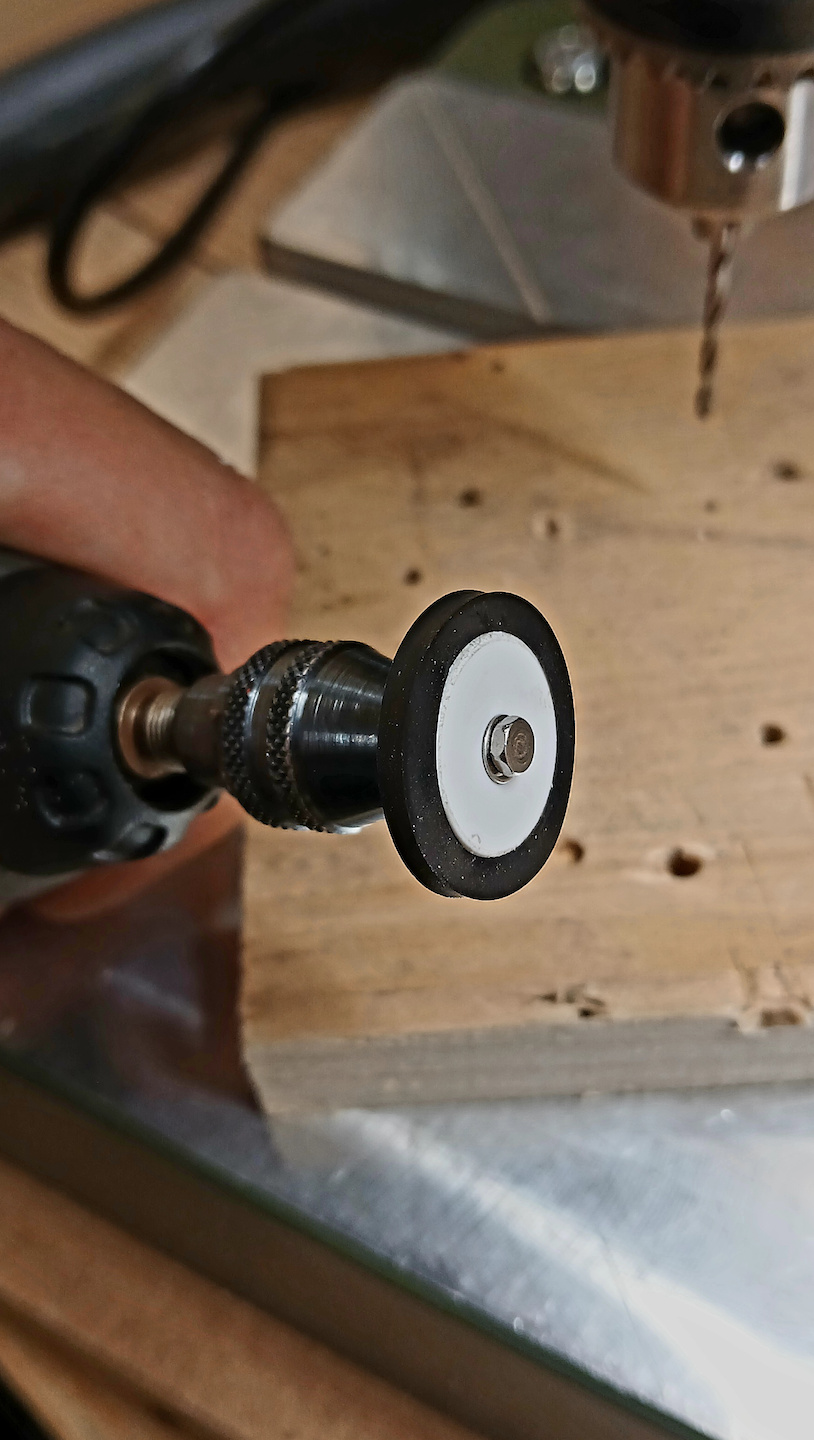
To extend the lifespan of the rim, I attached a washer to both sides using superglue. This should limit wear on the axle hole and also ensures the necessary clearance from the landing gear mount, preventing the tailwheel from jamming too easily.
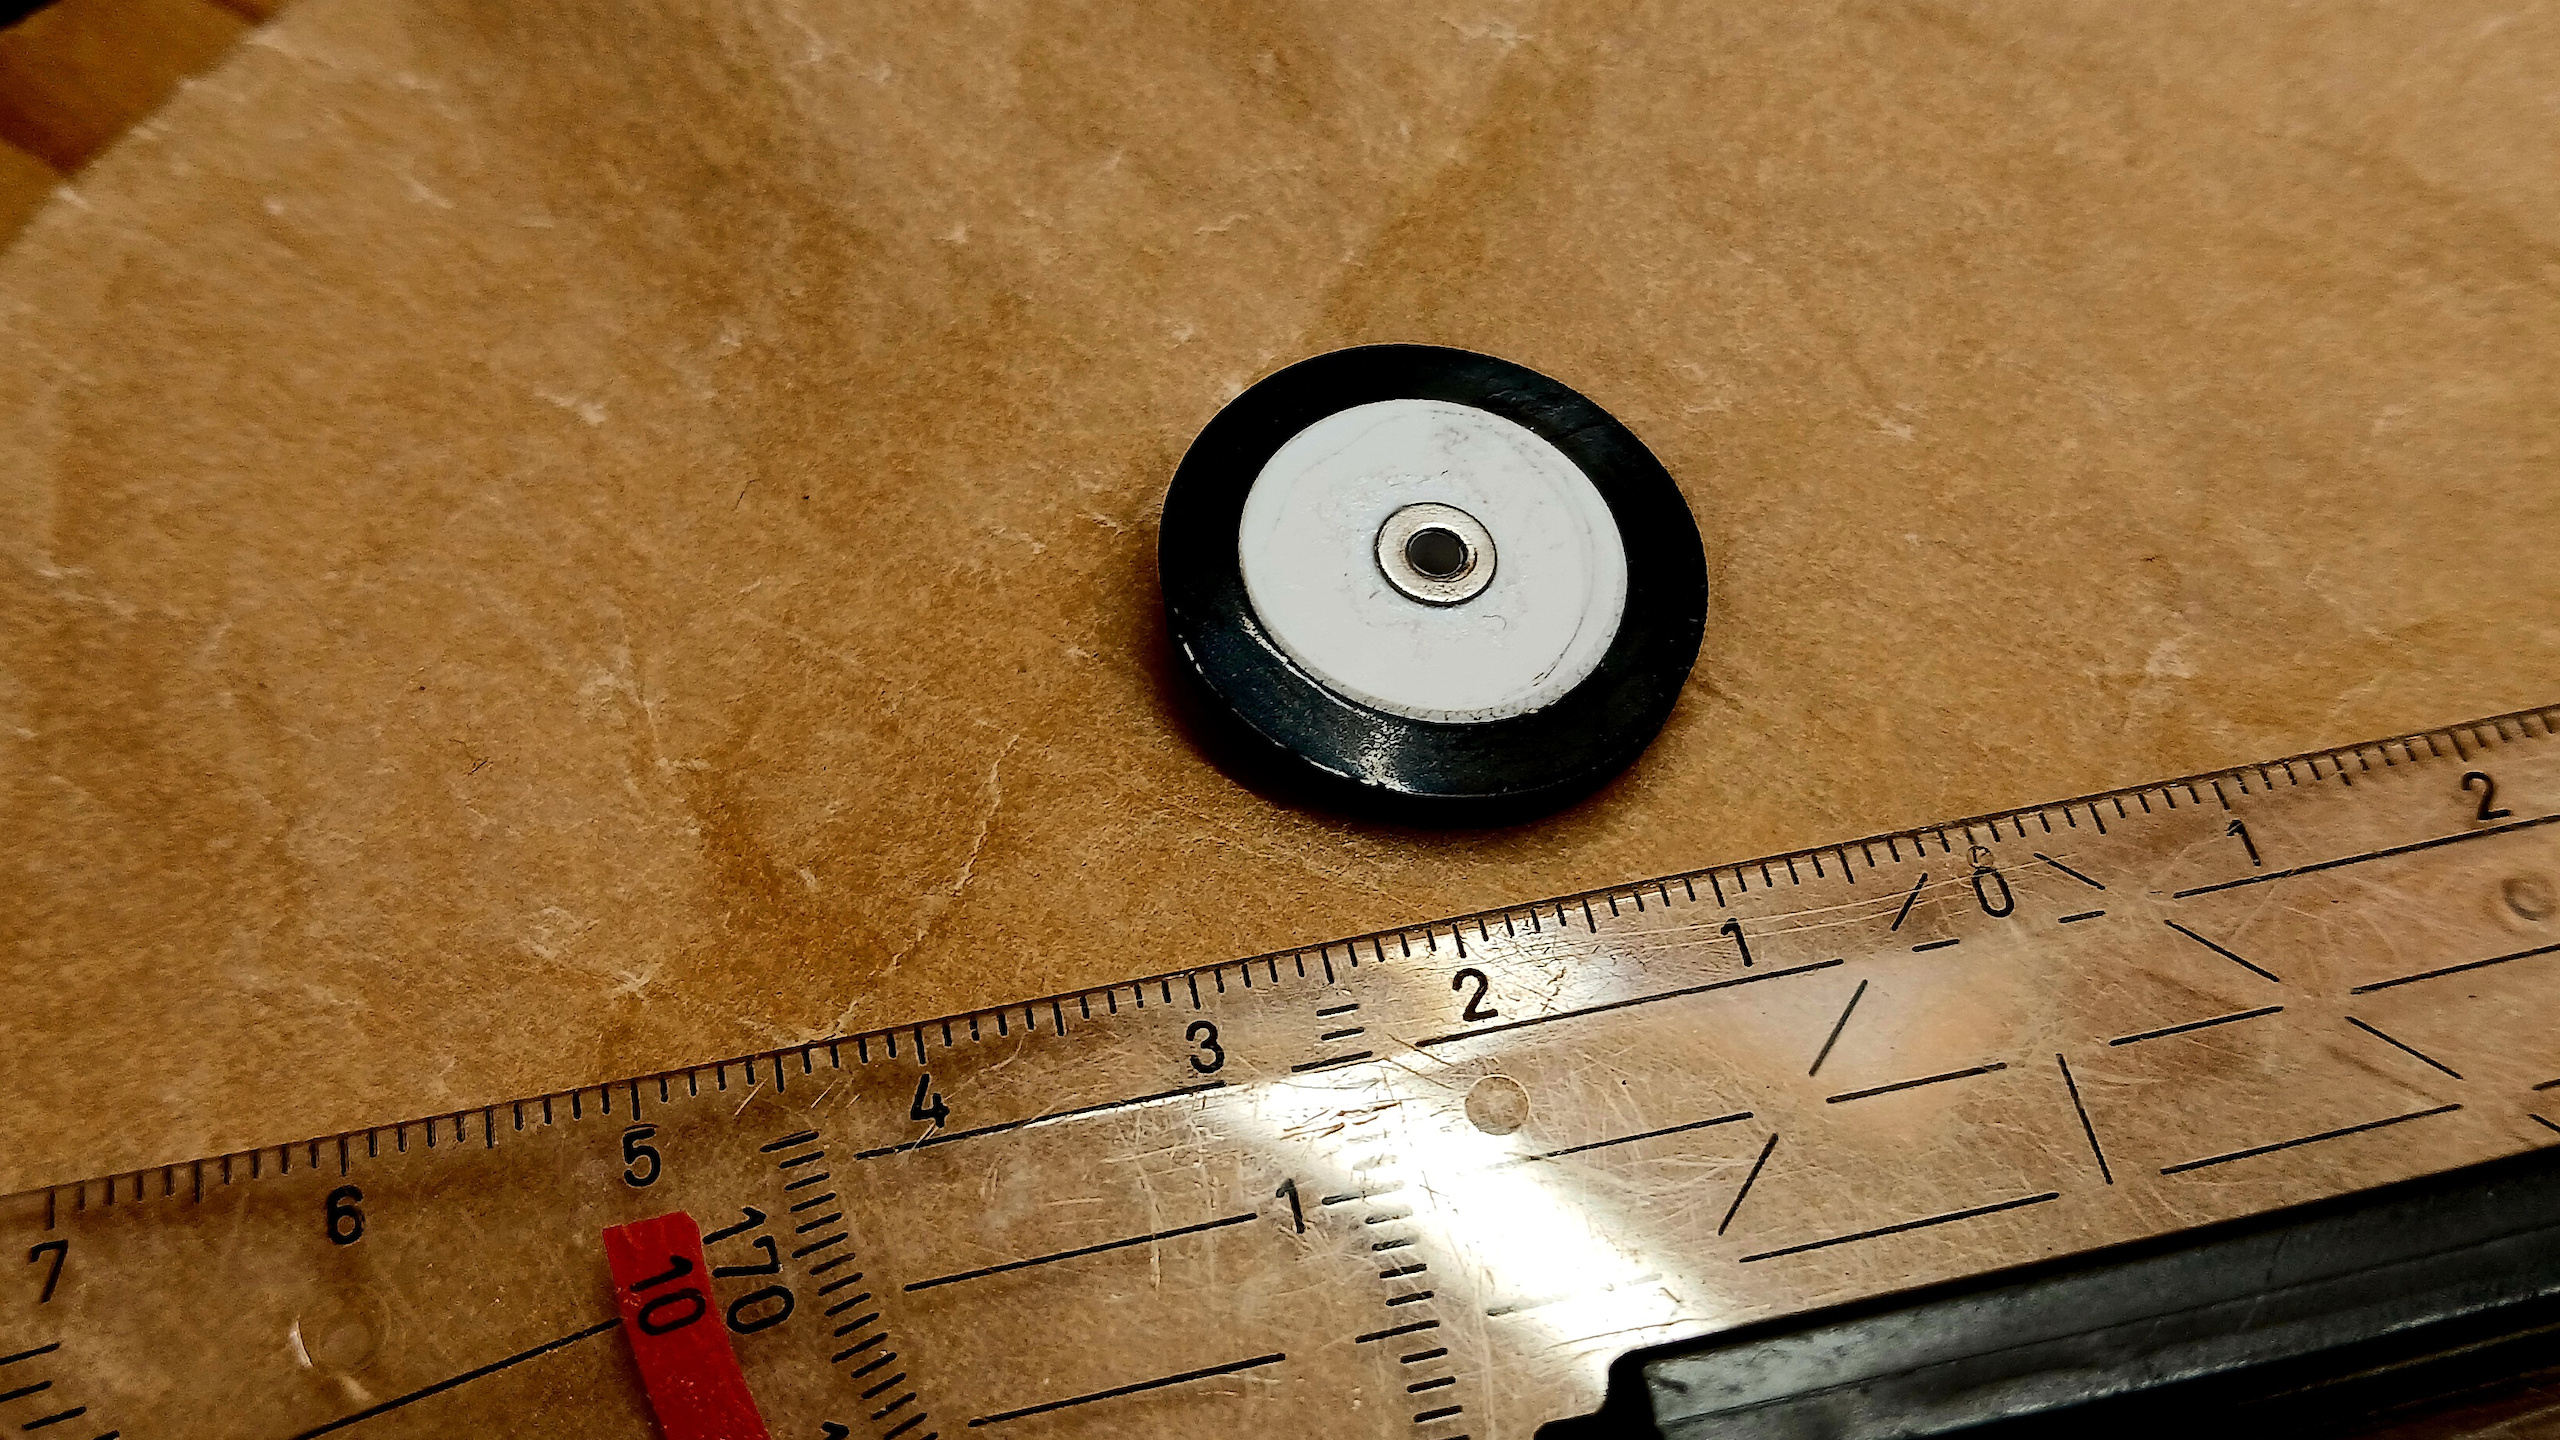
The completed tailwheel was then test-fitted in place of the tailskid on the tail assembly. It quickly became clear that the bottom stringer needed to be slightly recessed to provide the necessary clearance. This was easily accomplished with a chisel, allowing the wheel mount to be glued in place. A balsa wood wheel housing was added above and in front of the tailwheel to prevent airflow during flight or dirt during landing from entering the tail assembly. At the rear, the housing terminates at the trailing edge of the vertical stabilizer, ensuring a complete seal.
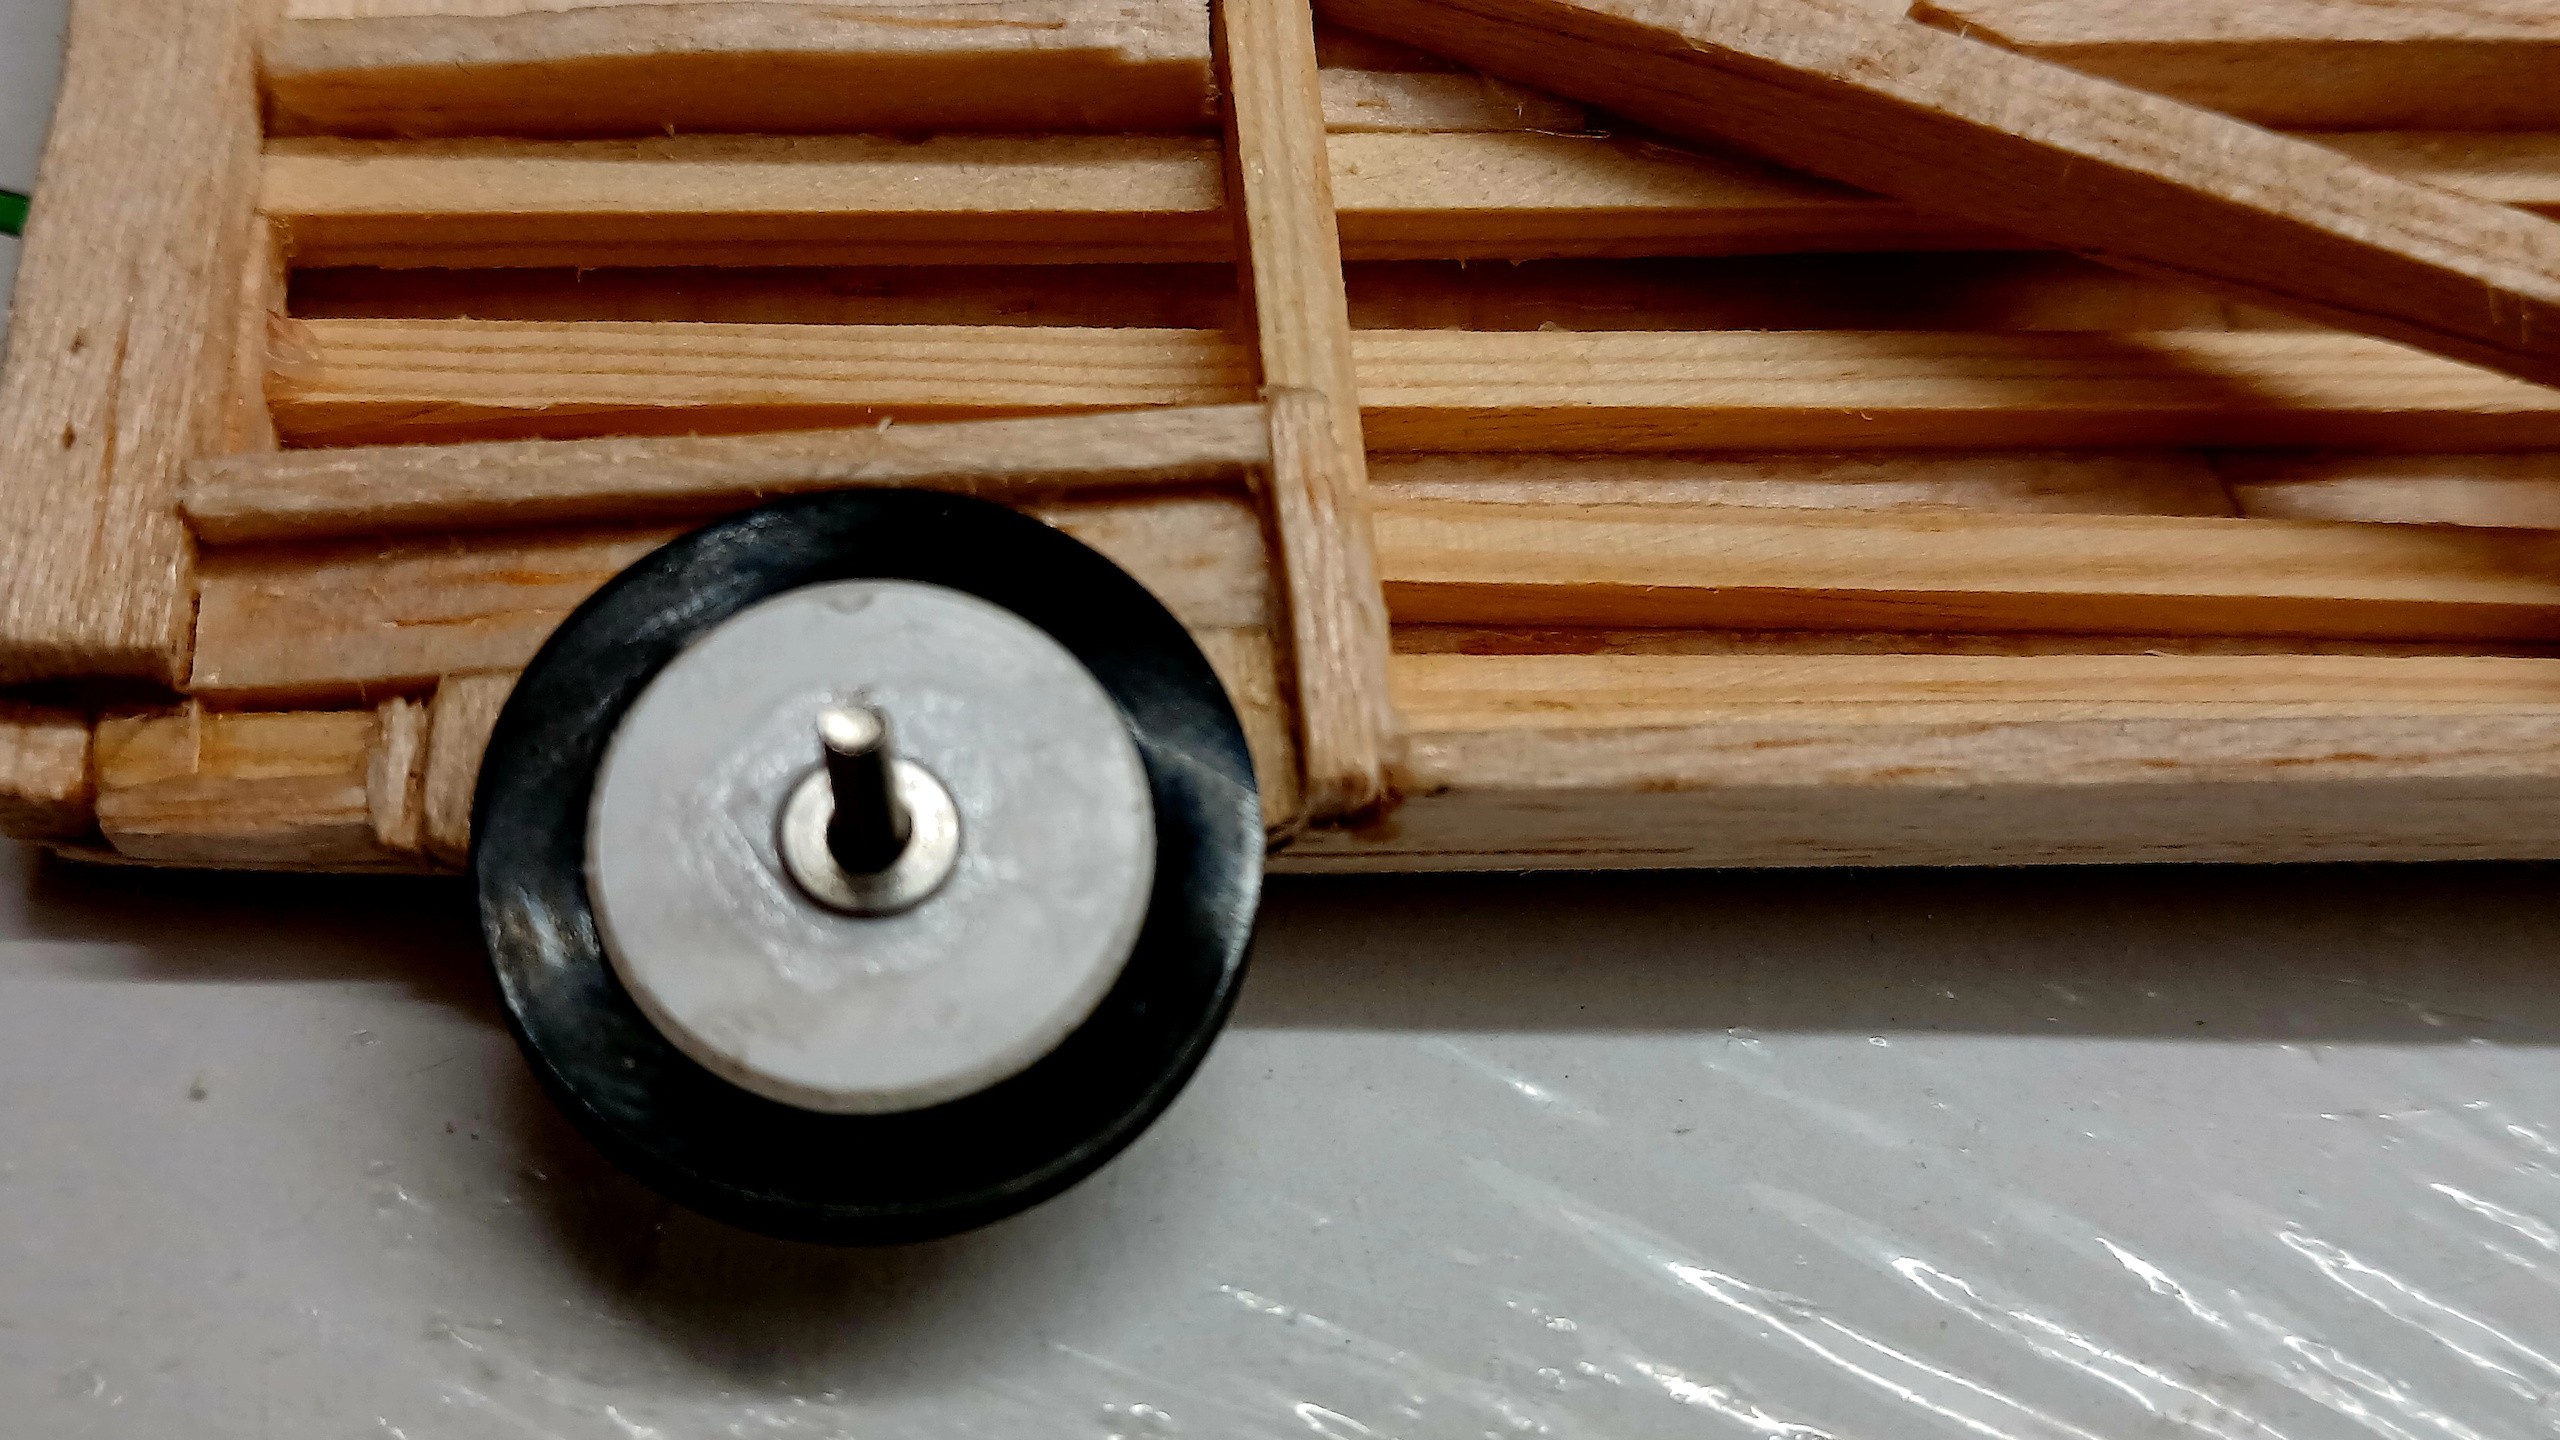
I am very pleased with the result! The wheel has turned out to be extremely light weighing just 1.5 g, including the stainless steel washers. Despite this, it is highly robust and should prove very durable. The tire can be replaced if necessary, and the model has been significantly improved in terms of both aesthetics and functionality.