Spin: Covering and R/C Fitting

With the finished priming the covering can commence. I like to use Oracover because it’s really easy to work with and yields very good results. I always start with the easiest parts in order to get re-used to the task. So first up is the rudder.
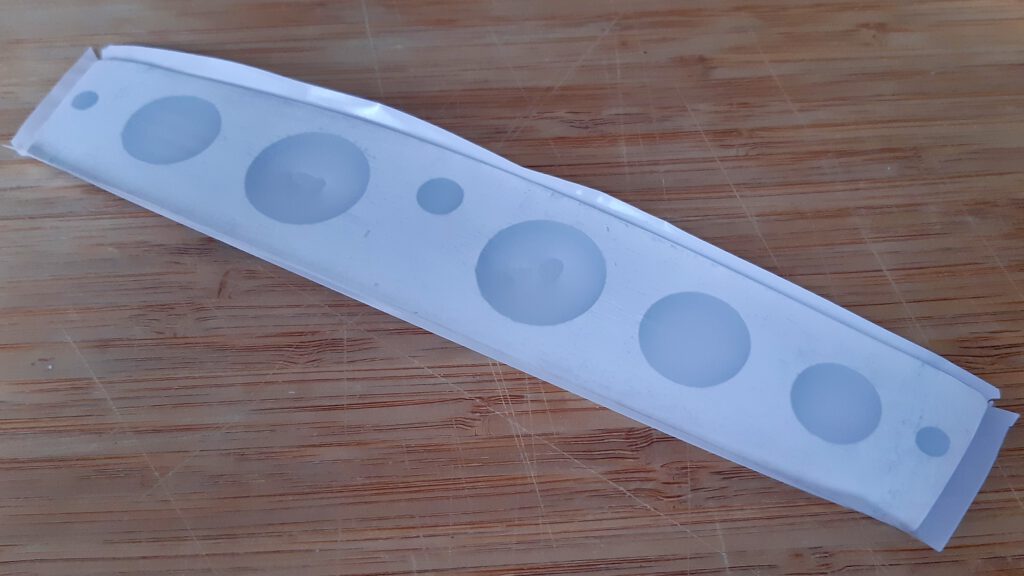
The rudder is covered.

…and one can easily spot that I managed to fuse the foil in the recesses. In this case I was lucky and could get them apart with some additional heat, but often enough one has to start over. With due warning received, the ailerons come up next. On the left side of the pictures some creases are still visible, which will disappear in the last step which is heating up the whole area.

Spin: Priming

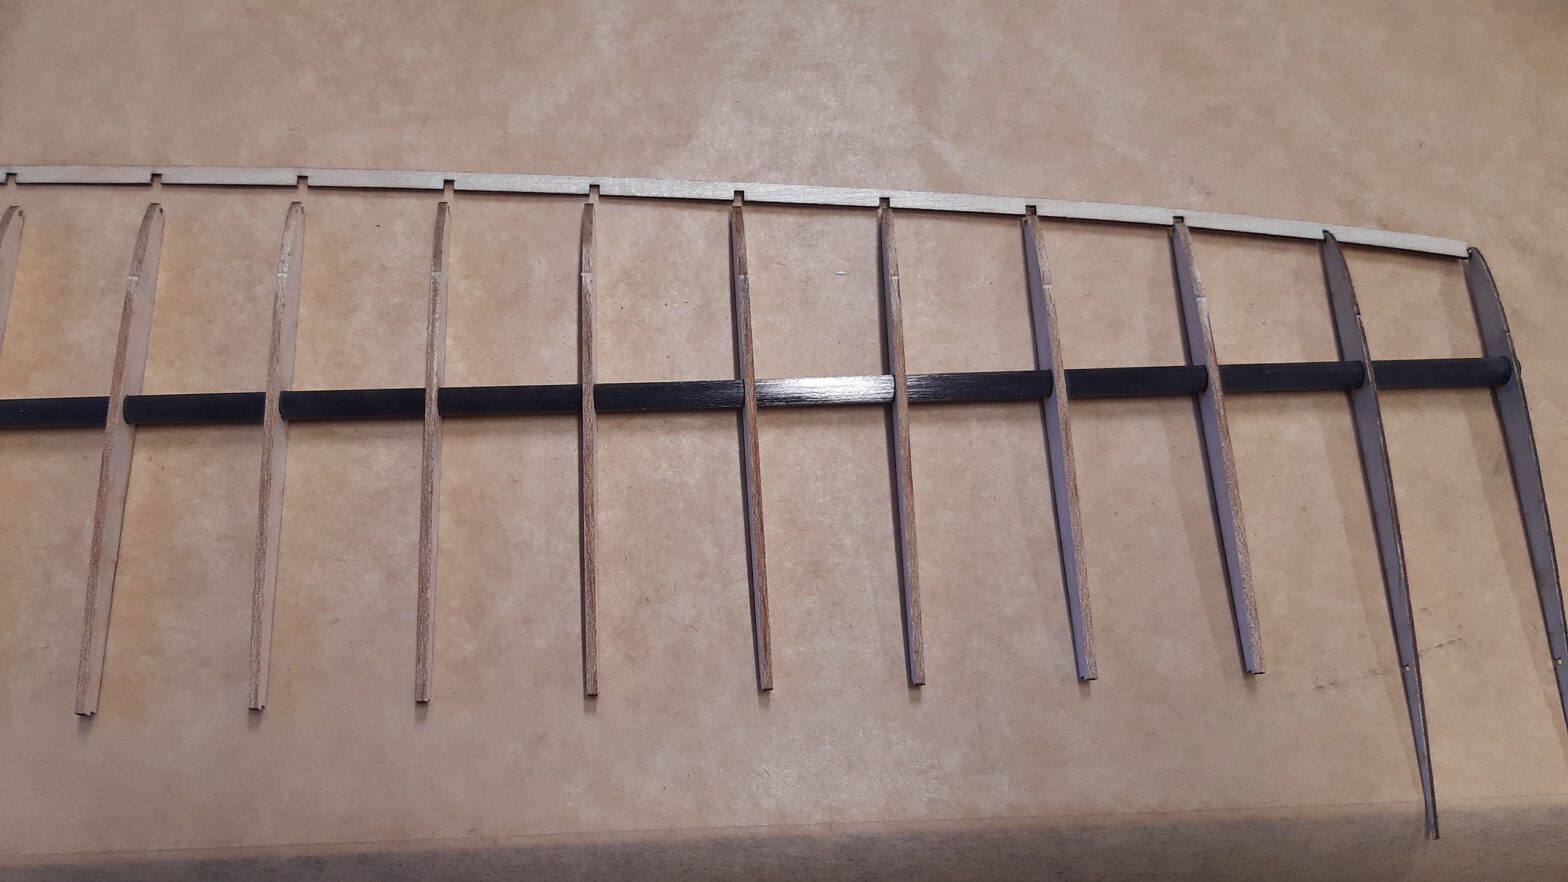
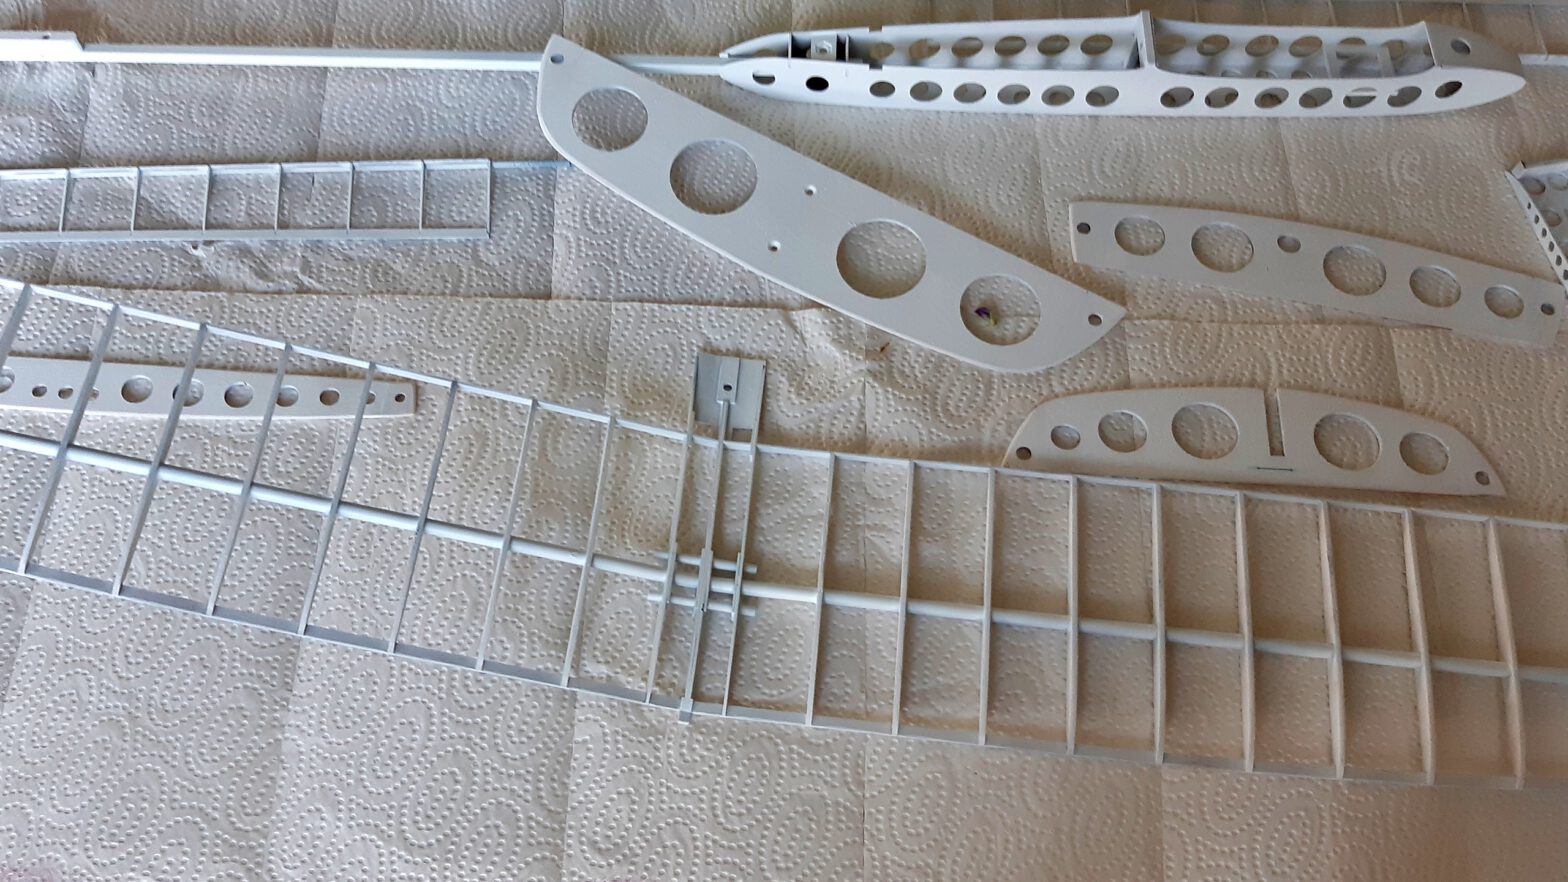
All the parts of the Spin are primed with white radiator lacquer.

Say what? Why prime an aircraft that is going to be covered in foil?

Yes, I can’t help it: I have to try my own ideas again. The Spin is going to be covered in transparent white and red, so the interior is going to be visible. And I’m not too happy with the colour contrasts of the different parts made from carbon fibre and wood, the scorch marks left from the laser cutting are hard to completely remove, too.

And that’s why I tasked myself with priming the construction before applying the covering with film.

Joyrider: Banner Towing

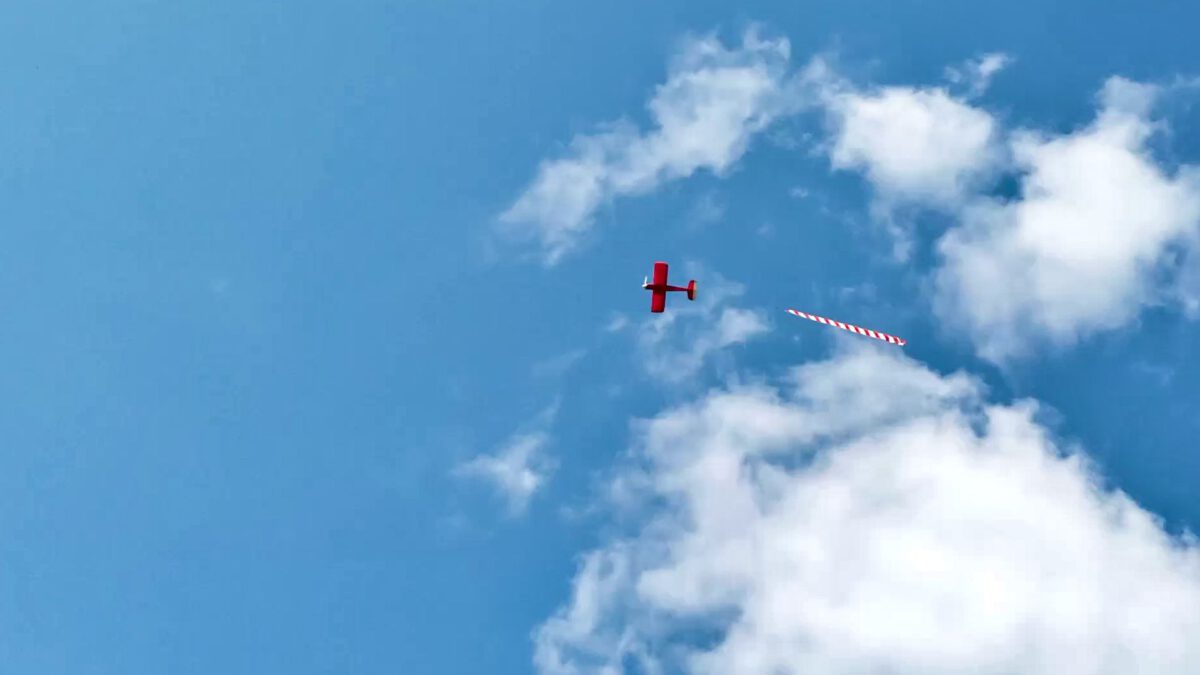
The Joyrider cuts a fine figure.

A friend of mine visited on the weekend to get an opportunity for his son and himself to practice some R/C aircraft piloting. Needless to say, the prospect of having some interested folks around spurred me into getting the Joyrider into tip-top shape… and it gave me the opportunity to try and fulfil one of those wishes left over, as mentioned in my post about taking stock. That is: banner towing.

Workshop: Building Boards for the Thermy 4

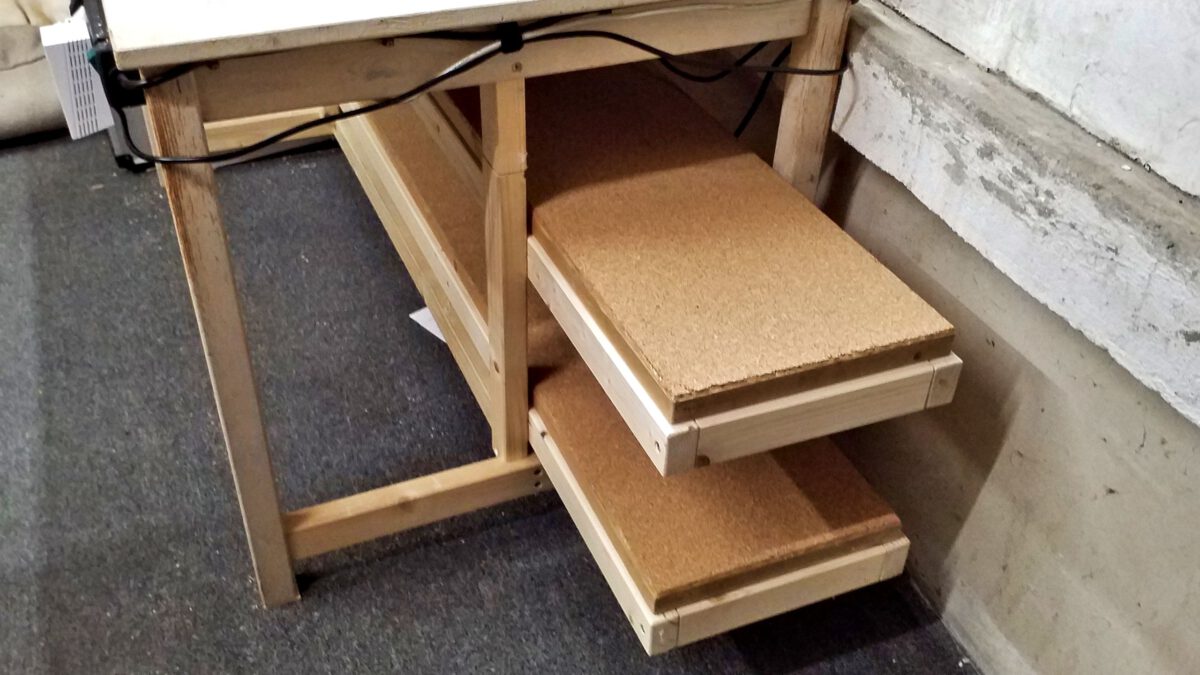
The finished building boards stored away under the table.

In order to build the Thermy 4 I will need building boards, which are in widespread use with model aircraft builders. They serve two purposes: First they are supposed to provide an absolutely even surface because most workbenches sag over time, which means one can’t build really straight wings or fuselages on top of them. It’s easy to check it out at home, simply put a spirit level on top of the workbench and look for the gap in the middle, which one almost always will find. Second, building boards facilitate storing subassemblies while one is continuing to work at other parts. And since my workbench is frequently needed for other purposes than the current project, one doesn’t want it to be cluttered with, say, a clamped half of a fuselage.

Flatcar Prototype: Stake Pockets

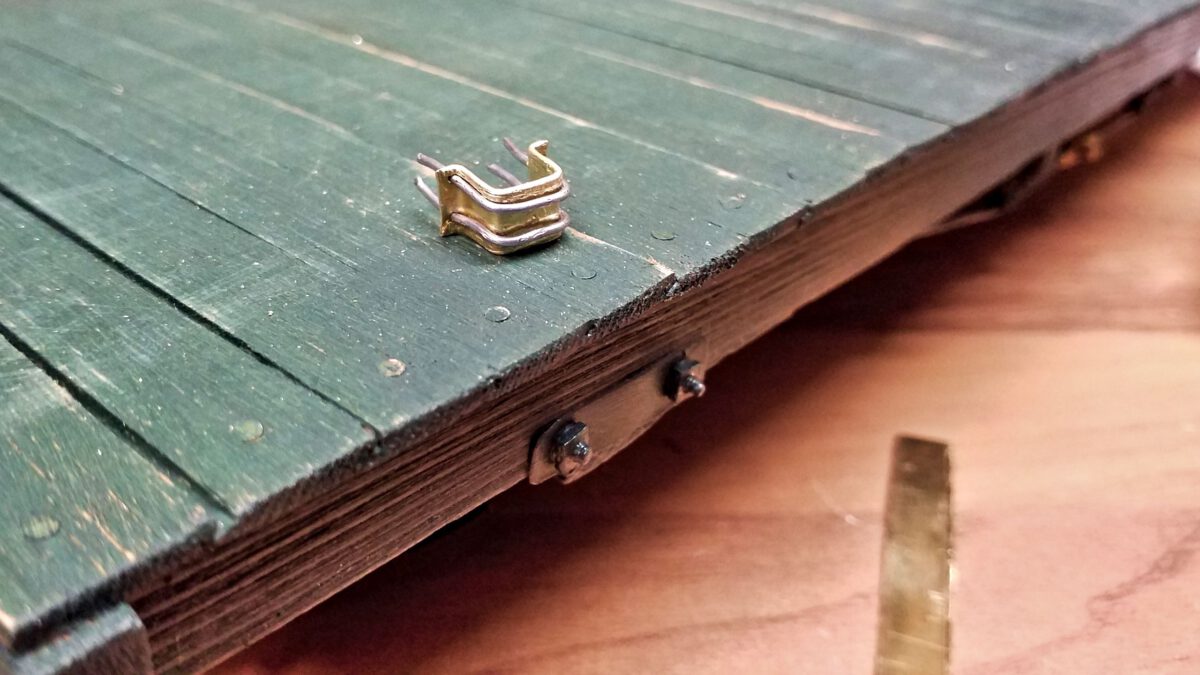
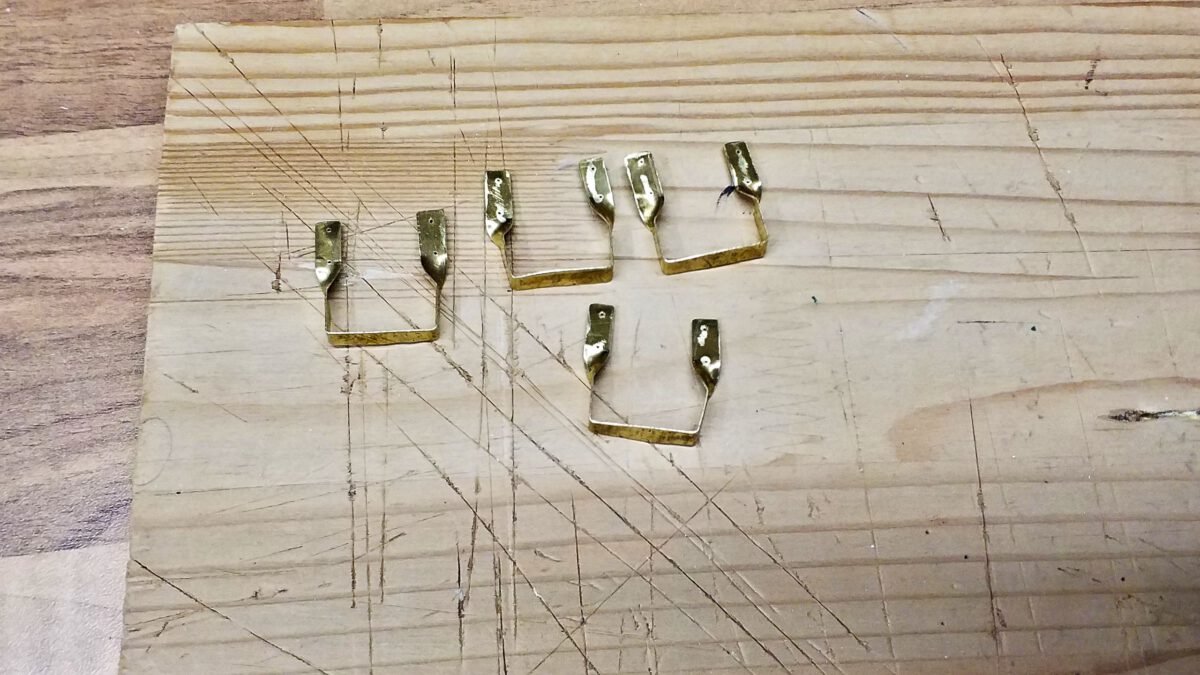
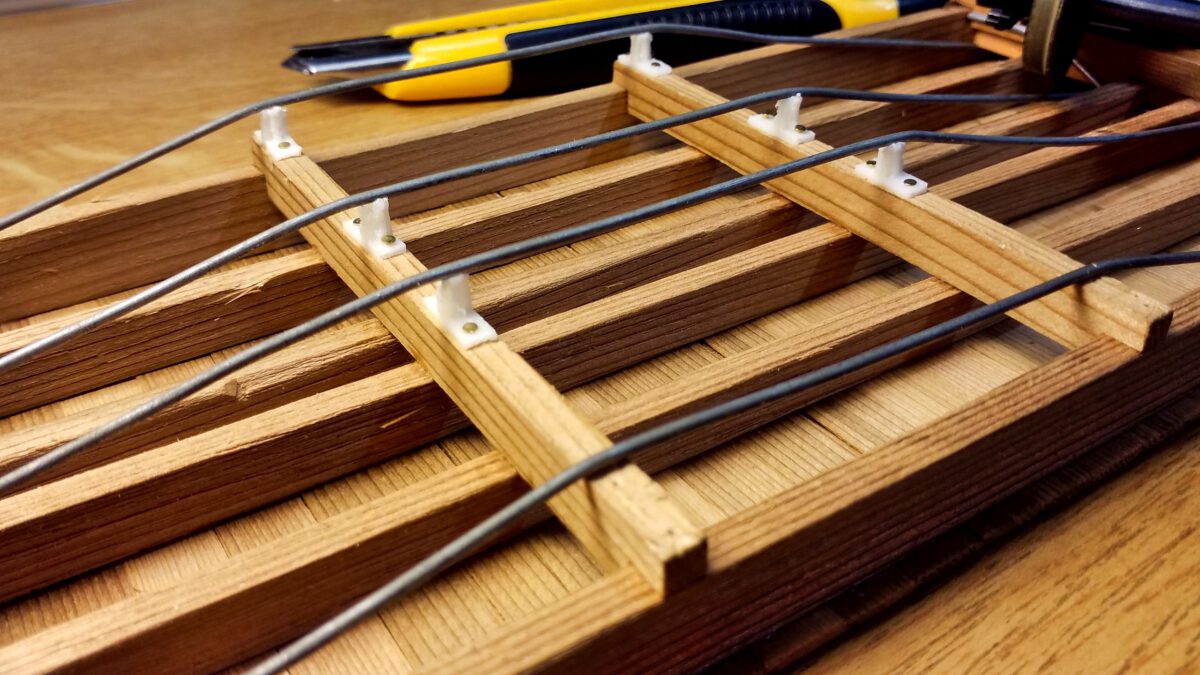
Stake pocket with fastening wires ready for mounting.

By constructing the steps the flatcar has gained some character, but of course this can only be the beginning. The next topic is to build the stake pockets. I’ve already constructed stake pockets for my porter’s tender and gained some valueable experience. I’ll profit from it while moving on.

Flatcar Prototype: Steps

The steps are ready for painting.

After the flatcar has got its turnbuckles, the next step will be… well, steps so the Lead Road Railways’ conductors don’t have to do so many pullups any more.

I’ve already built steps for my porter’s tender, so these are charted territories for a change. In fact I took the tender’s steps’ measurements and copied them as a small batch.

And since I didn’t show much about how I made those steps, this time I’d like to give a detailed report.

Flatcar Prototype: Turnbuckles

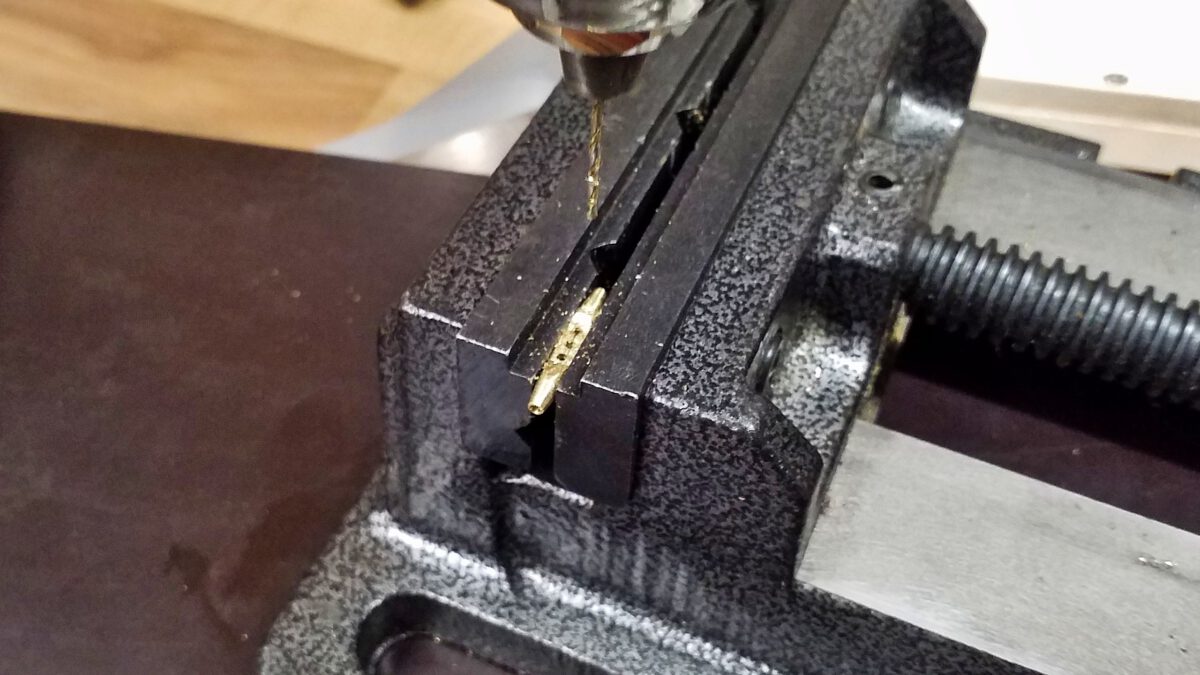
The flanks are predrilled in the centre.

By mounting the queenposts the waggon’s substructre is now ready for the turnbuckles. The prototype is used to adjust the trusses’ tension in order to avoid the waggon’s floor to sag. I decided to go for a scratch-build again, since the cast pieces are currently very hard to come by and on top of that they would have been the weakest link in my current construction. However, as a matter of fact it’s very time-consuming to build them manually.

No.1 Porter: Snow Plough

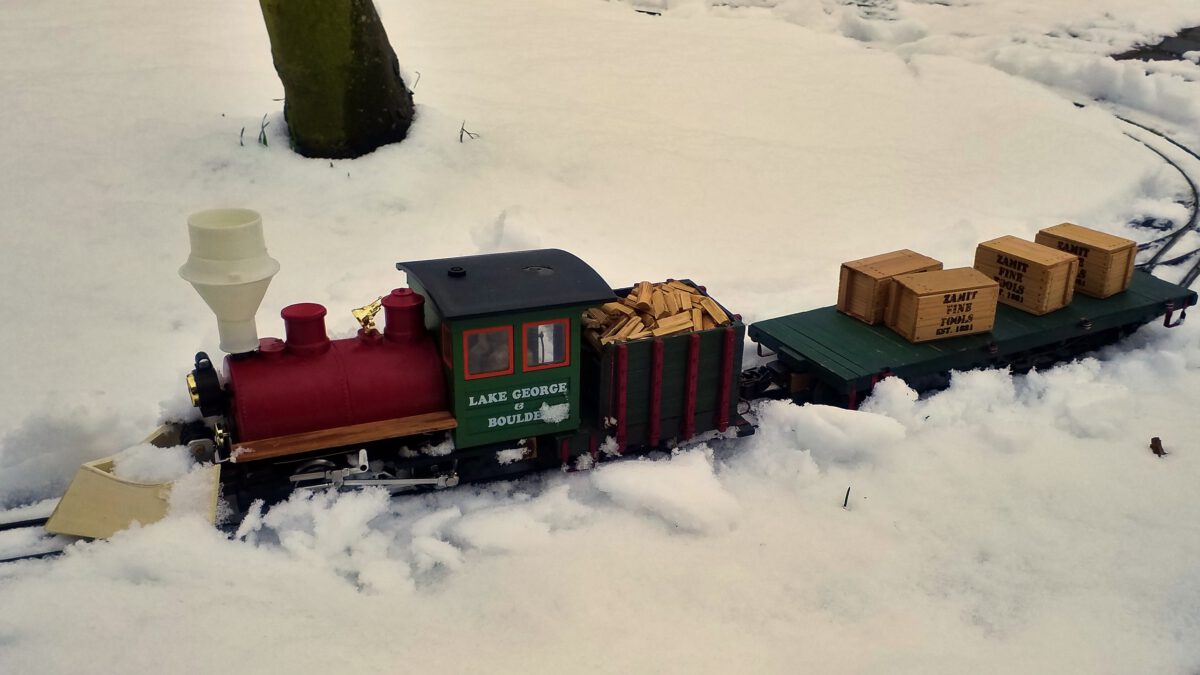
Underway on the cleared track with the flatcar.

Last week, after many years we finally had snowfall. I couldn’t miss out on that one, so out came the rolling stock and off we go!

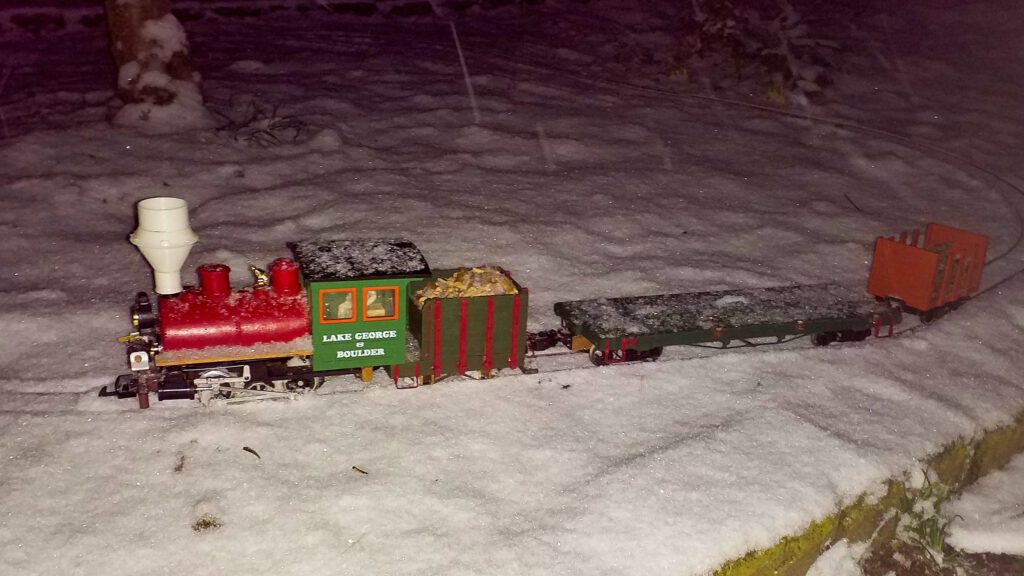
Januar 17th, 2021: Operations in the snow, for the first time since the 1990s.

The joy got somewhat marred, though, since the falling snow caused all the wheels to build up ice and caused many derailments. However, the snow remained and when the snowfall finally stopped at 11 o’clock the next morning, the whole layout was covered in a white blanket. I just couldn’t miss out on that opportunity! So, off to the workshop.

Below, I’d like to show how one can improvise a working snow plough in less than one hour.

Flatcars Prototype: Detailing the Underside

The queenposts withstand the forces.

After busying myself for a while with the bogies and couplers, it’s time to start detailing the flatcar. Though they are not that striking at first glance, the details will significantly add up to the overall picture. And since they are the most visible parts, I’m starting with the trusses or more specifically the queenposts.