
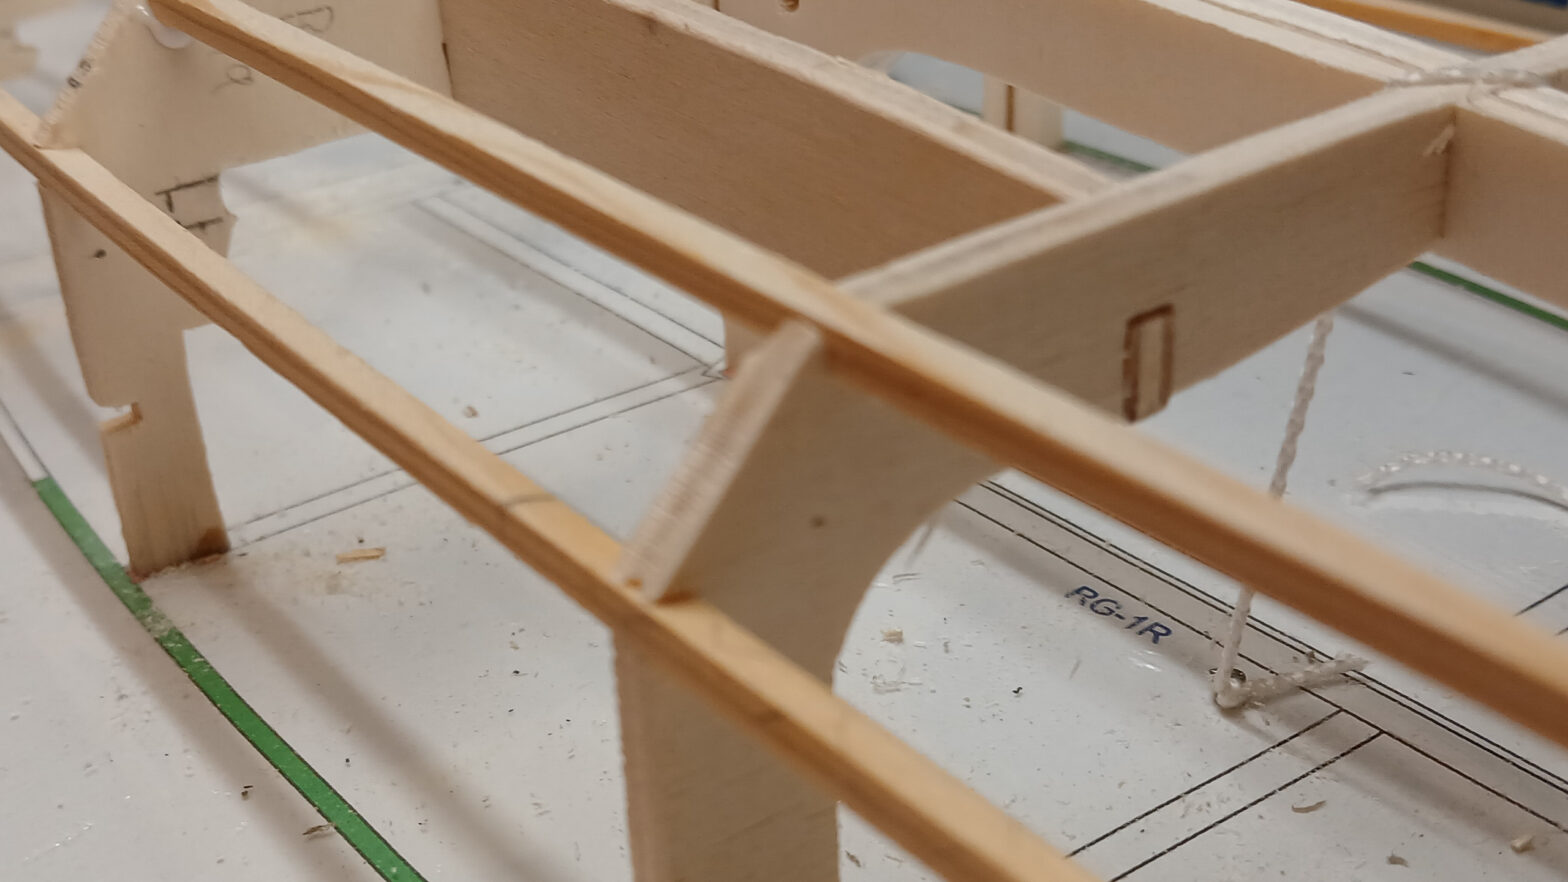
With the start of the right fuselage half, I can now begin installing the stringers. In this, the build reports for the left fuselage half are proving to be a great help; it’s simply been such a long time since I worked on that side. Thanks to the images and accompanying text, however, I’ve been able to steer clear of a few potential pitfalls, allowing this phase of the build to progress very quickly.
For each strap, the process begins by test-fitting a strip into the recesses. It quickly becomes apparent where these are not wide or deep enough, and a small, flat file can easily rectify the issue.
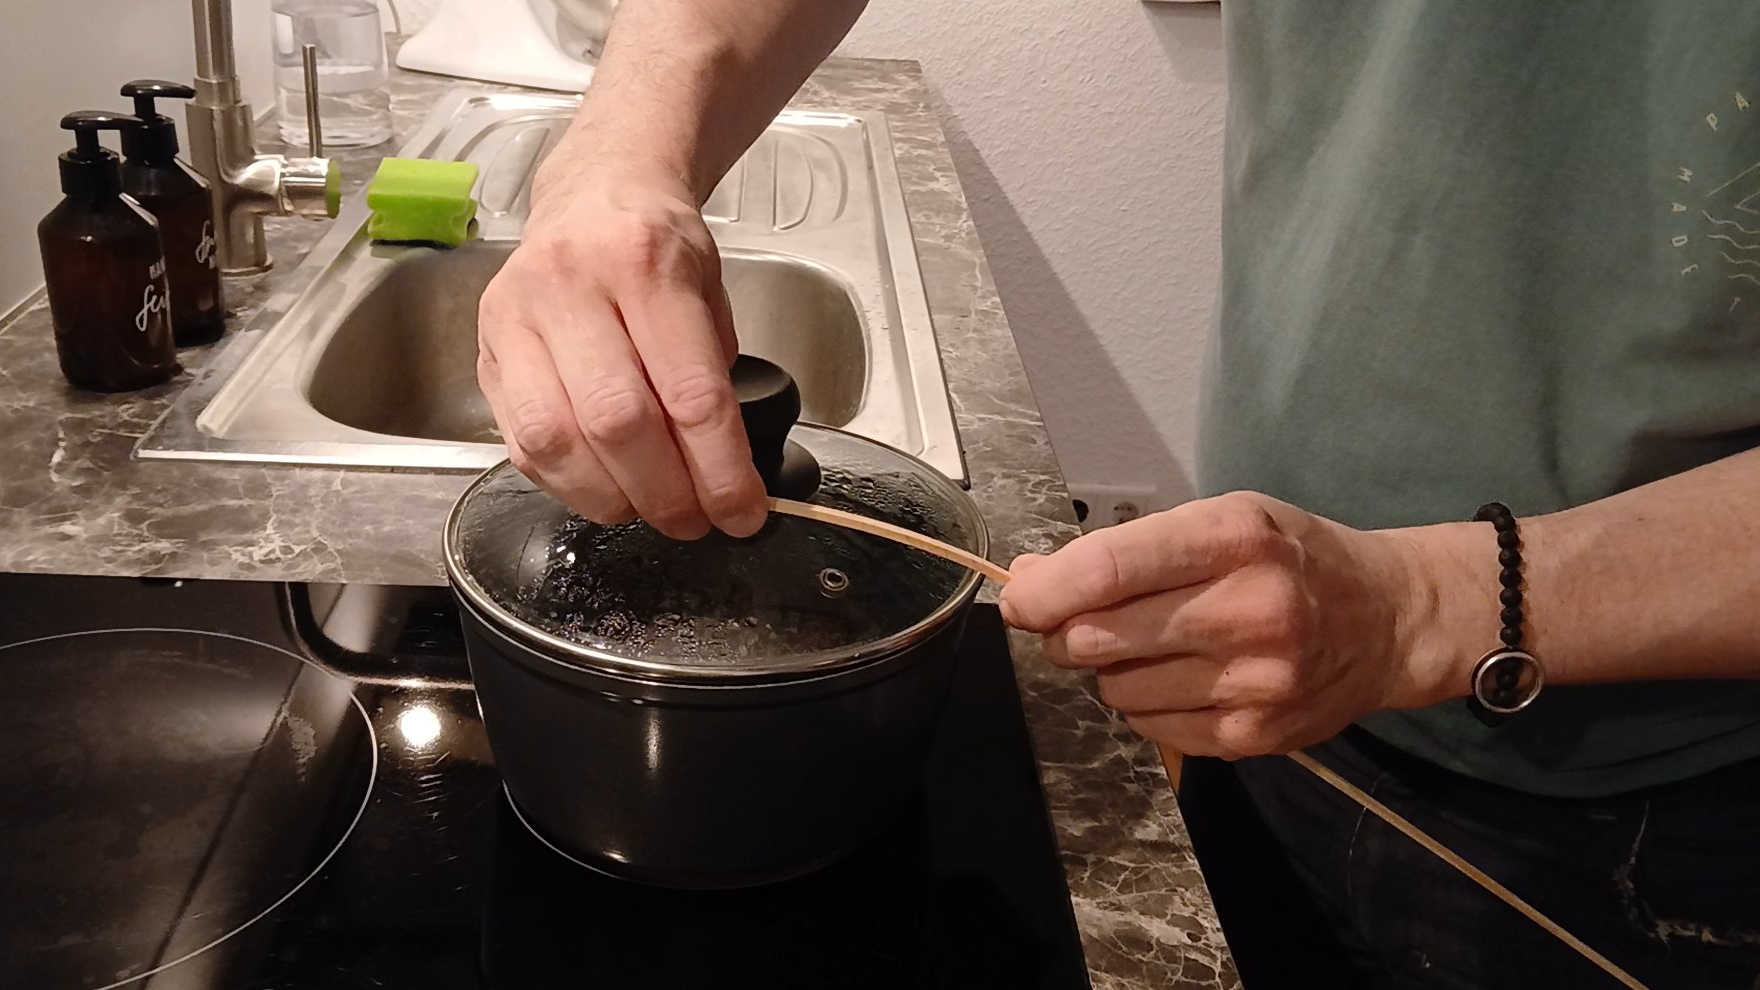
Especially in the cockpit area, relatively tight radii are required. While it would be possible to install an untreated slat by using force and securing it firmly in place, doing so would subject the frames to significant stress and, in a worst-case scenario, could even deform the fuselage. For this reason, the slats are pre-bent using steam. To do this, I mark the outer surfaces of the slats with a pencil at the areas where they need to be bent, and bring a small amount of water to a boil. By holding the wood over the steam vent in the lid, one can achieve the desired results quickly and with great precision.
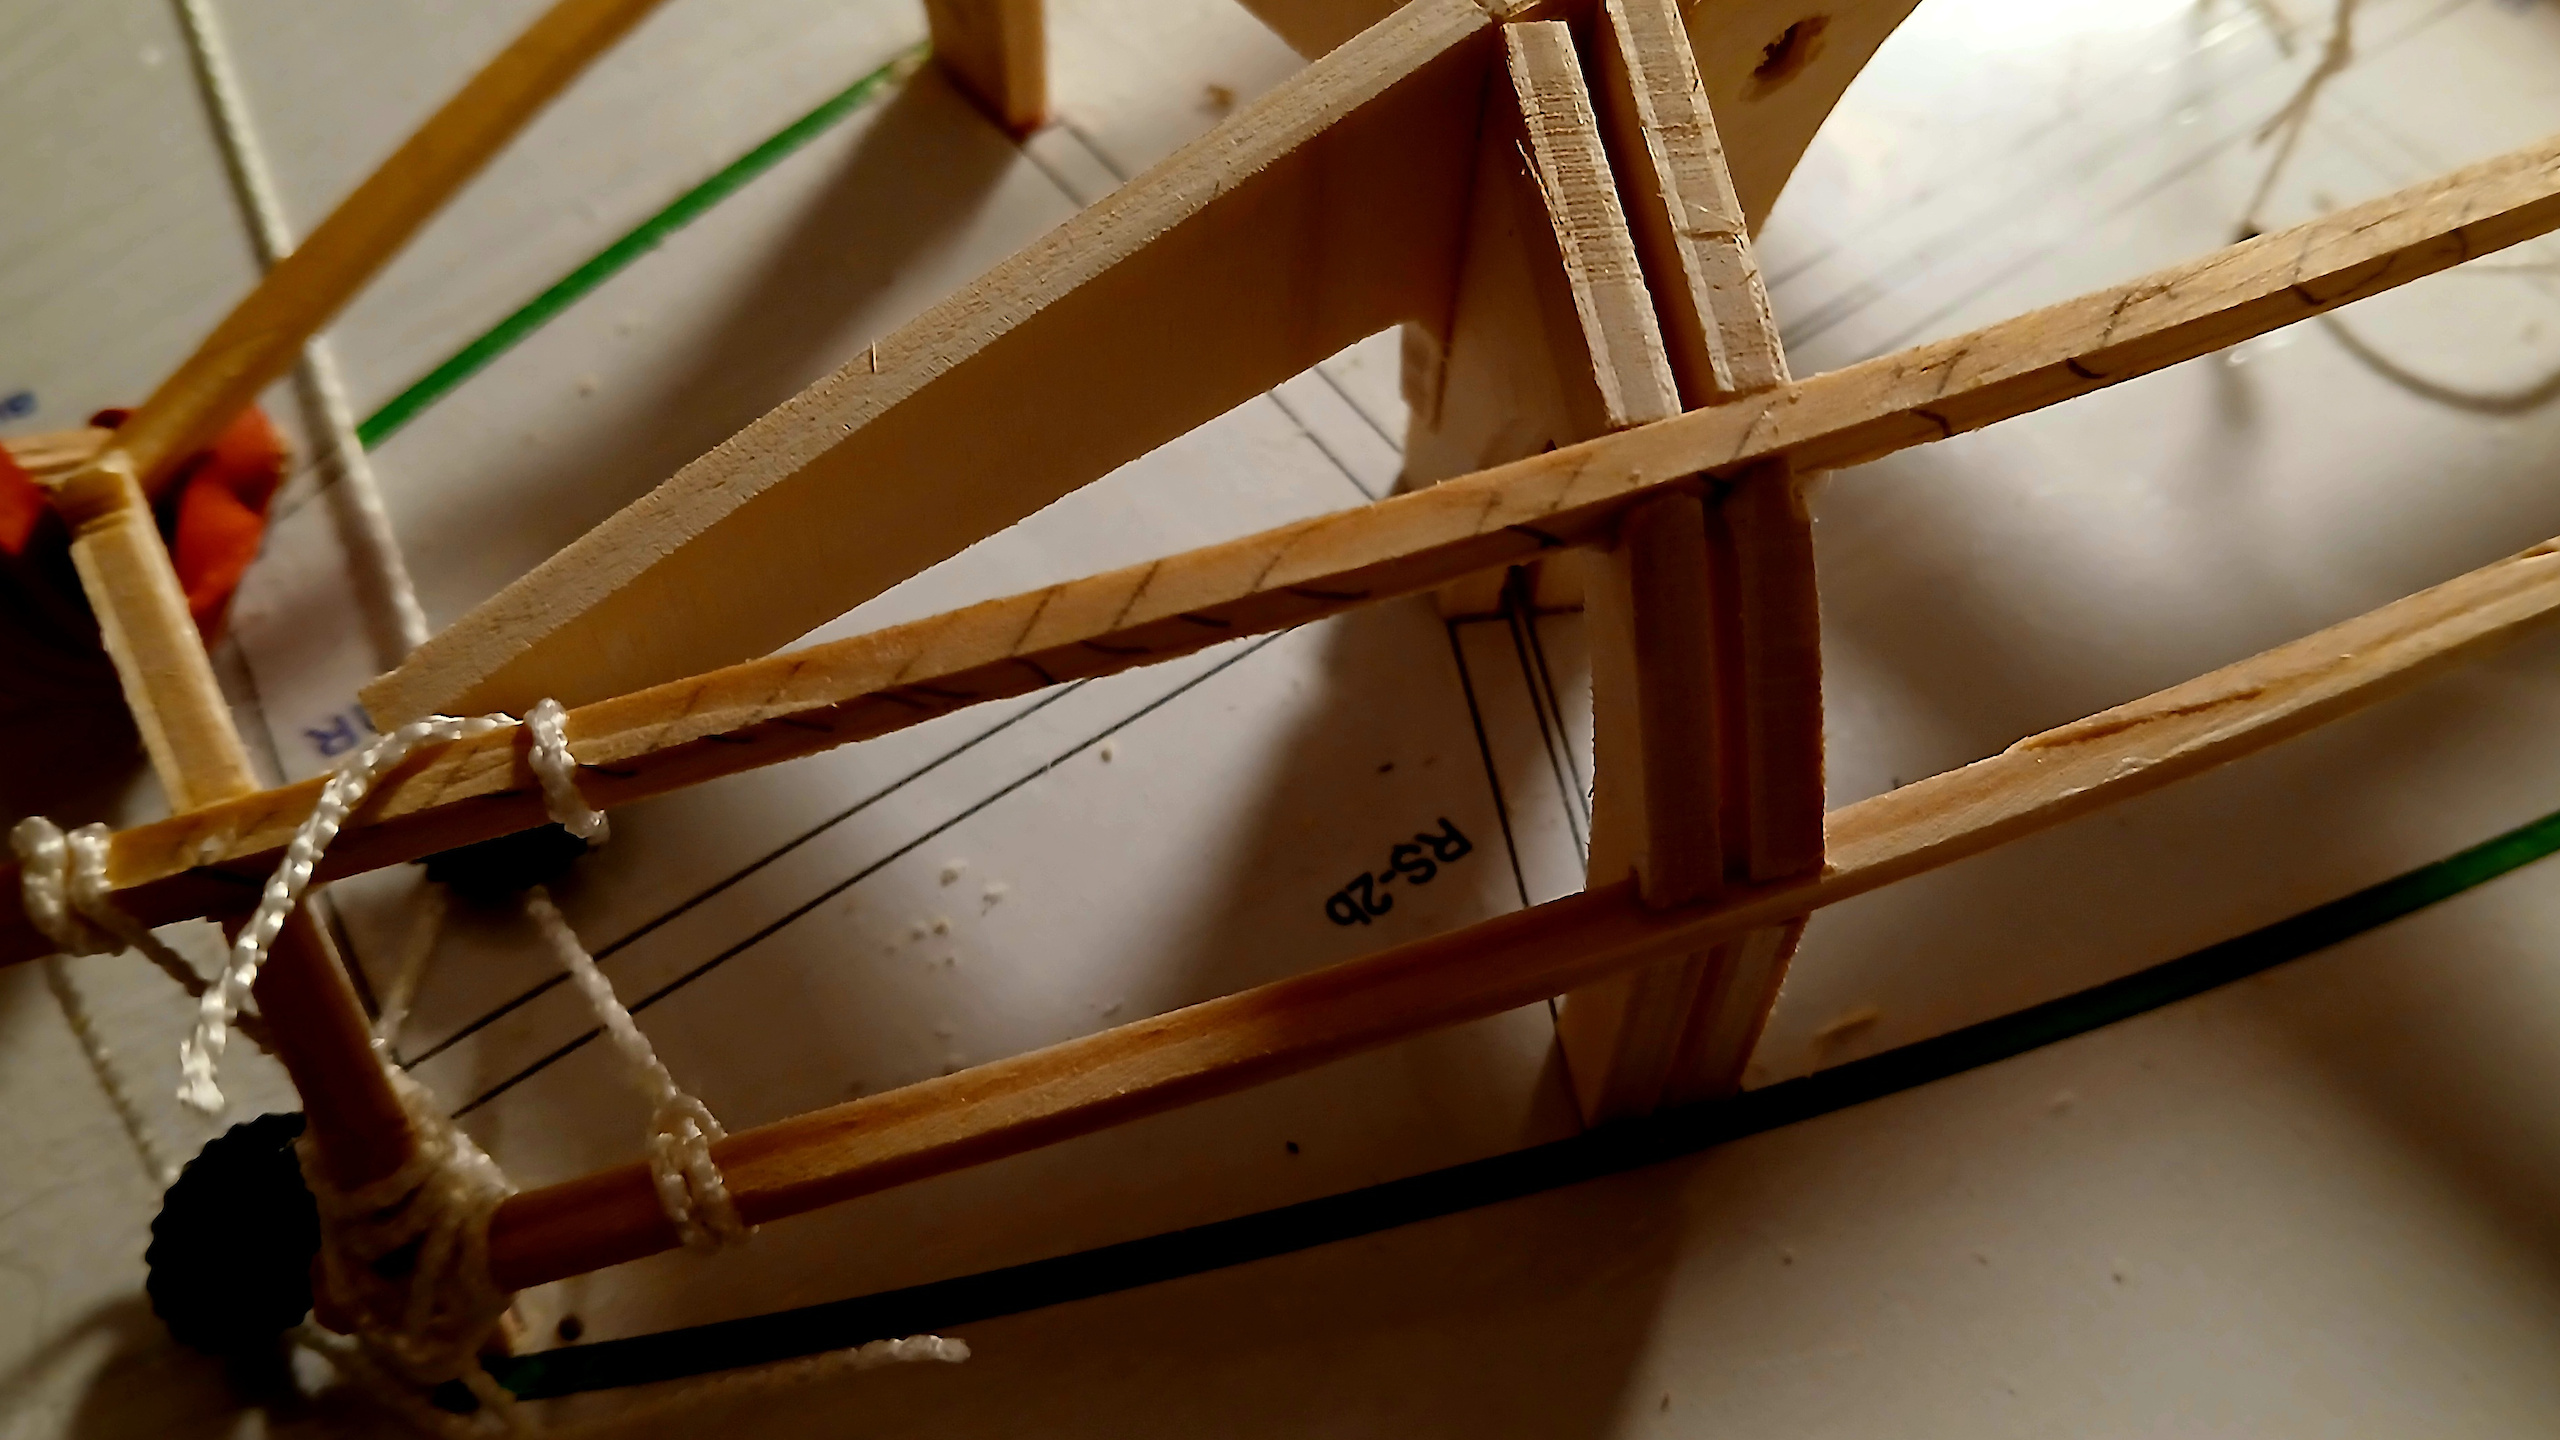
Here you can see a newly attached slat, marked with pencil lines. Although the frames adhere well to the plastic film, the film itself is not glued to the construction plan; therefore, I have to secure the fuselage in a few places using thread and thumbtacks to prevent it from becoming distorted.
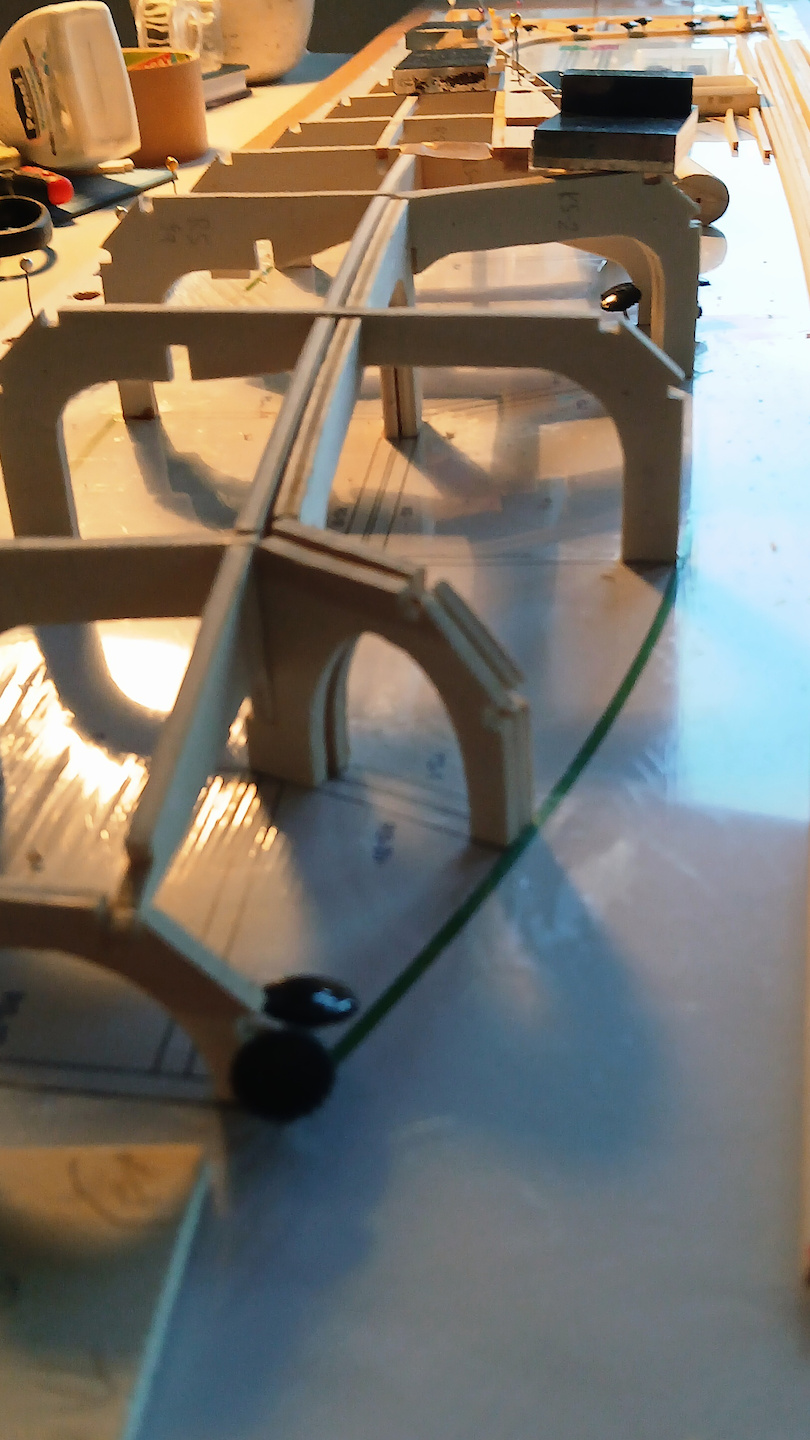
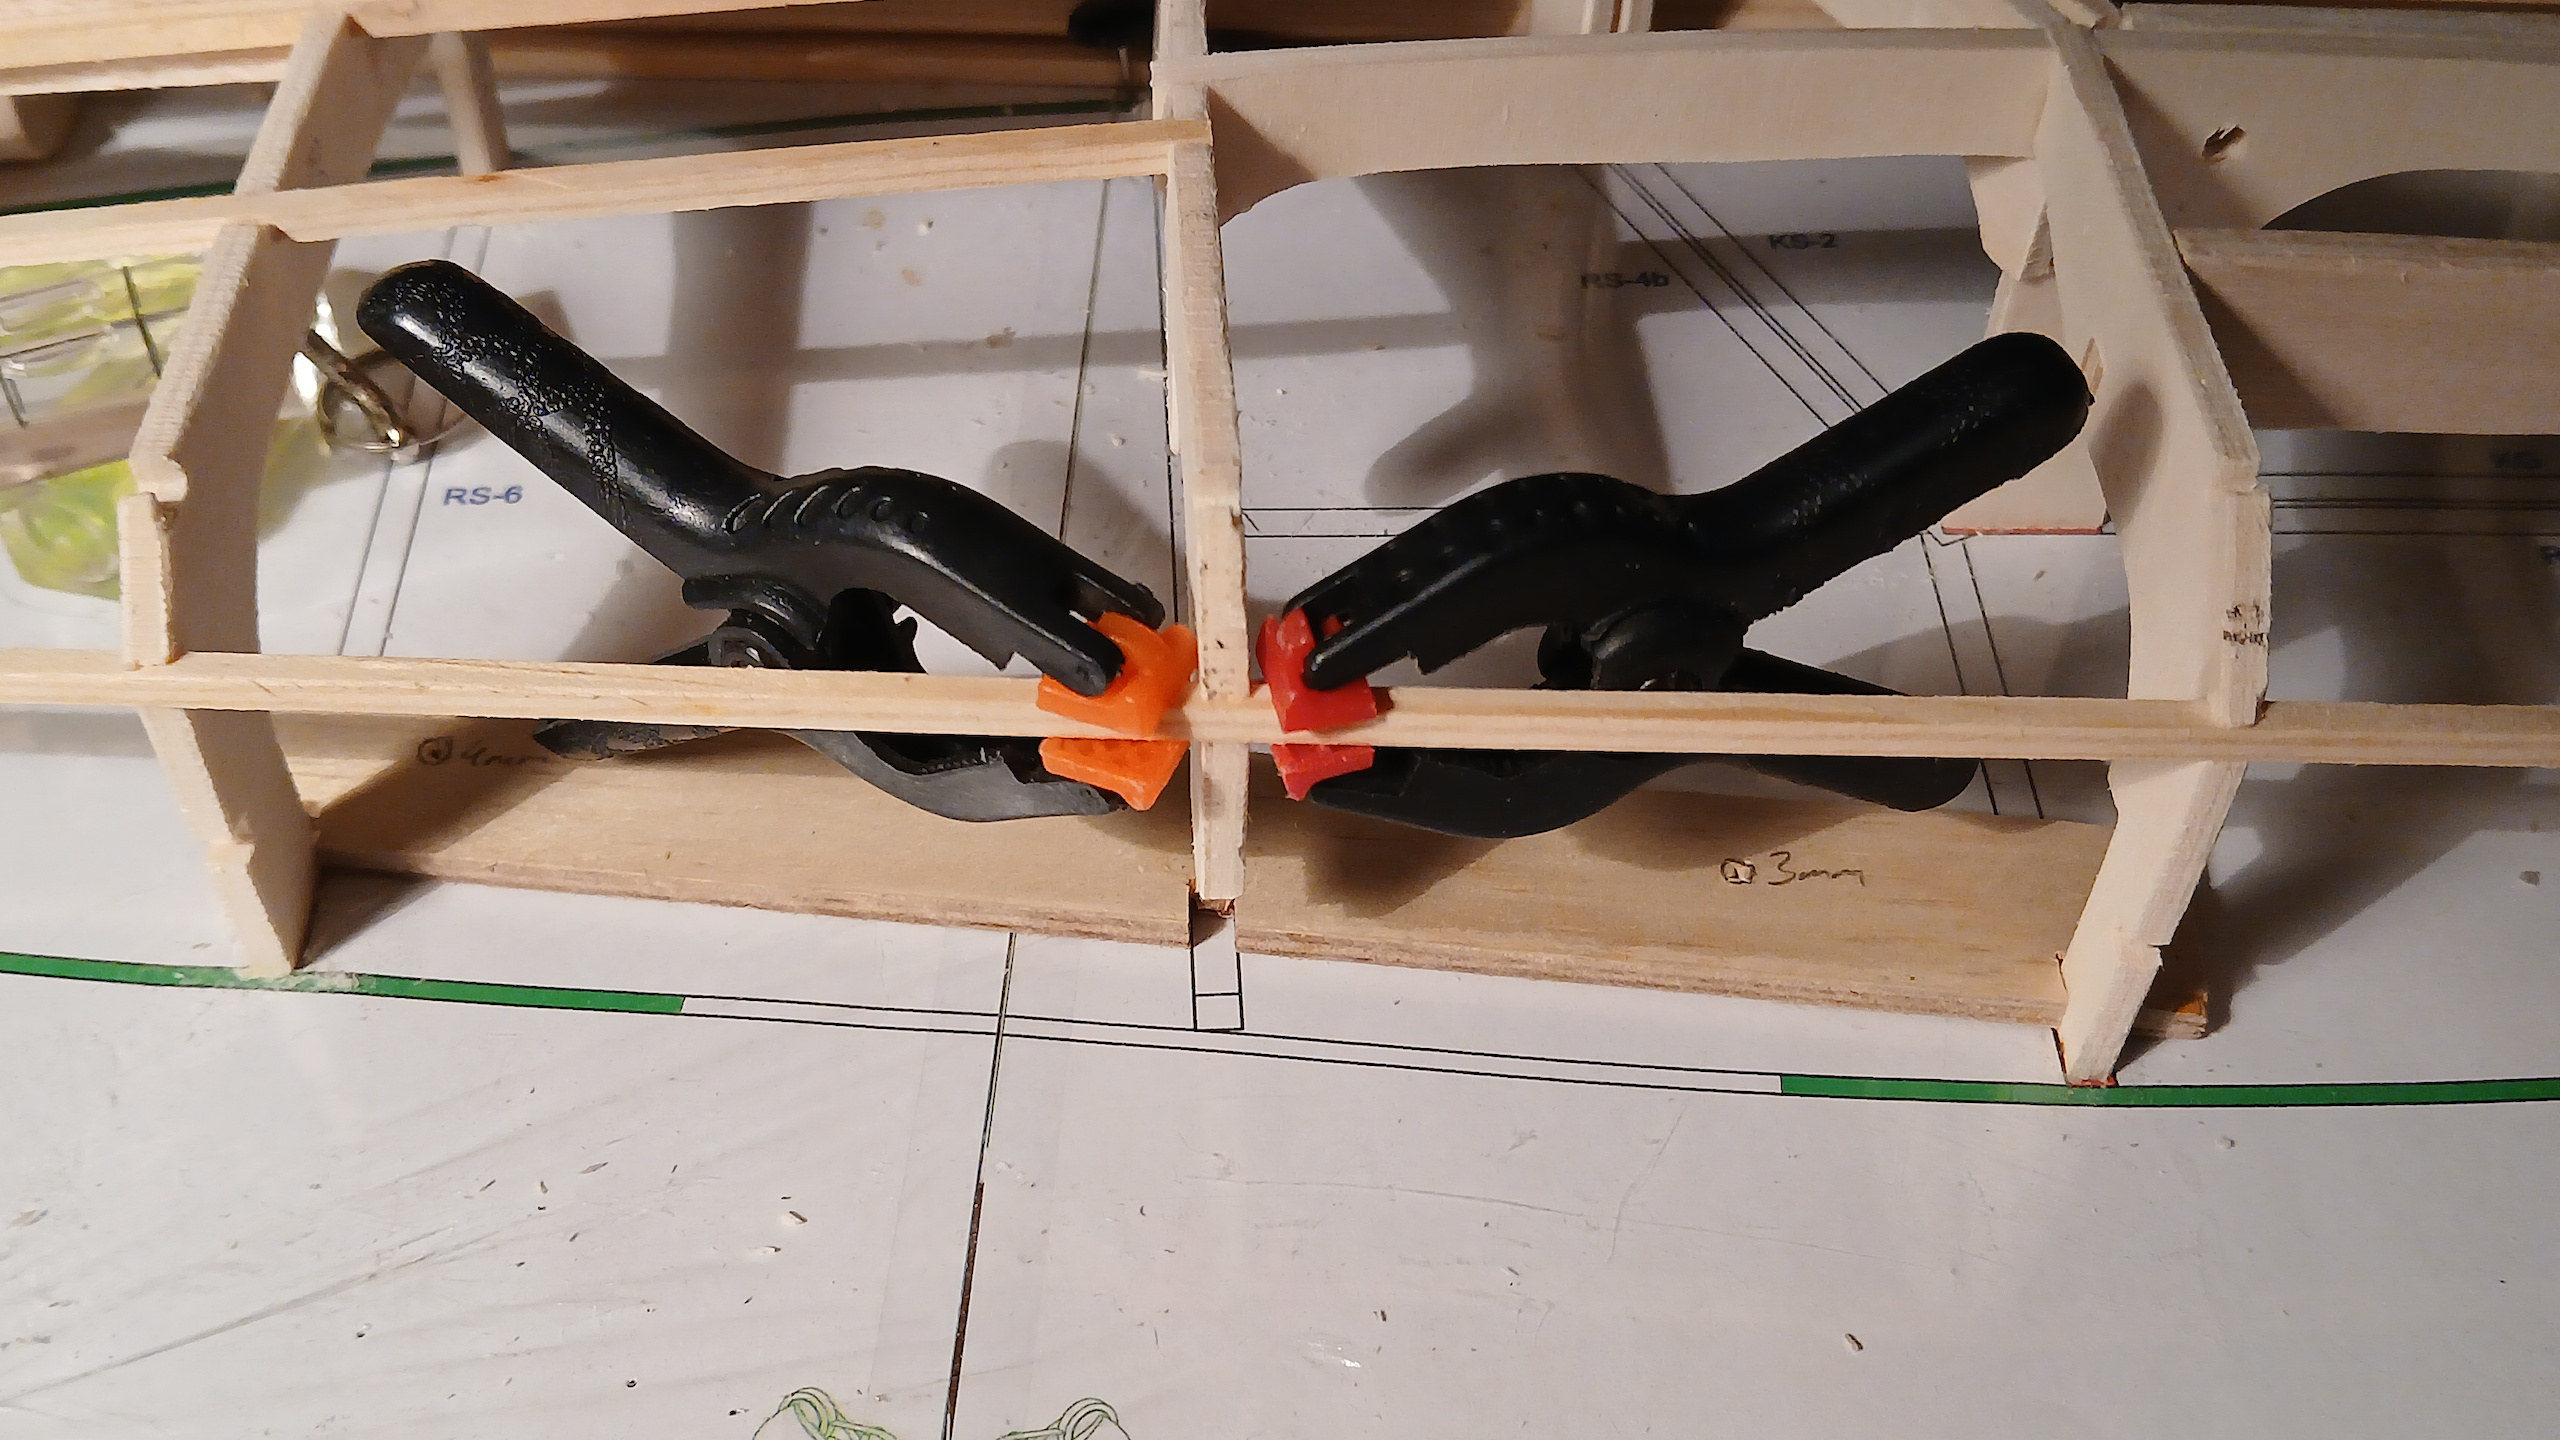
I’ve got no clue how it happened, but frame no. 5 has managed to warp slightly and is no longer in the correct position. Fortunately, this can be fixed using two clamps while the glue cures.
A note on glue: Even though it may be barely visible afterward, I try to avoid unnecessary weight and unsightly beads of excess glue. For this reason, fifteen minutes after attaching each stringer, I check its entire length for any glue that has squeezed out. By this point, the white glue has cured partially and can be easily removed using a scalpel.
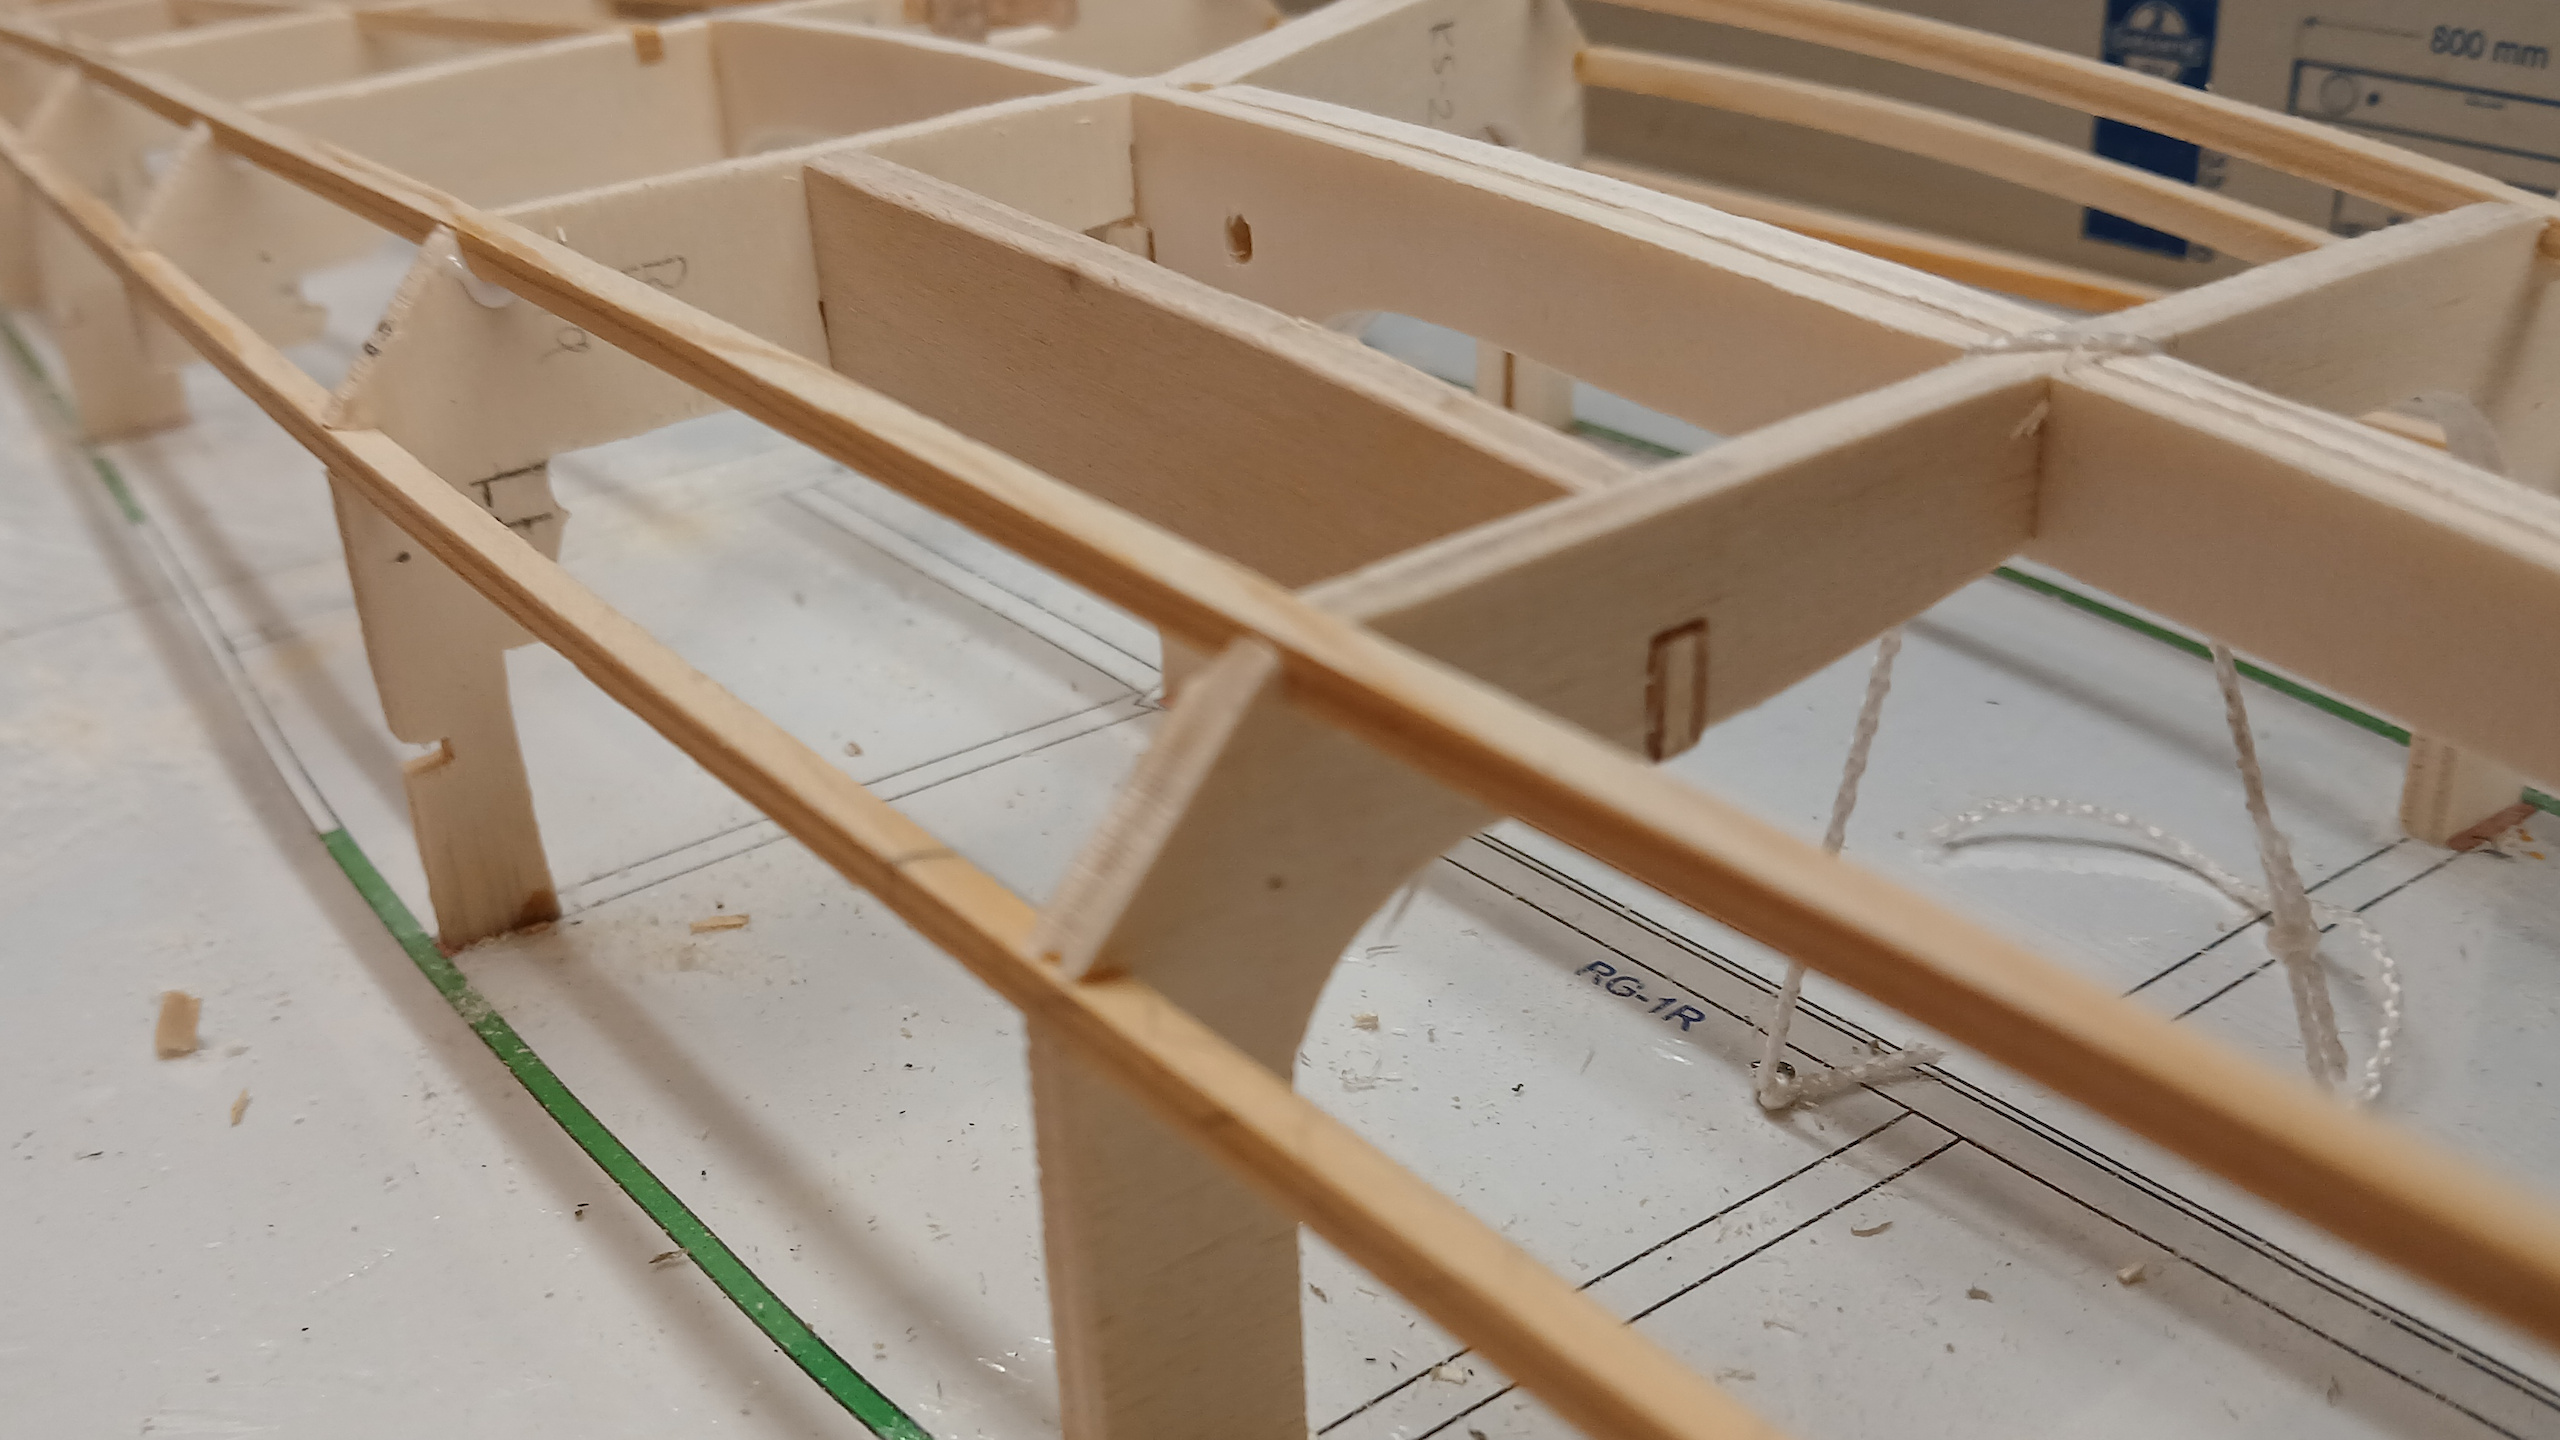
Next up is the installation of the landing gear mount. I want to have this finished before the planking process, as I found it quite challenging (and rather stressful) to install the landing gear mount on the left fuselage half without damaging the balsa wooden planking.