Spin: Covering and R/C Fitting

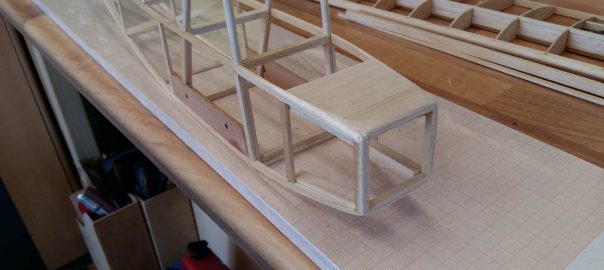
With the finished priming the covering can commence. I like to use Oracover because it’s really easy to work with and yields very good results. I always start with the easiest parts in order to get re-used to the task. So first up is the rudder.

The rudder is covered.

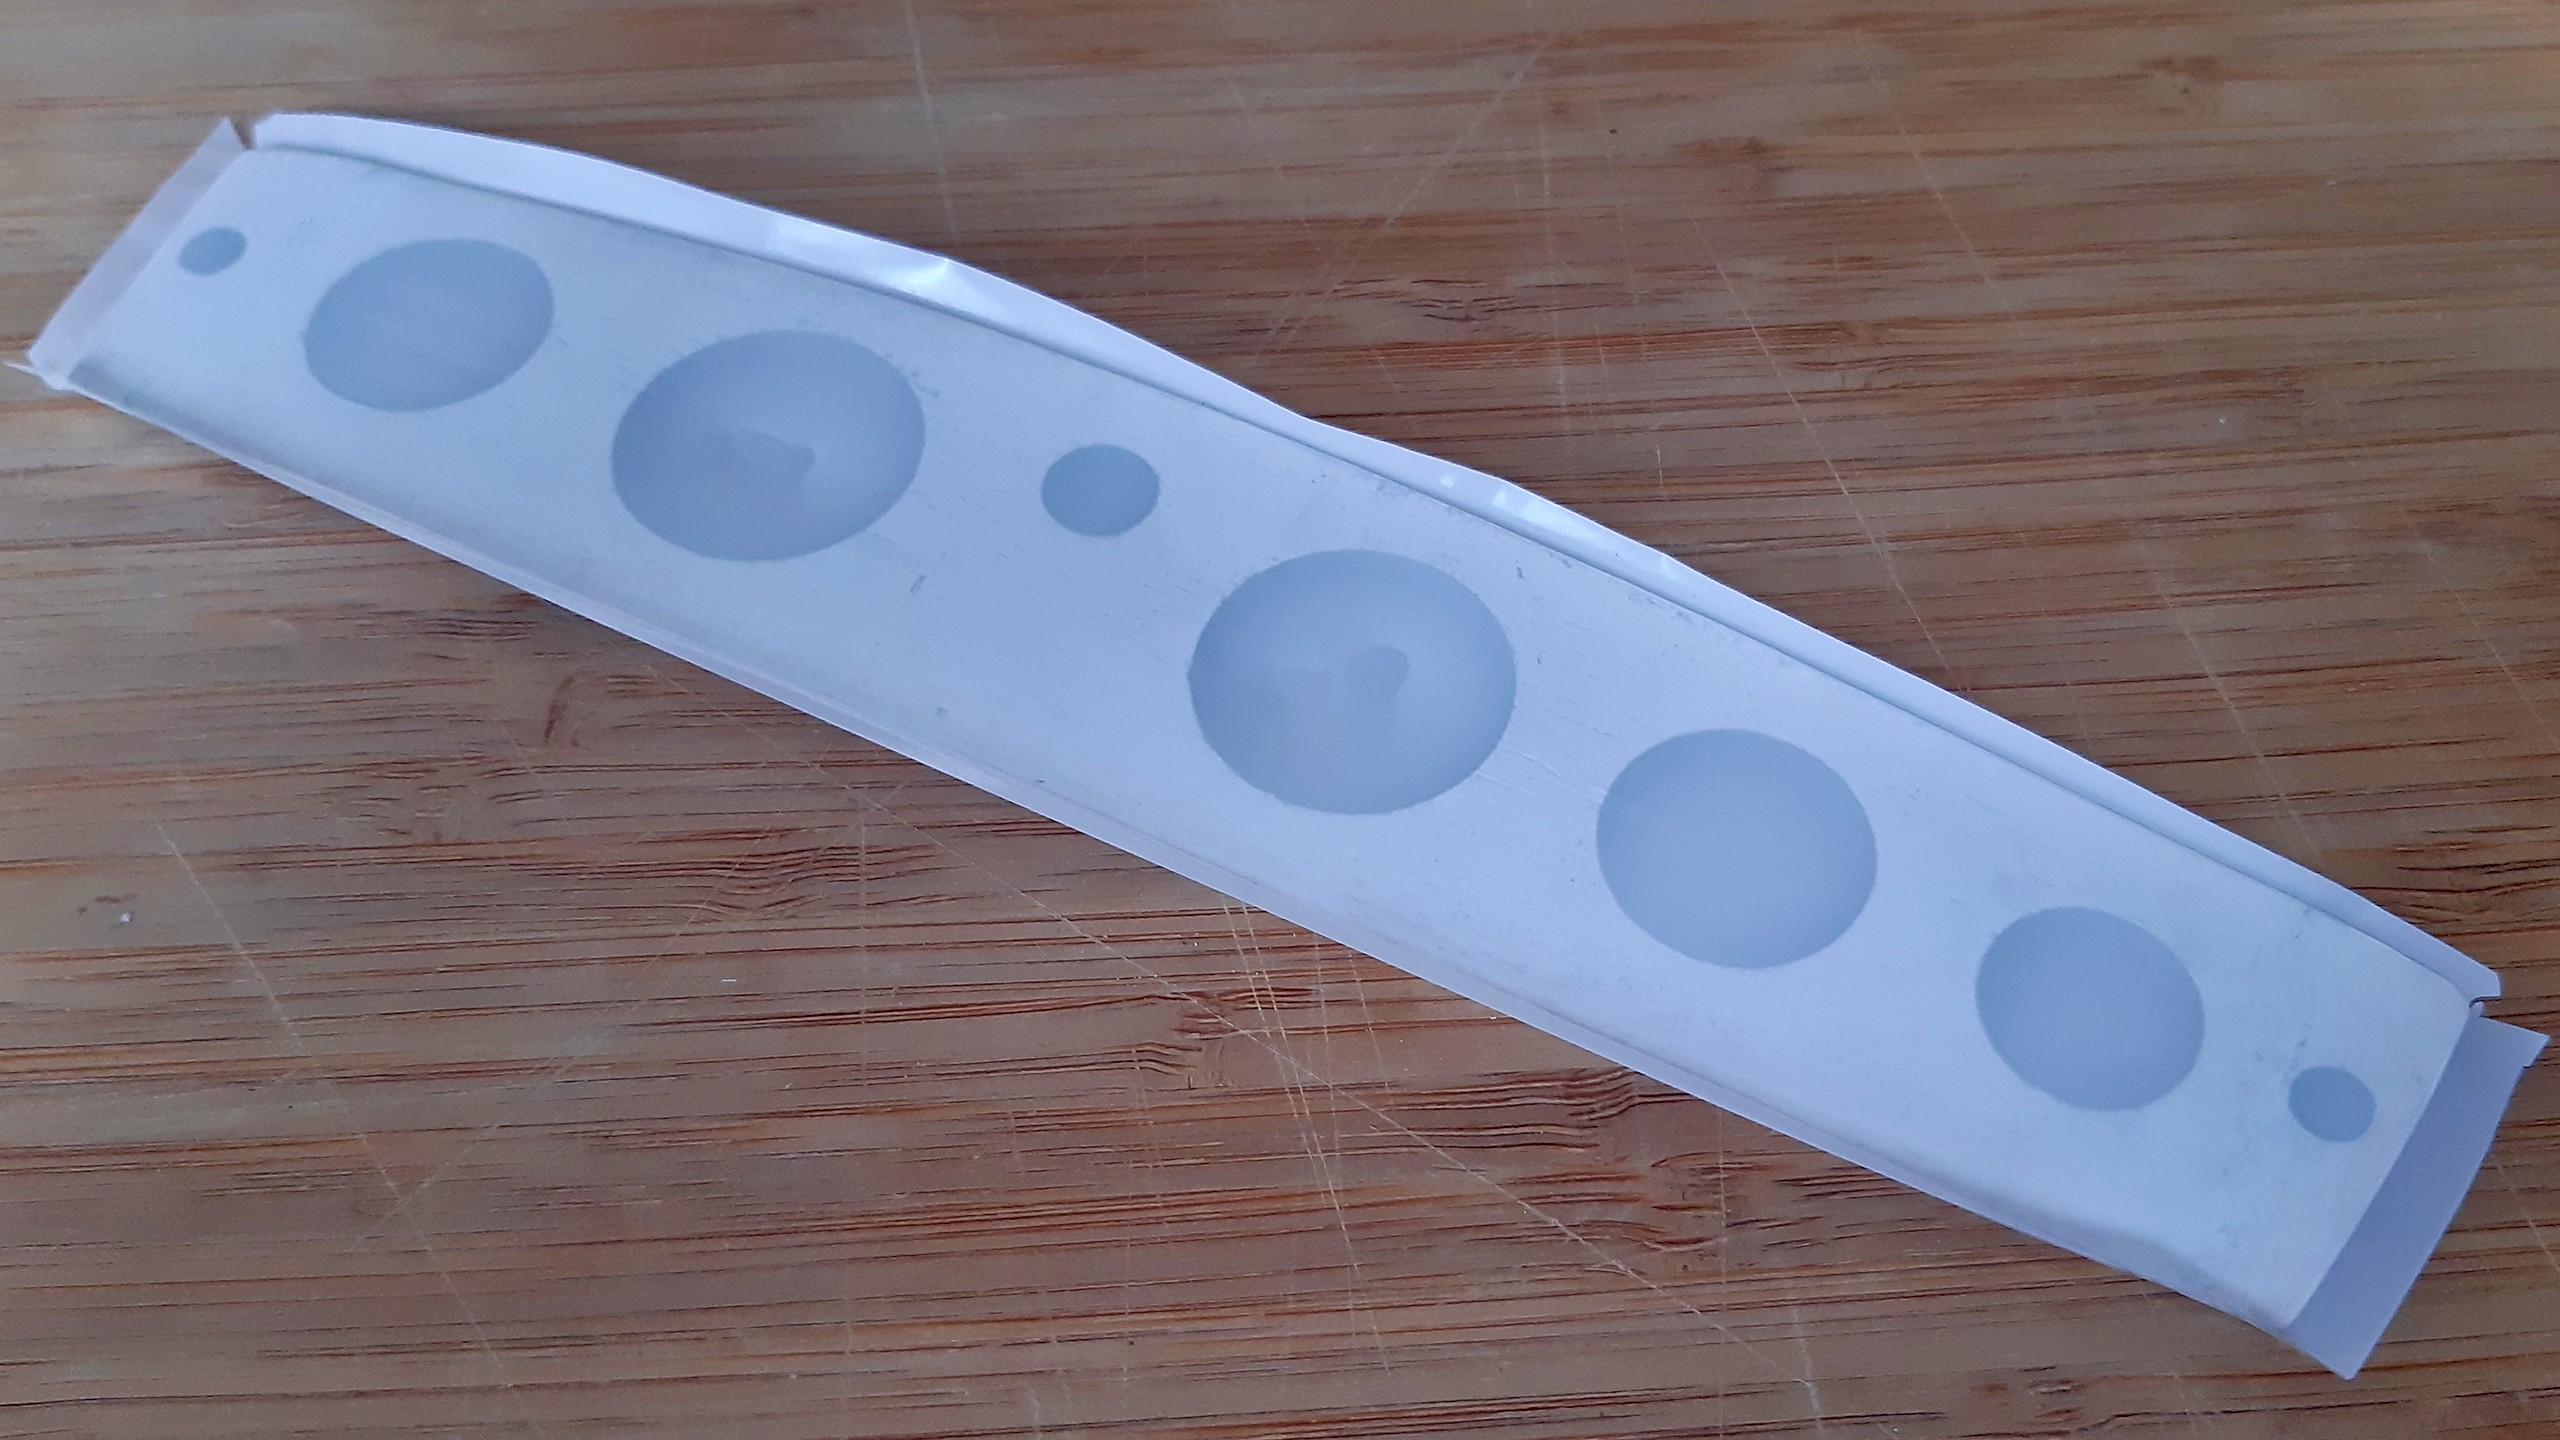
…and one can easily spot that I managed to fuse the foil in the recesses. In this case I was lucky and could get them apart with some additional heat, but often enough one has to start over. With due warning received, the ailerons come up next. On the left side of the pictures some creases are still visible, which will disappear in the last step which is heating up the whole area.

Joyrider: Covering

The upper wing's mounting, the undercarriage's mounting and the seatback are finished.

After the details are finished I can finally focus on the covering. Some model builders seem to regard covering as an irksome work and necesarry evil, but I actually enjoy it. To me it’s like a metamorphosis: the bare framing of the aicraft, as pretty as it is, equals a caterpillar, which is yet to become a butterfly.

Nonetheless it’s a lot of work all the more if one wants to get a creases-free result. In the process, I didn’t manage to take a lot of pictures, but I’d like to give an example and point out some crucial points.

Joyrider: Last Details

Upper and lower wing are now linked with each other.

By finishing the linkage the out-fitting has come to and end an I can take care of the last details. Those cover two areas: the fuselage and the wings.

The fuselage needs a couple of maintenance hatches in order to easily gain access to the drive unit, and the tailplane’s servos and fixture. The fuselages’ belly needs to get reinforced, too. And last but not least I’d like to add some details to the nose.

The wings need an additional strutting in order to stabilize the lower wings. And it will surely add to the good looks.

Joyrider: Nose

After framing the fuselage, the nose had to be tackled. This was the first time my skills got stretched to their limits and I had to rebuild repeatedly.

The main challenge was the quite accentuated curve that I expected the stringers to follow. I did manage to bend them accordingly on the fuselage’s halves while they were fixed to the construction board and the fixtures seemed to be stable. However, while trying to join the two halves I overtaxed the wood glue.