
As I mentioned in the construction report, I made a mistake while building the vertical stabilizer for my biplane, namely not chafing the trailing edge. Attempting to correct this using the transverse stop thoroughly failed. In order not to have to repeat this experience, I’m building a cross cut sled for the circular table saw.
However, a cross cut sled is capable of many more things. For once it facilitates to repeatively cut slats to length, thus one can skimp on a mitre saw. And then one can use it to get small boards back to right angles which were cut crookedly, so they can be rip cut again. So today is about the first part of a mini project which will facilitate my other handicraft.
By the way, it’s possible to build a cross cut sled only with a table saw and a few auxiliary tools. The bottom line is that you only need sanding paper and a few key files. A cordless drill driver is mighty helpful of course and nowadays it’s likely to be found in every workshop. However, other, expensive tools like a hand router are optional.
I’m building my sled following the instructions of Michael Truppe a german DIY Youtube caster. You can check out his webpage heimwerker-helden.de or his Youtube-Channel “Let’s Bastel”.
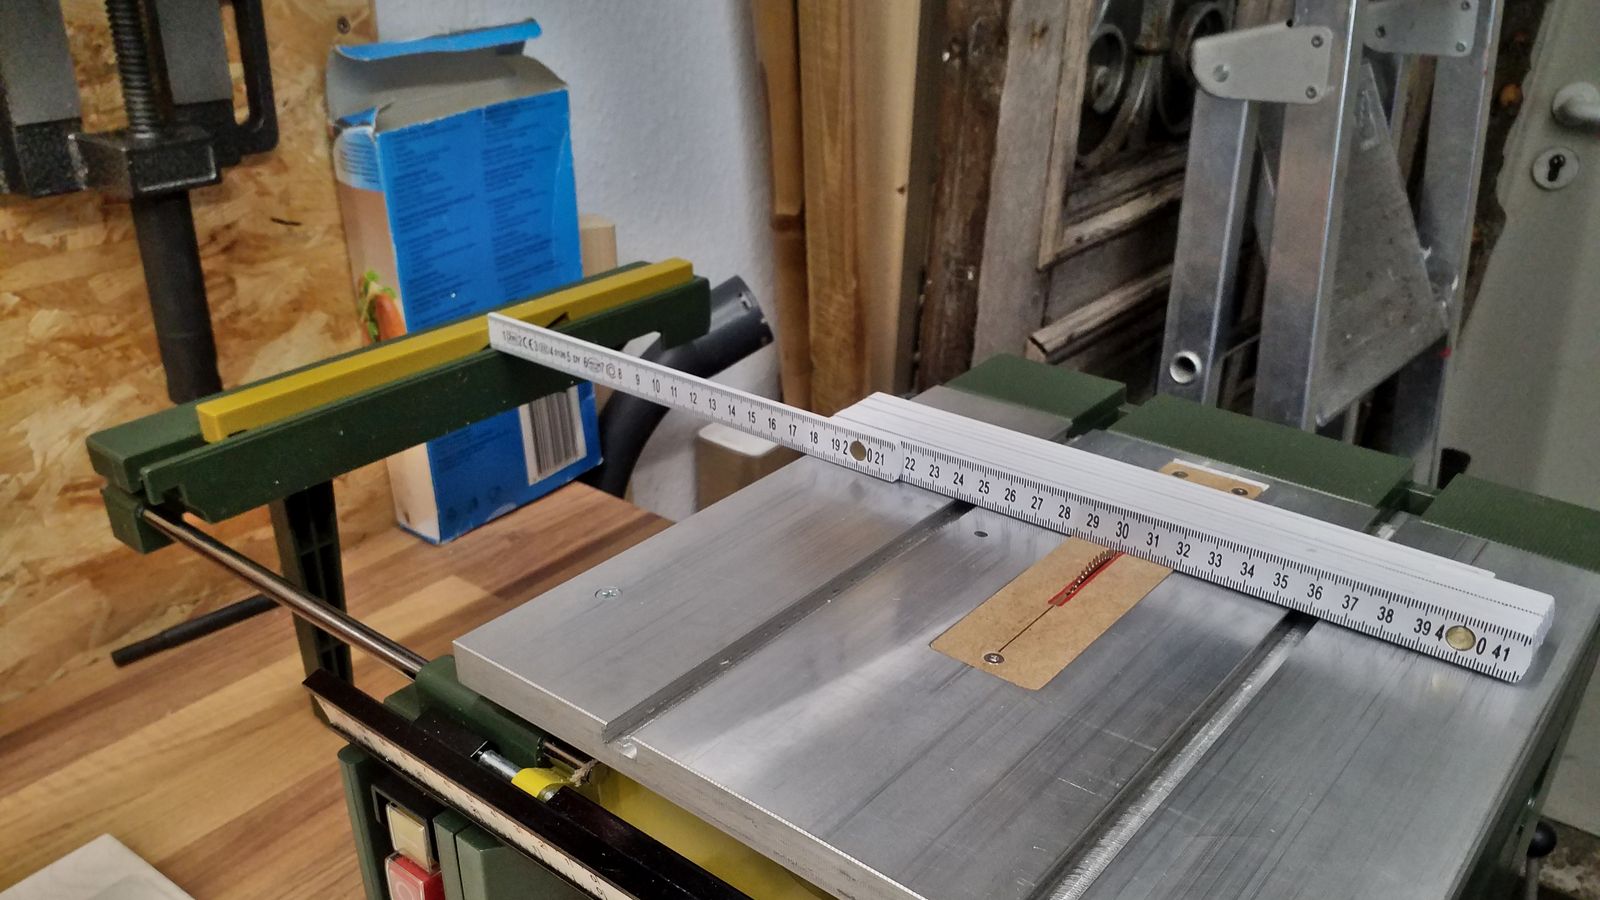
First, you need to know which size the sled is supposed to have. I’ve chosen the extendable fence of my circular table saw as the maximum width of the sled, so it won’t sag and doesn’t become cumbersome to handle. For the Proxxon FET that I afforded myself last year, that’s 30 cm. Considering some room on the other side of the saw blade, the maximum reasonable width adds up to 50 cm. If one let’s the fine folks at your nearrest DIY market cut the needed materials to that width, you’ve already got the most difficult part of the cutting done. Ideally you will purchase a board with 50 cm x 30 cm dimensions because that’s the table saw’s depth. The sled’s bottom should be made from a board as thin as possible, so you don’t lose too much cutting height. I’ve chosen a 4 mm plywood board. It is after all unfeasable to build a sled which is deeper than 30 cm because it will tend to wobble on the saw’s table.

The cross cut sled needs to be guided in parallel to the saw blade. Therefor one takes advantage of the table’s guide slots. So you need runners that will be fastened to the bottom of the sled. Since they will have to withstand some considerable wear, one should choose hard wood, I picked the straightest slat of beech that I could find at the DIY market. The runners need to be almost 9 mm x 7 mm to fit the FET’s slots. “Almost” because they will tend to expand or contract a bit after assembly, so you will have to do some sanding afterwards.
I didn’t get good results cutting the runners with Proxxon’s small supercut saw blade. One is better of using the carbide-tipped saw blade.
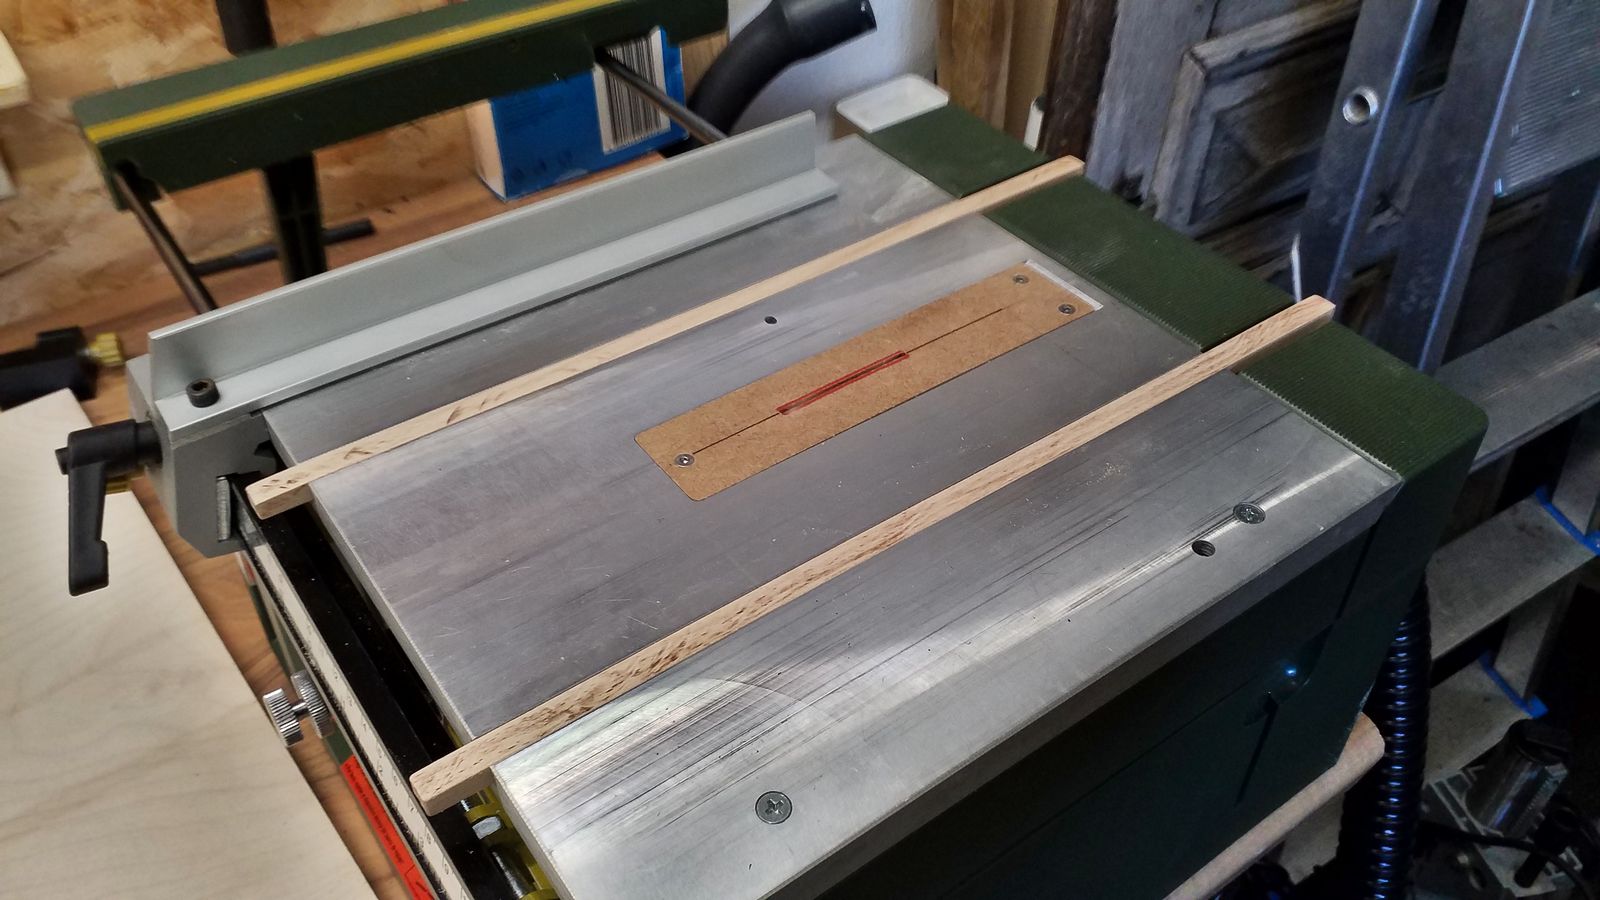
The runners need to snugly fit into the slots without getting stuck. They should also have a little less height than the slots, so chippings or dust lying in the slots can’t become a problem. The runners are deliberately made longer than the table’s depth because then you can place and adjust the sled’s bottom directly on them. Otherwise one would have the laborious task to mark and adjust them afterwards.
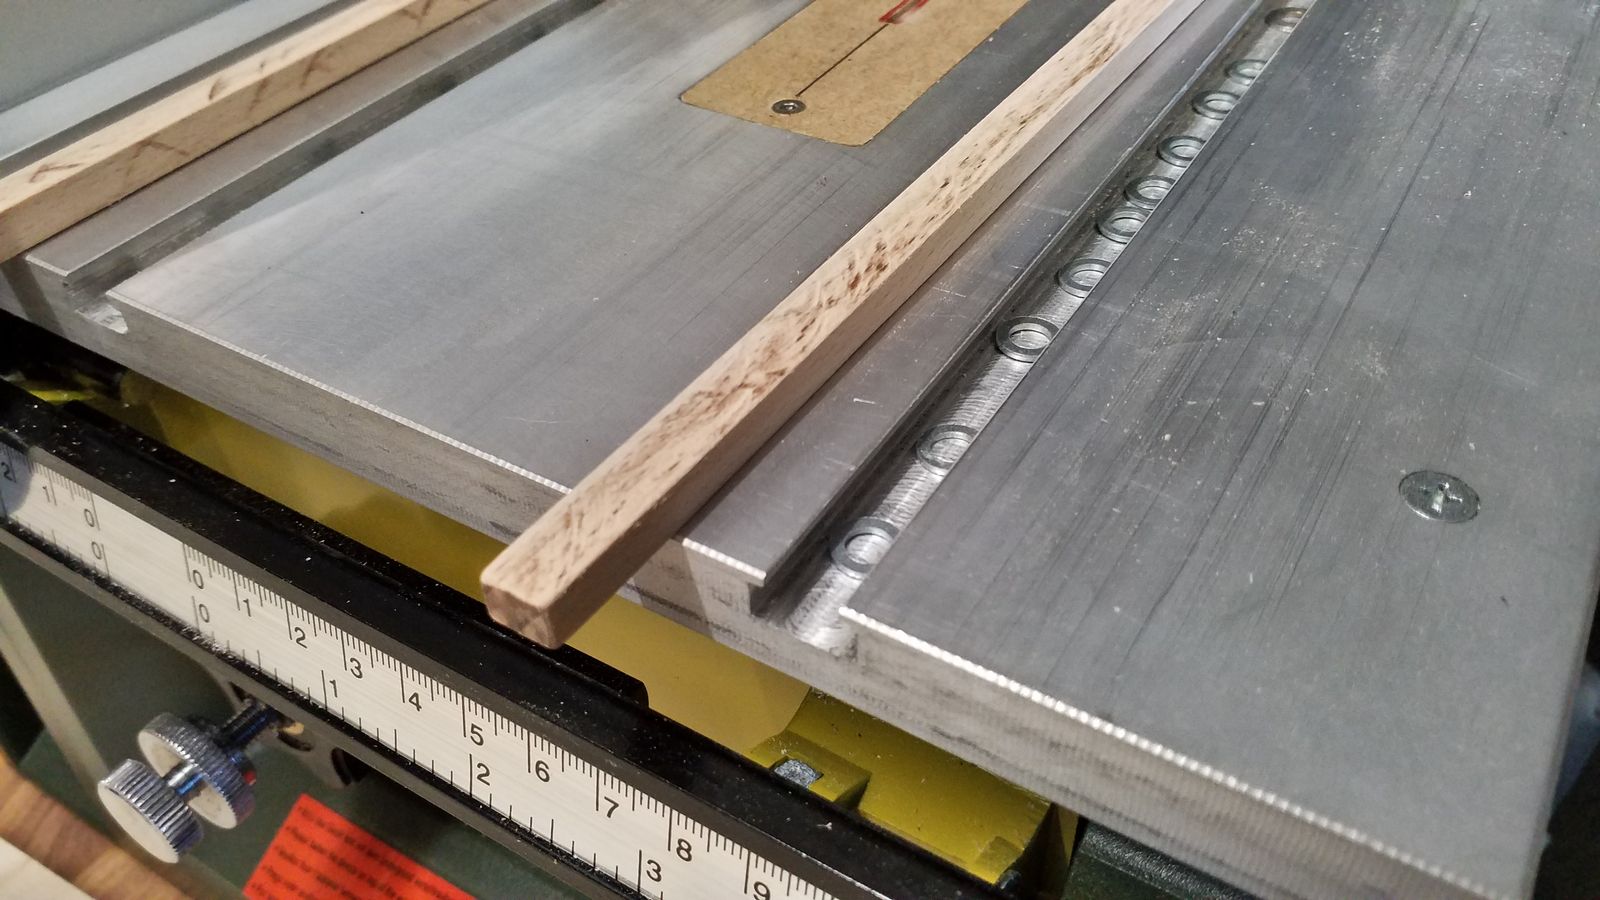
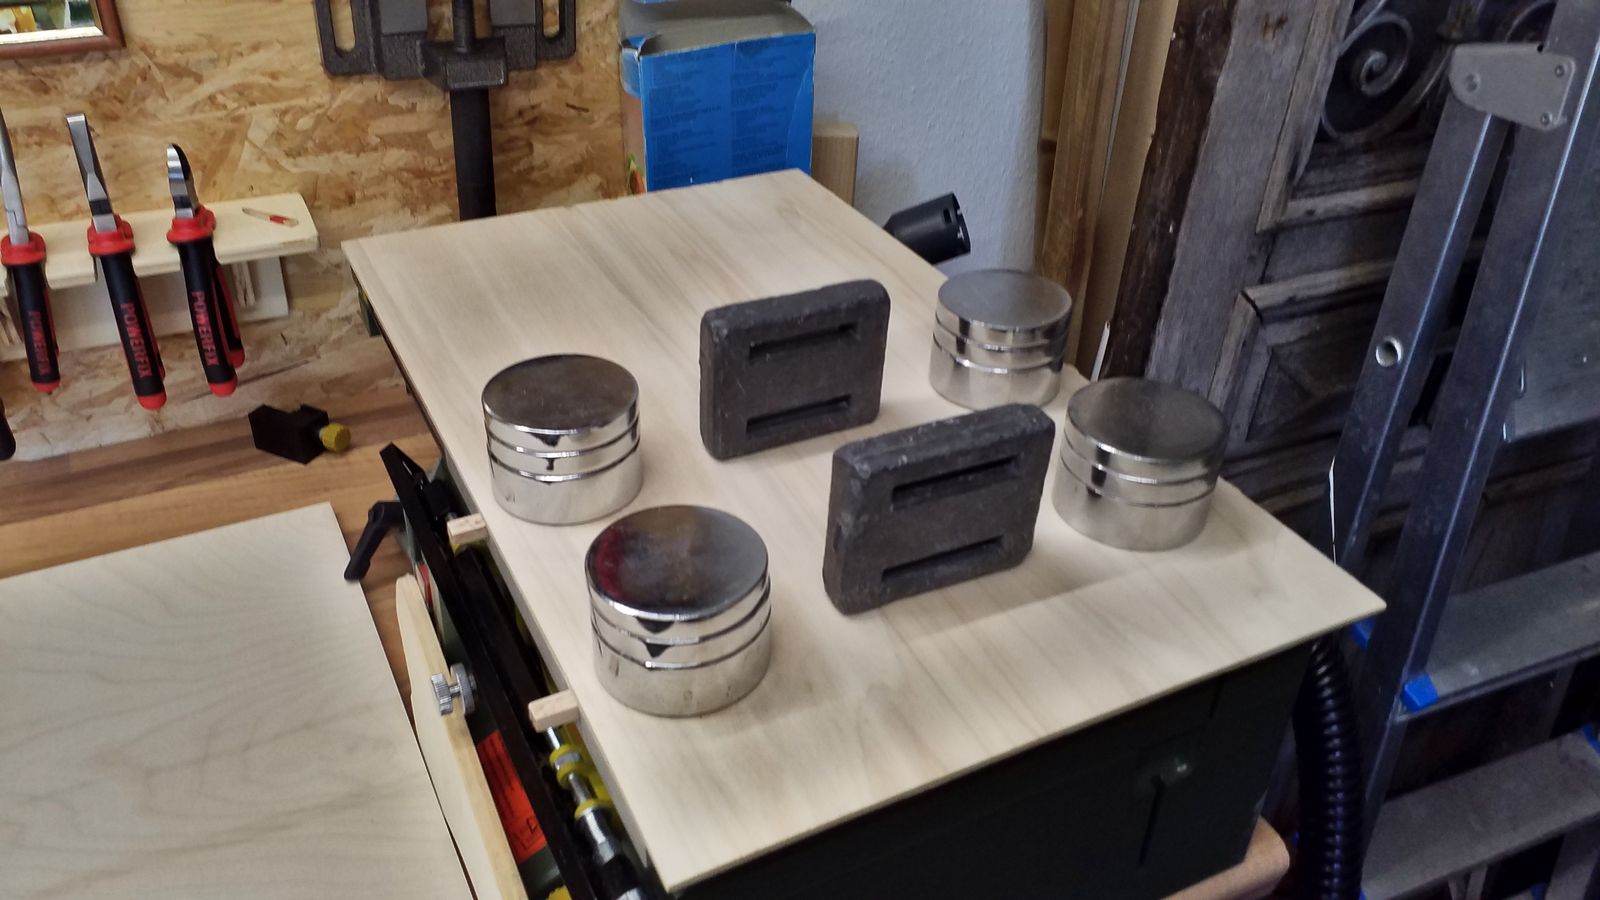
I’m really grateful to Michael Truppe for this neat trick. By evenly placing washers into the slots , the runners are lifted above the table’s surface so they can be glued to the sled.
Once the runners are prepared and covered with a little(!) wood glue, the sled’s bottom is placed on top of them. Of course one would like to have the sled’s edges in parallel with the table saw’s, but that’s more of an visual convenience rather than a functional requirement and it’s certainly not of importance for the sled’s accuracy. That will only be determined by the runners and the guiding fence’s angle, but we will come to that later.
After the wood glue has set in for a few minutes, I used some 2 mm x 10 mm countersunk screws to fix the runners in place. Here you have to make certain that on the one hand the screws don’t transfix the runners and on the other hand the screws’ heads don’t jut out above the sled’s bottom.
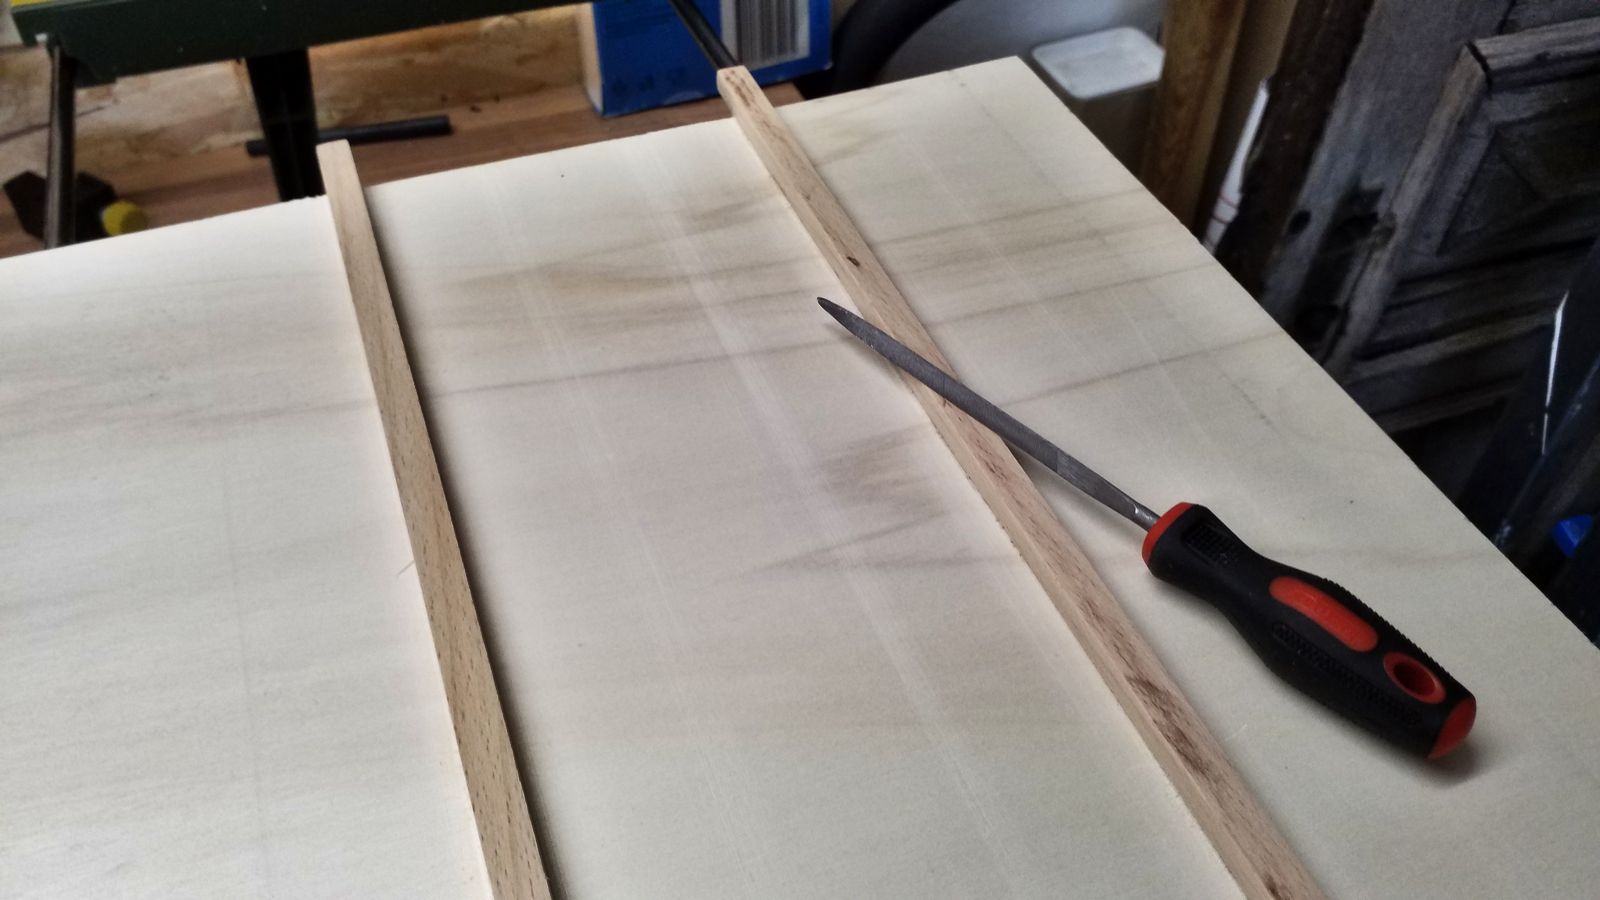
Once the screws are in place, any overspilled glue should be removed with the tip of a file, before it has completely cured. That residual glue might otherwise inhibit the sled’s movement. Next time it’s going to be the fences for the cross cut sled.