
The easy part was constructing the sled bottom. Now it’s getting straight at the nitty-gritties, namely construction the fences and attaching them.
The front fence needs to be as level as possible, so it can’t just be cut from a single piece of board. Almost any board has some kind of warp which is simply inacceptable for a precise fence. Thus, the front fence has to be comprised of a cornered construction that is self-centering.
On top of that I’d like to make repetitive accurate cuts. That calls for an additional stop which determines the work pieces cut length. Which in turn requires a T-slot where the stop can be guided and fixated.
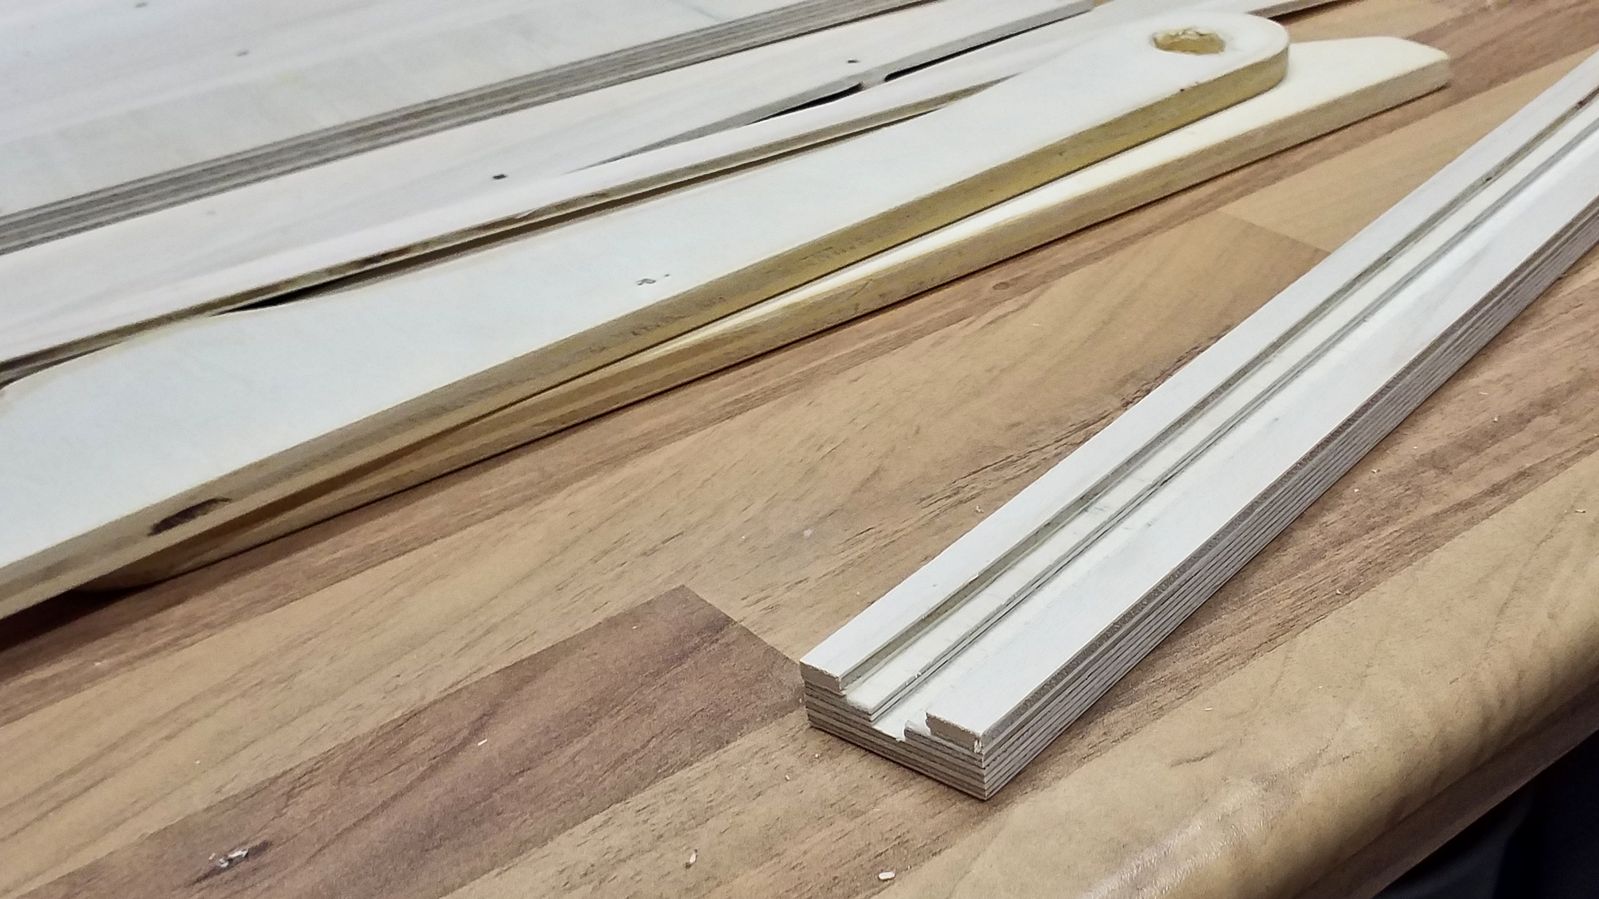
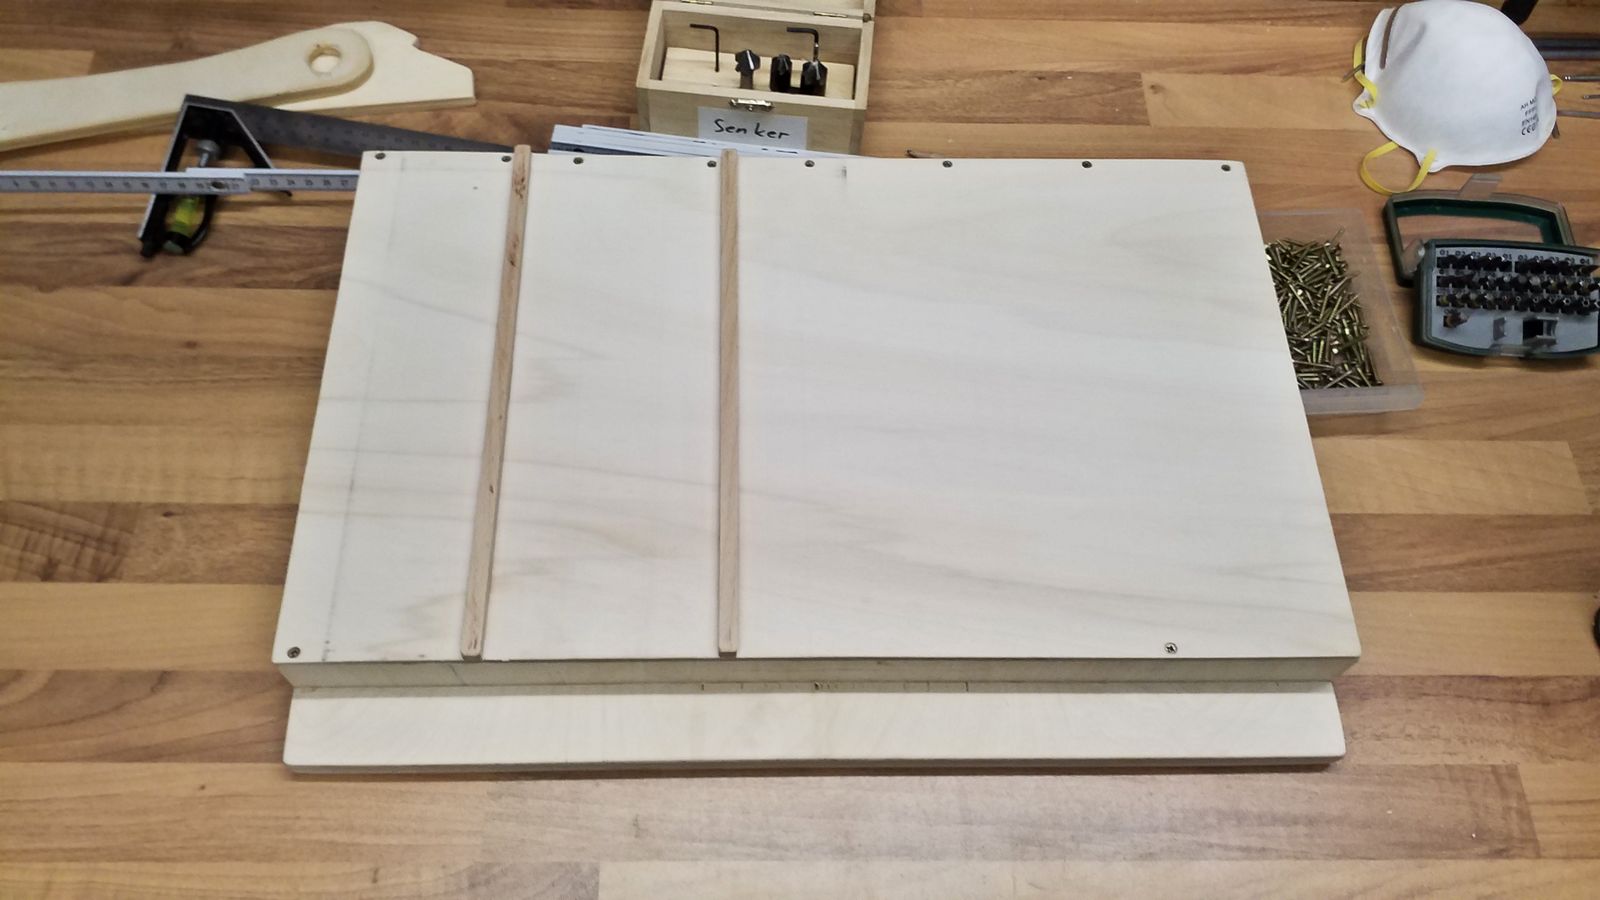
As I’ve already mentioned in the previous post, I don’t own a hand router. You don’t have to buy T-slots yet, as long as you don’t shy away from some extra work. The above-mentioned cornered construction starts with a cross plank made from 9 mm plywood, which receives three cuts in parallel to form a groove. That will allow the length stop’s fixing screw to move freely. After that, the actual t-slot begins with a sandwich of two slender 4 mm slats of plywood.
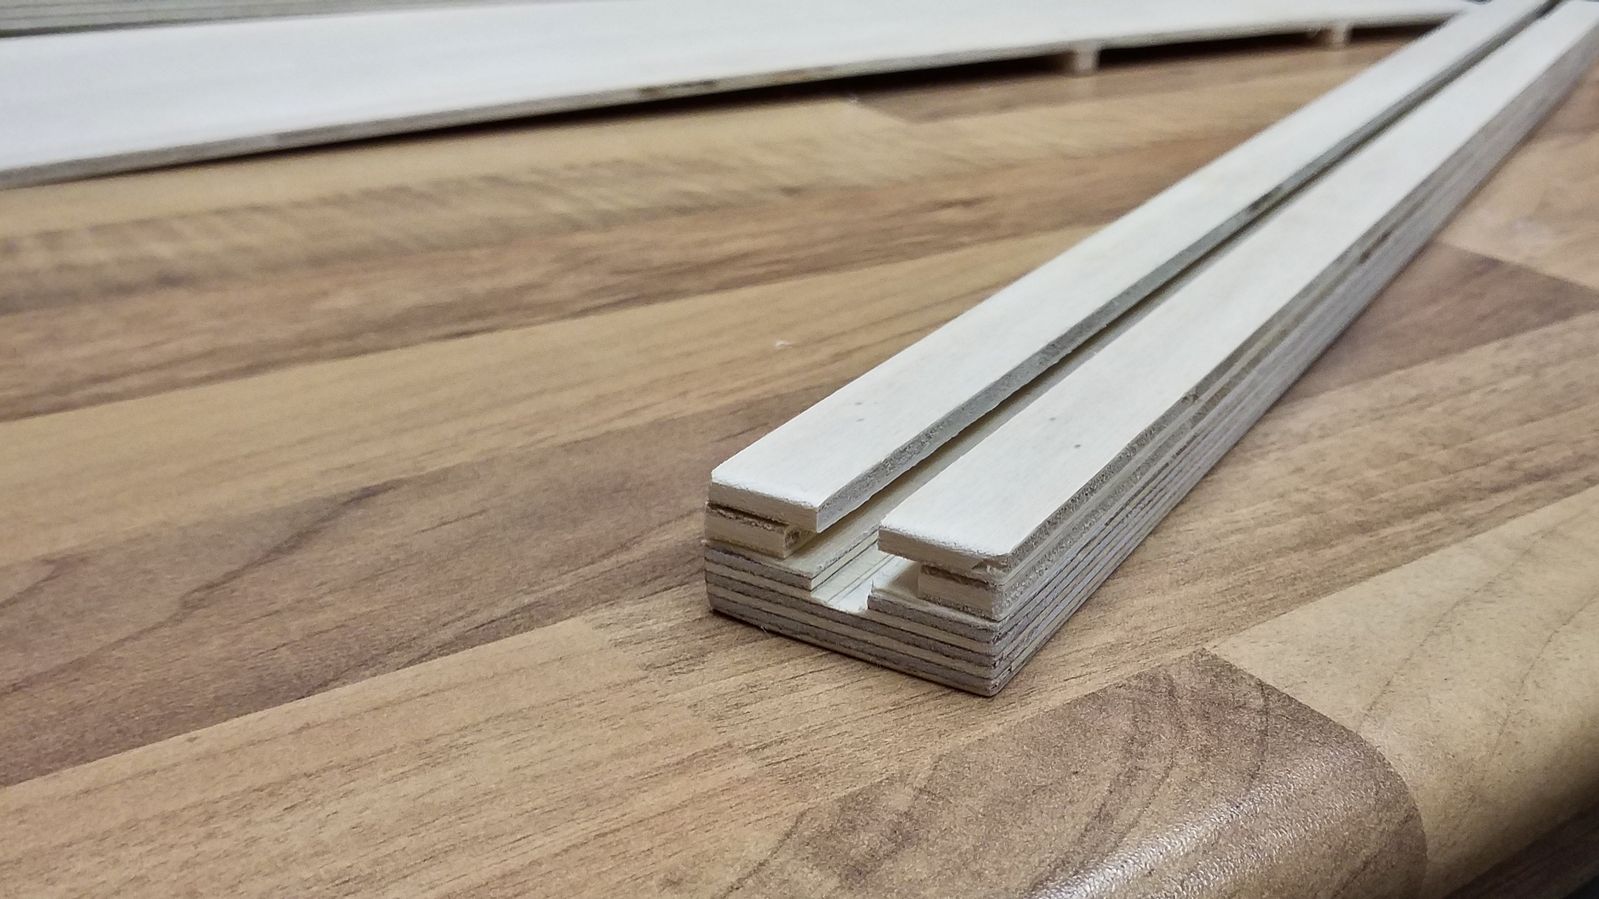
After the slats have been securely glued, another broad slat is glued on top of them. Then, one can cut away the guiding groove of the t-slot. That’s way more precise than trying to align two small slats by hand and it’s easier to glue in place, as well.
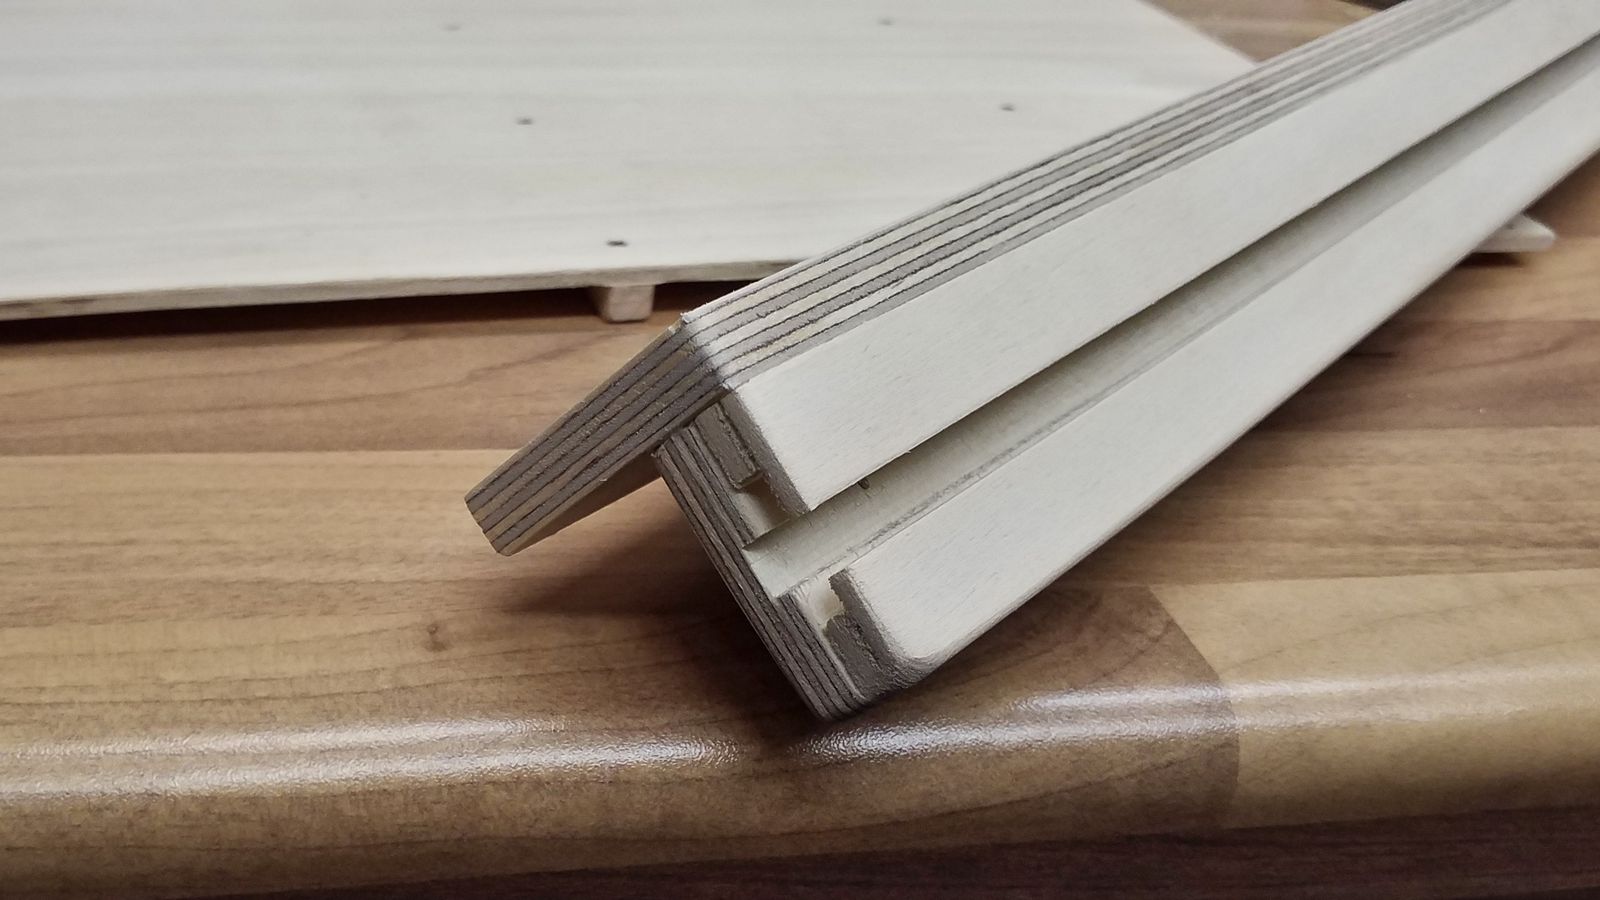
The finished cross plank is glued to the front fence, as well made from 9 mm plywood. After letting the glue cure for a while, I screwed both pieces togehter, too. One only has to make sure that the screws don’t jut into the t-slot, so they can’t hinder the length stop’s movement.
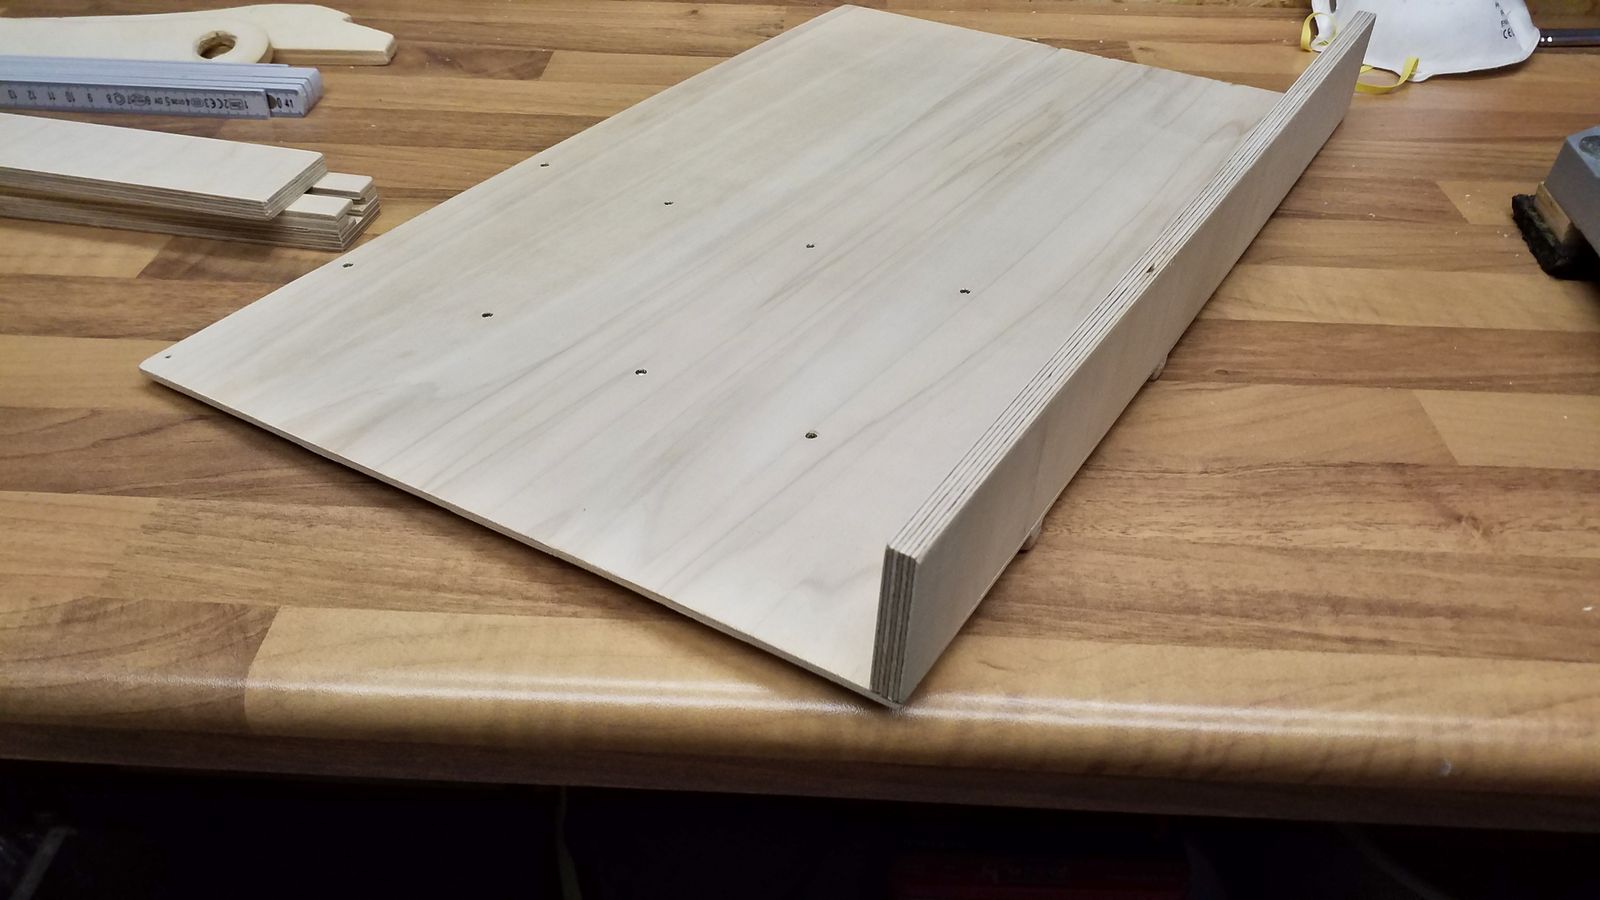
The rear fence doesn’t make nearly such demands. It really suffices to use a simple plywood slat. Just make sure that its height allows the saw blade and still stiffly connects the cut halves of the sled’s bottom. The fence is only roughly aligned to the bottom because it won’t be used to cut material.
So the rear fence is simply glued and screwed into place.
The front fence, however, has to be placed exactly at right angles to the saw blade. There are several methods to accomplish that. When I build my first, small cross cut sled several years ago, I aligned it to the bottom’s cut using a square. That procudes a somewhat acceptable result, but won’t result in actual precision. So this time, I’ll use the five cut test. I’ll come back to that.
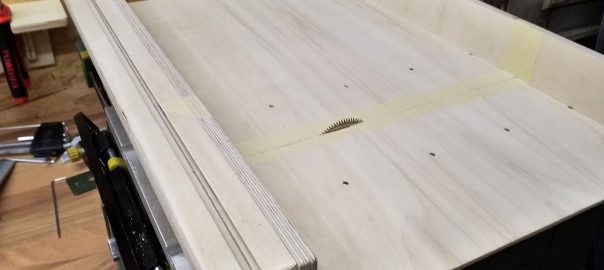
The five cut test requires to initially attach the front fence with only two screws: one placed at the short end of the sled serves as a hinge. The other is placed in the rear third of the long end, after the fence has been aligned as parallel as possible to the bottom’s edge.
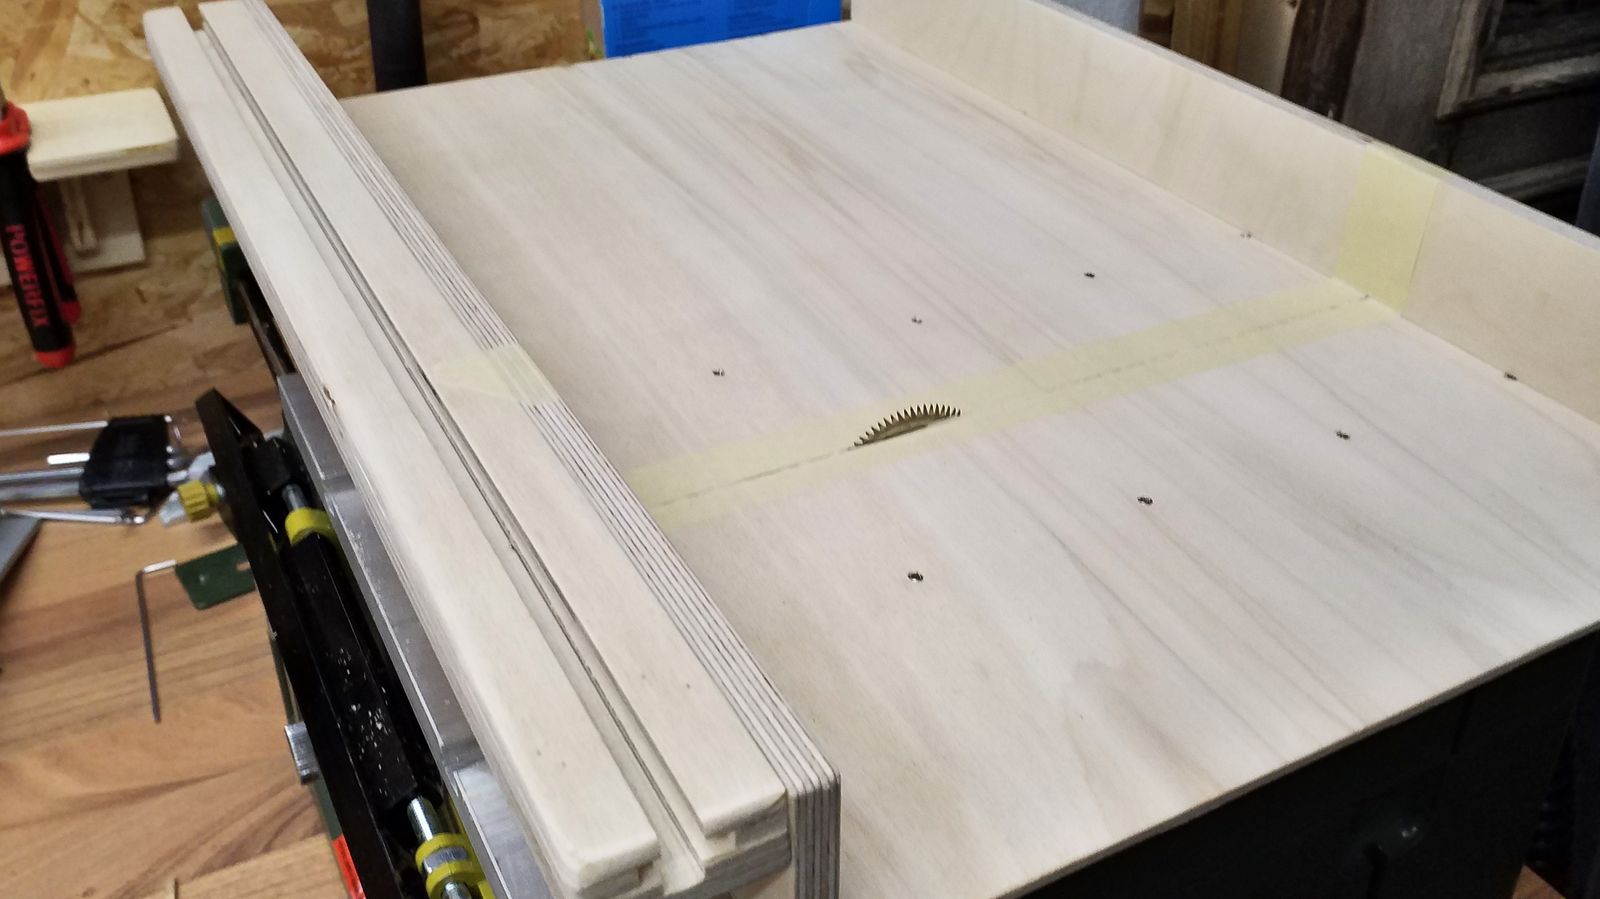
After these preparations are made the sled’s bottom is being separated. It’s advisable to mask the cut with some tape in order to reduce rough cutting edges. This first cut into the sled will change the tension in the sled bottom’s wood, so one will almost inevitably have to sand the runners afterwards before one can start vernier adjusting the front fence.
Just how that is being done and what results arise from it will be told on finalizing the cross cut sled.