
Hey everyone,
got some progress and some pictures!
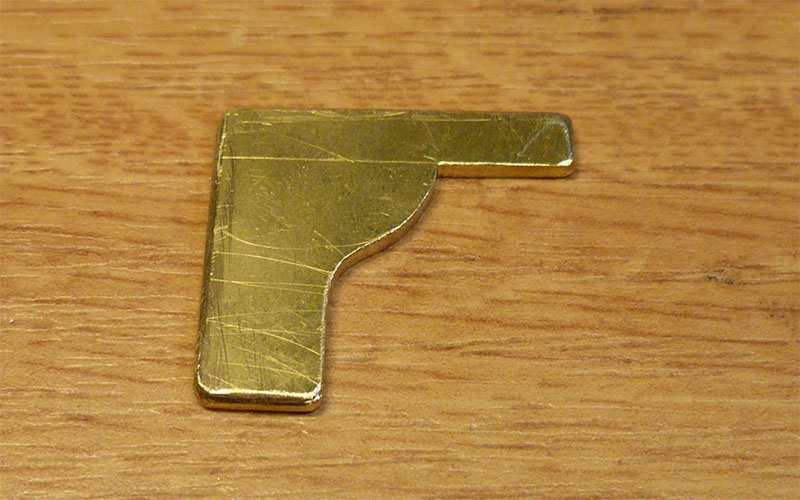
I started constructing the smokebox saddle. Since I own neither a lathe nor a milling machine I’m trying to make virtues out of necessities and hone my manual skills. The first step was to make a gauge for the saddle’s curves, so I could construct two symmetrical and identical parts.

There’s a lot of filing involved, a work that takes time, but doesn’t produce a lot of noise and won’t require much working space. Therefor I took some scrap wood and threw together a portable working bench. This useful little thing easily rests on any table in the living room. I can be with all my loved ones – family and locomotive…

With the gauge finished, I sawed and filed the front plate, plus the two parts that will connect it with the back plate, see my post of June 21st. Then came the brazing. Oh my, I so do have to relearn everything on that front…
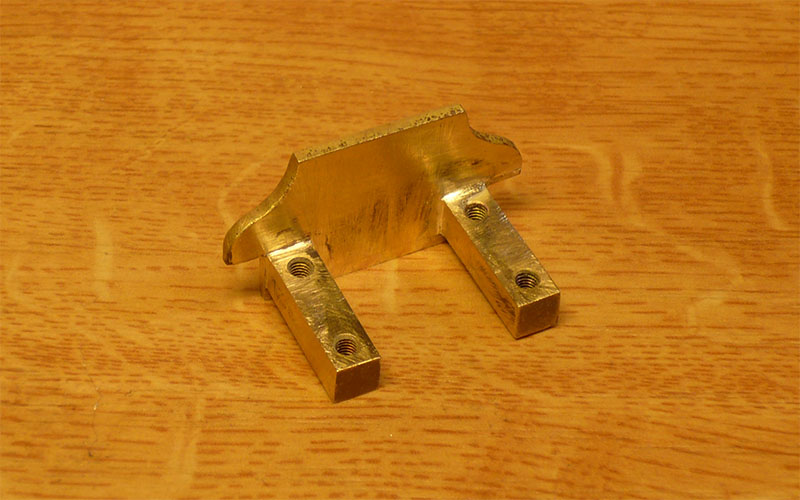
I should have practiced on some scrap metal. However, these connections won’t be visible, so I guess it’s ok. Some (alright – a LOT) of cleaning up later, it looked like this:
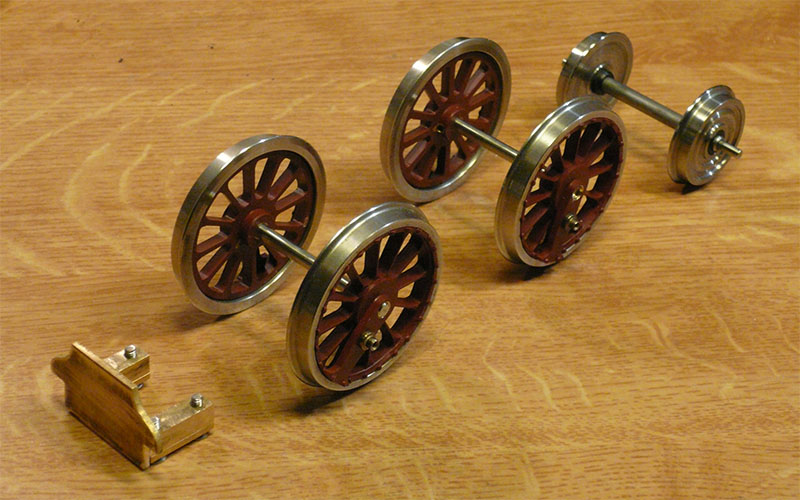
But that’s not all. The driver wheelsets finally arrived and I also got the new trailing wheelset:
With these crucial parts on my disposal, I can finally and seriously kick off constructing the frame.