

The cross cut sled is assembled, but not precisely adjusted, yet. This calls for patience and precise work, as I’ve learned from painful experience. In total, I needed six attempts until I was satisfied with the results. However, I am now!
Via Michael Truppe’s video channel “Let’s Bastel” I learned about the fice-cut-test. This was apparently invented by William Ng, who demonstrates and elaborates on the underlying principles it in a youtube video. Truppe summarizes it in german.
The principle is simple: One cuts a board that should be of equal depth as the sled. The not-yet-adjusted sled is going to cause an error from the right angles it is supposed to have. If you turn the board and align the fresh cut with the forward fence, the error will add to the next cut. Repeat this four times before cutting off a slat. This slat will show the quadruple error, which one can calculate by measuring the slat’s width at the top and at the bottom.
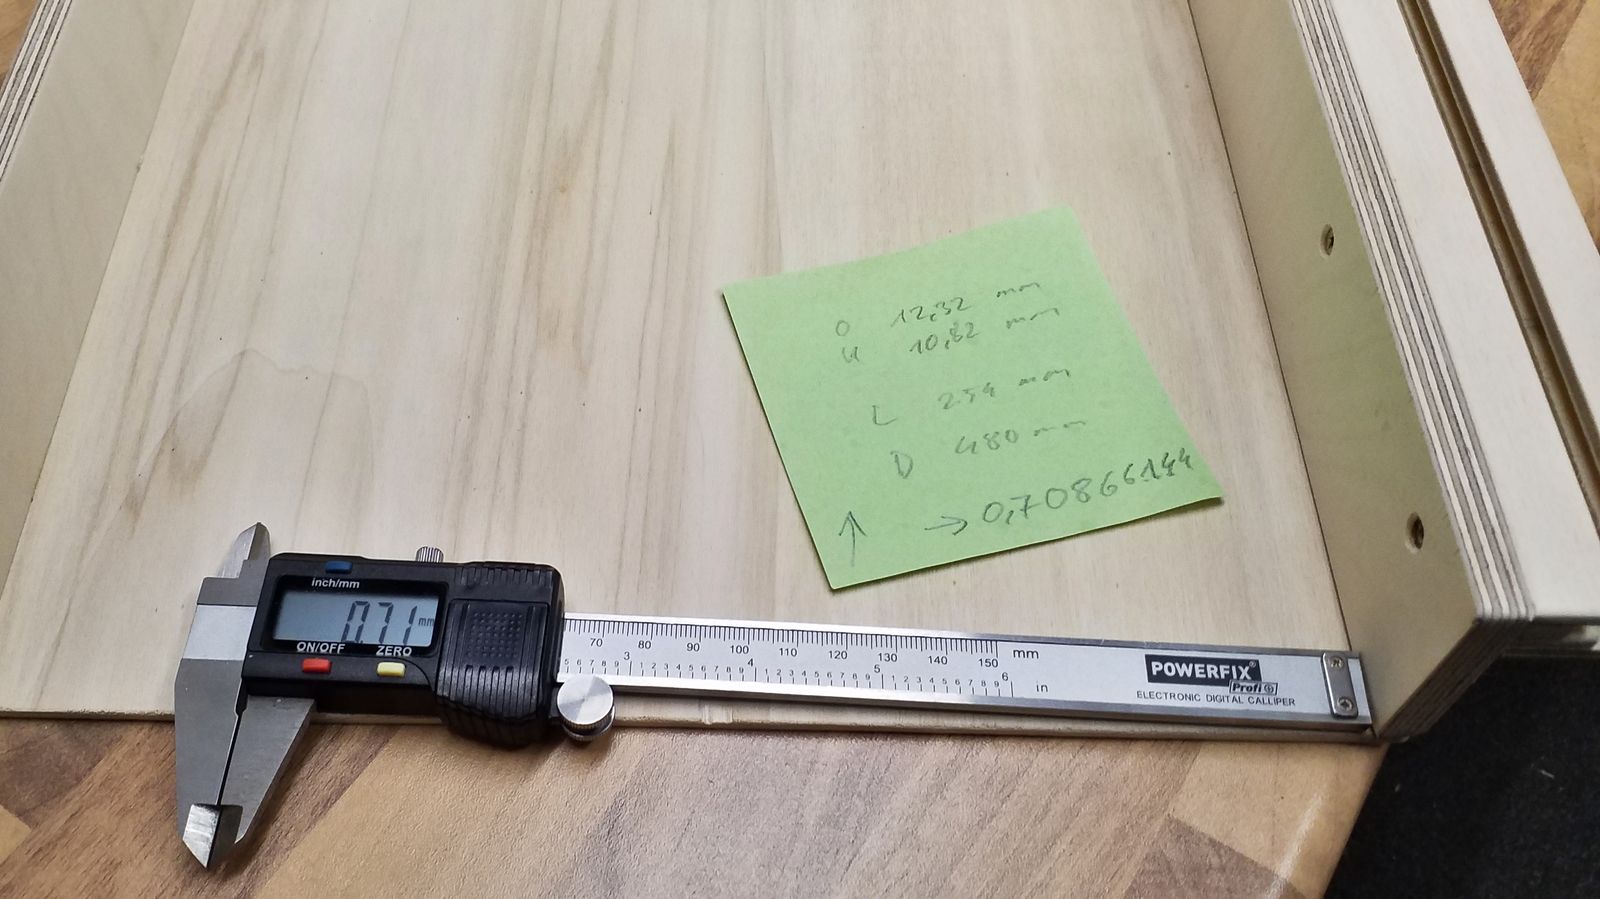
Based on the formulas described in the videos one computes an adjustment value, by which the front fence has to be moved. As described in the previous post, the front fence is only fixed with two screws. One serves as a hinge. Before loosening the other, a small block has to be clamped to the sled’s bottom. It will serve as counter bearing to move the fence by the adjustment value. But how to do that?
All the videos recommend to use feeler gauges, as they are used in automobile engineering. Those allow for accuracies down to a tenth of a millimetre. We can do better than that: Just insert a caliper between the block and the fence. If the fence has to be adjusted forwards, the caliper is set to the adjustment value. If the fence needs to move backwards, the caliper is set to zero. After loosening the fence’s second screw, the caliper helps to adjust precisely.
Doesn’t that sound easy? Well, in practice a lot can go awry. I confused the adjustment’s direction once, twice applied the formulas in the wrong way and then made another two correction runs in order to maximize the fence’s accuracy. Thus my sled’s underside is now riddled with holes, since a new hole has to be drilled for the second screw each time – using the old one would pull the fence back into its prior error.
The result after the last adjustment is nothing to sneeze at: 0.02 mm on 200 mm cutting length. That’s 1/10,000th of error! Sounds quite impressive, but at the end of the day the sled is only as accurate as the sum of its parts. The runners do play a huge part in that. Bottom line I already found that one should be content if 20 centimetres of cutting err less than one tenth of a millimetre. The sled won’t be able to substitute filing or planing.

As soon as the adjustment was finished, I turned my attention to safety. I can’t find a top cover to be feasible, but the front fence obligatory needs a finger protection, so you can’t place the fingers in the way of the protruding saw blade. The finger protection simply consits of two pieces of plywood, as wide as the the front fence’s top cross plank. Those are glued left and right off the cutting axis.

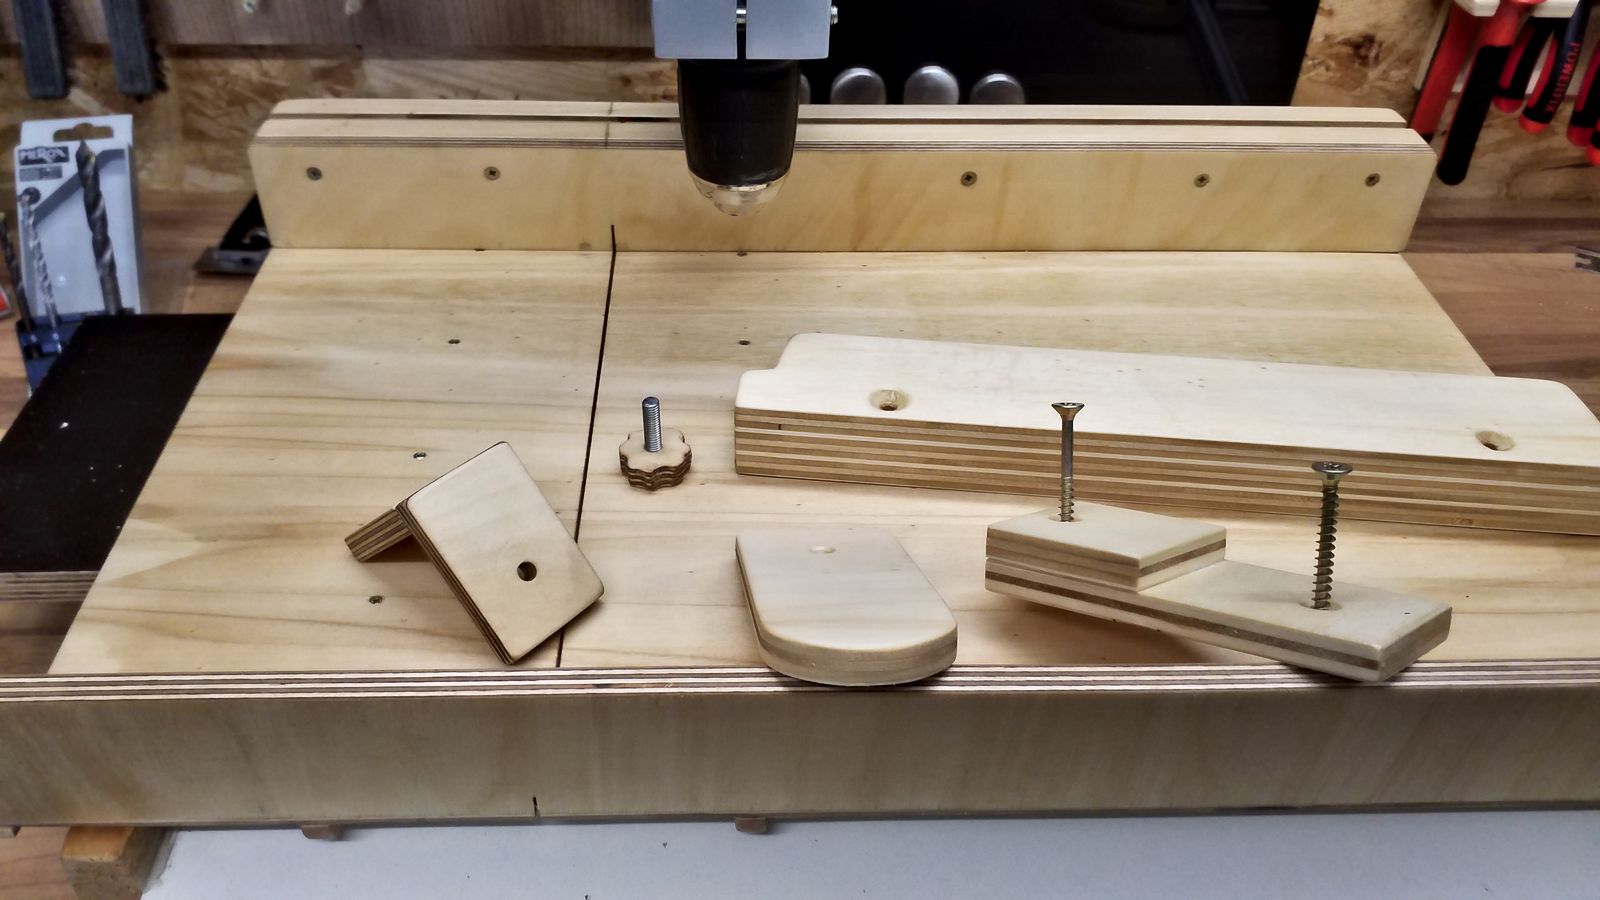
In order to reproduce identical slats, I’ve built a length stop. The design is borrowed from Let’s Bastel, again. I omitted the mitre cut, but heeded the advice concerning the knob and the guiding plate.
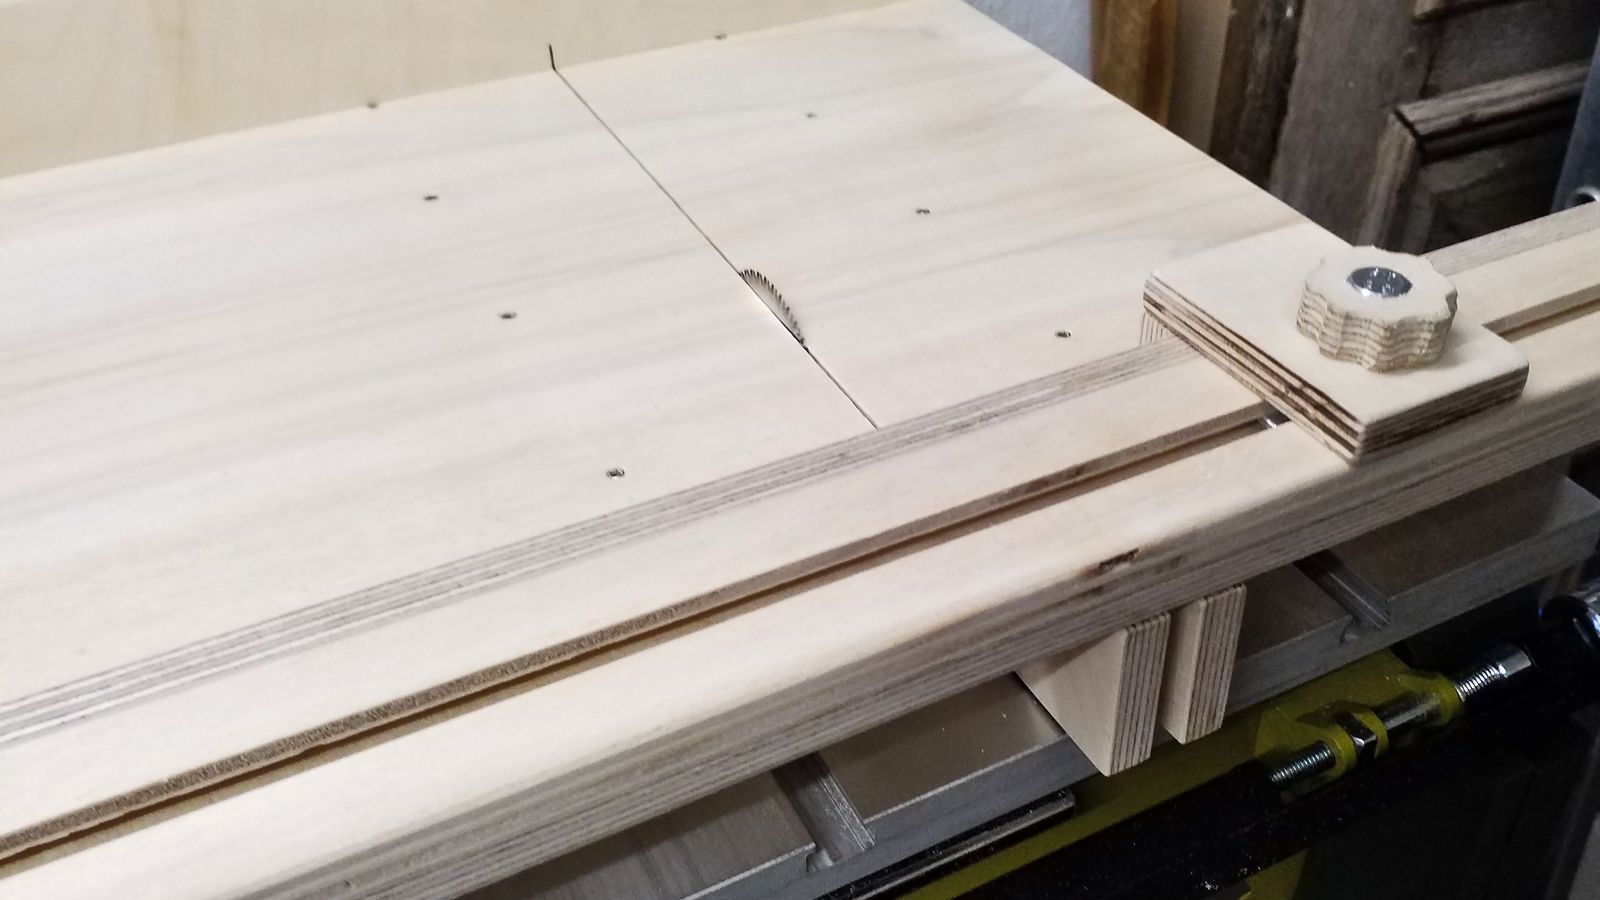
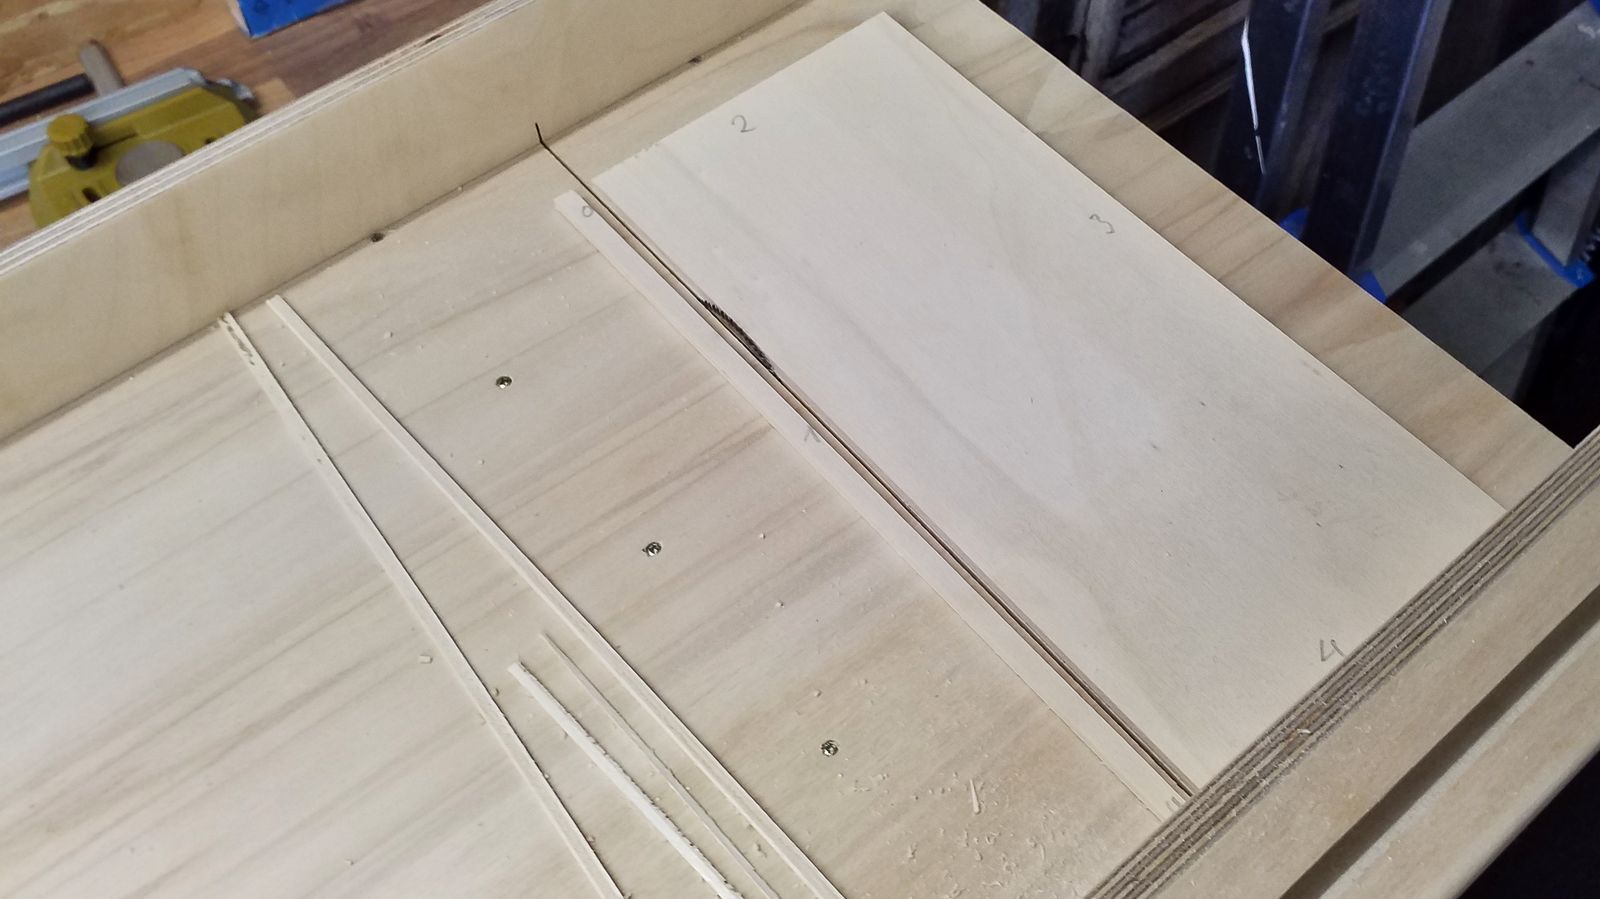
Once the length stop was in place, it was put to work: I splashed out on some reinforcing cross slats below the sled’s bottom, to the left and right of the saw table, since the sled’s bottom is quite thin and I didn’t want it to warp or bend. The length stop serves well down to material thickness of 2 mm. Below that problems occur, because the slat tends to slide below the stop. One can remedy that by placing a metal square or some other precisely cut object in between.
And this is the sled in all its glory after being finished with a coat of hard wax. I’m very pleased and confident that the sled will serve me well, at the latest when I start constructing freight wagons for the model railway, there will be plenty of slats to be cut to length. Besides, the sled is suited really well for straightening a crooked-cut board, so it can be rip-cut again.
Next week, it’s going to be the Joyrider again. The basic construction needs to be finished at last.