
Due to well-known reasons I’ve been in home office for a couple of weeks. And since mixing private life and work is downright unhealthy, some office space had to be found in the workshop. That was the trigger to finally create some more storage area.
The most importent requirement which has to be met is a full metre of board-width in order to store raw materiels for modeling. Additionally, the lowest compartment is supposed to accomodate two pedestals which really come in handy while working but tend to be in the way in the meantime.
It all starts with the side parts which combine the legs and side walls. Four 2.5 m long planks are cut down into two legs and four staves each. Most shelves place the legs in parallel with the boards. But in order to access the full width of the boards, I’d like to place them perpendicular to the boards as side parts.

My shelf is supposed to be as sturdy as possible, so I chose quite wide planks for the legs. Because of that the staves can’t be simply screwed to the legs, besides the screws’ heads wouldn’t improve the vista on the front of the shelf. Hence I’m going to peg and white glue. First, the pegs’ holes have to be drilled into the staves.
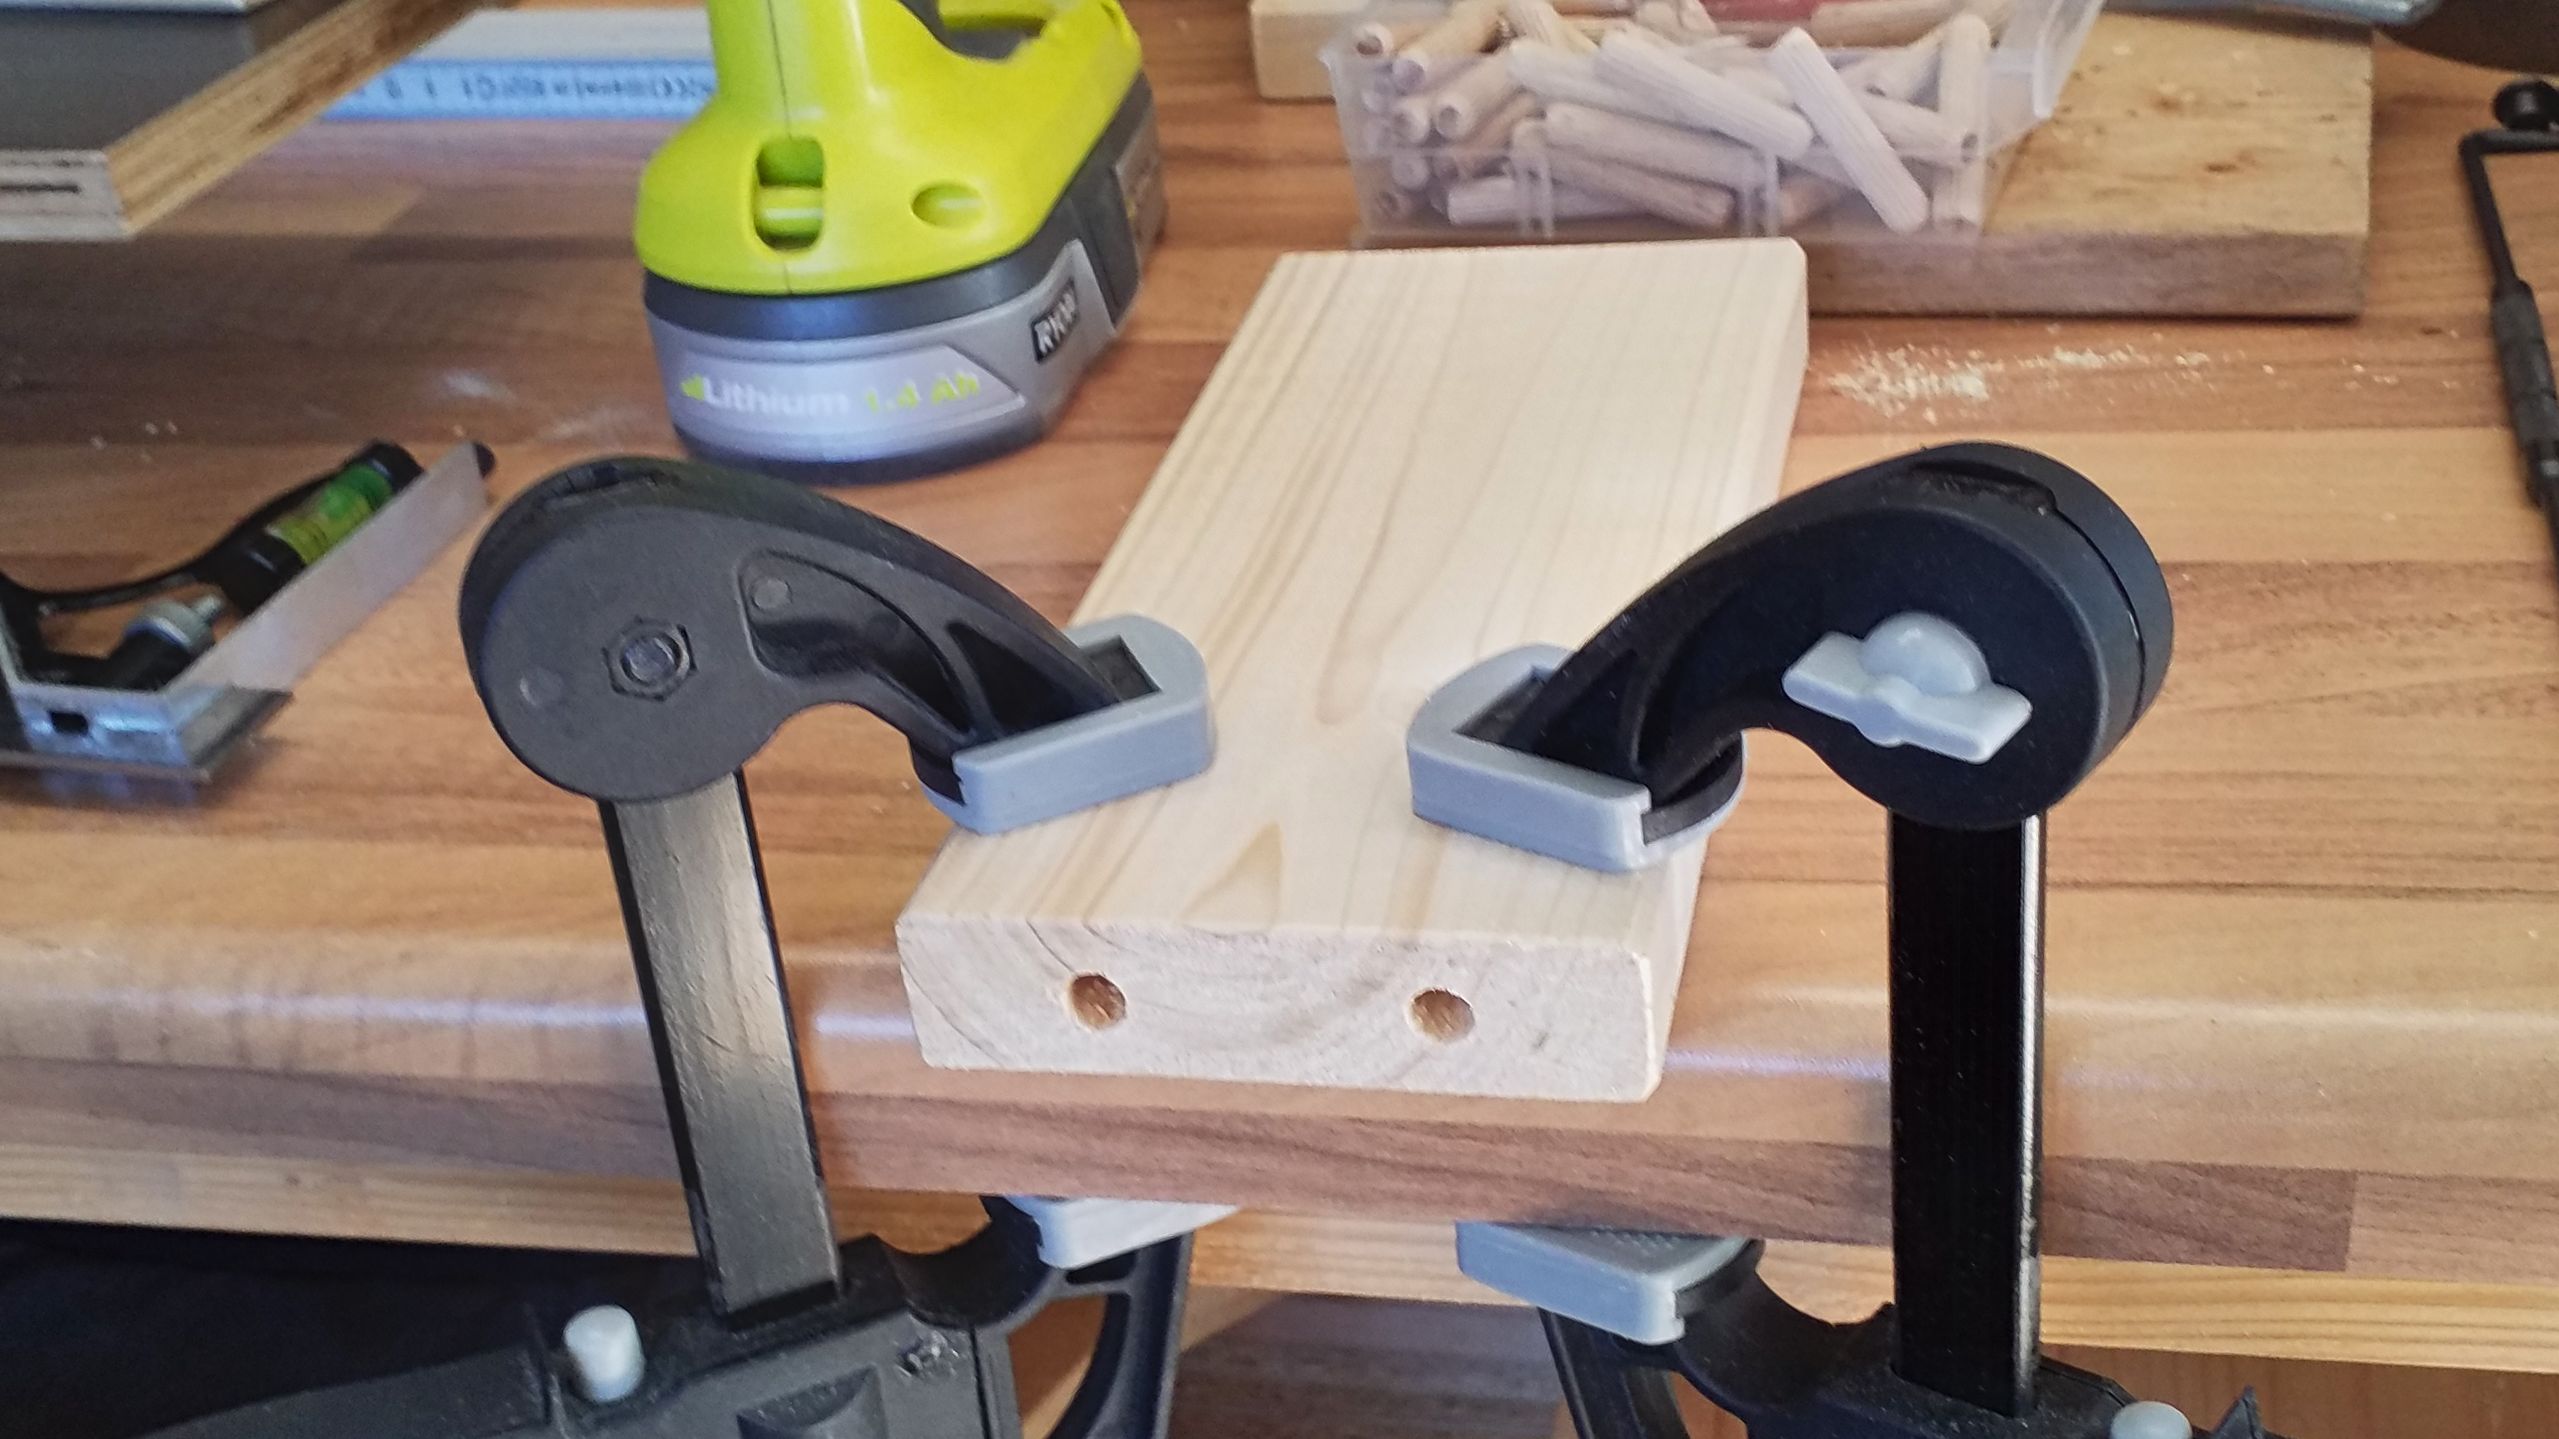
Alas the staves are too long, so I can’t use my drill press. So I had to use my cordless drill/screwdriver and aim visually. Fortunately it sports a spirit level so I only had to match one right angles by eye. In the end, it’s not too difficult as long as one take’s his time. What proved somewhat trickier was not to drift off into the wood’s end grain. The keys to success lie in high RPM and low feed.
After drilling, some marking plugs are put into the holes. With their help I marked where the holes have to be drilled into the legs. Again, those holes have to be bored as perpendicular as possible, so that the staves will align nicely with the legs. Placing an old board below stave and leg helps to keep them inparallel during the marking process.
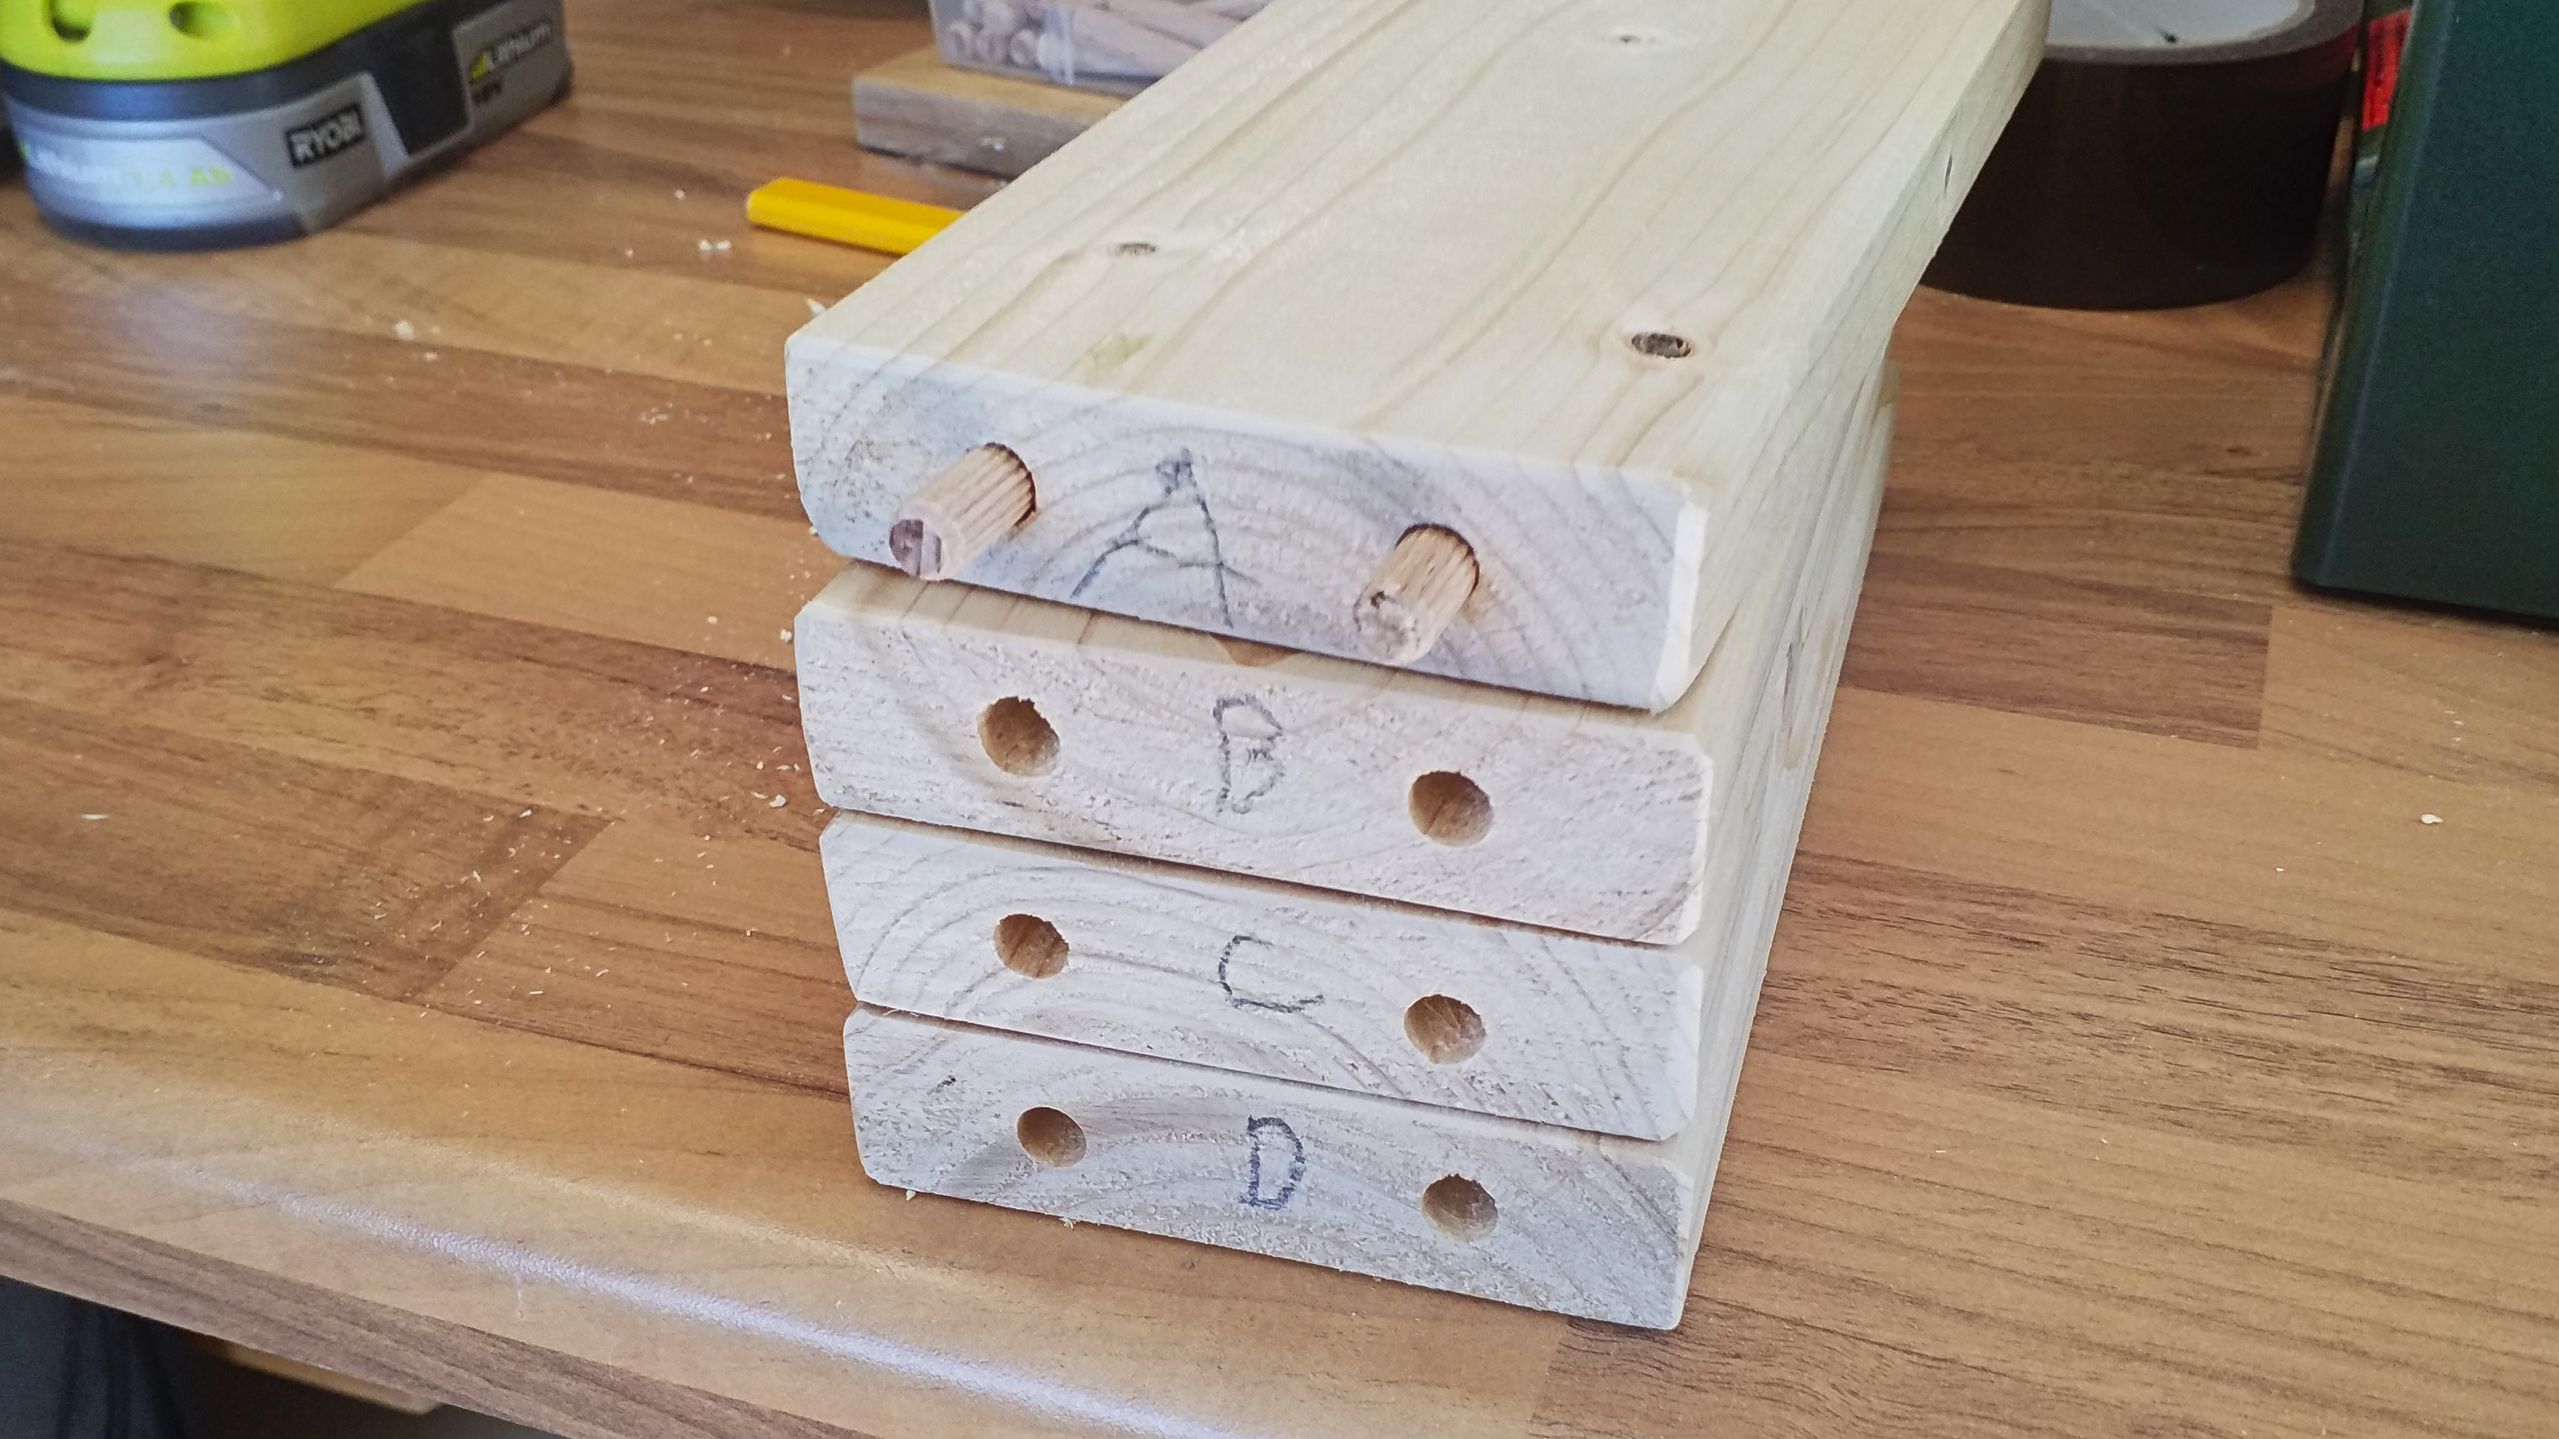
It’s just as important to number the staves and their position along the leg because one will never bring down the holes on two staves at the exact same position. As soon as all the holes are drilled, the pegs are white-glued into the staves.
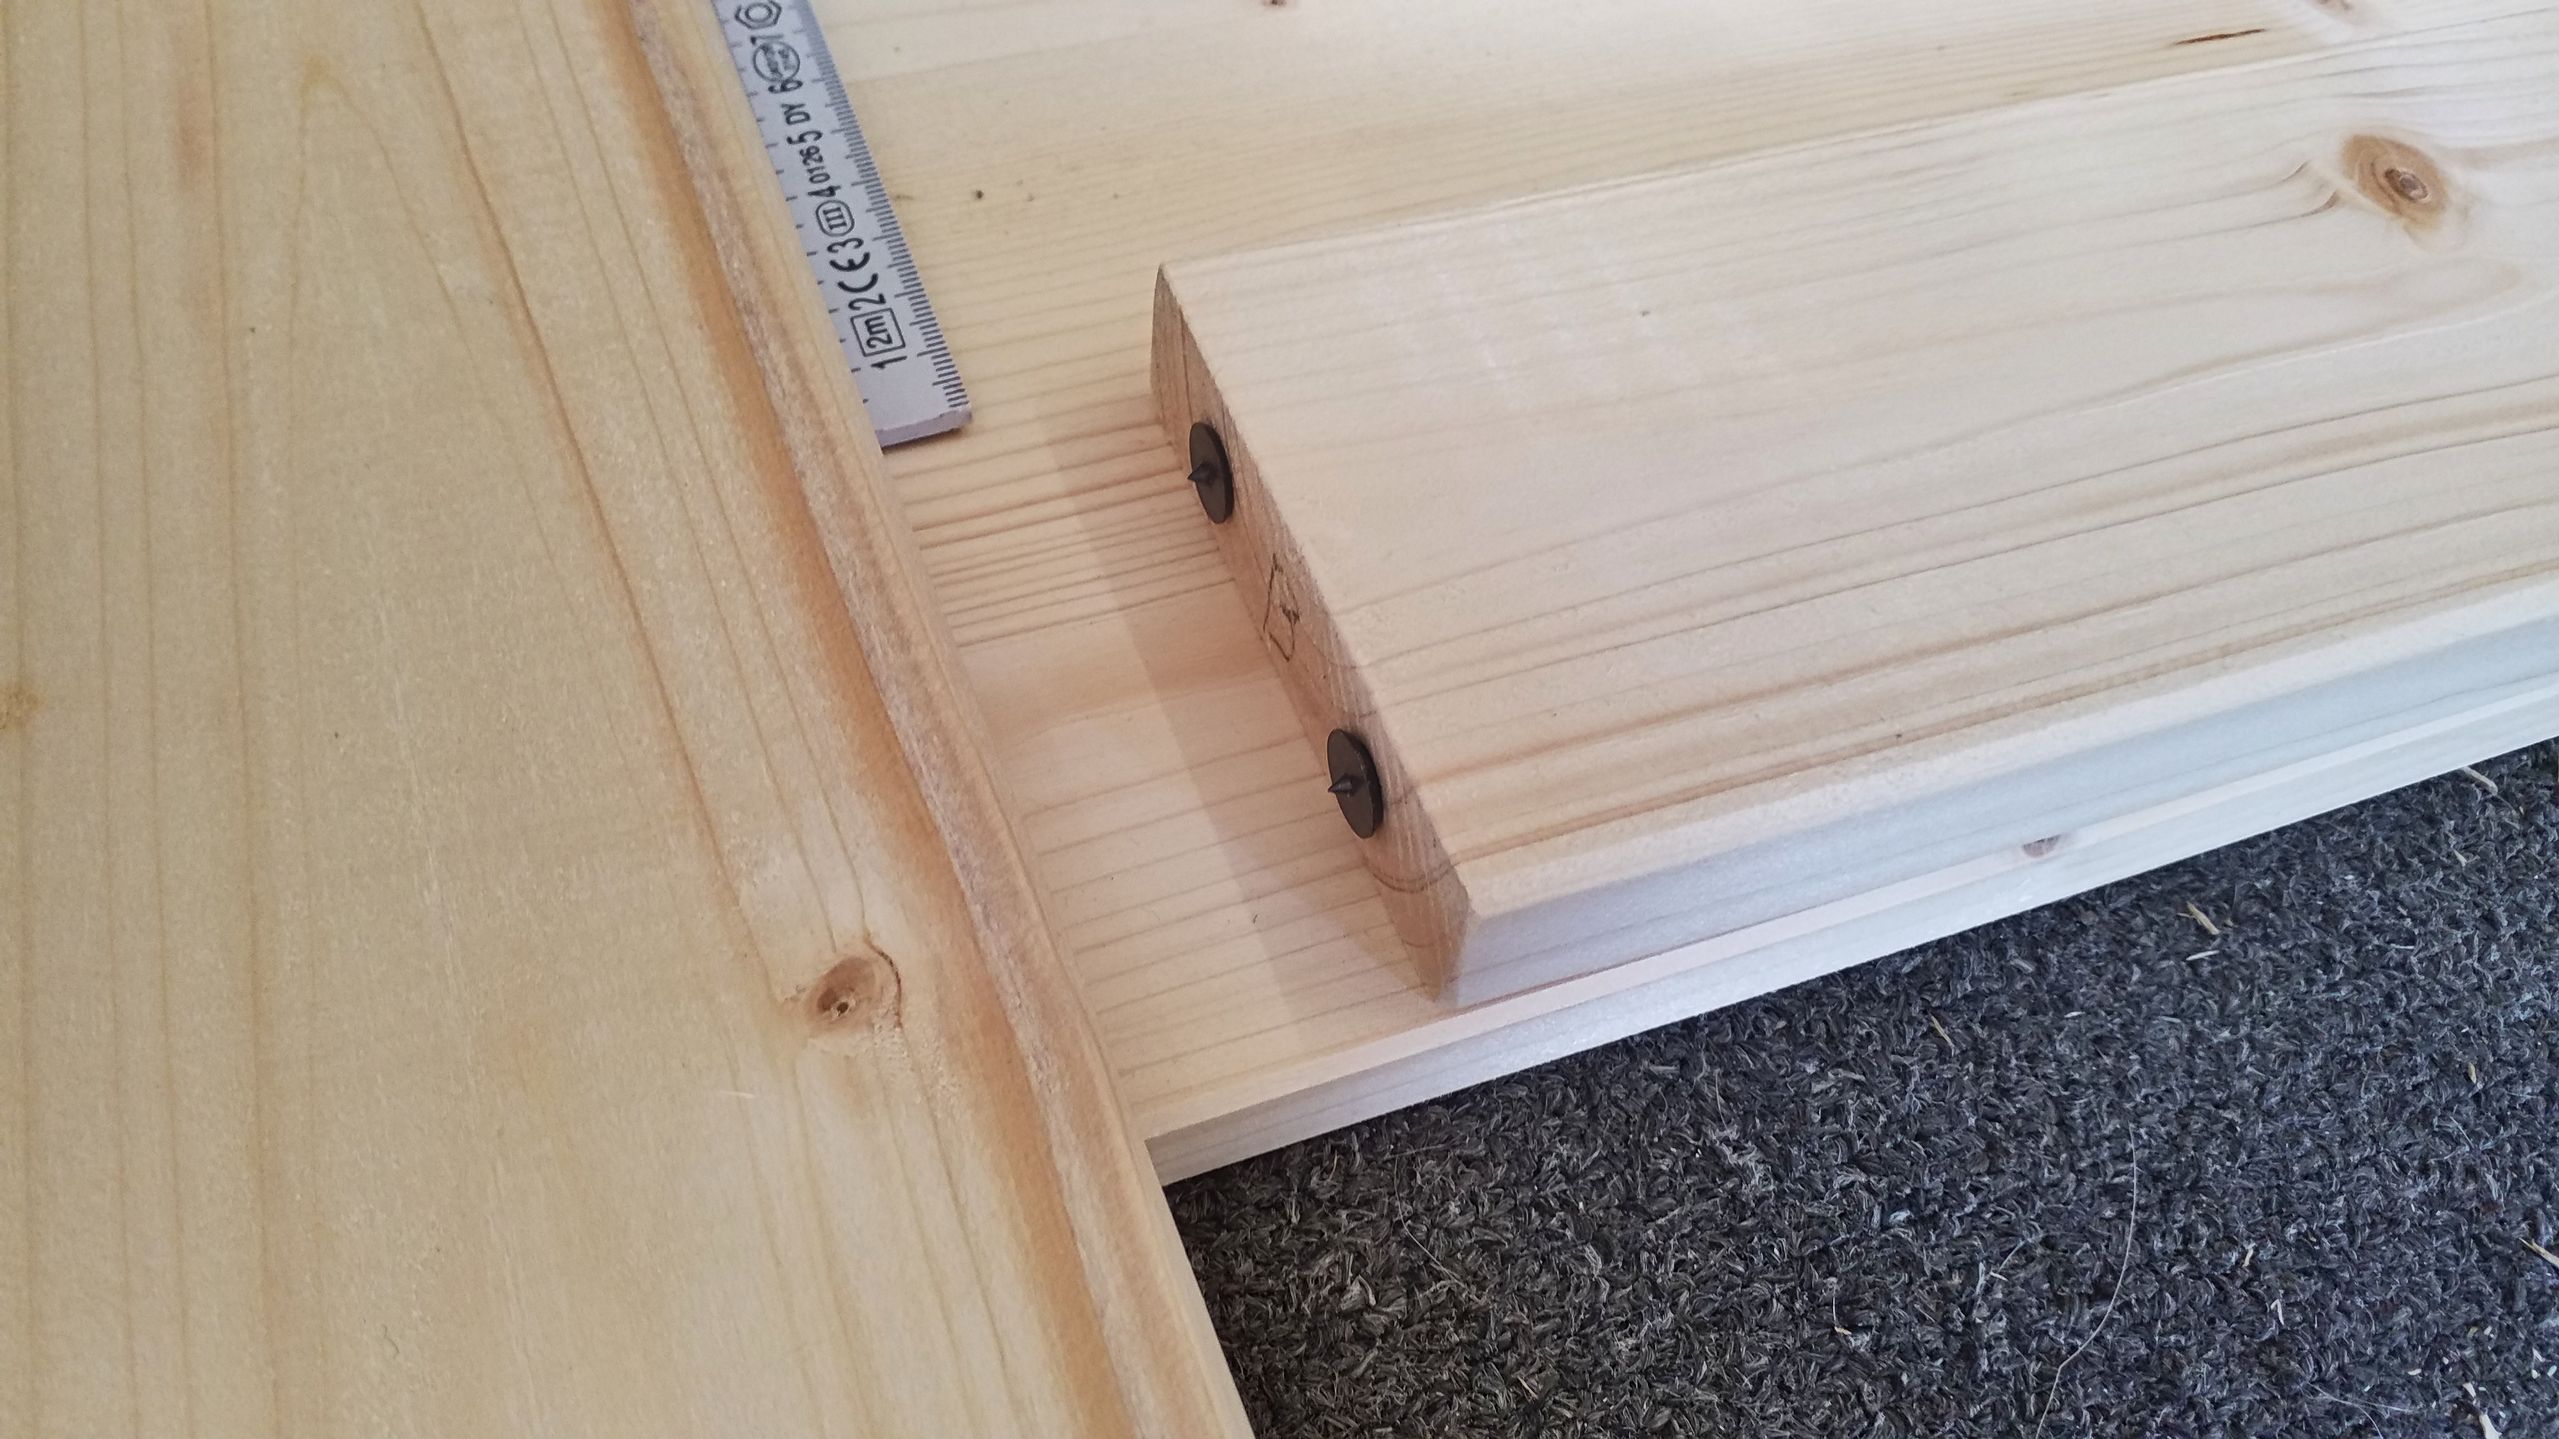
Again with the help of an old board put underneath, the staves are placed between the legs. One has to pay attention to perfectly place the legs in parallel. This can be facilitated by resting the lower ends of the legs against a straight wall or timber. Then the diagonals are measured; if they are identical, the legs are in parallel. The staves ends are coated with white glue and placed, after that the legs are cramped.
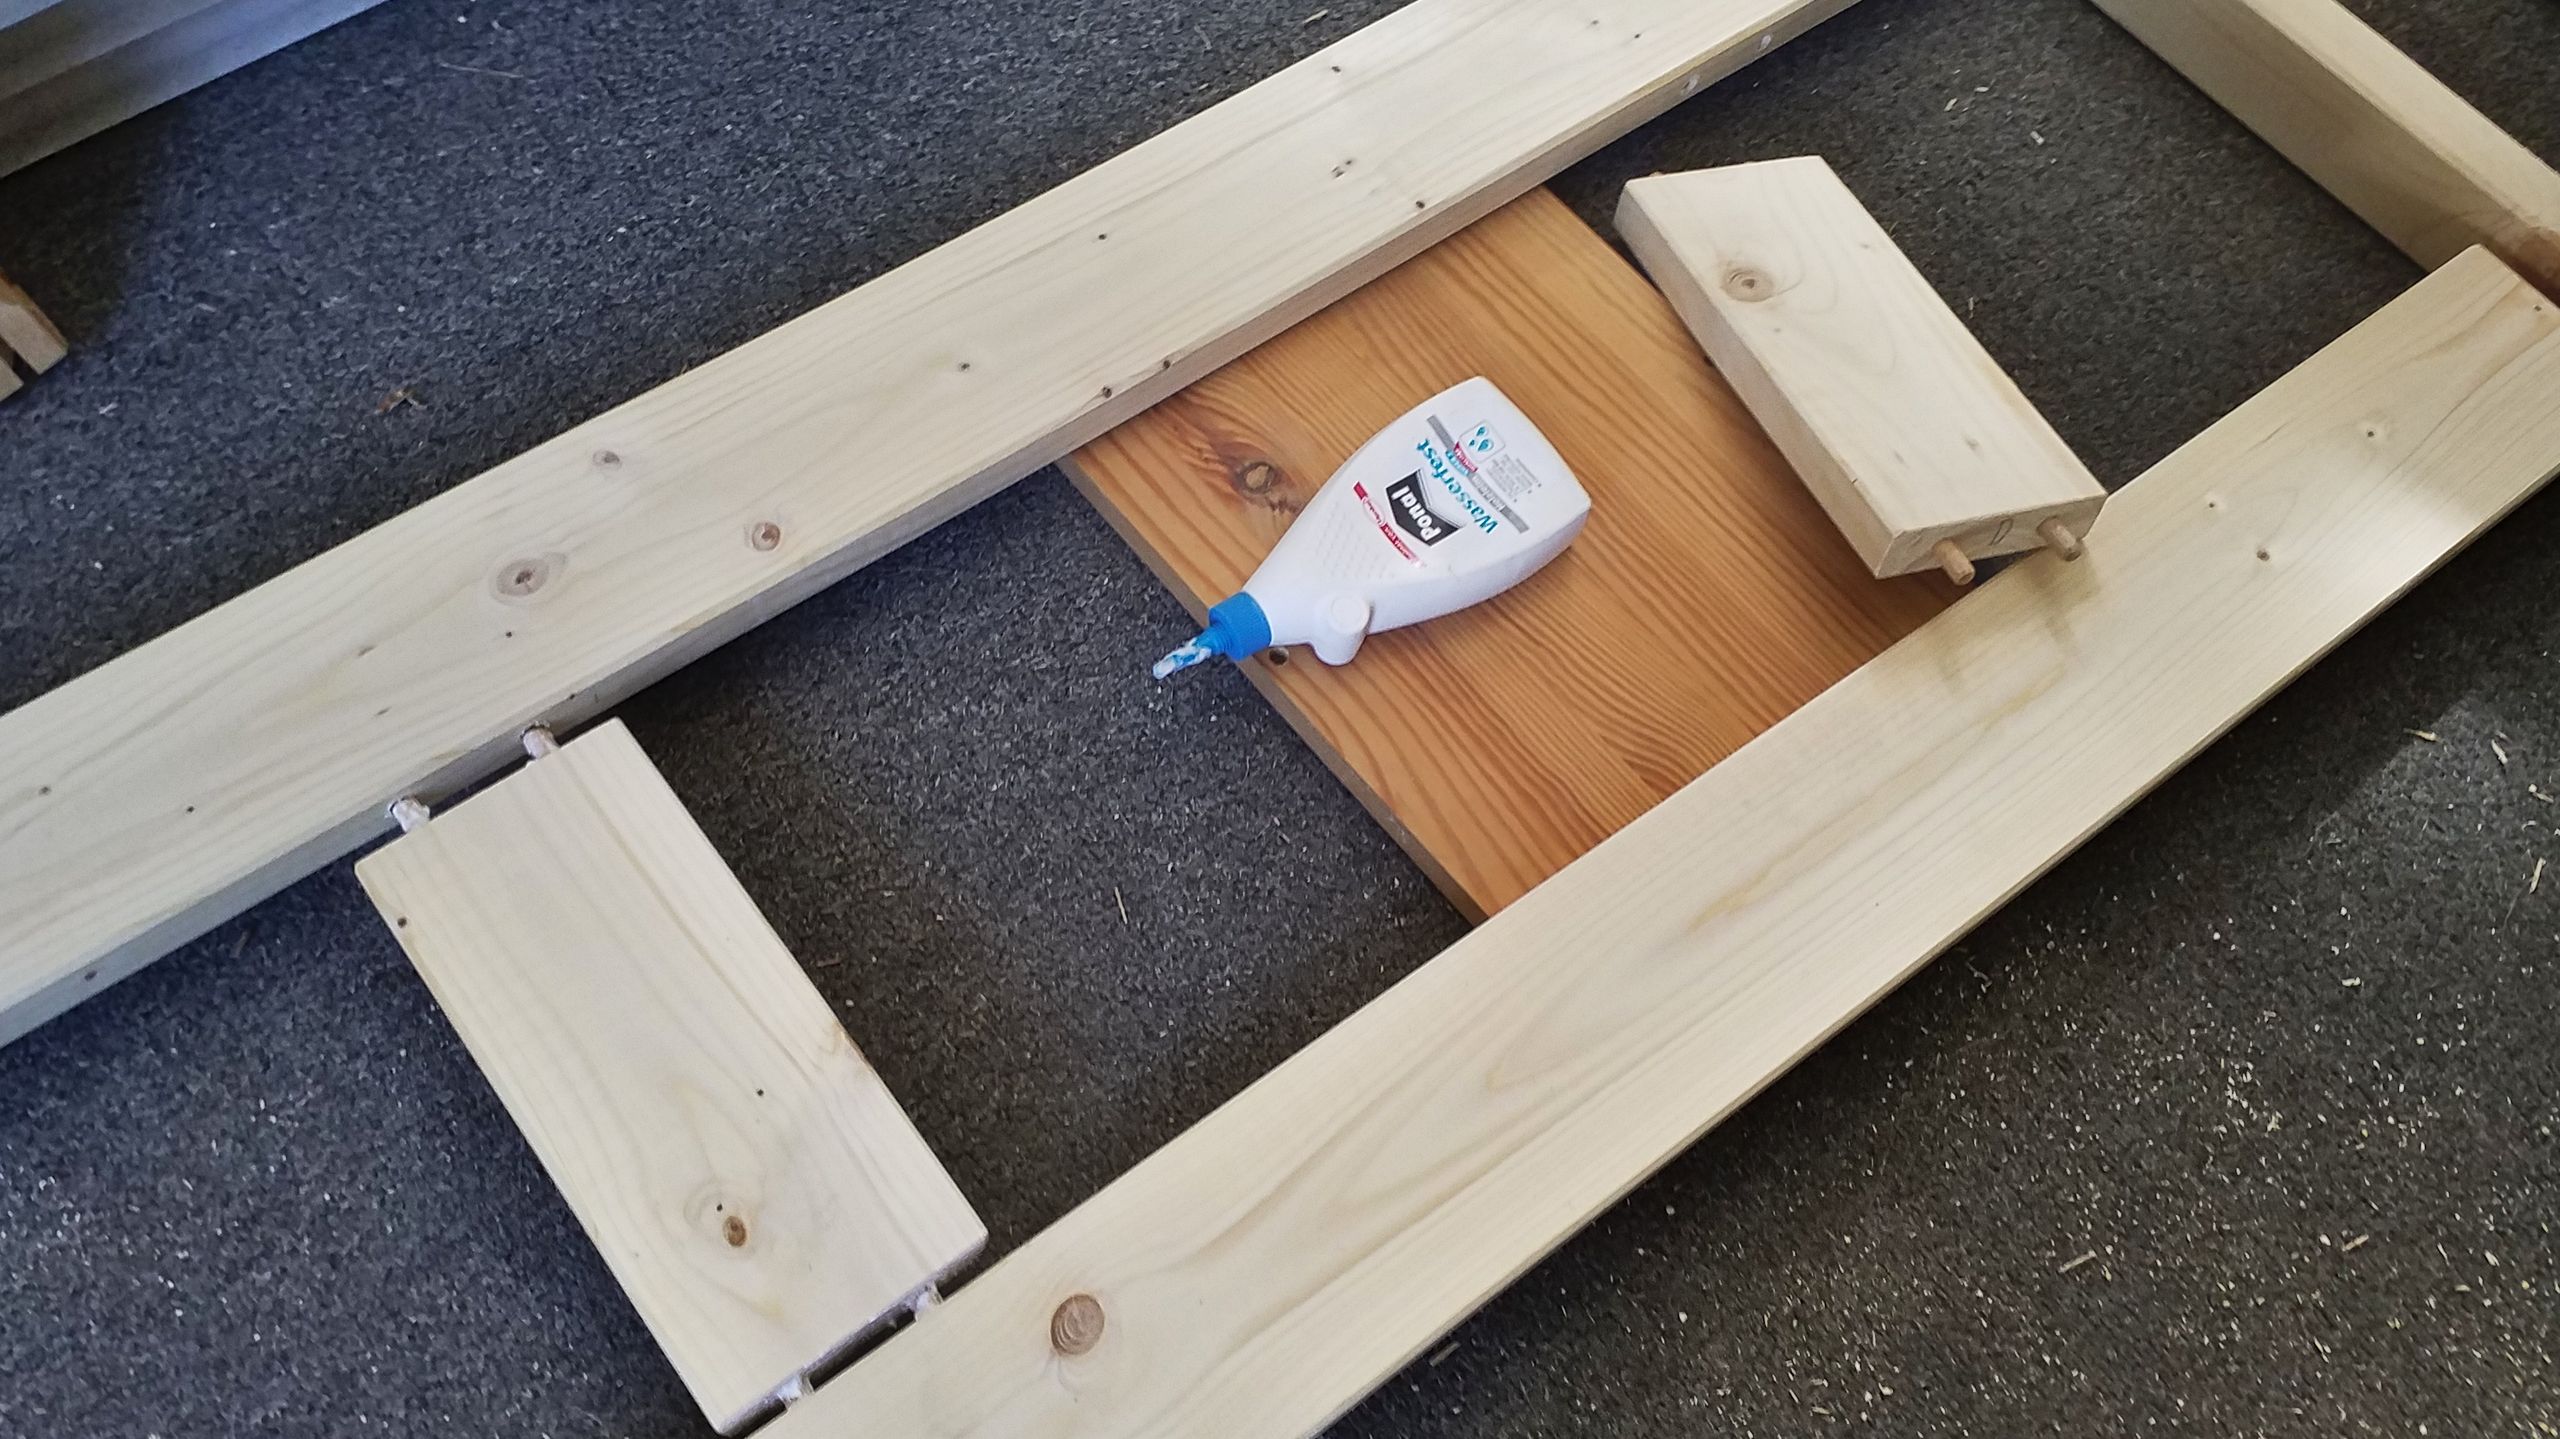
Cramping obviously requires some cramps of appropriate length. Alternatively one can use tension belts. At any rate one cramp per stave is needed to ensure the side parts stay in shape.
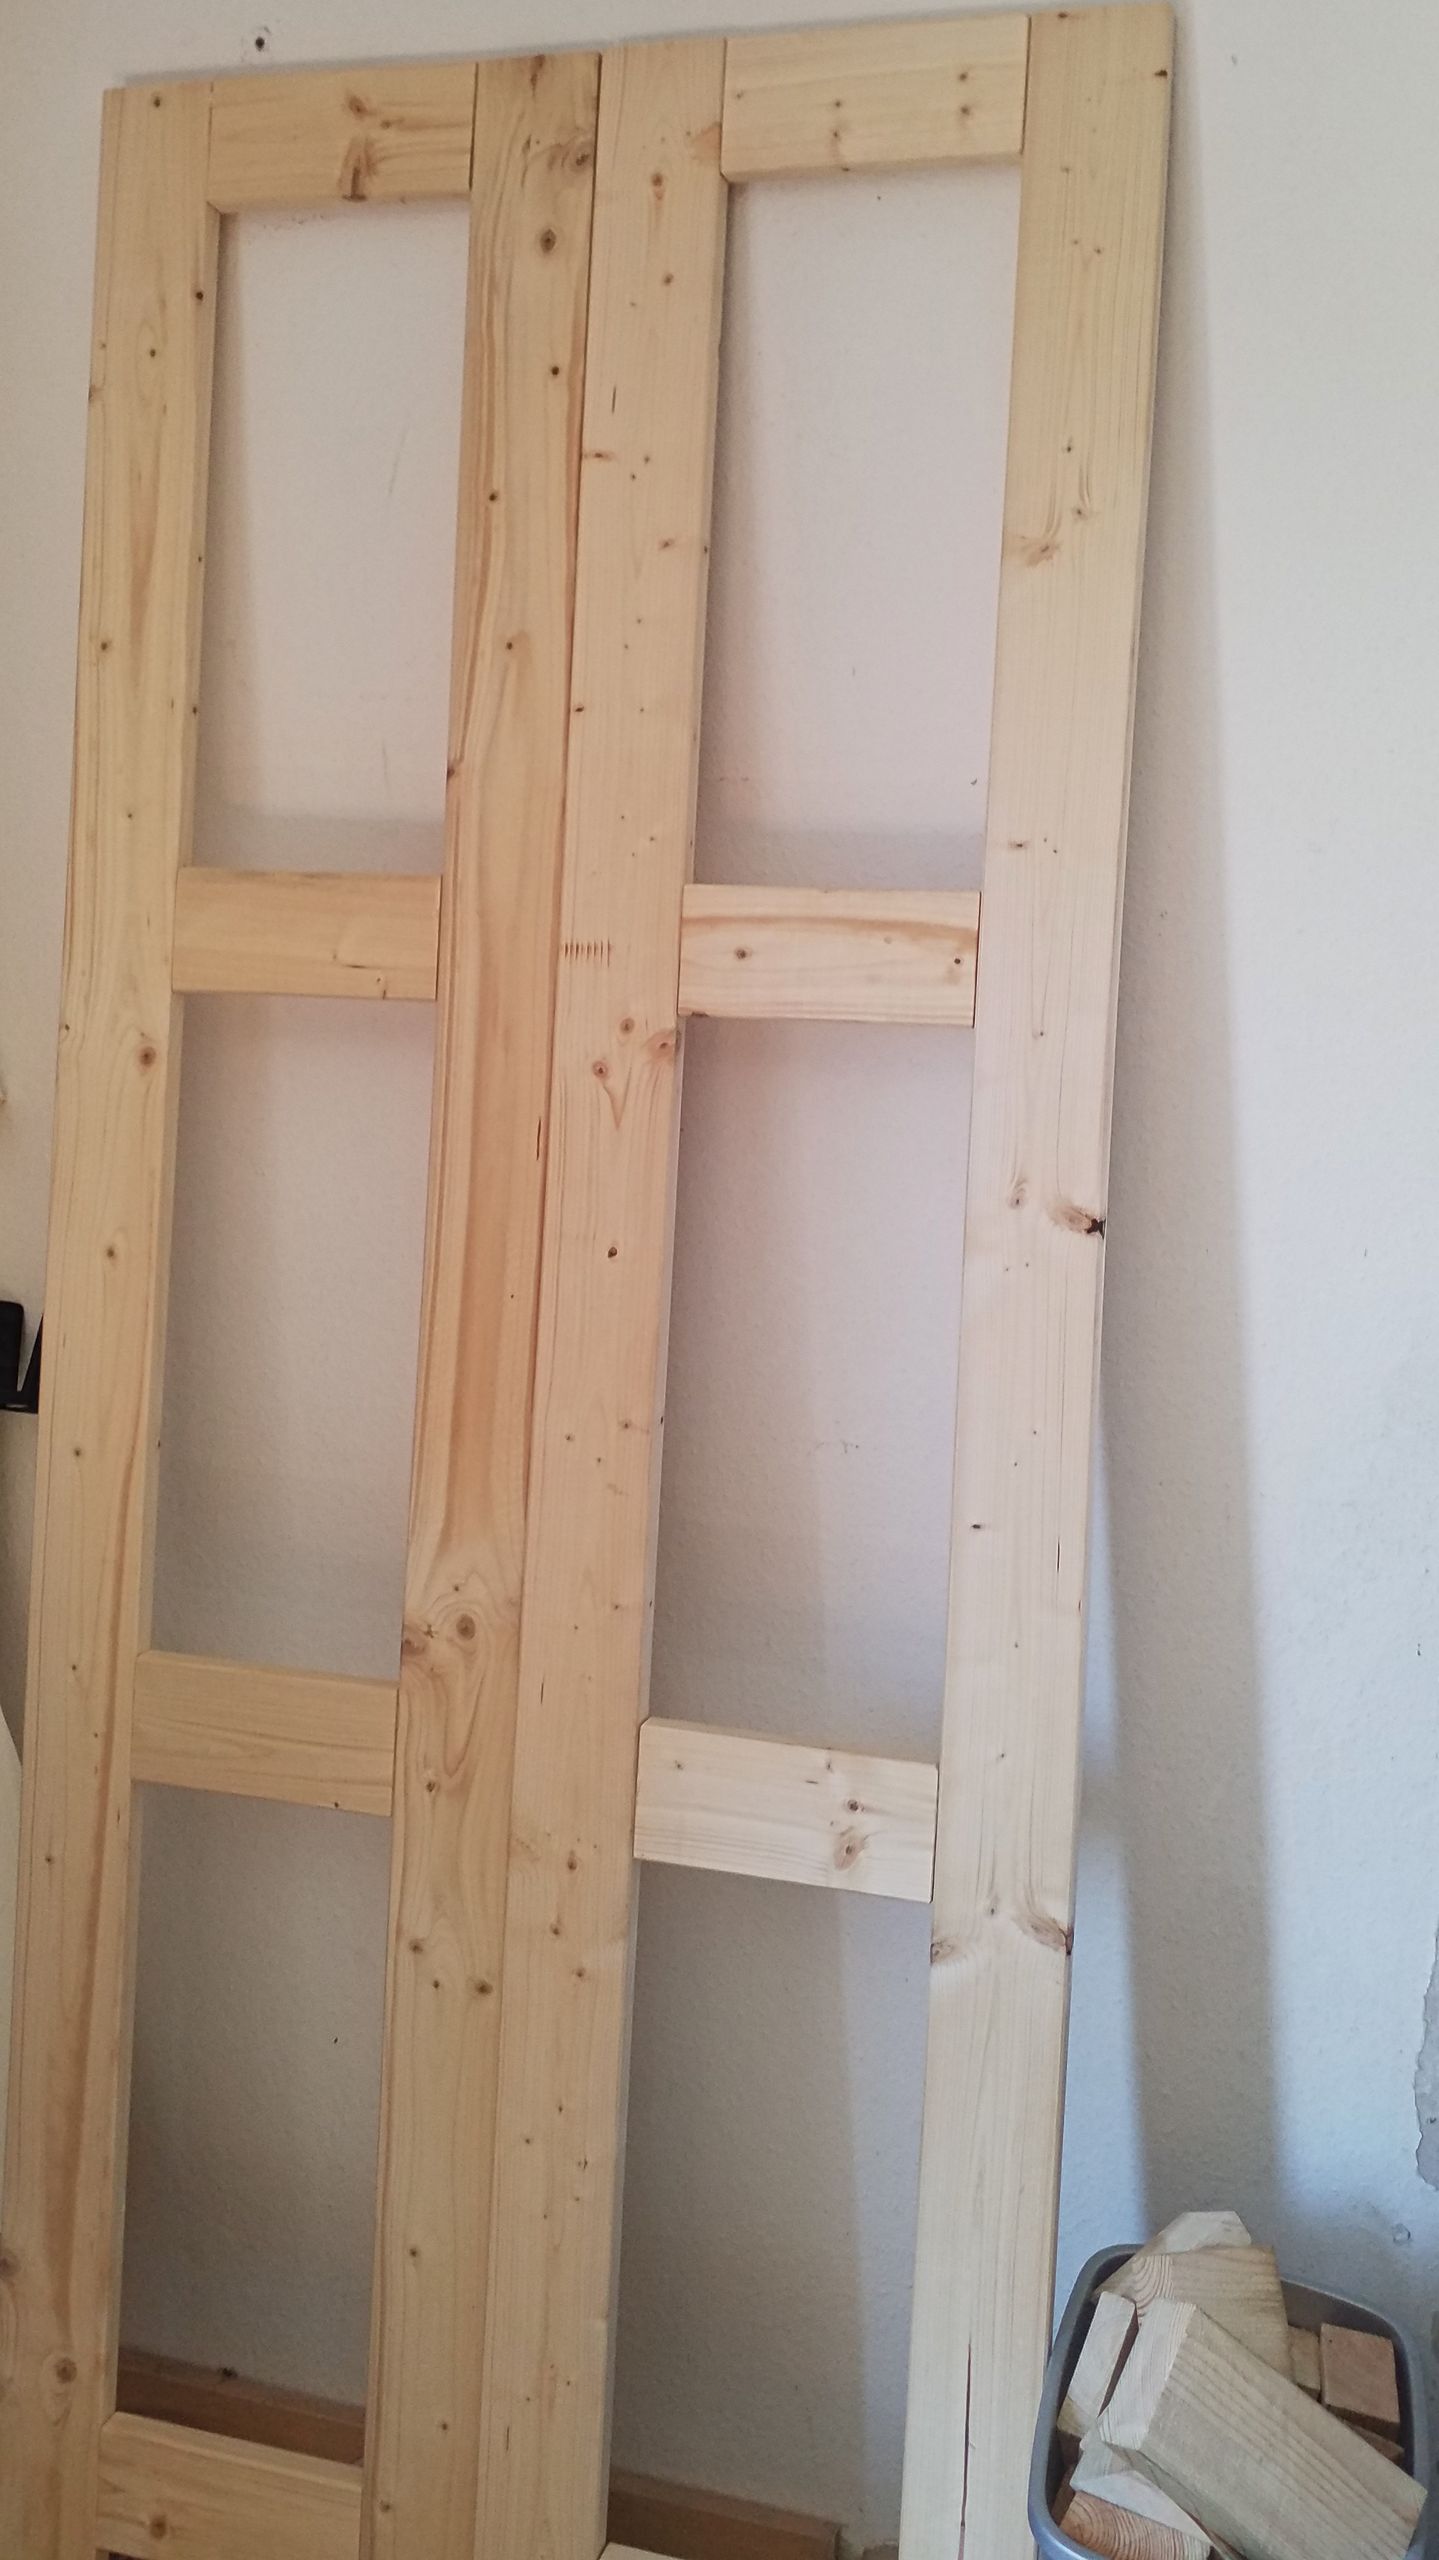
The side parts have come out quite nicely and they are very rigid, yet not too heavy. The boards are going to be made from floorboards because they come cheaper than furniture-graded wood. If these boards prove to be sagging, I will add some longitudinal stiffening below the boards. For the moment I will pass on such measures since I don’t plan to store heavy items in that shelf.
Next up, the board mountings have to be cut to length. Then they are pre-drilled in order to screw them to the side parts.

Now it’s quite an easy process to cut the floorboards to length and screw them onto the board mountings. The only real challenge is the front edge of the boards because for those I have to rip the floorboards in order to get a clean edge. This is no big deal if you’ve got a table saw. However, it is possible to get good results with a fence and a handsaw, too.
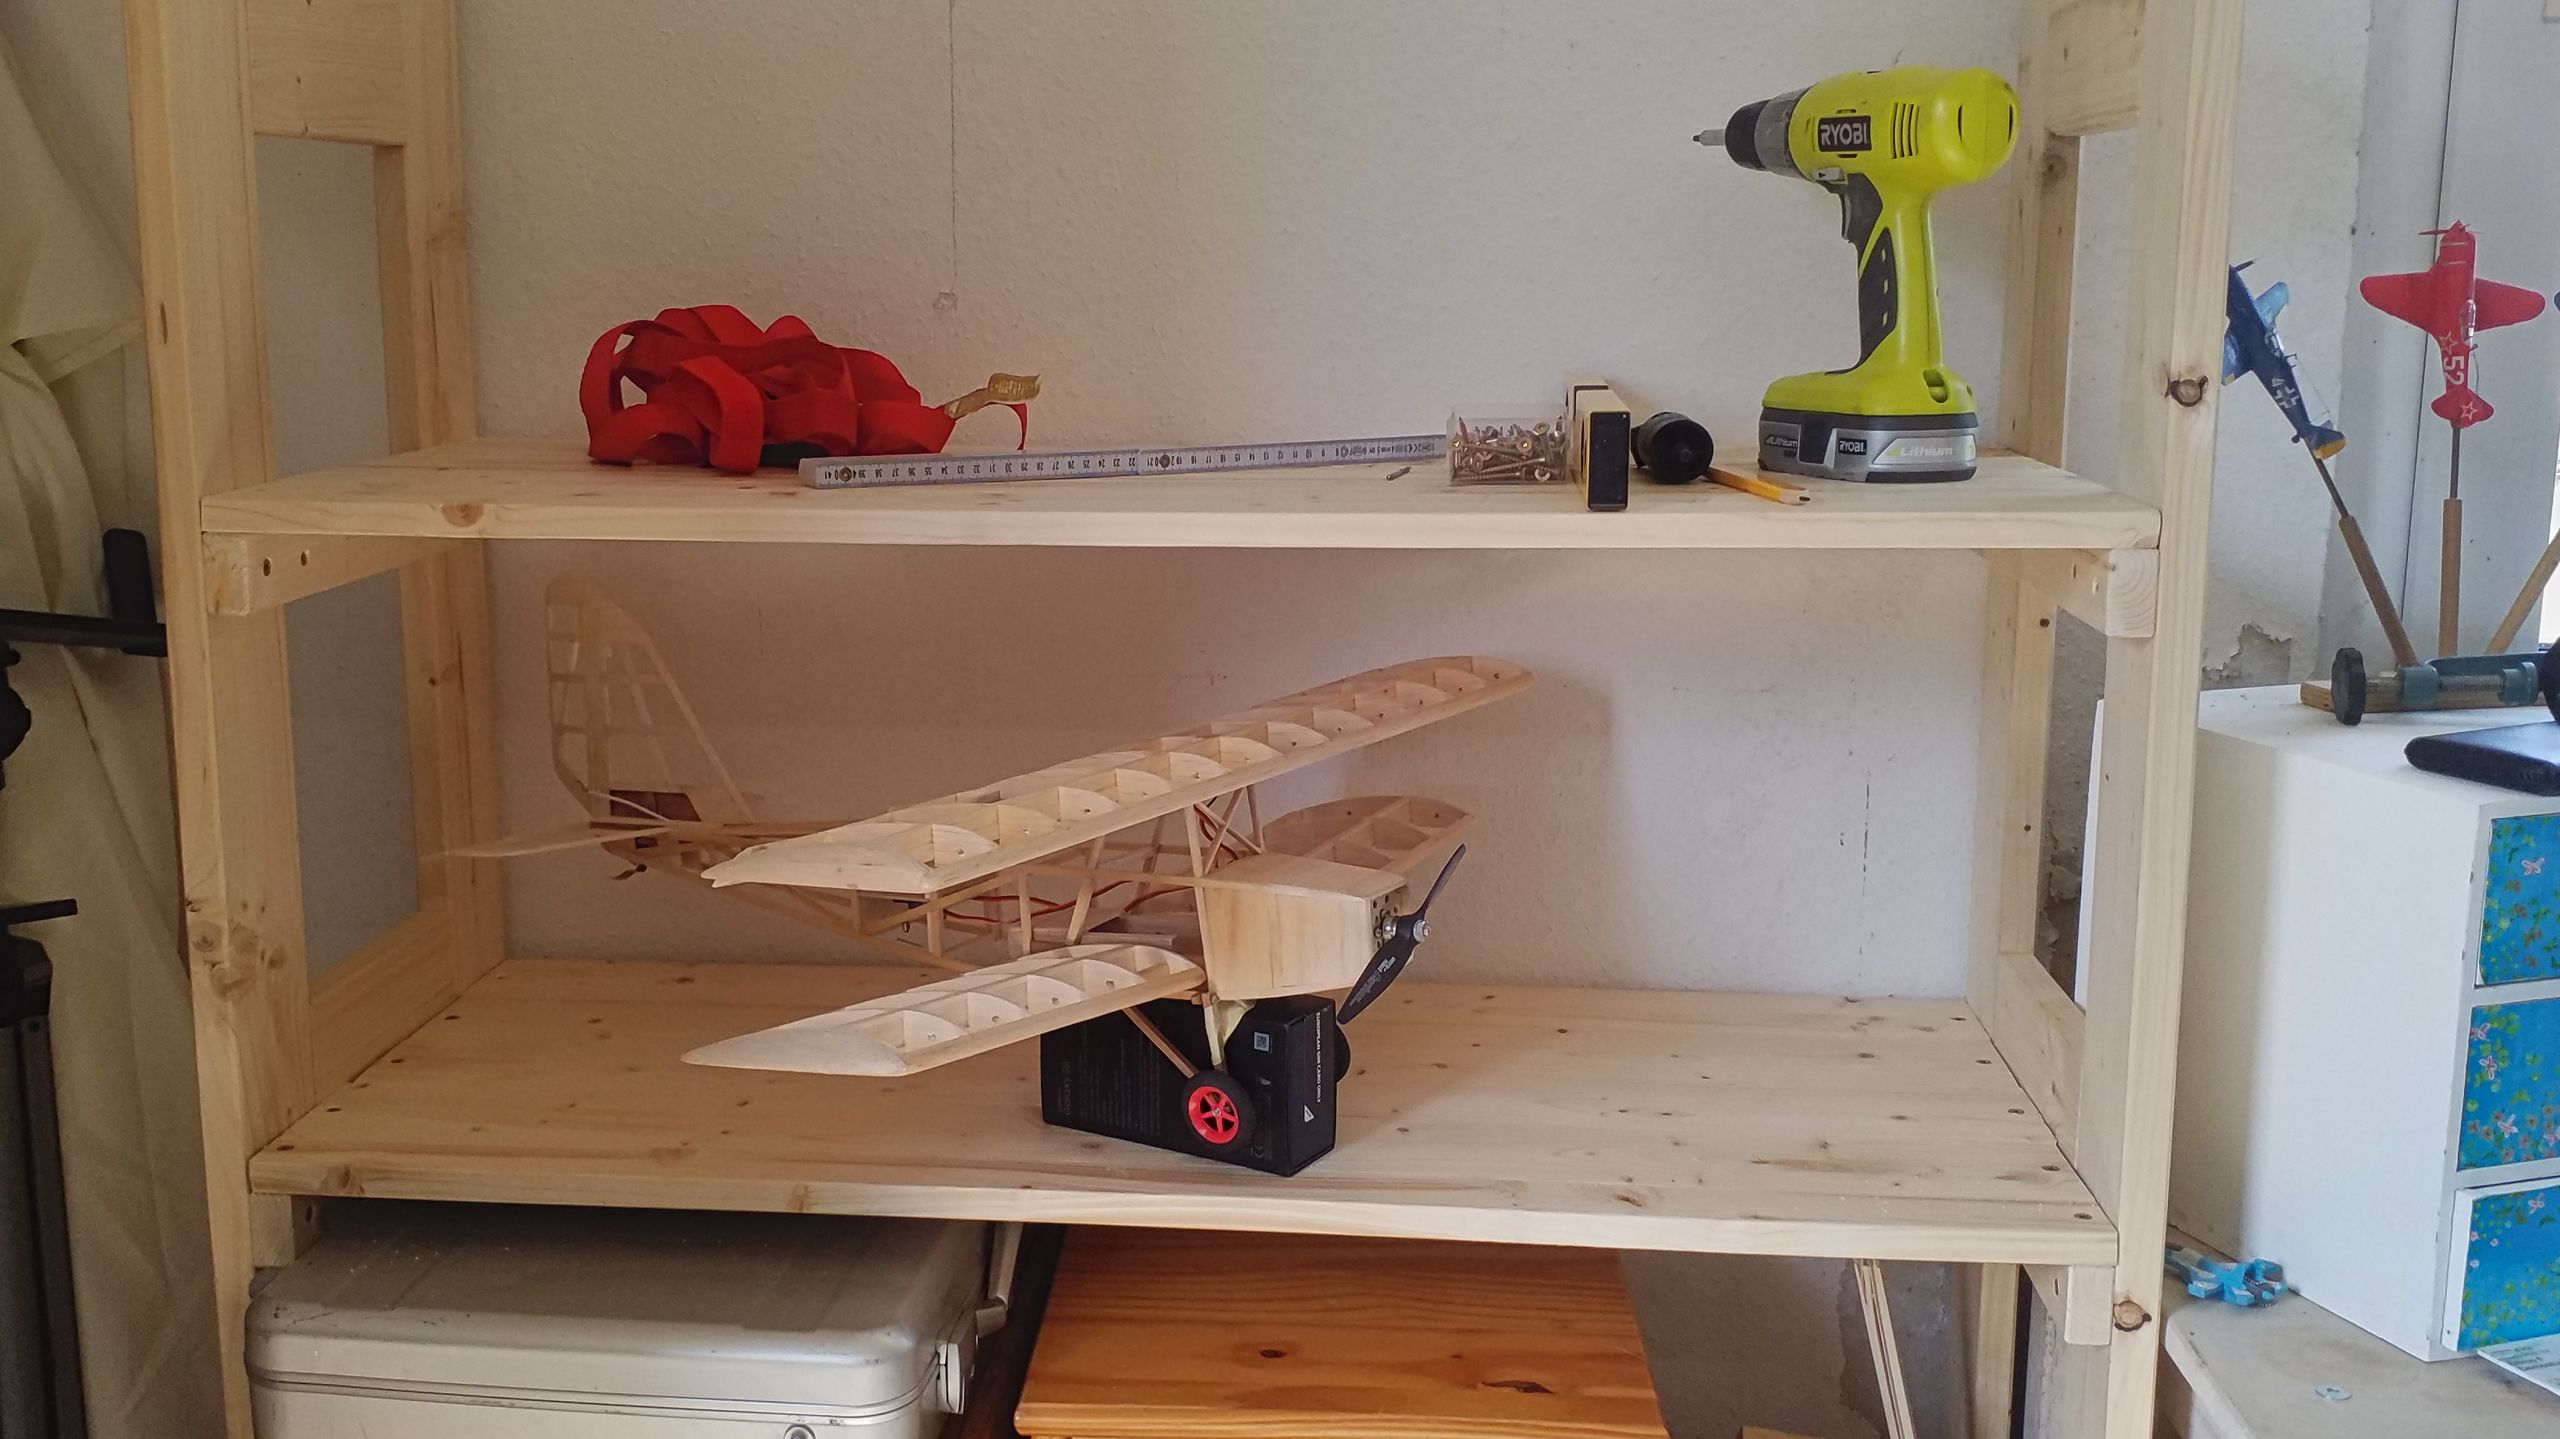
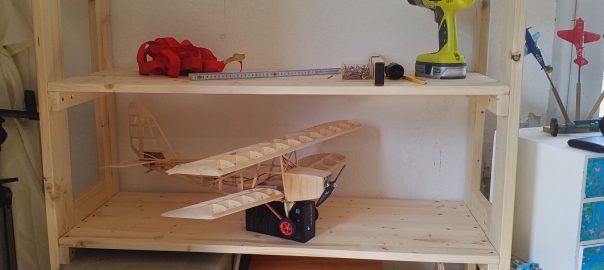
All in all I’m quite pleased with the resulting look. The floorboards seem to be sturdy and because I fastened the shelf to the wall I won’t need a backwall or diagonal struttings. Now I can focus on filling the shelf and then I will once again be able to move about in my workshop without tripping up on something. And then I can focus on the Joyrider again, as one can see she’s waiting for me.