
By finishing the linkage the out-fitting has come to and end an I can take care of the last details. Those cover two areas: the fuselage and the wings.
The fuselage needs a couple of maintenance hatches in order to easily gain access to the drive unit, and the tailplane’s servos and fixture. The fuselages’ belly needs to get reinforced, too. And last but not least I’d like to add some details to the nose.
The wings need an additional strutting in order to stabilize the lower wings. And it will surely add to the good looks.
The nose’s underside, the chin, isn’t supposed to create unwanted drag. That’s why a hatch is fitted into this place. It’s going to be fixated with tape at the front end, so that it can’t be forced open by the slipstream. If the fuselage gets too warm in the long run, an additional cowling intake could be added here.
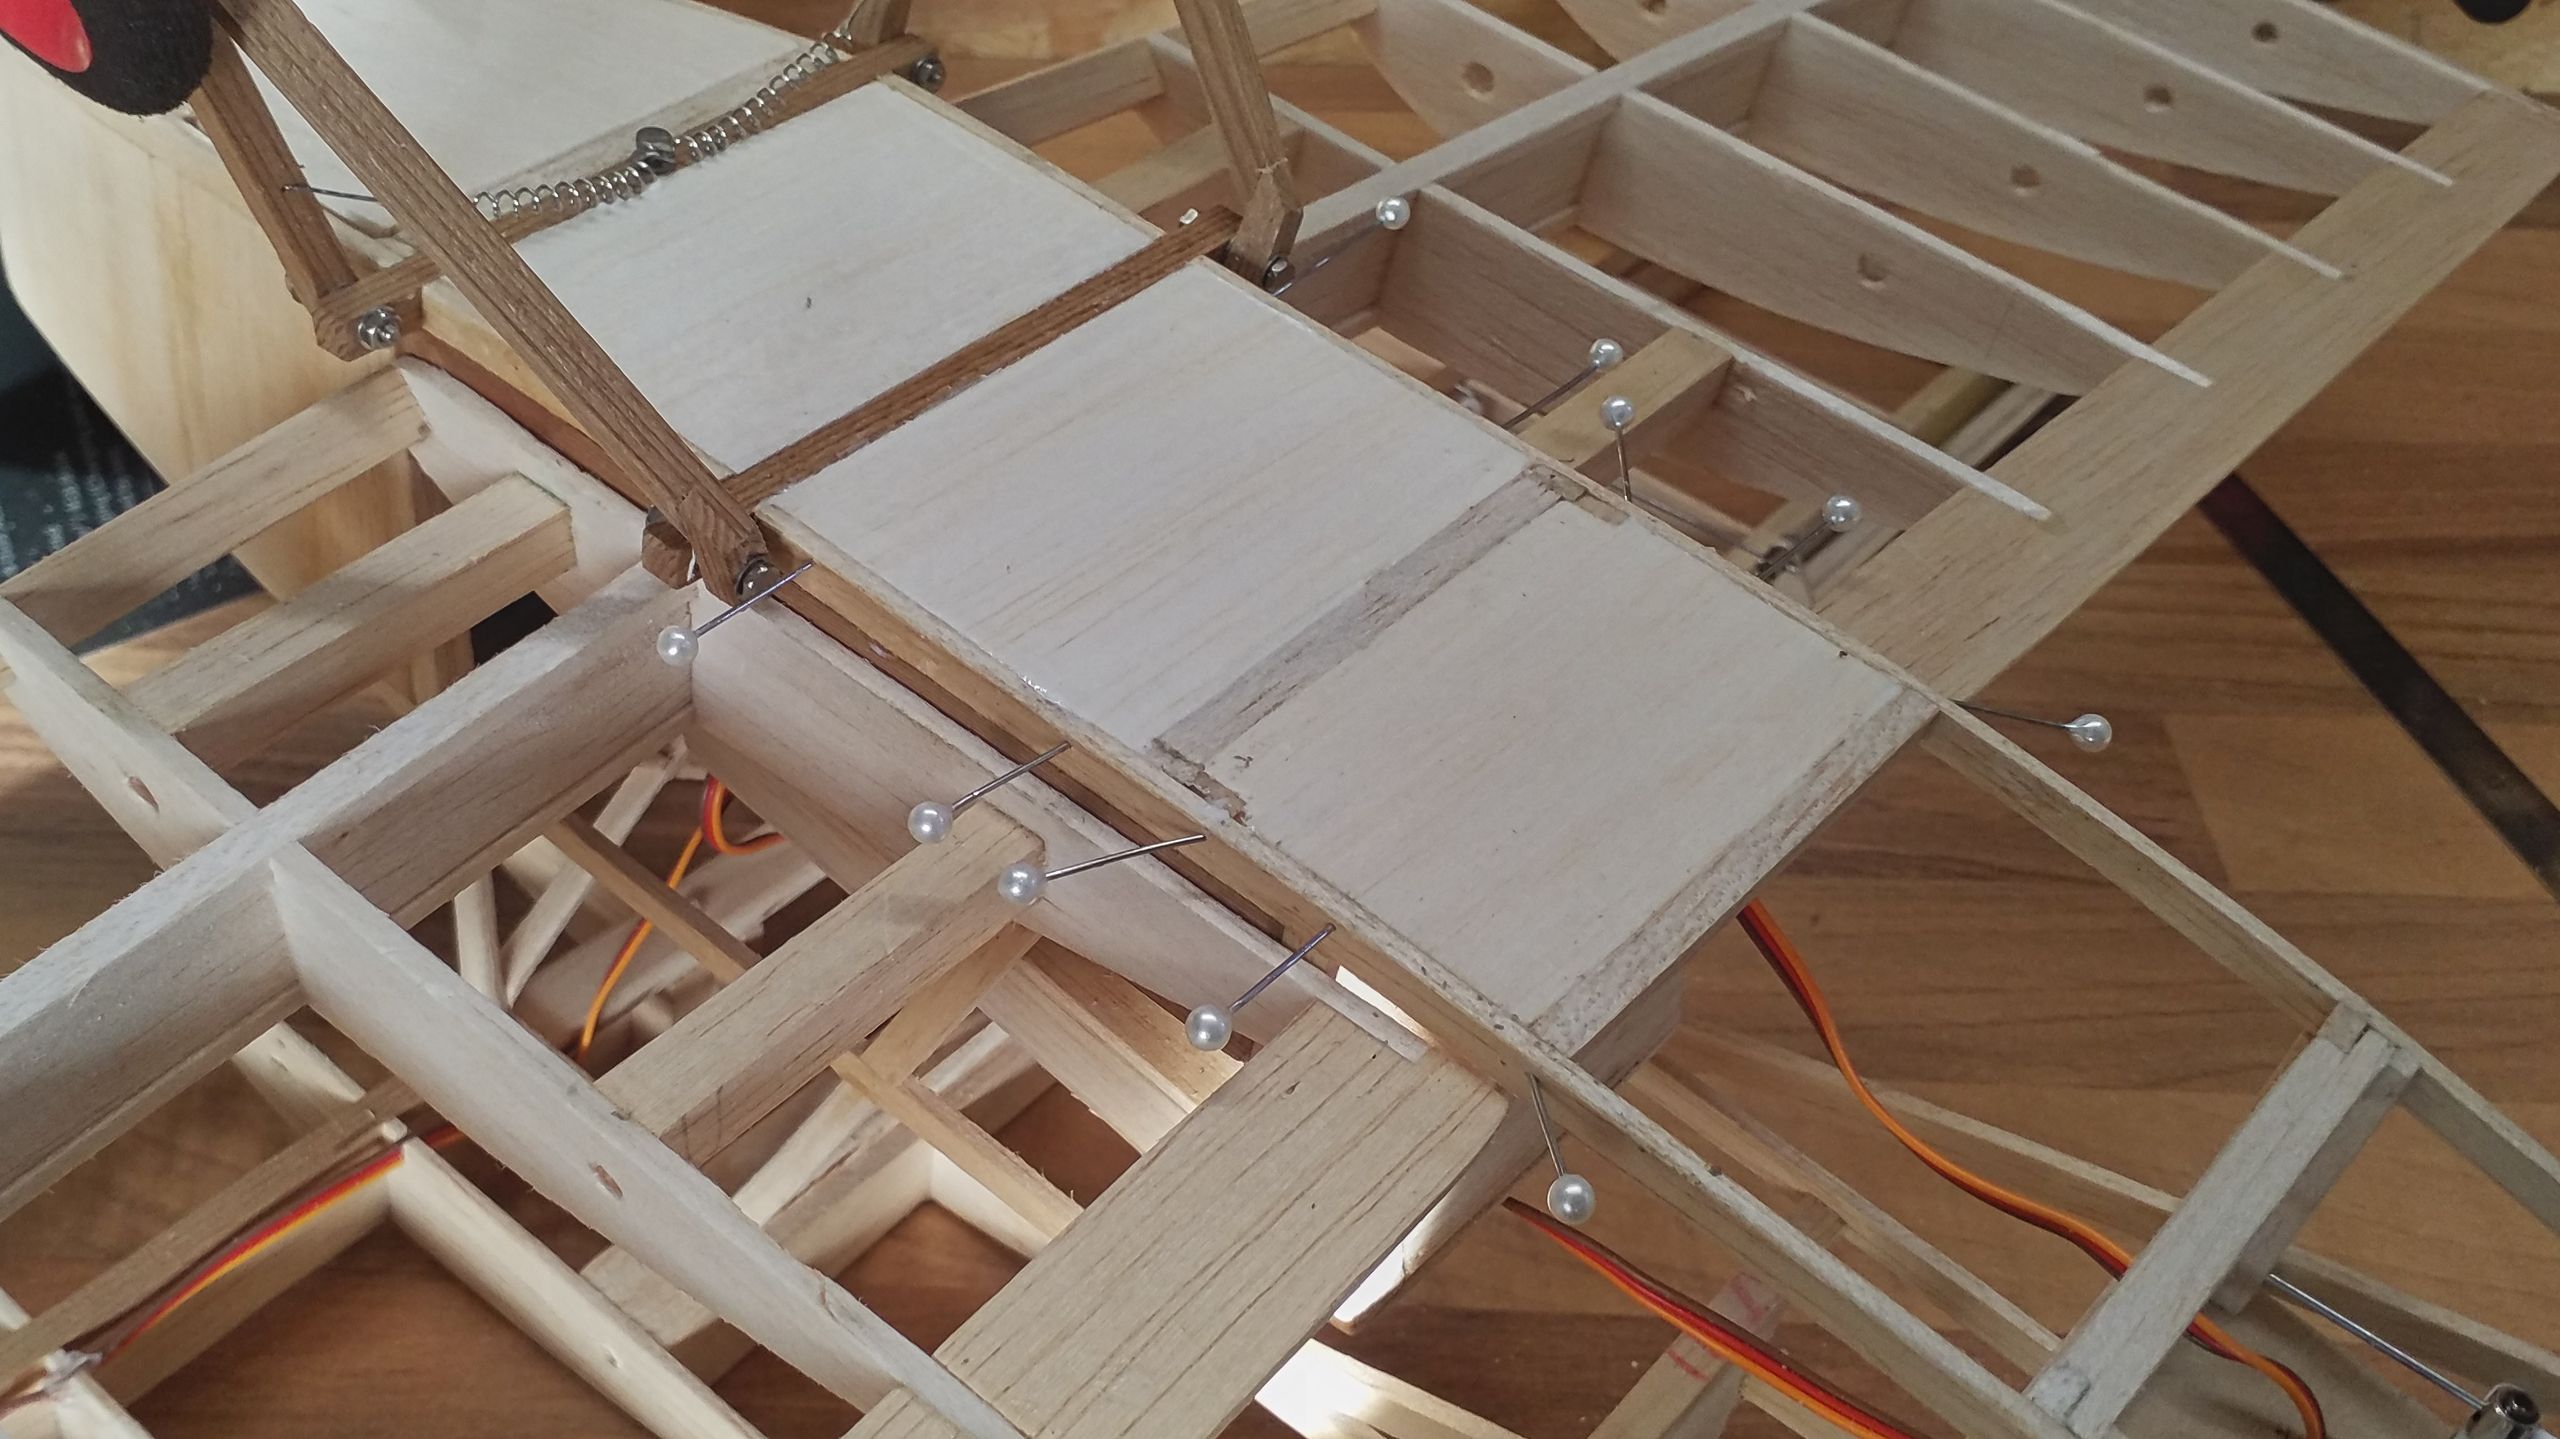
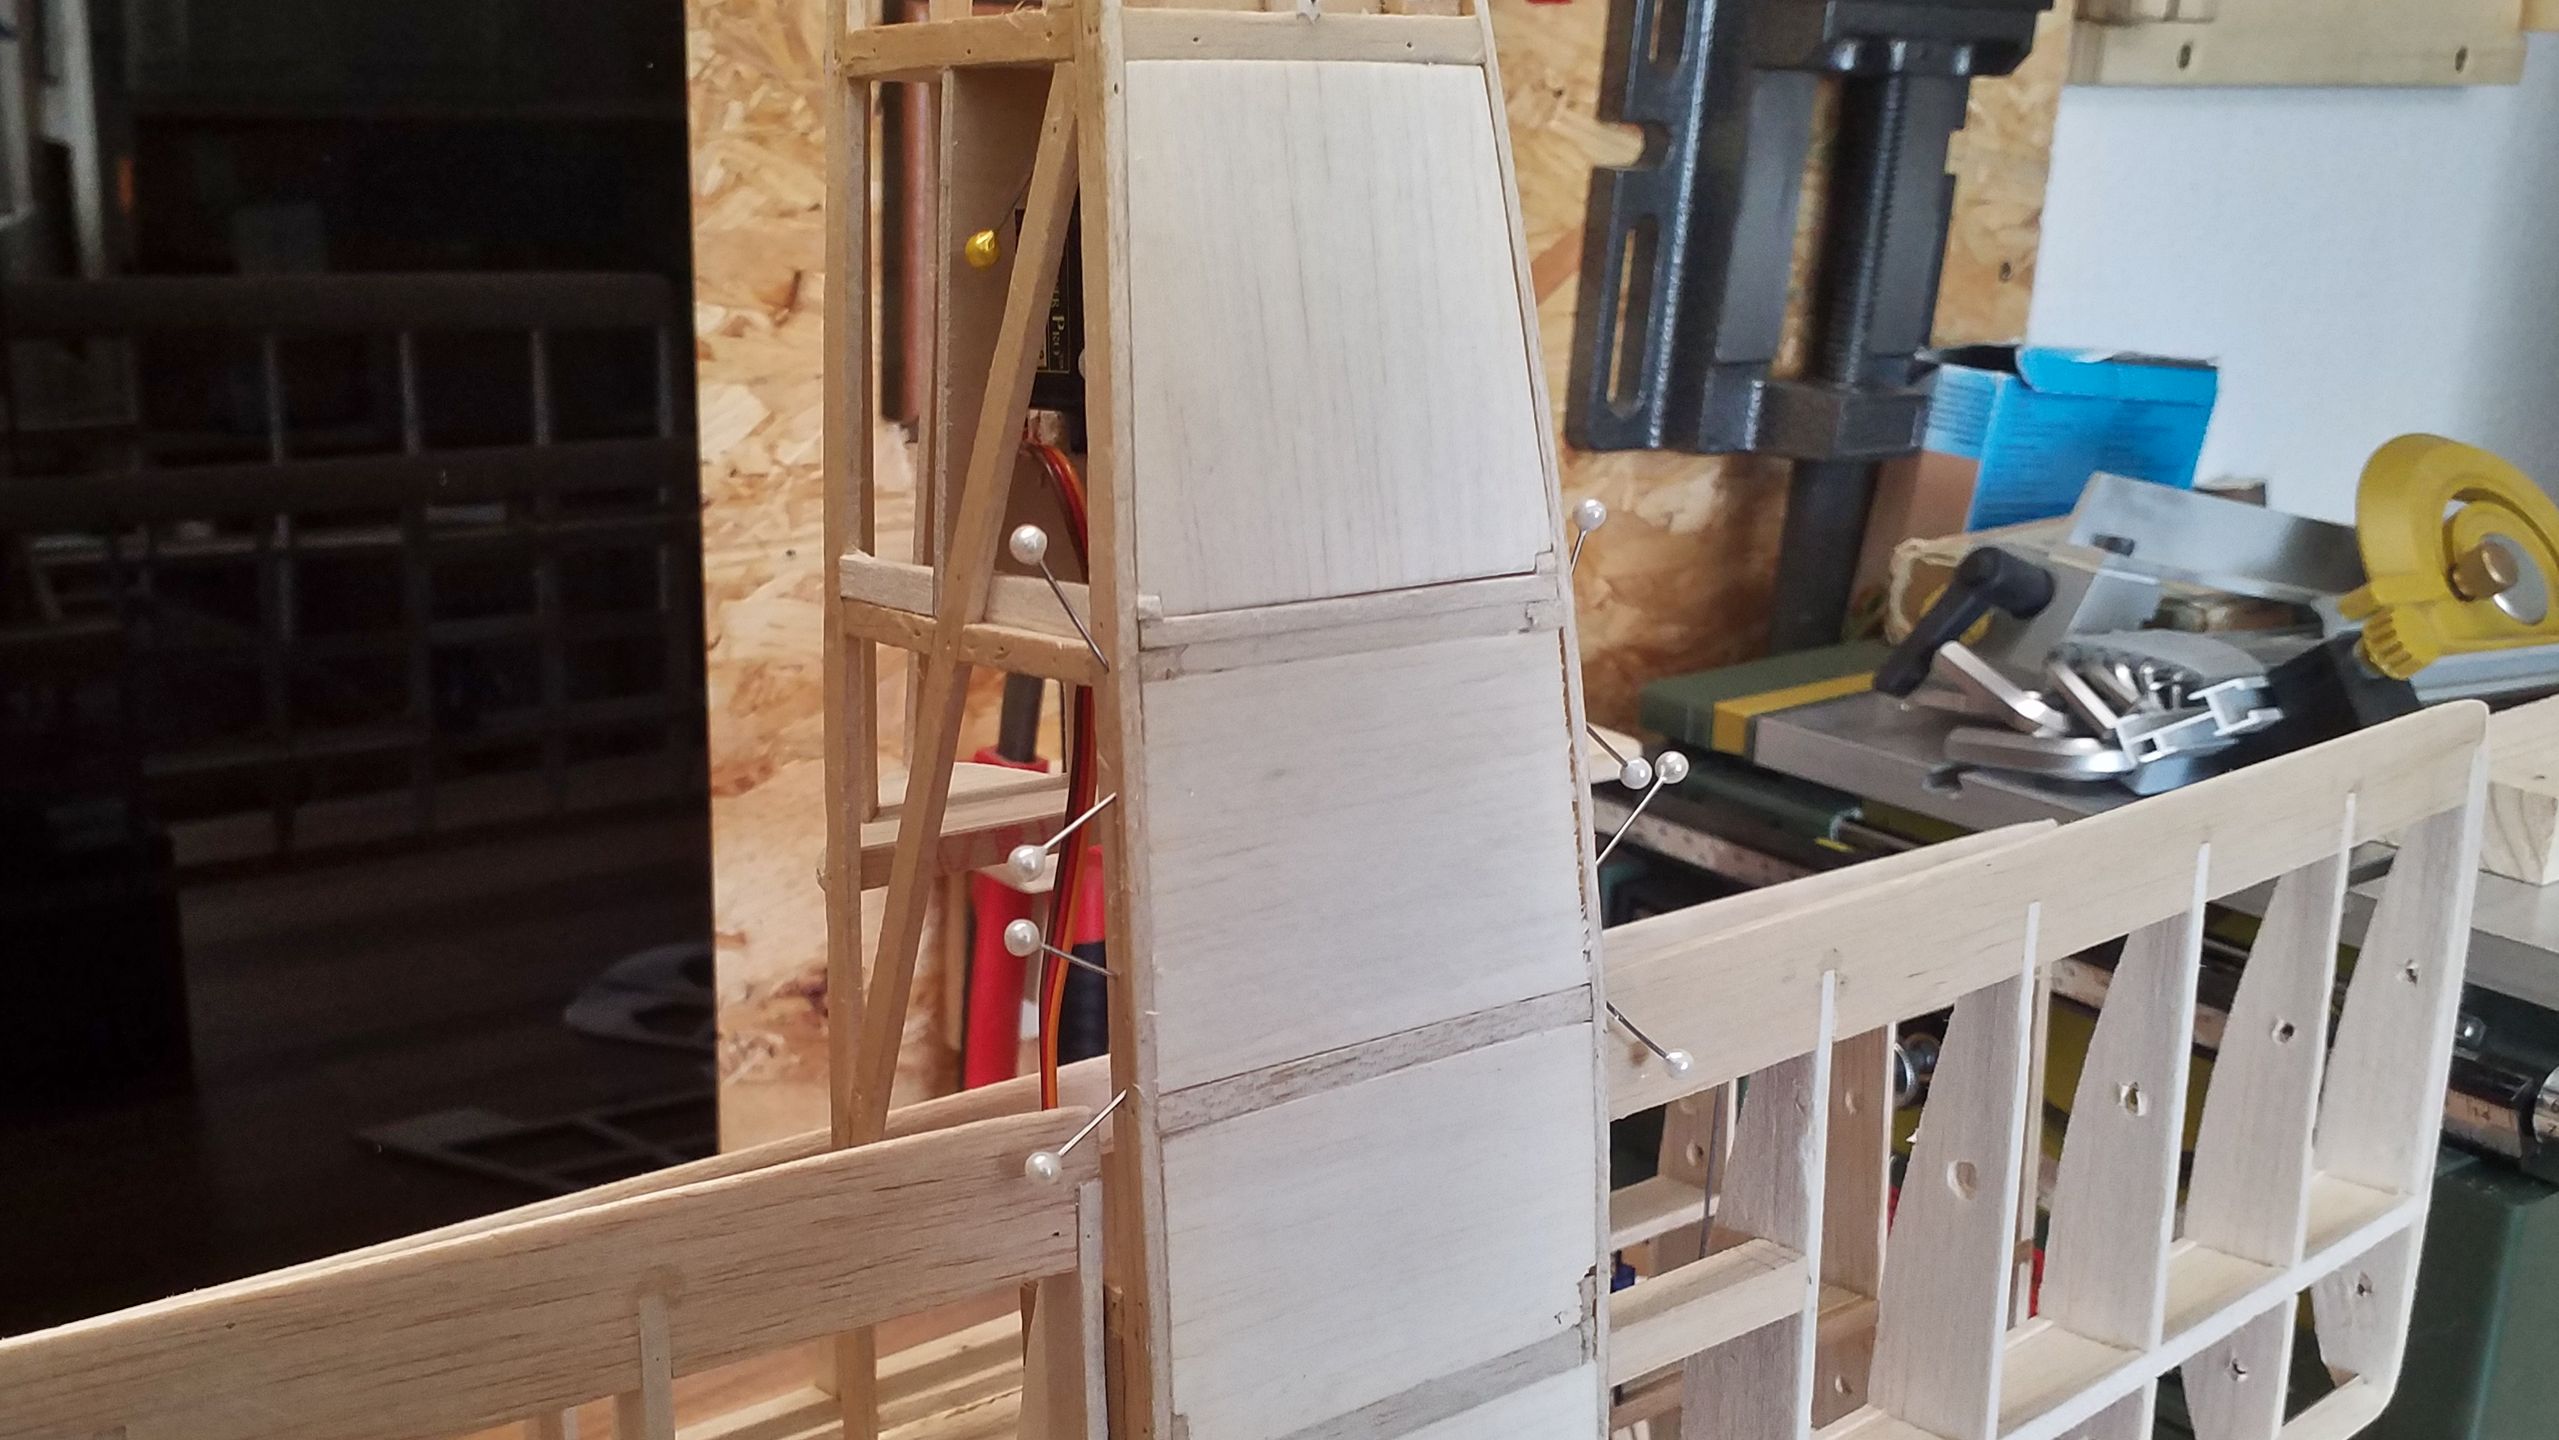
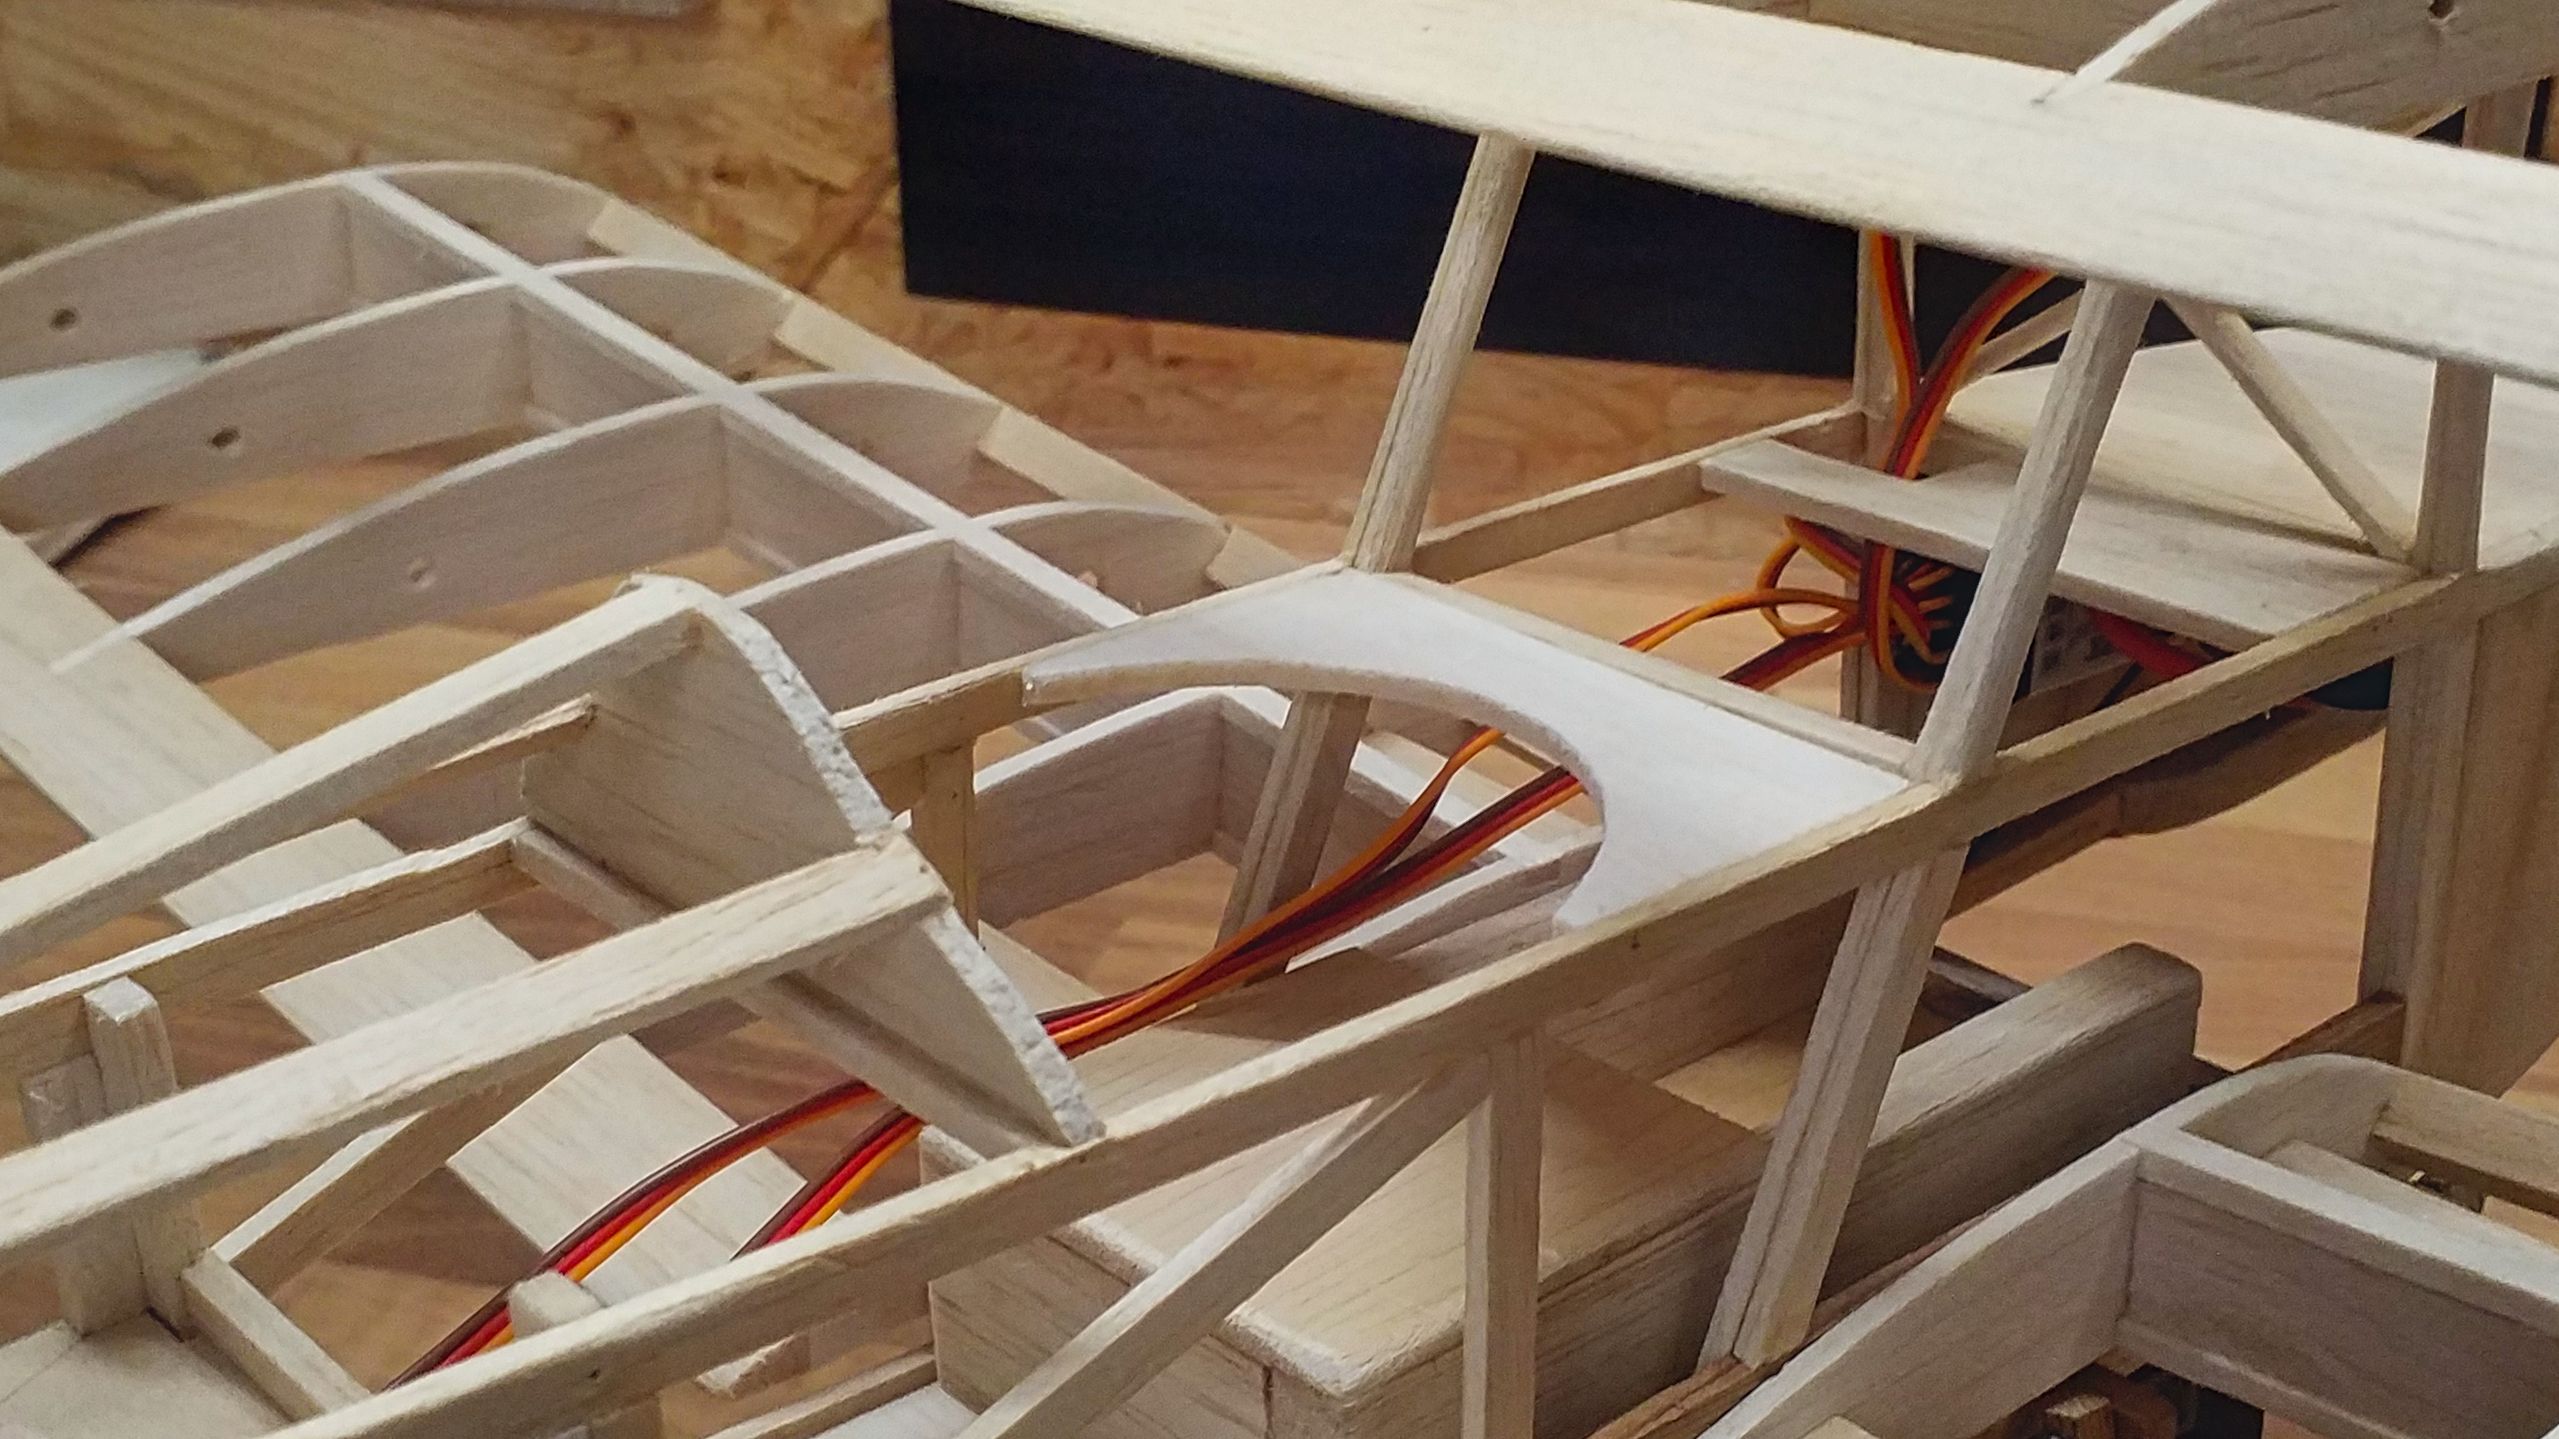
The fuselage’s belly will have to take a lot of stress. I’m especially thinking of touchdown jolts. However, it’s also going to be the link between the airplane and the accumulator’s compartment. Since the accu is the heaviest part by far, it has to be fastened securely. So I’ve decided some time ago that the belly needs to be planked completely.
The tailplane’s servos need to be accessible of course, particularly for adjusting the control surfaces when the flight tests begin. As with the nose’s maintenance hatch, it’s going to be hinged at the front end and locked with tape at the rear end.
Although I originally planned to create a hatch for the tailplane’s fixture, I’ve decided against it. A simple hole suffices to reach the fastening screw. It’s even possible to replace it if the need should ever arise.

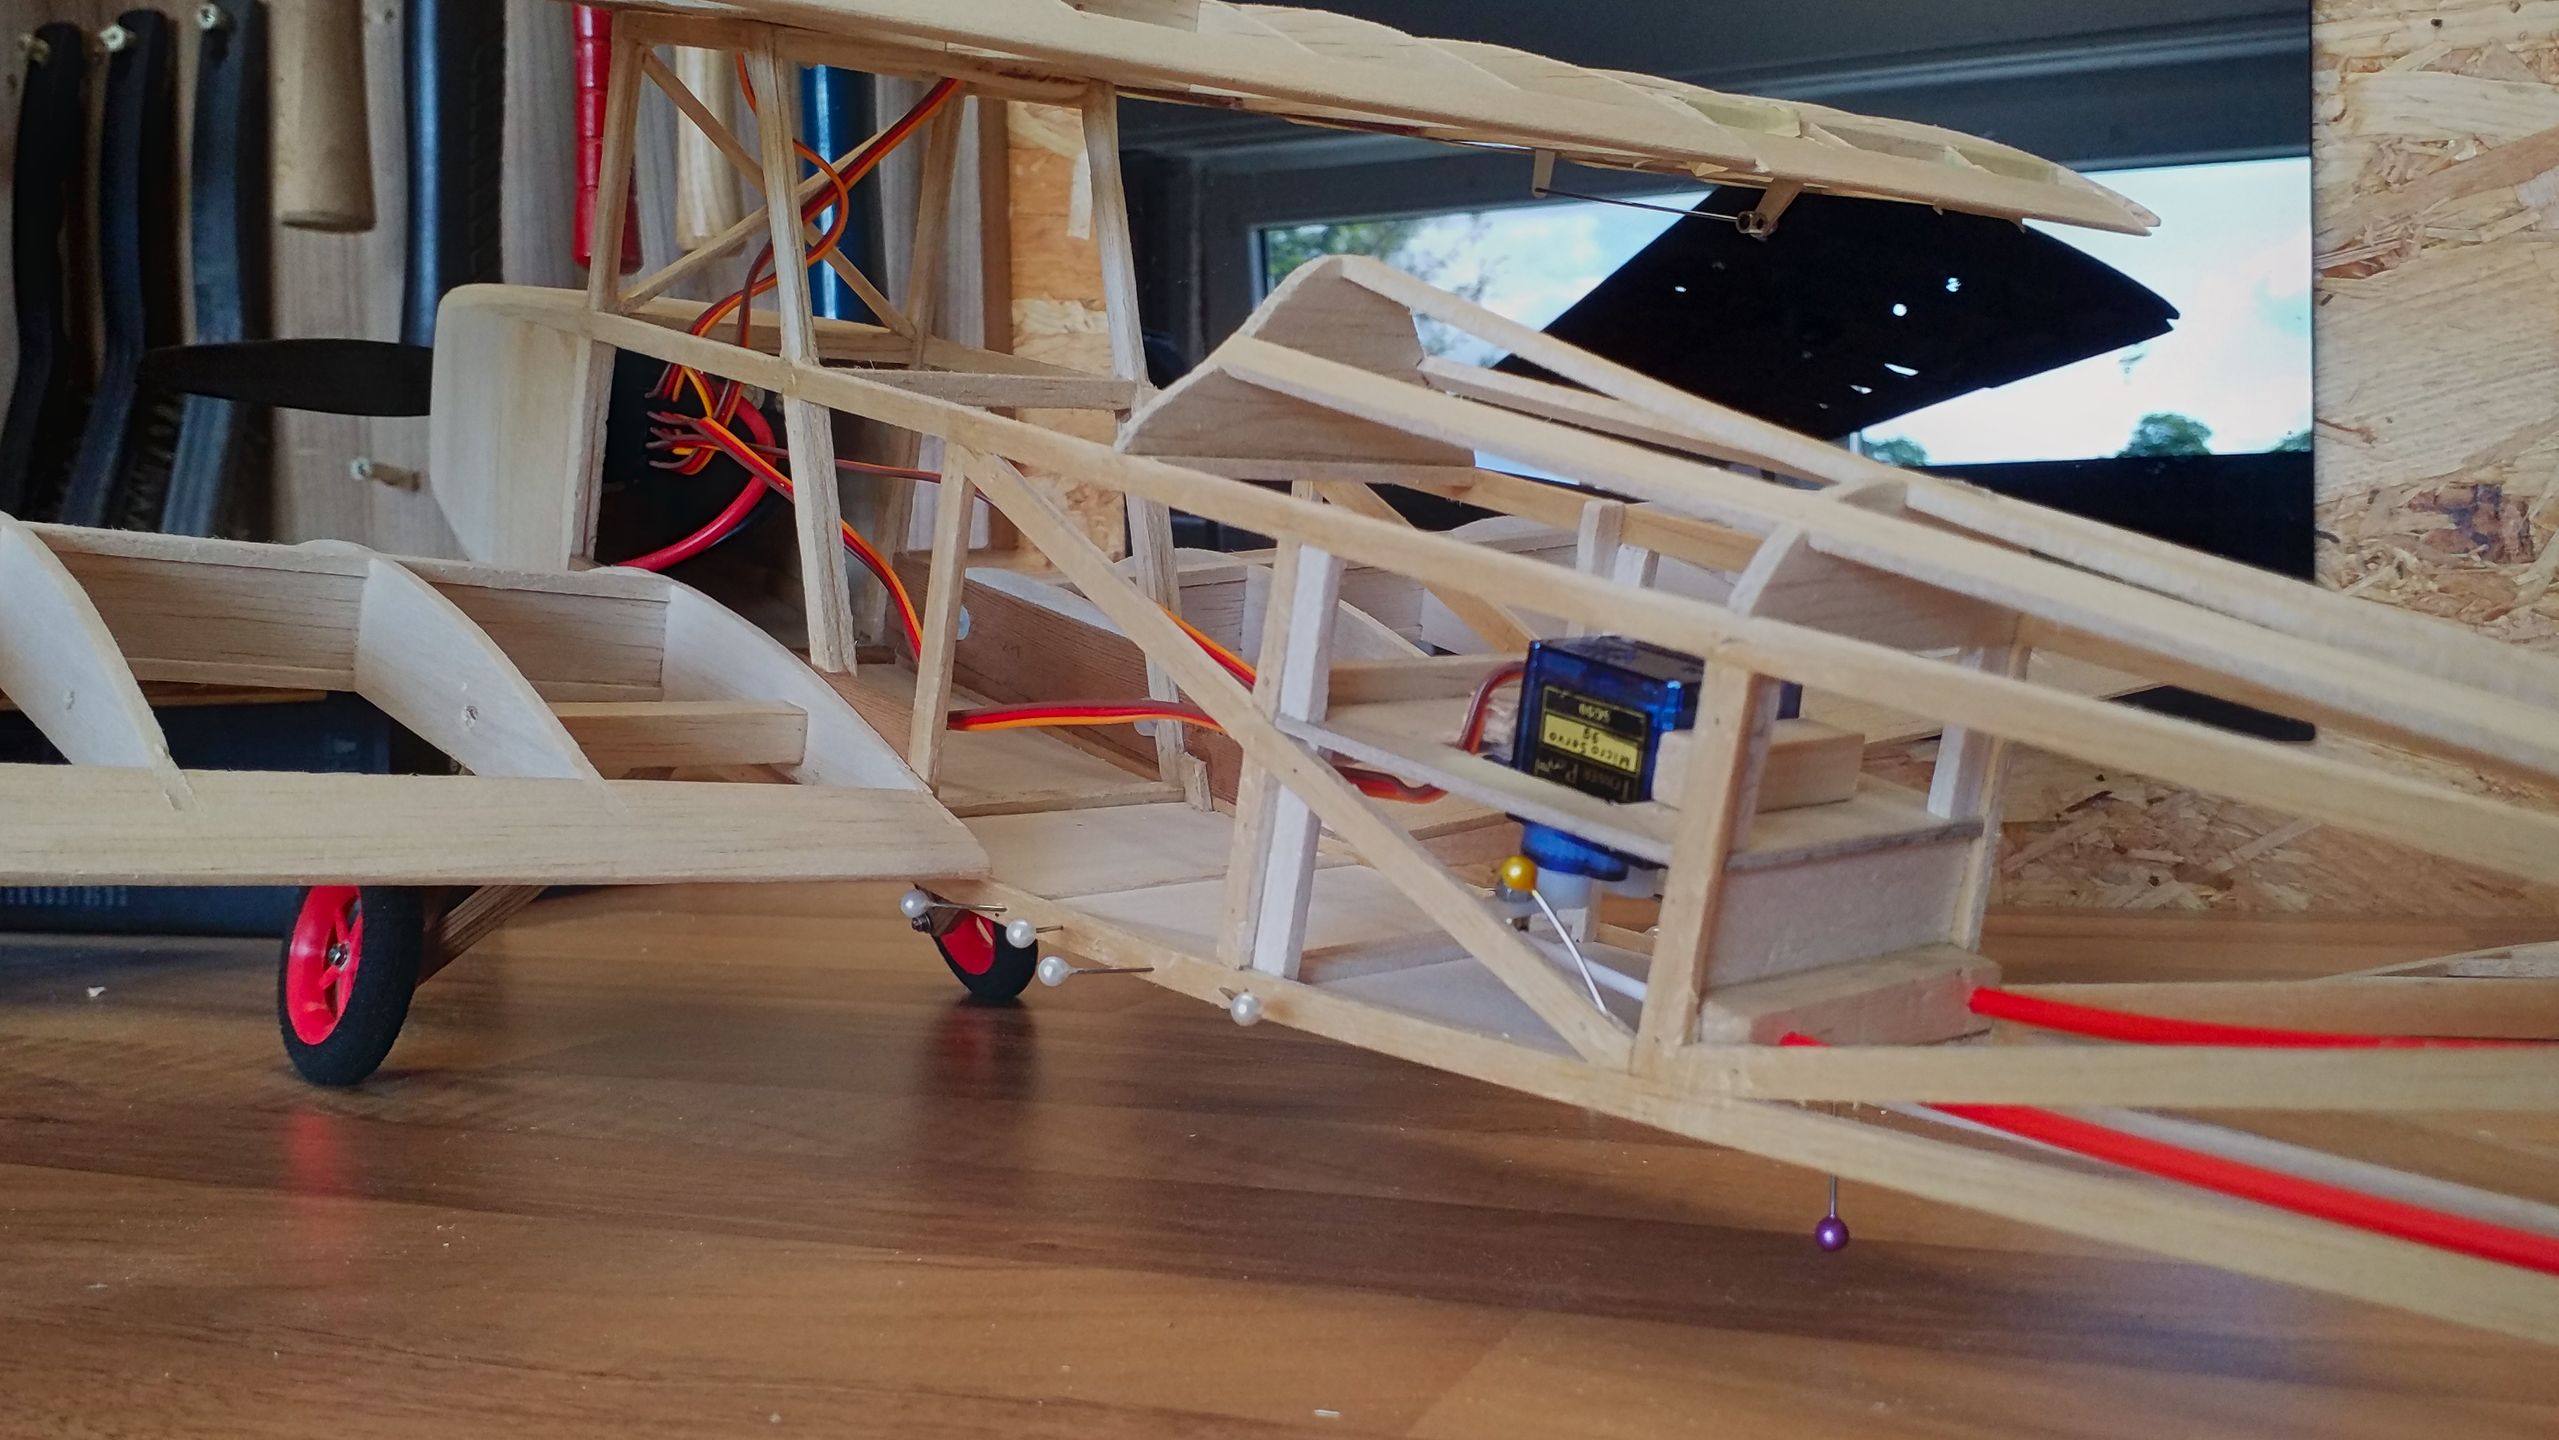
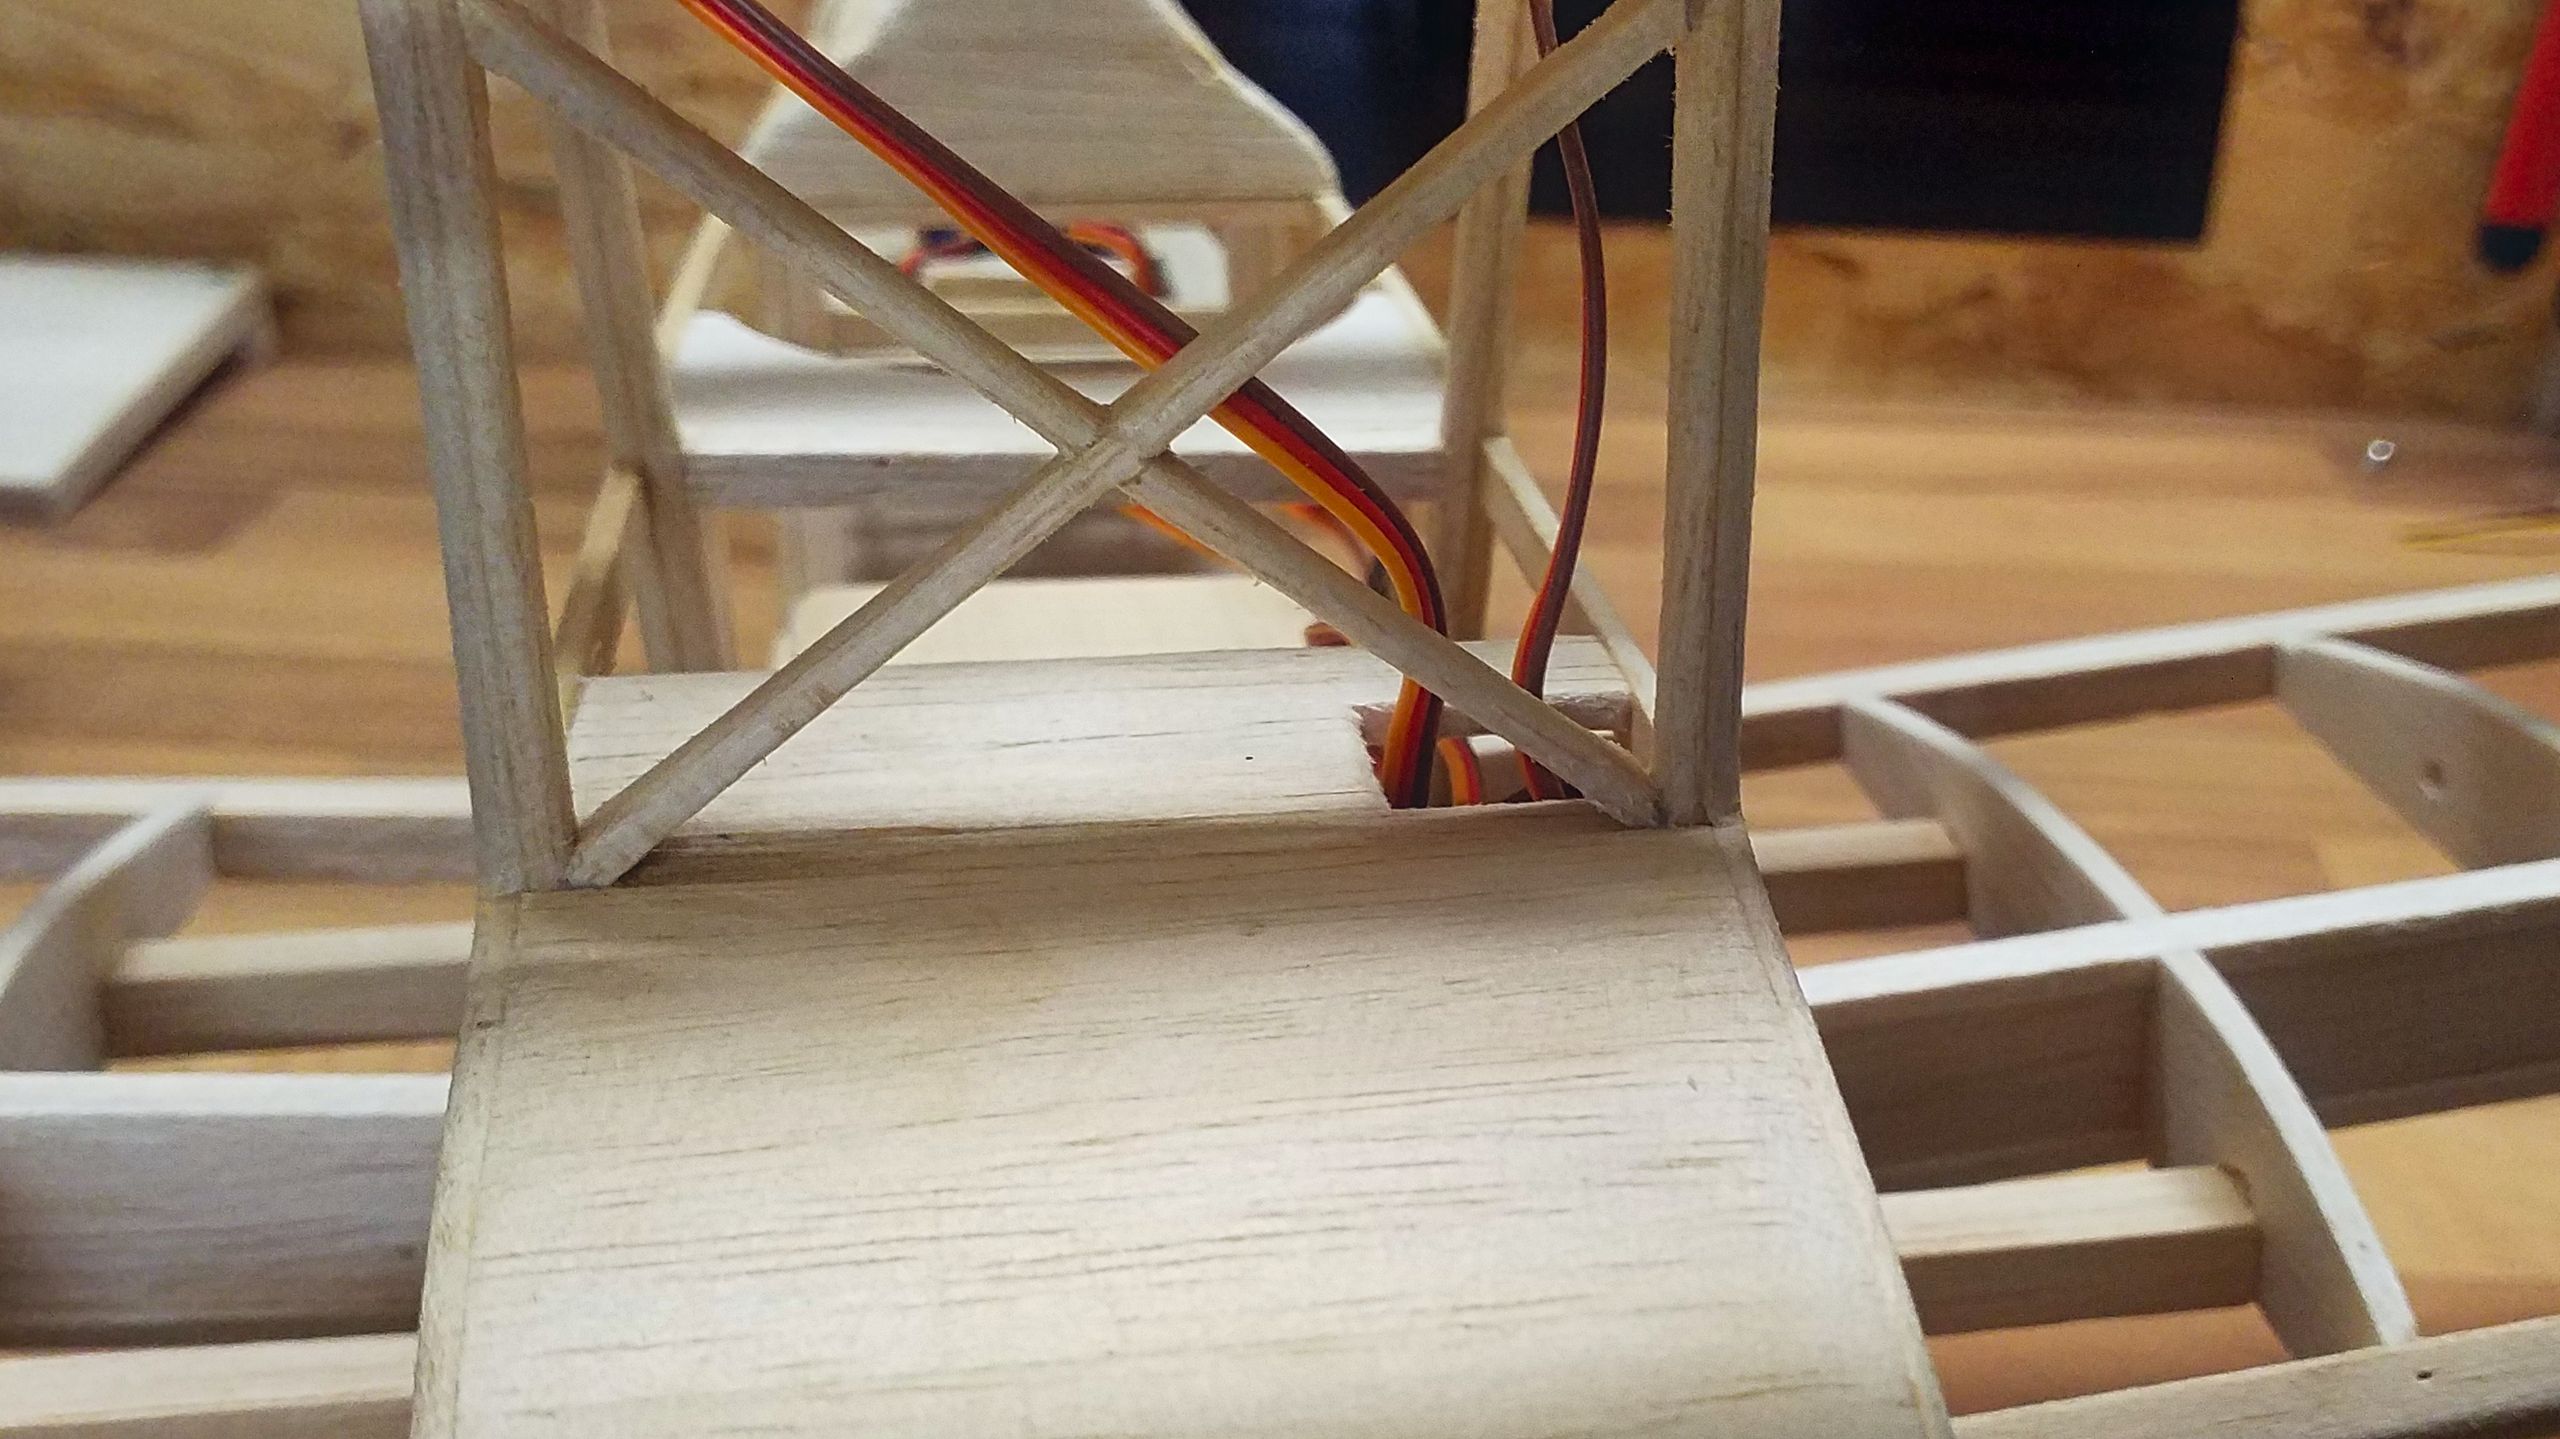
And this is how the fuselage looks after the planking is finished. Please note the additional strut on the bottom side behind the servos. It became necesarry to strengthen the rear fuselage.
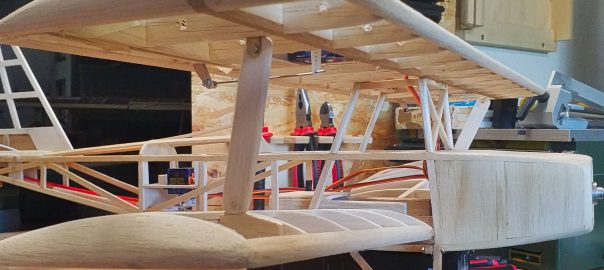
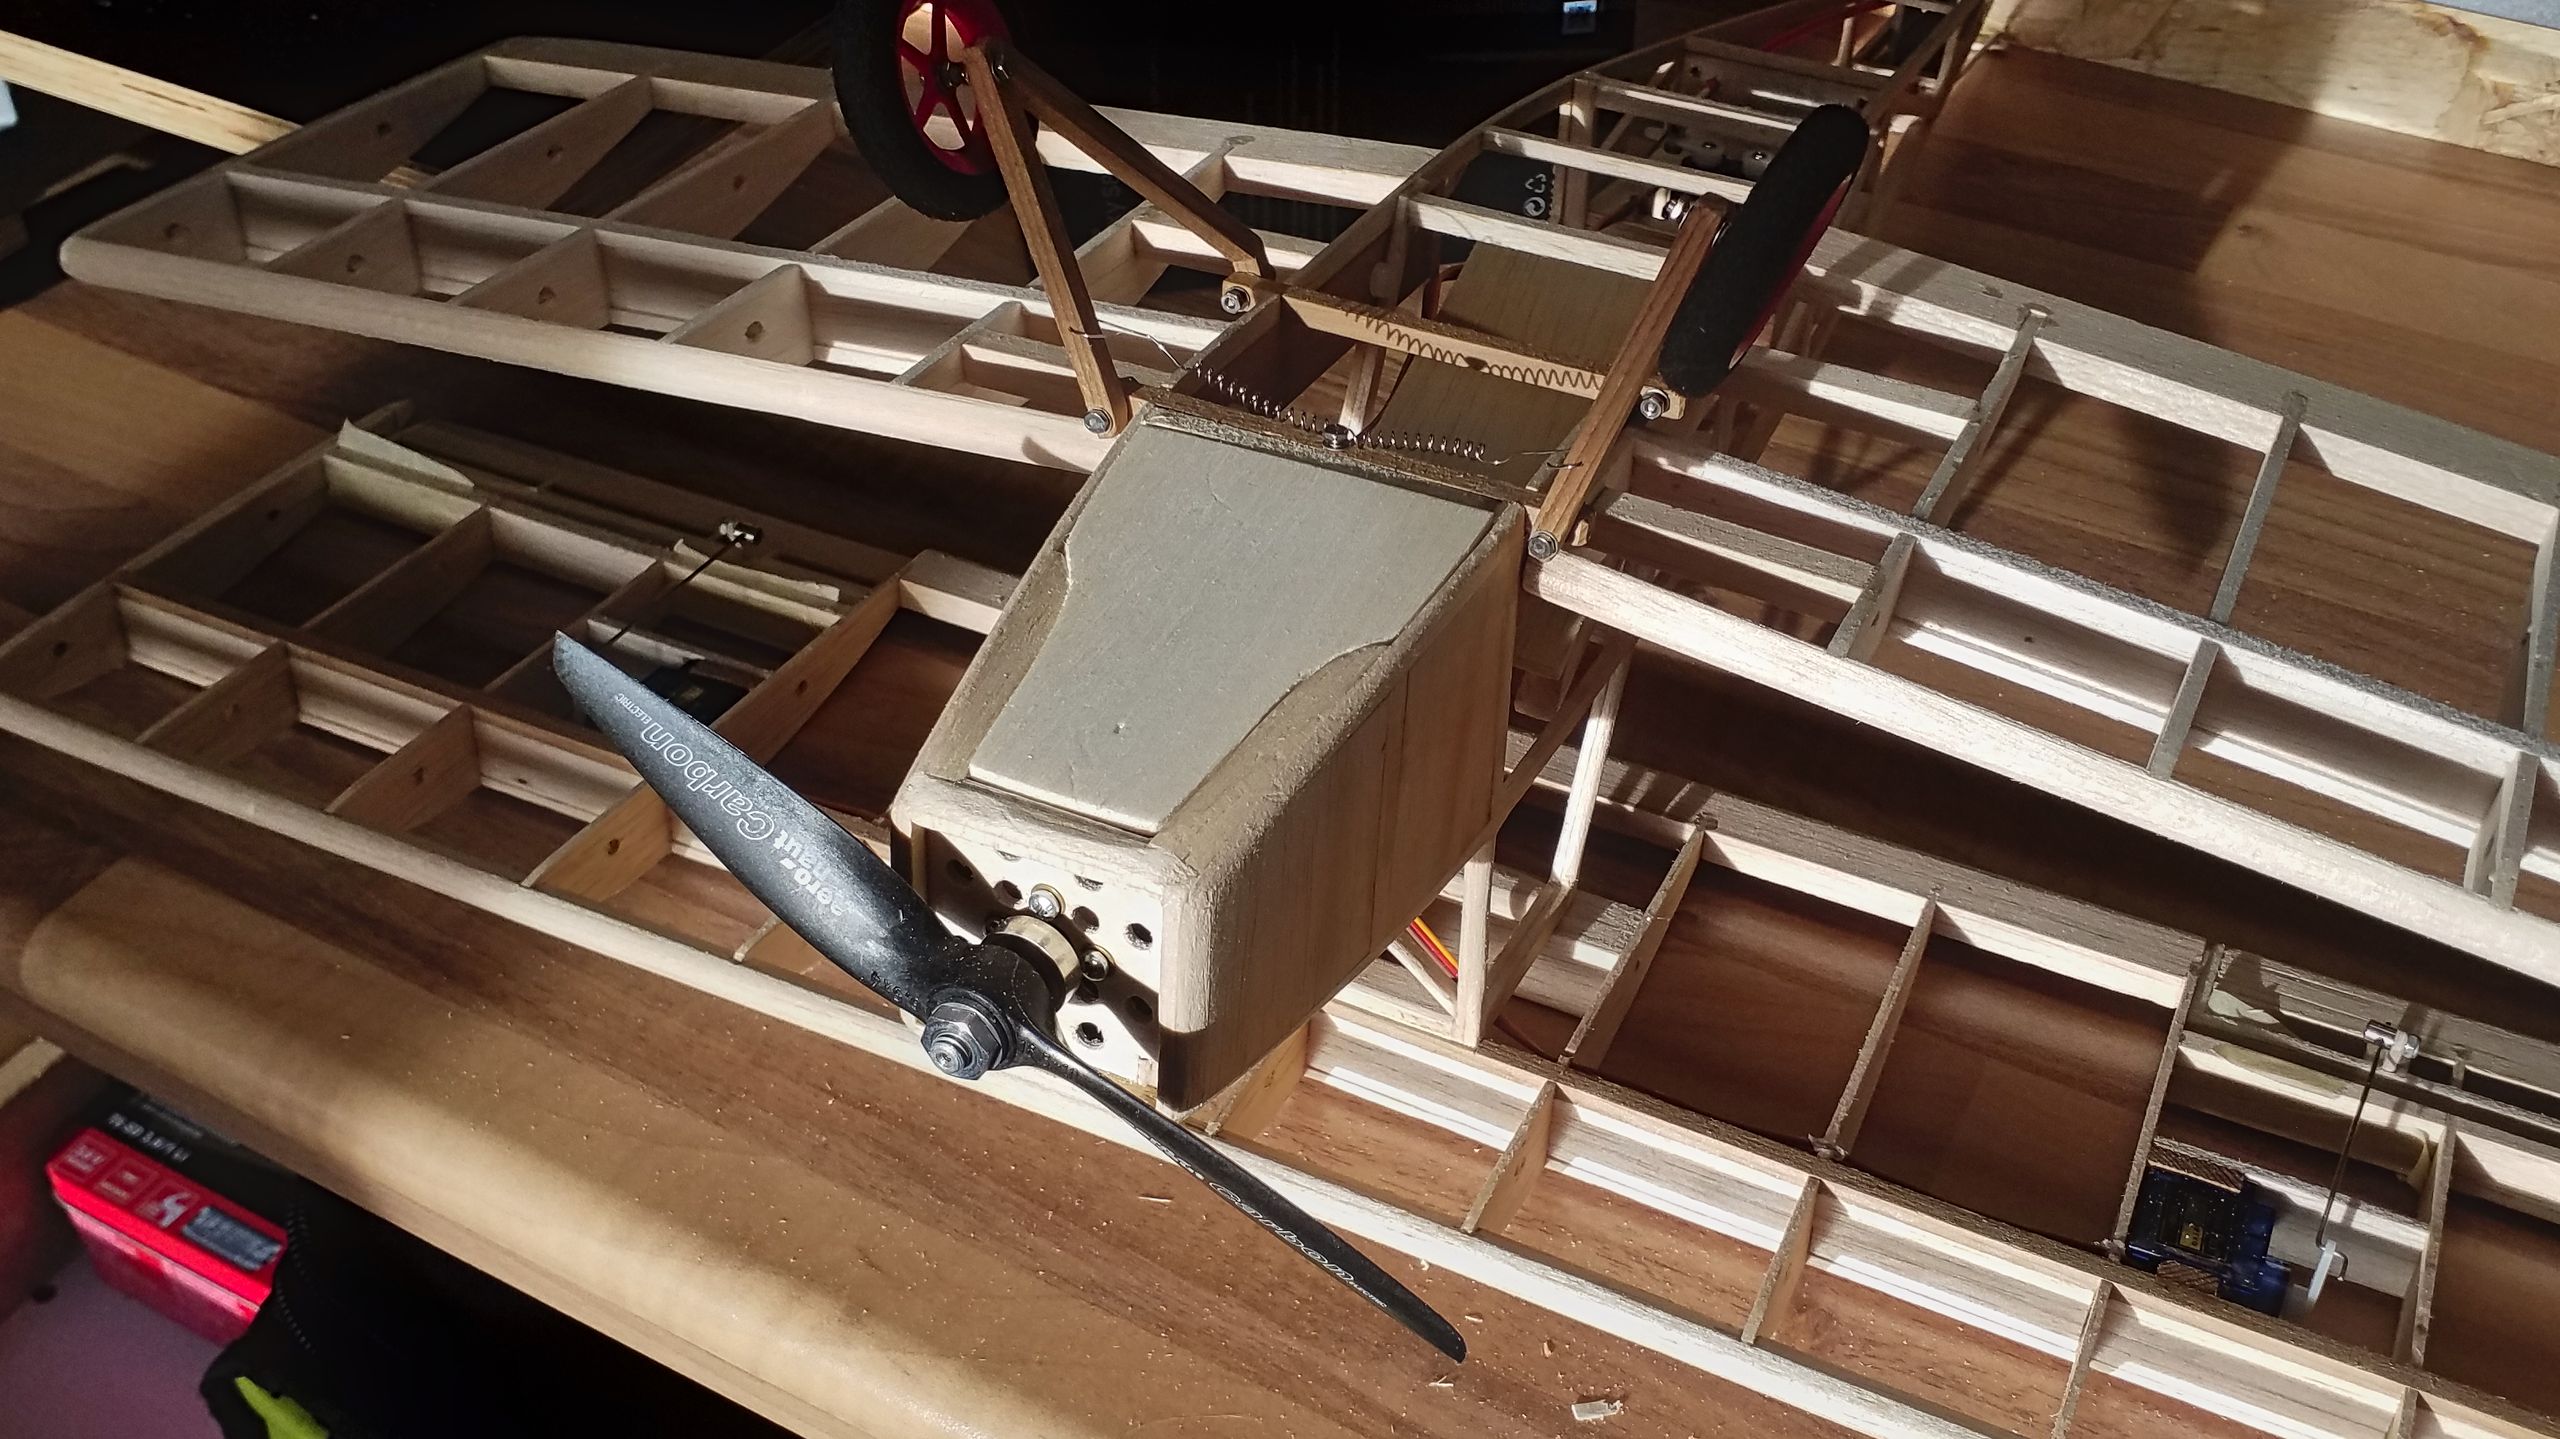
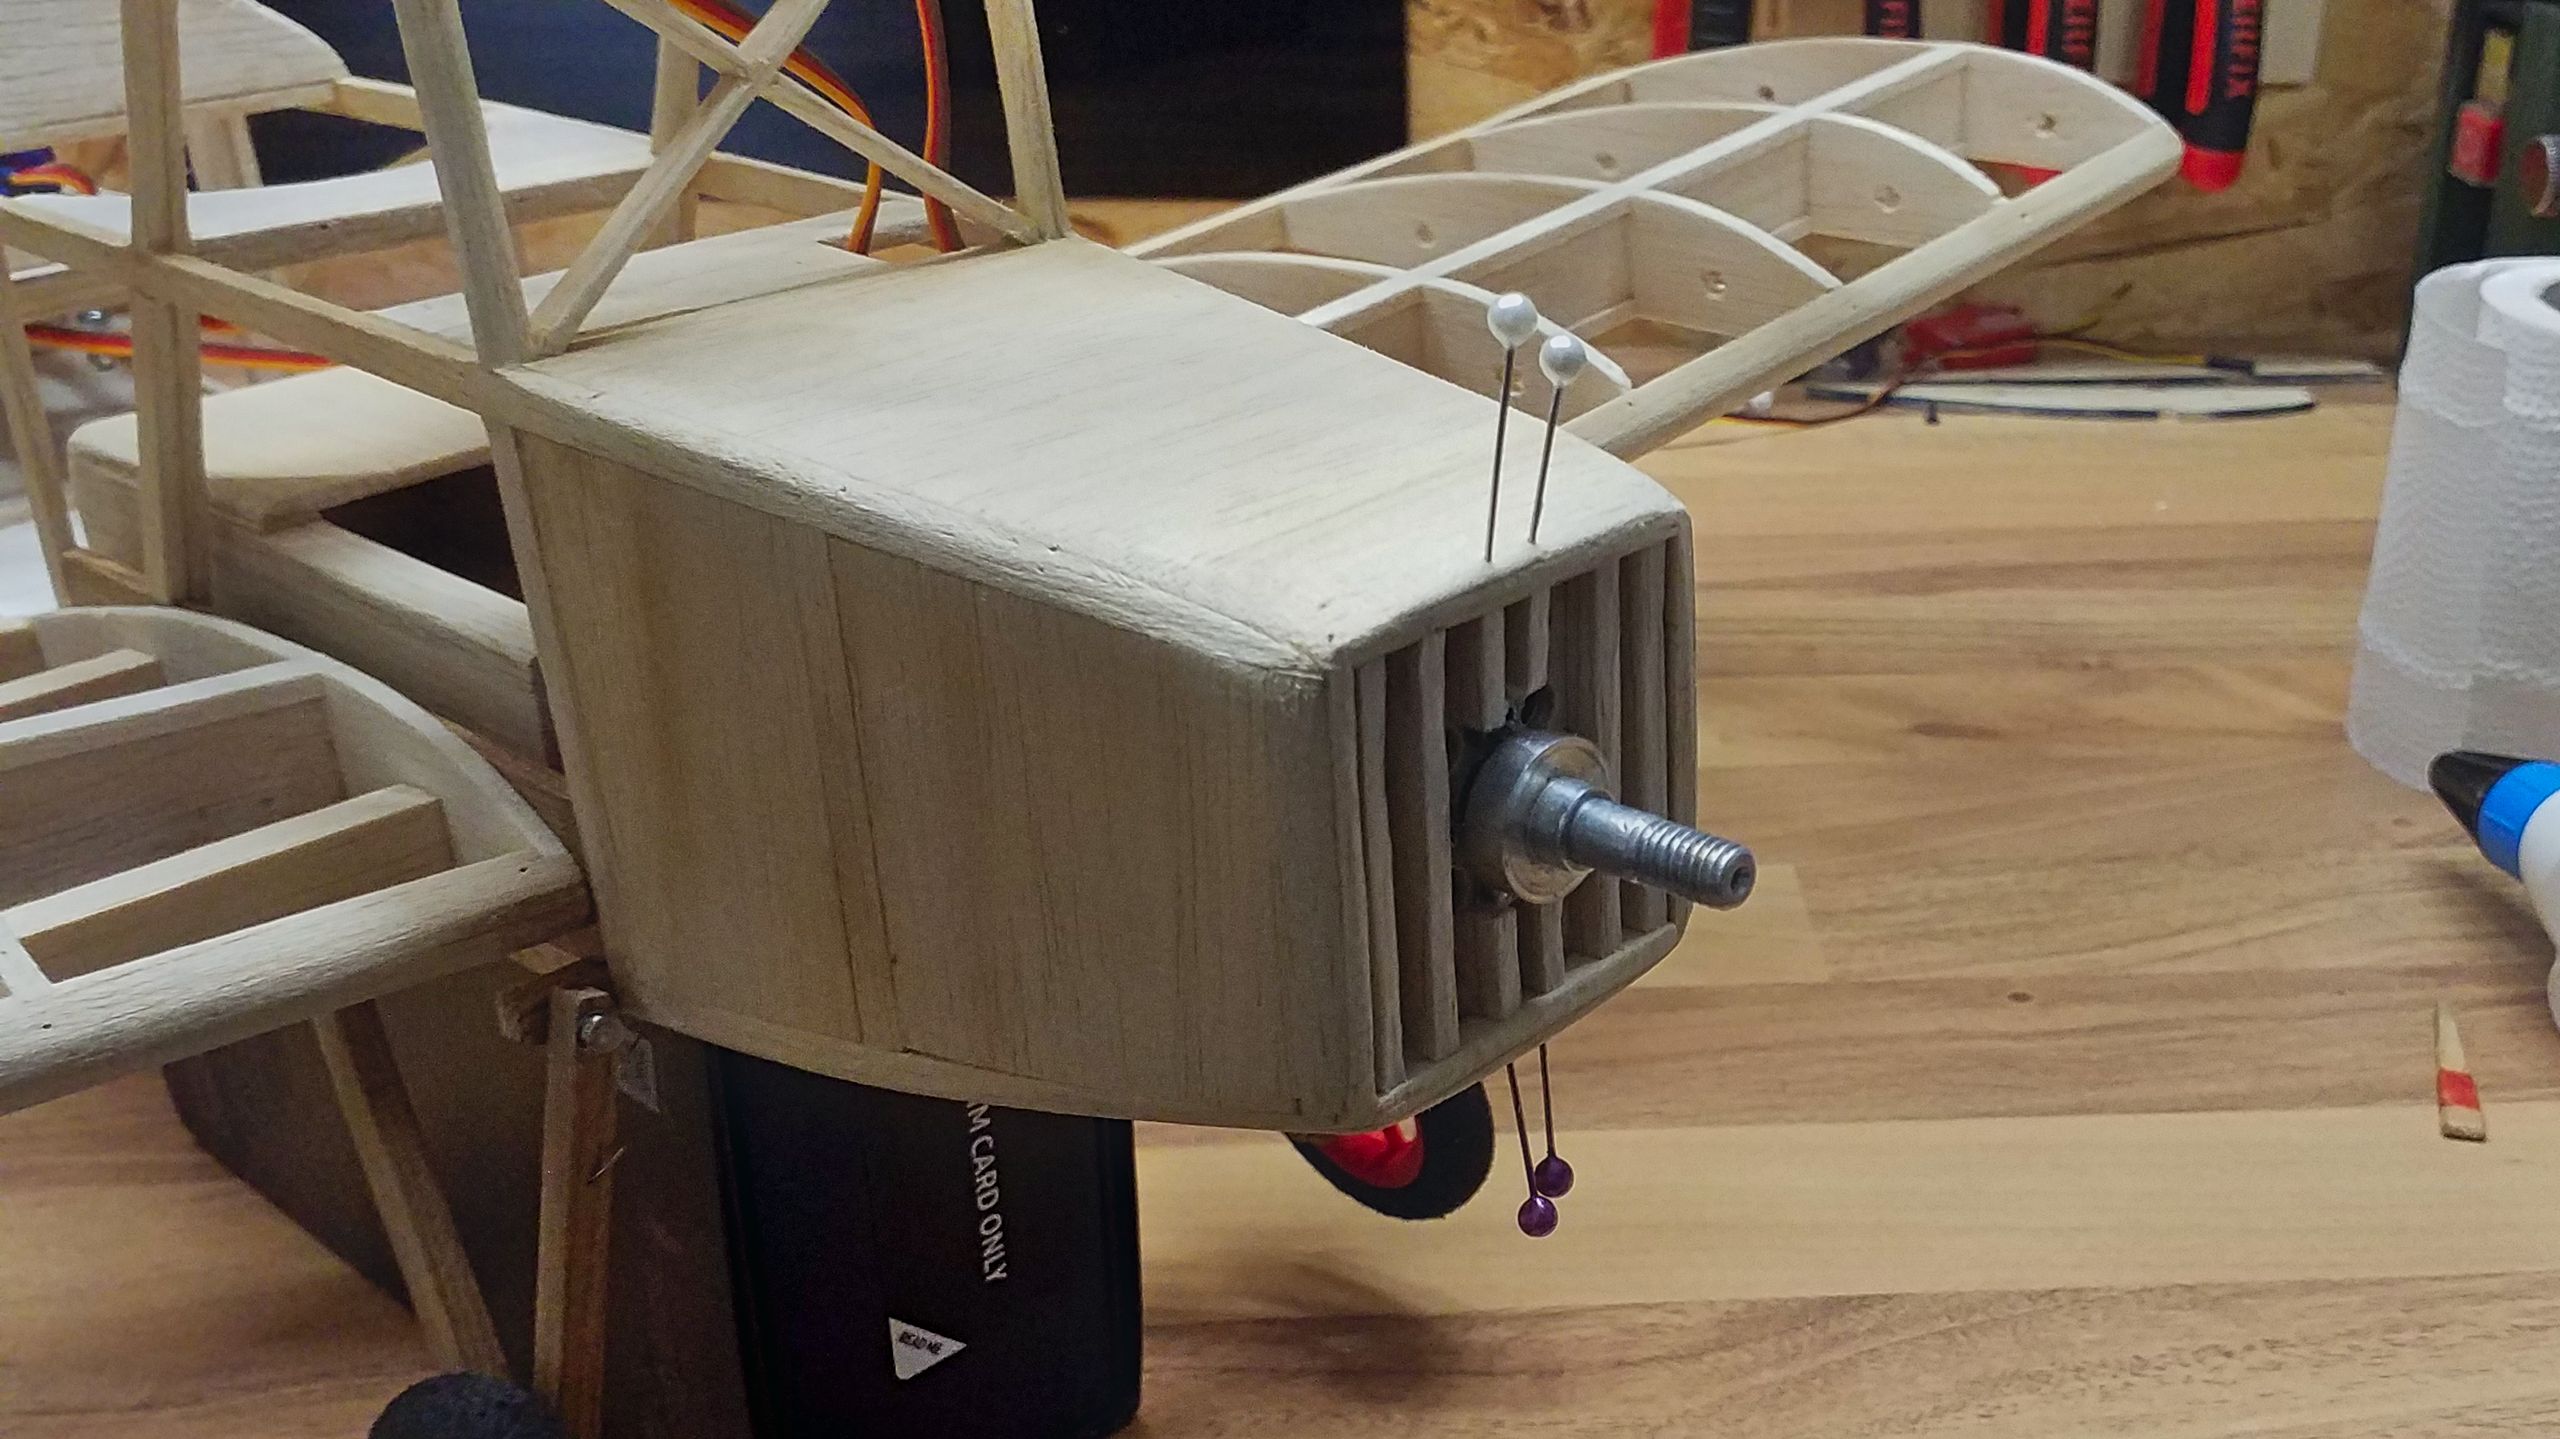
Now the fun part can begin: details. The nose gets a radiator grille, which I simply created from balsa slats. I only had to take care to not blocking the motor’s air intake holes. The motor’s fastening screws are still accessible.
The cockpit gets an elegant frame. I’m not quite sure whether or not I’m going to build a wind screen. Time will tell…
I’m not quite happy with the aileron servos’ cable routing. At least they can be disconnected without problems when the wing will have to be disassembled for covering.
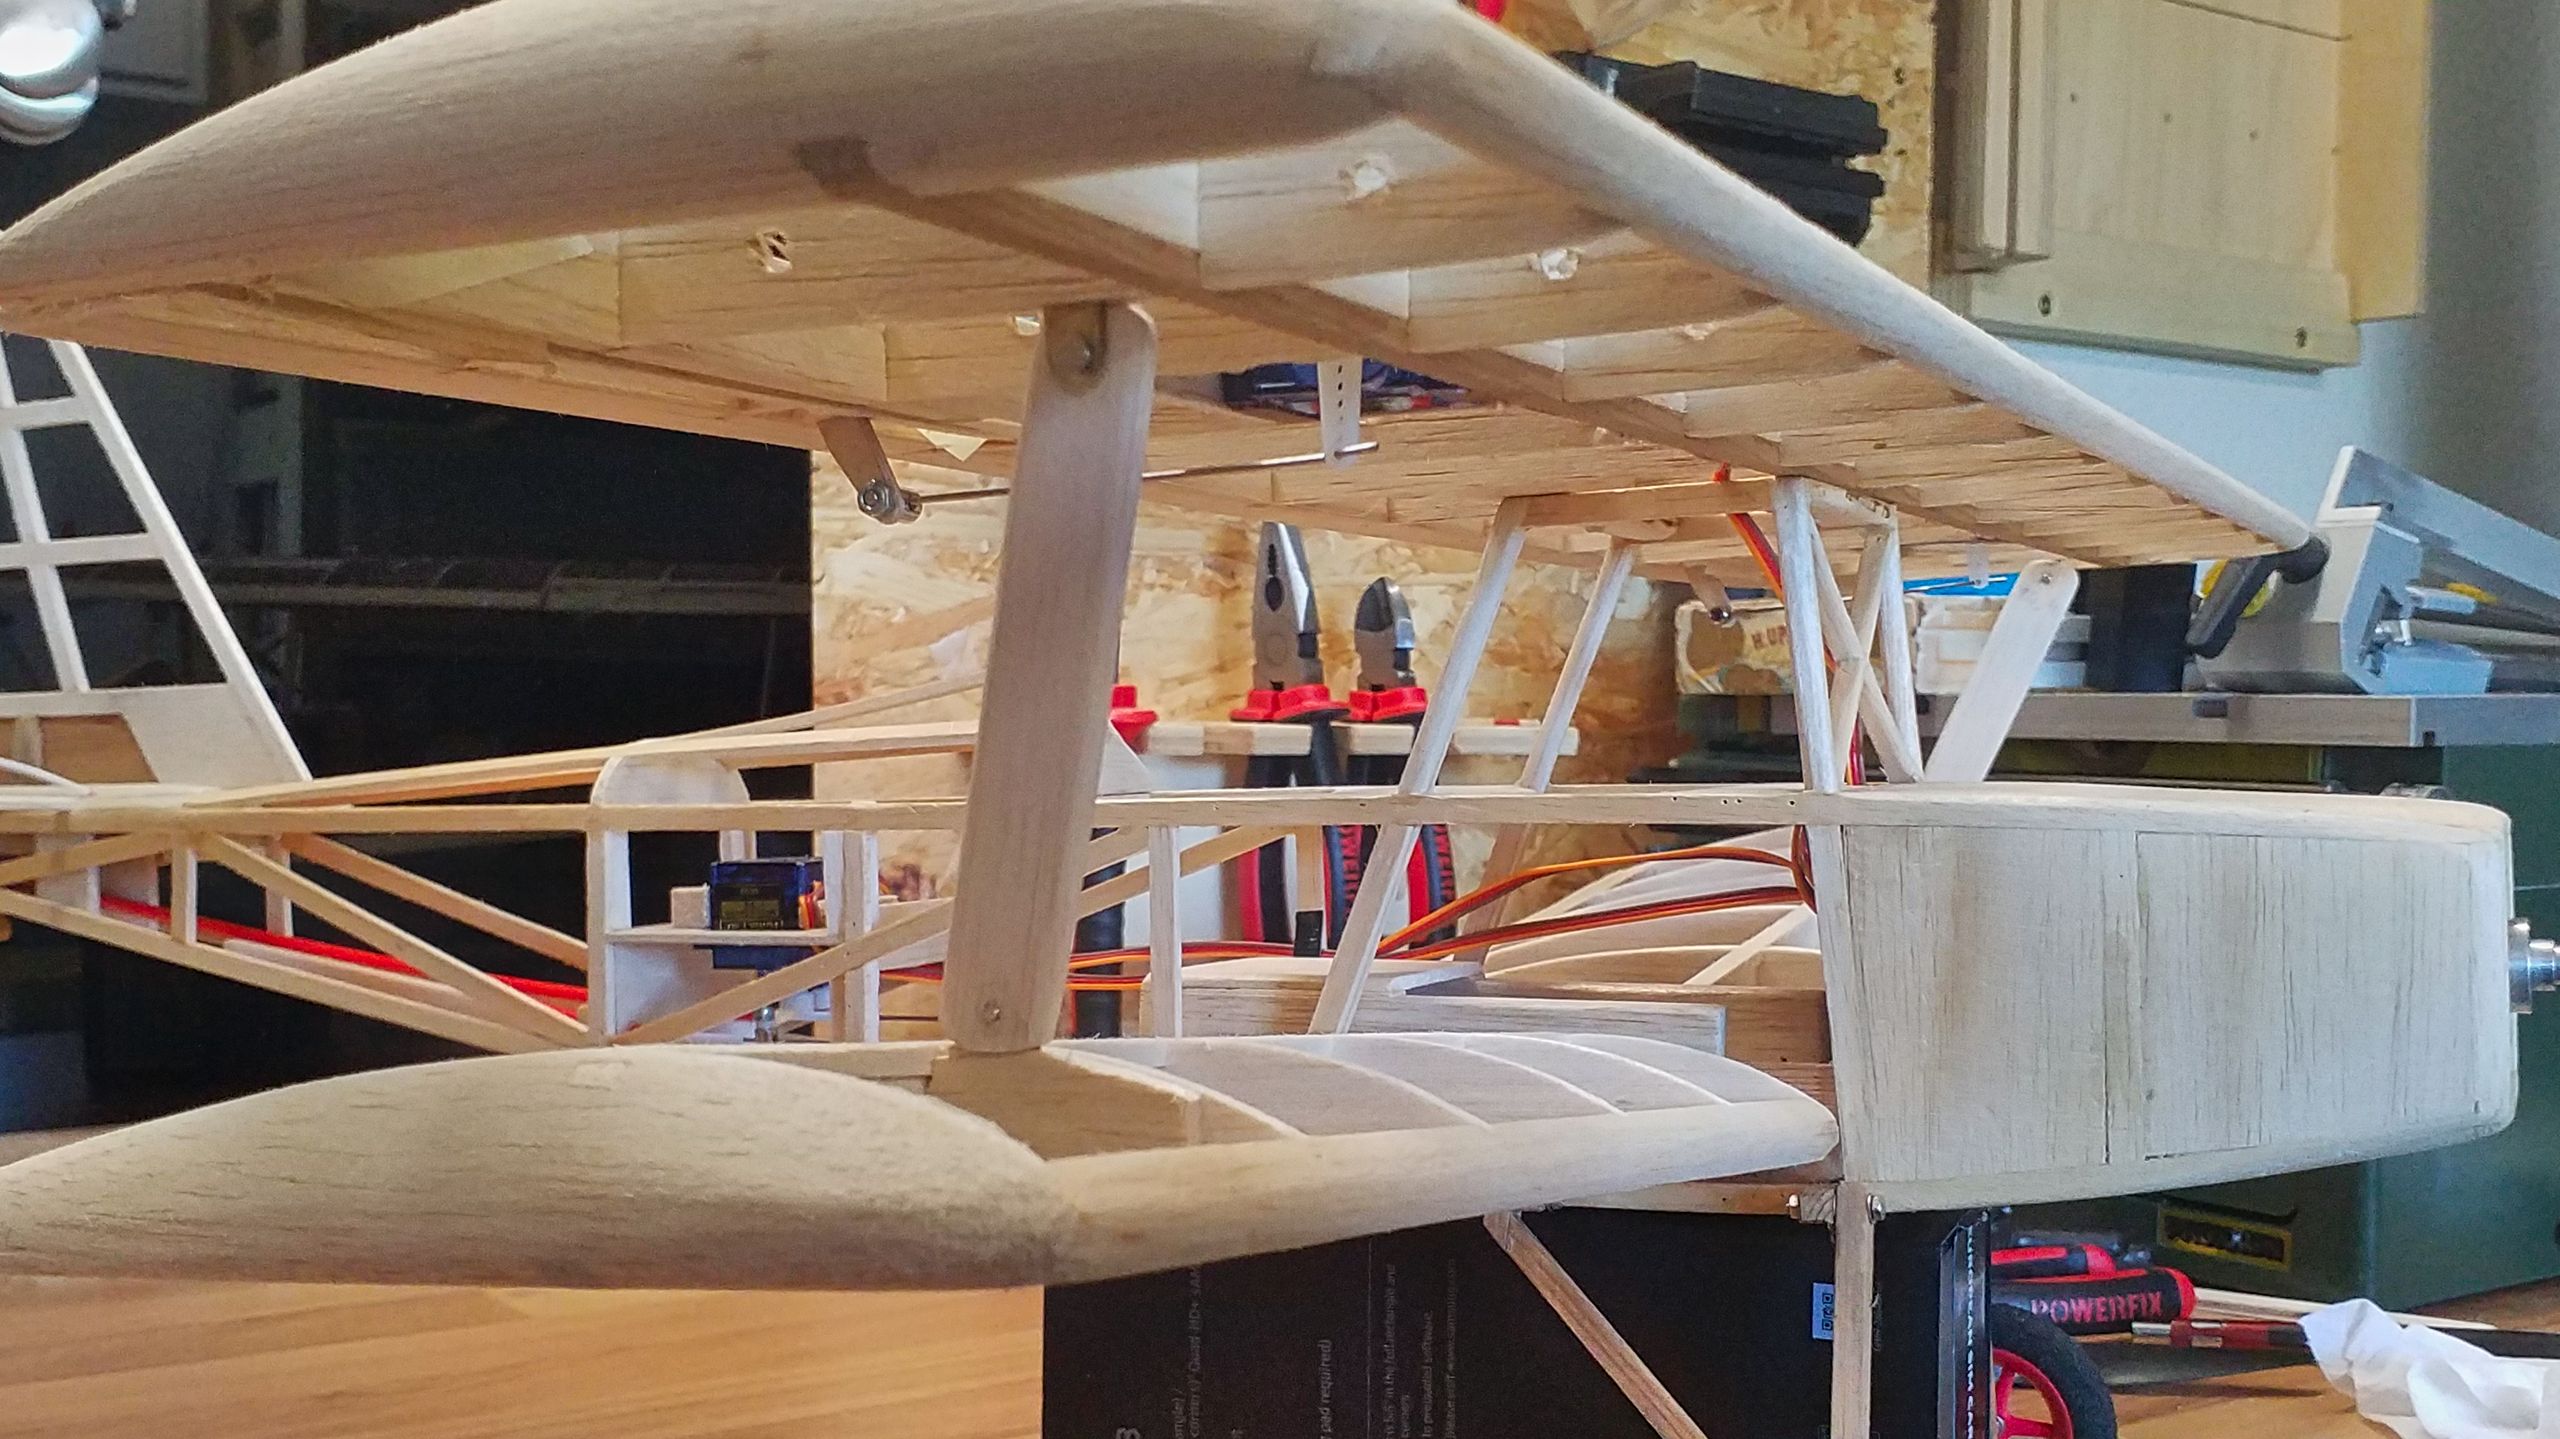
Last but not least the wings got reinforcements, strictly speaking. The lower wings are completely made from balsa wood, including the root ribs. I already had to notice that they can’t be attached as securely as I would prefer them to be. Since the upper wing has got a spar made from red cedar, it’s already got the perfect mounting place for struts.
The construction follows a simple principle: On each side, two lugs cut from 0.3 mm brass sheet are placed in a pocket made from balsa wood. I created the latter by glueing an addtional piece of wood to the ribs. A strutting slat made from balsa wood is then screwed to the lugs. I predrilled the M2 threading with 1.8 mm, cut the threading with a screw and then hardened it with superglue.
After the covering these screws will be fixated with superglue, giving me the option to disassemble the strut if need be. So now the construction work on the Joyrider are actually finished. Phew! Slowly but steadily, the anticipation and thrill are raising, the maiden flight draws closer. And next week, the covering is up.