
It’s Gerd’s fault, again! 😉 Not long ago, he posted a beautiful video on one of his operation sessions in time lapse:
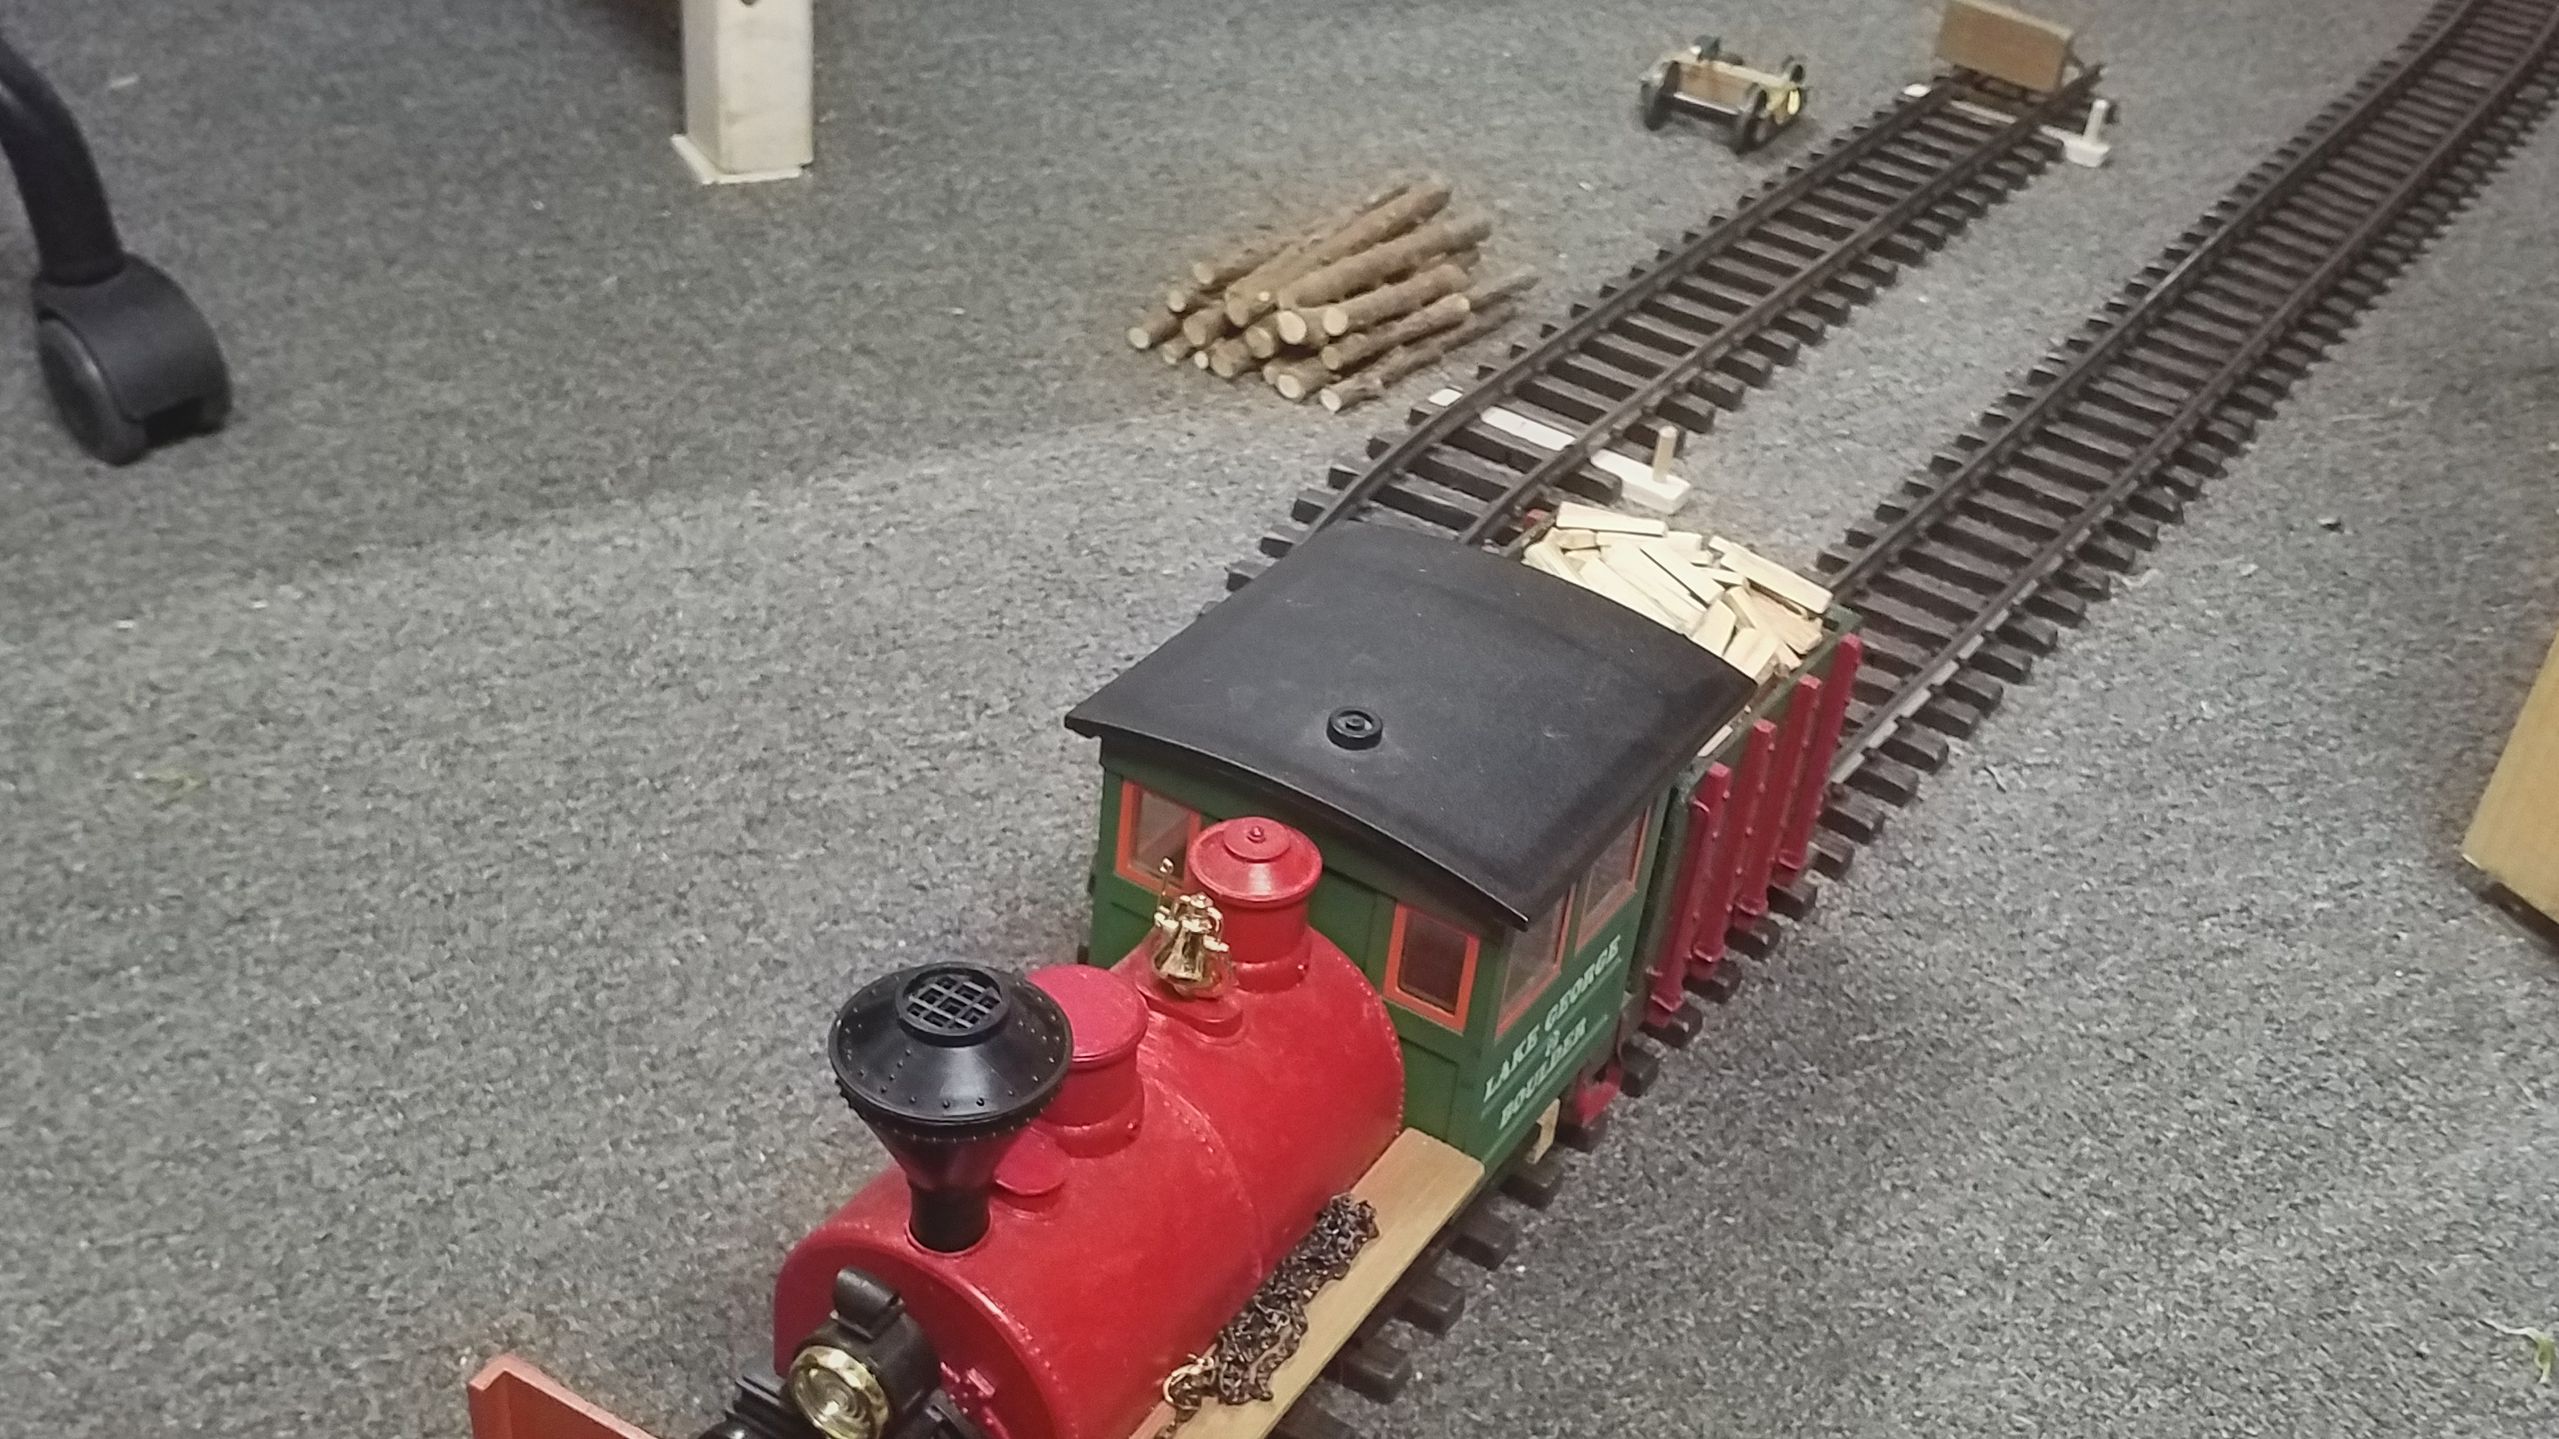
What excited me particularly was the use of a chain for shunting, at 0:38 and 5:18. So when a rainy afternoon forced me to stay in the work shop, I couldn’t resist. Within a few minutes a mini layout was patched together from snap track.
What ensued were three hour’s worth of pure shunting enjoyment. And yet another proof that fantasy and some improvasation can make up for a whole layout.
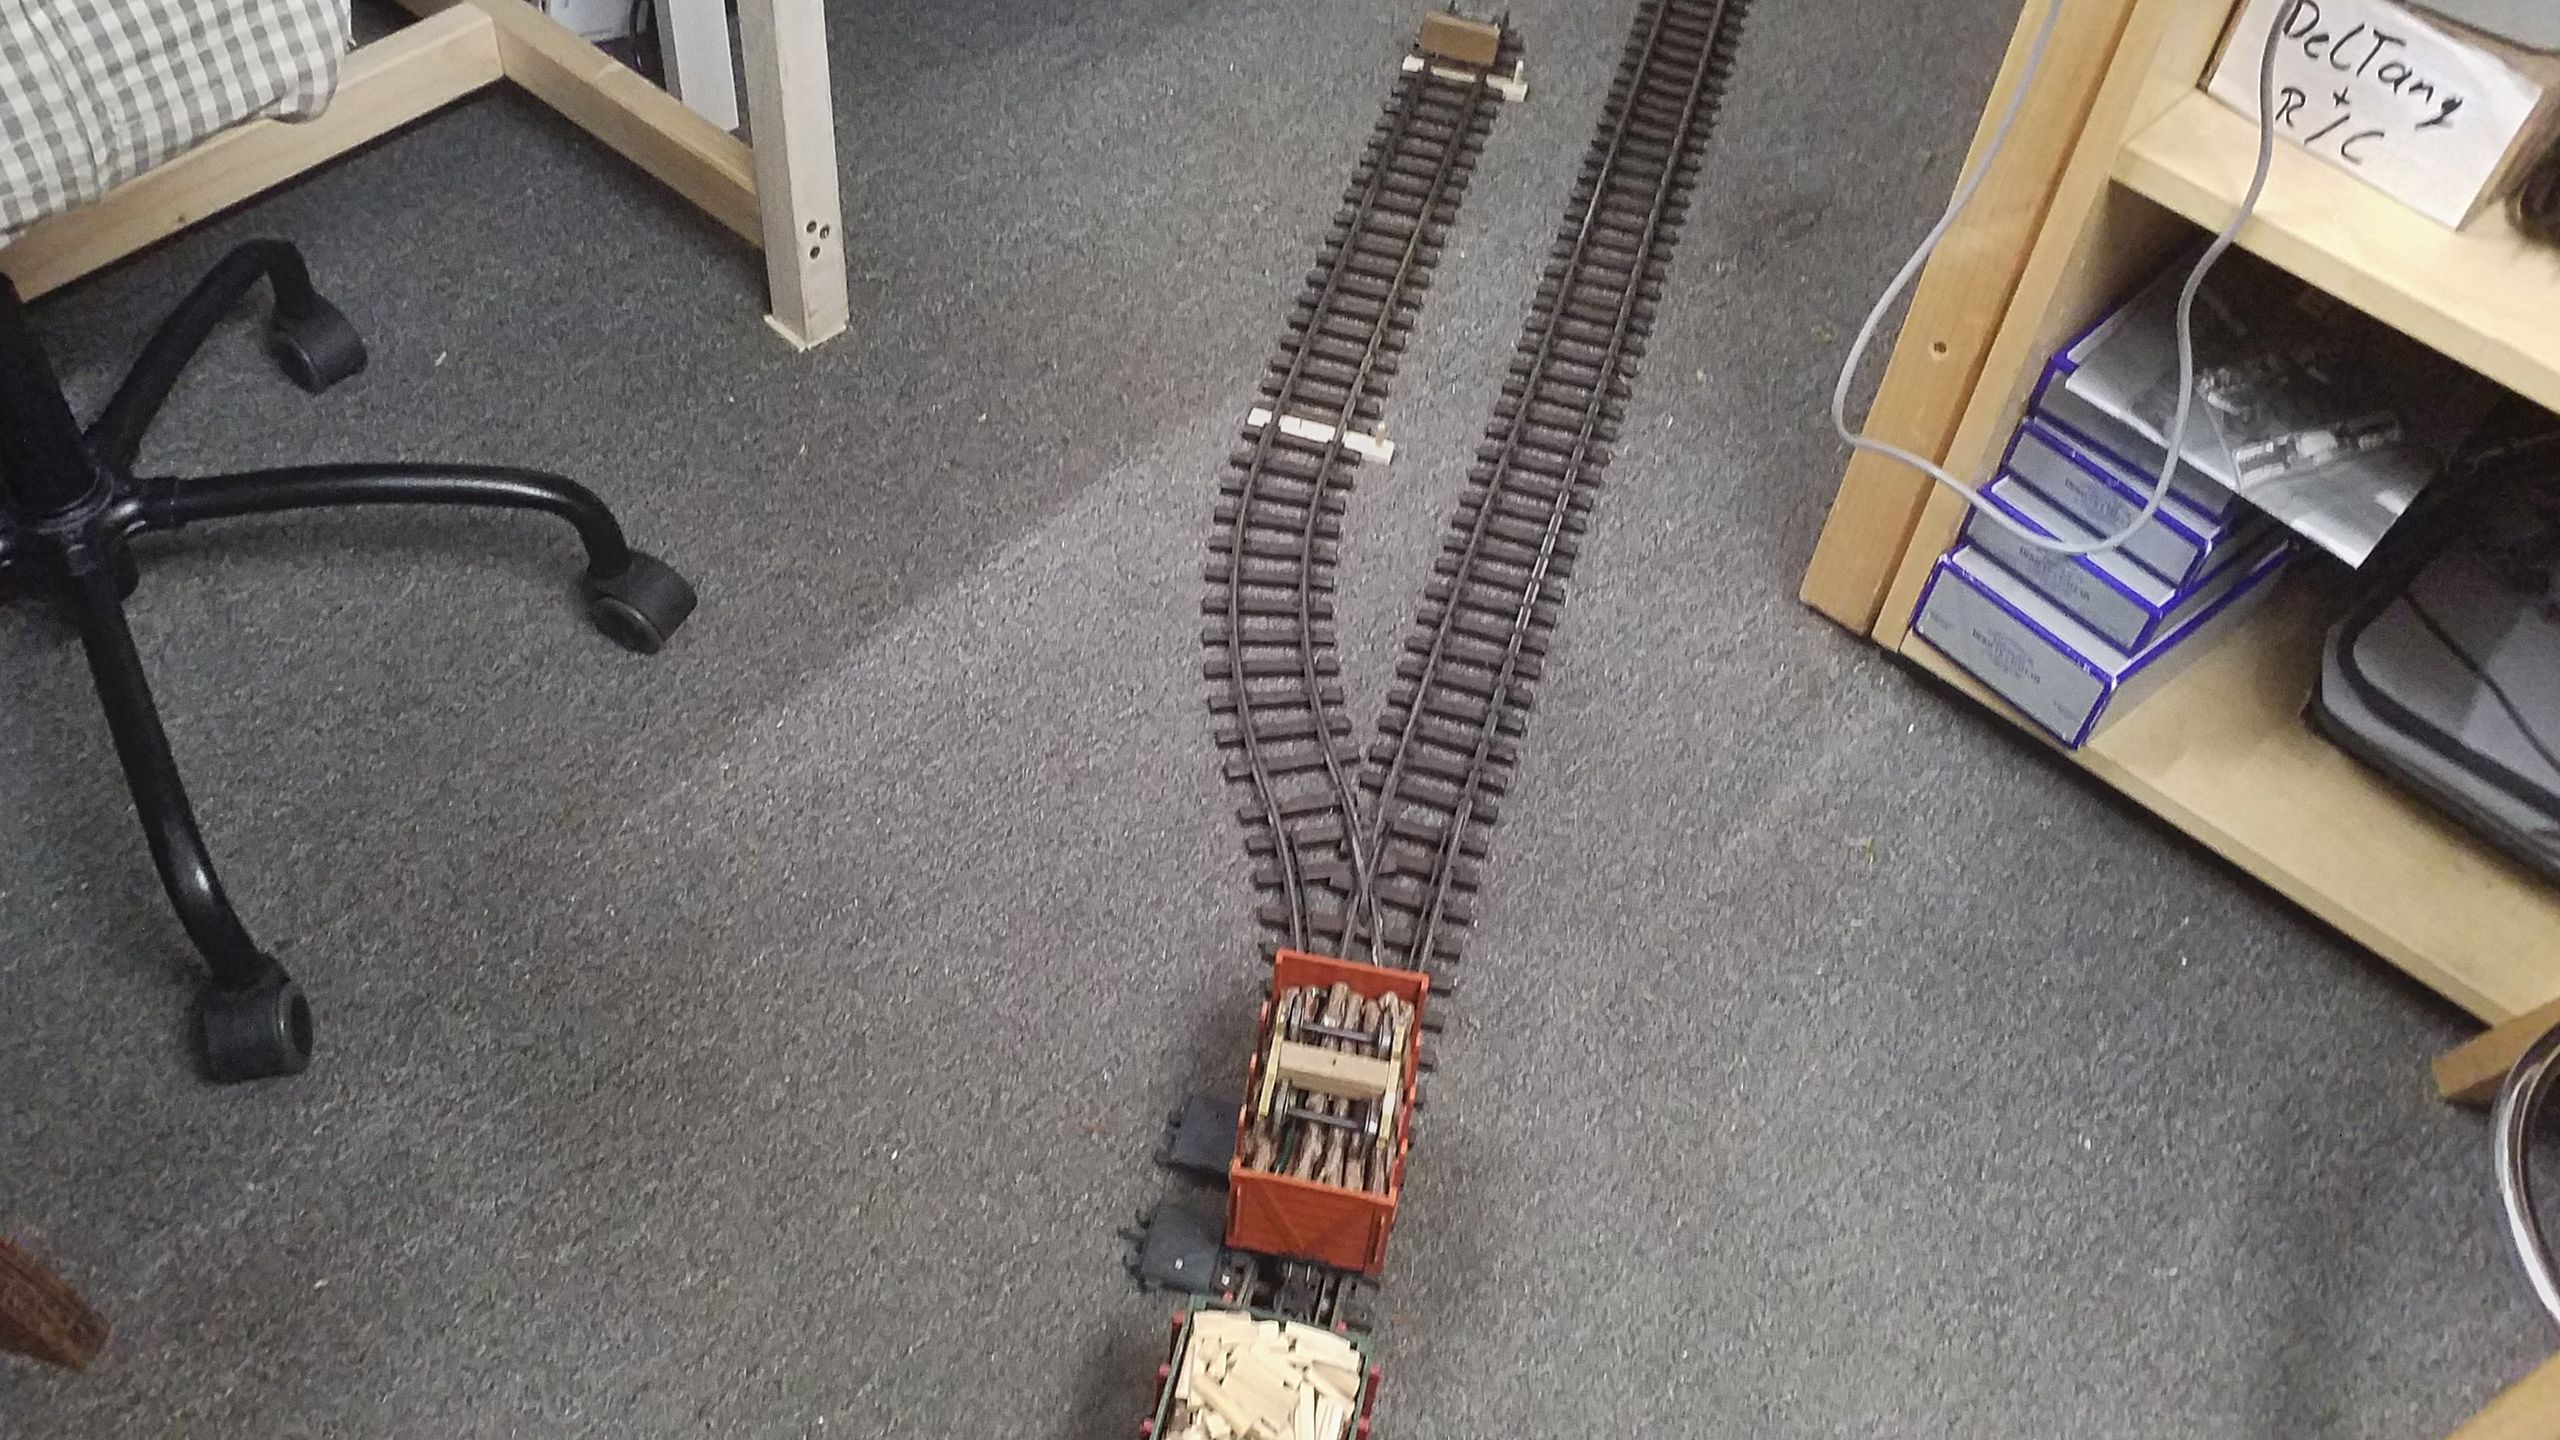
A balloon loop provides some extra driving fun. However, it isn’t absolutely necessary. One could also use a length of straight track fastened to a wooden board, which can be turned 180° to serve as a turning table for the entire train.

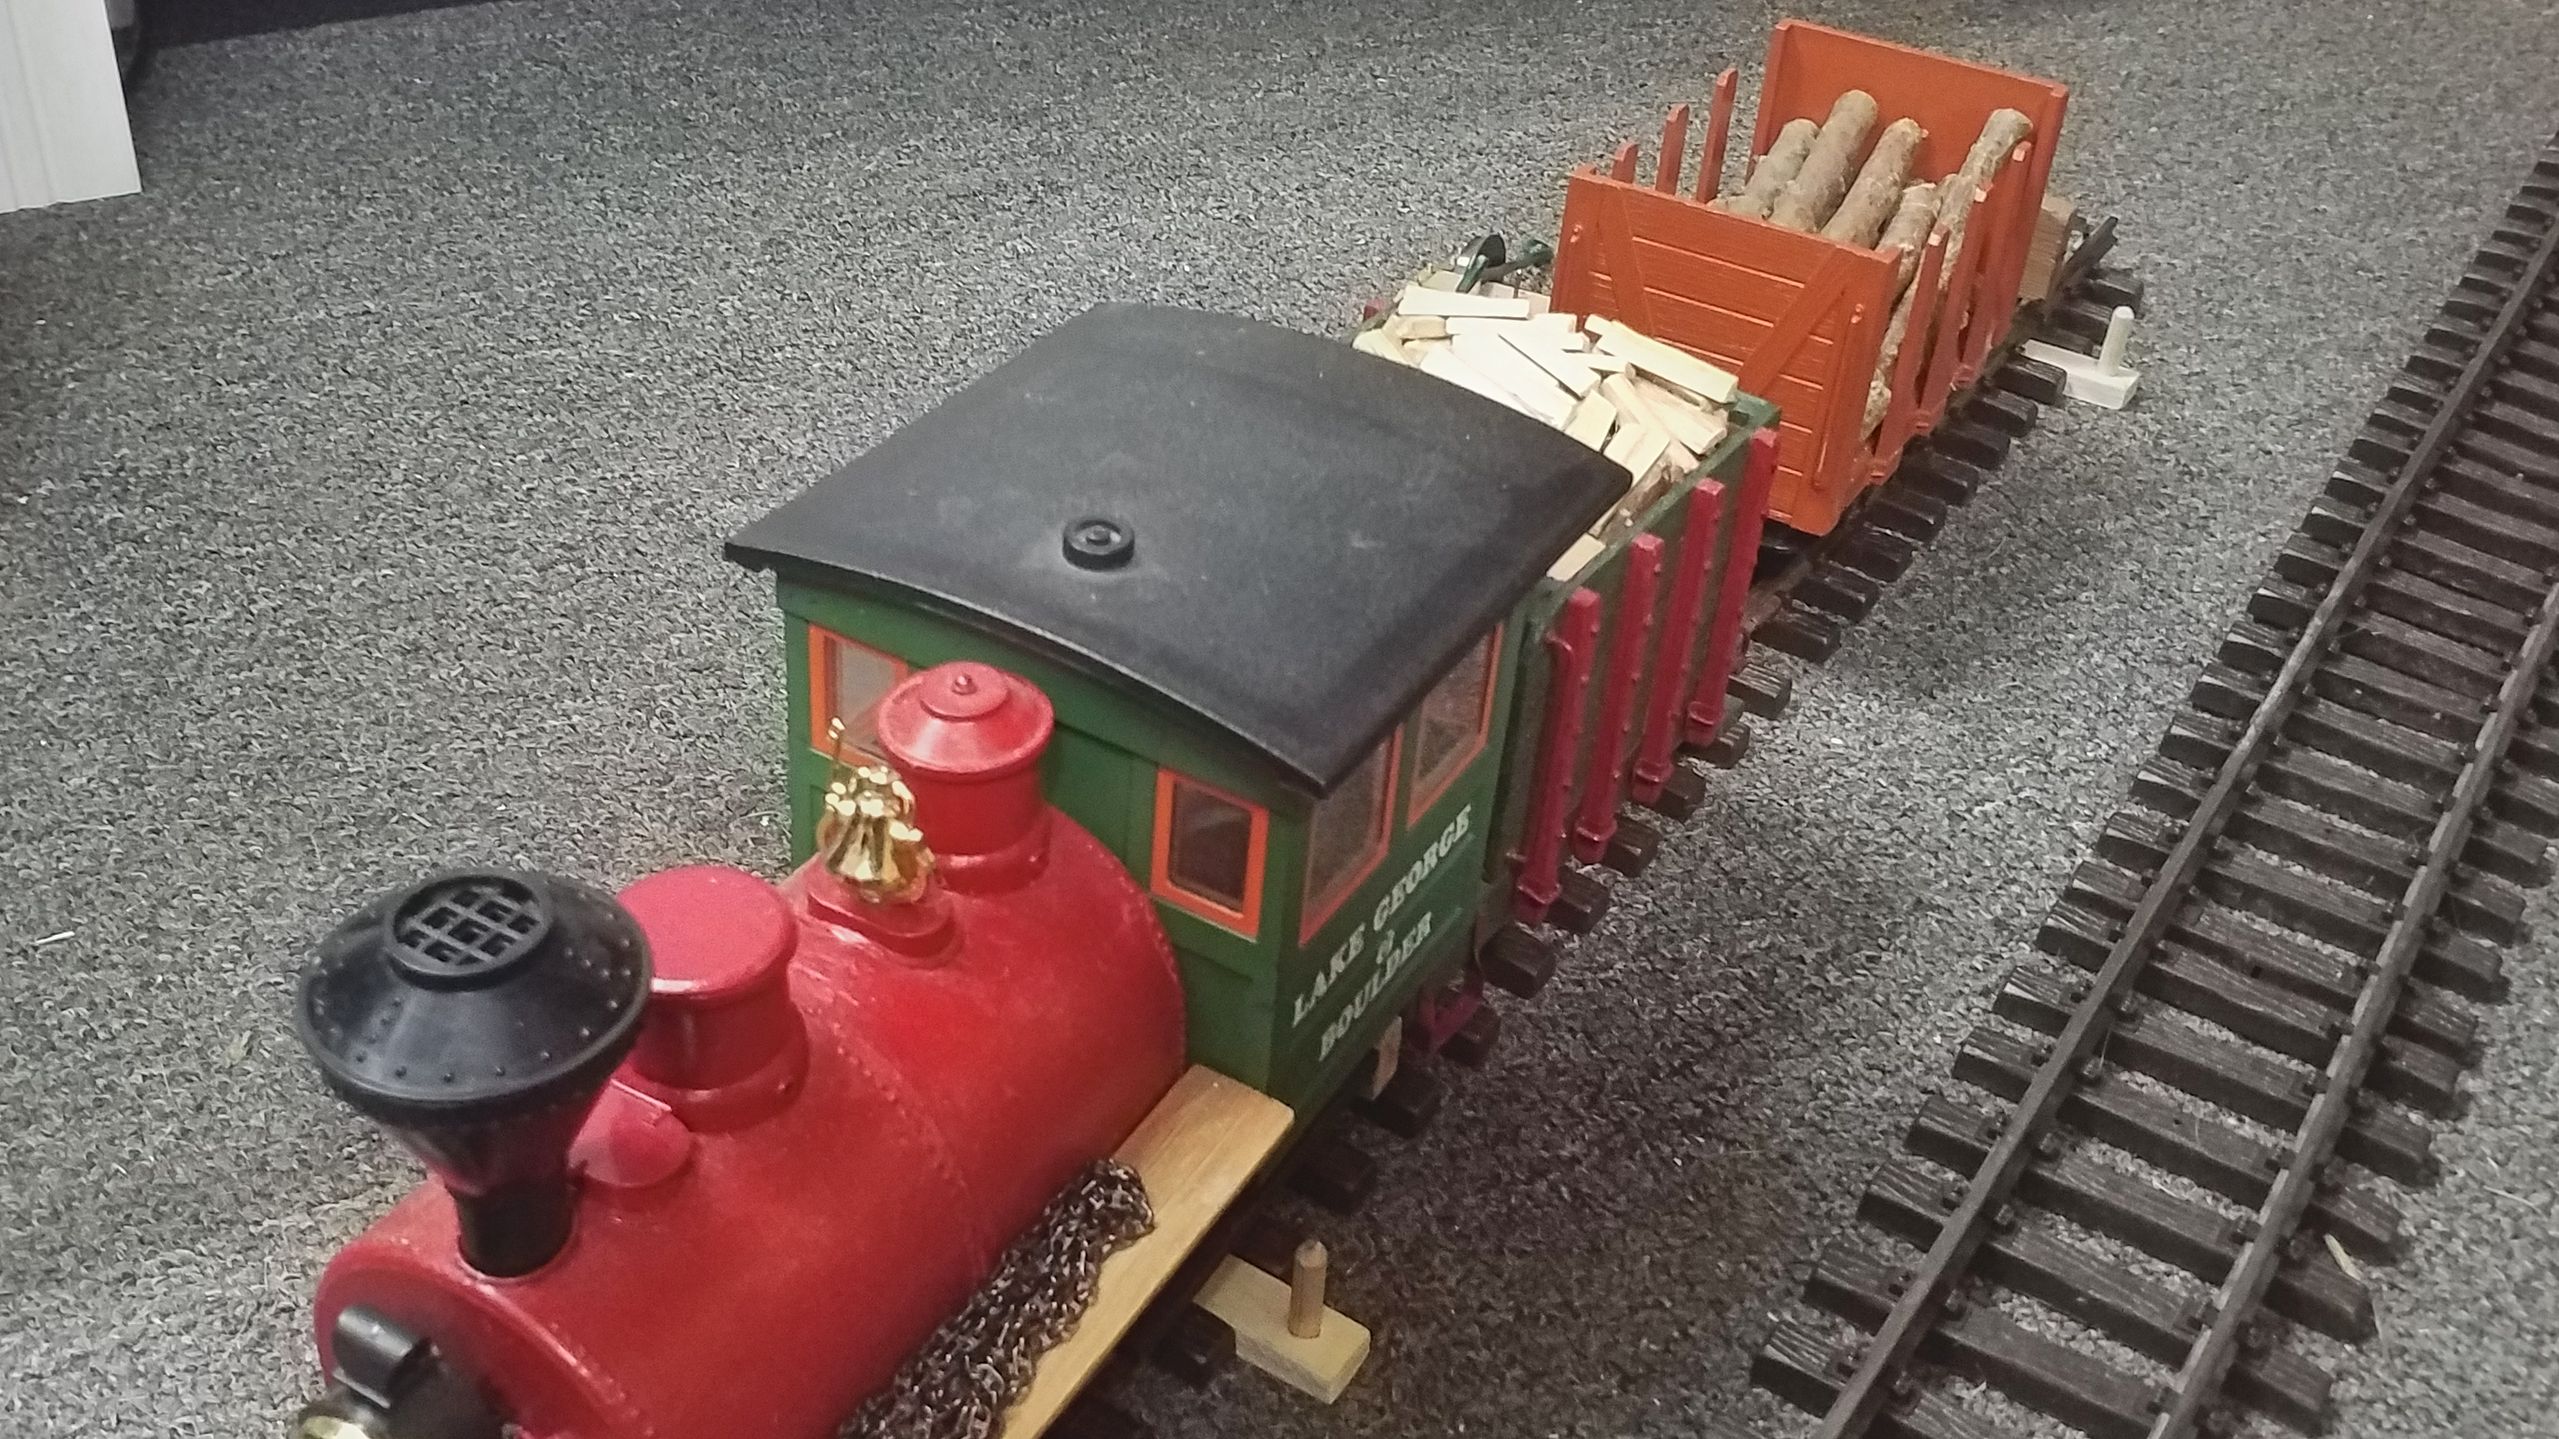
Apart from that all that is needed is a length of straight track with a short spur. The attentive reader is certainly already wondering about those two bright pieces of wood…
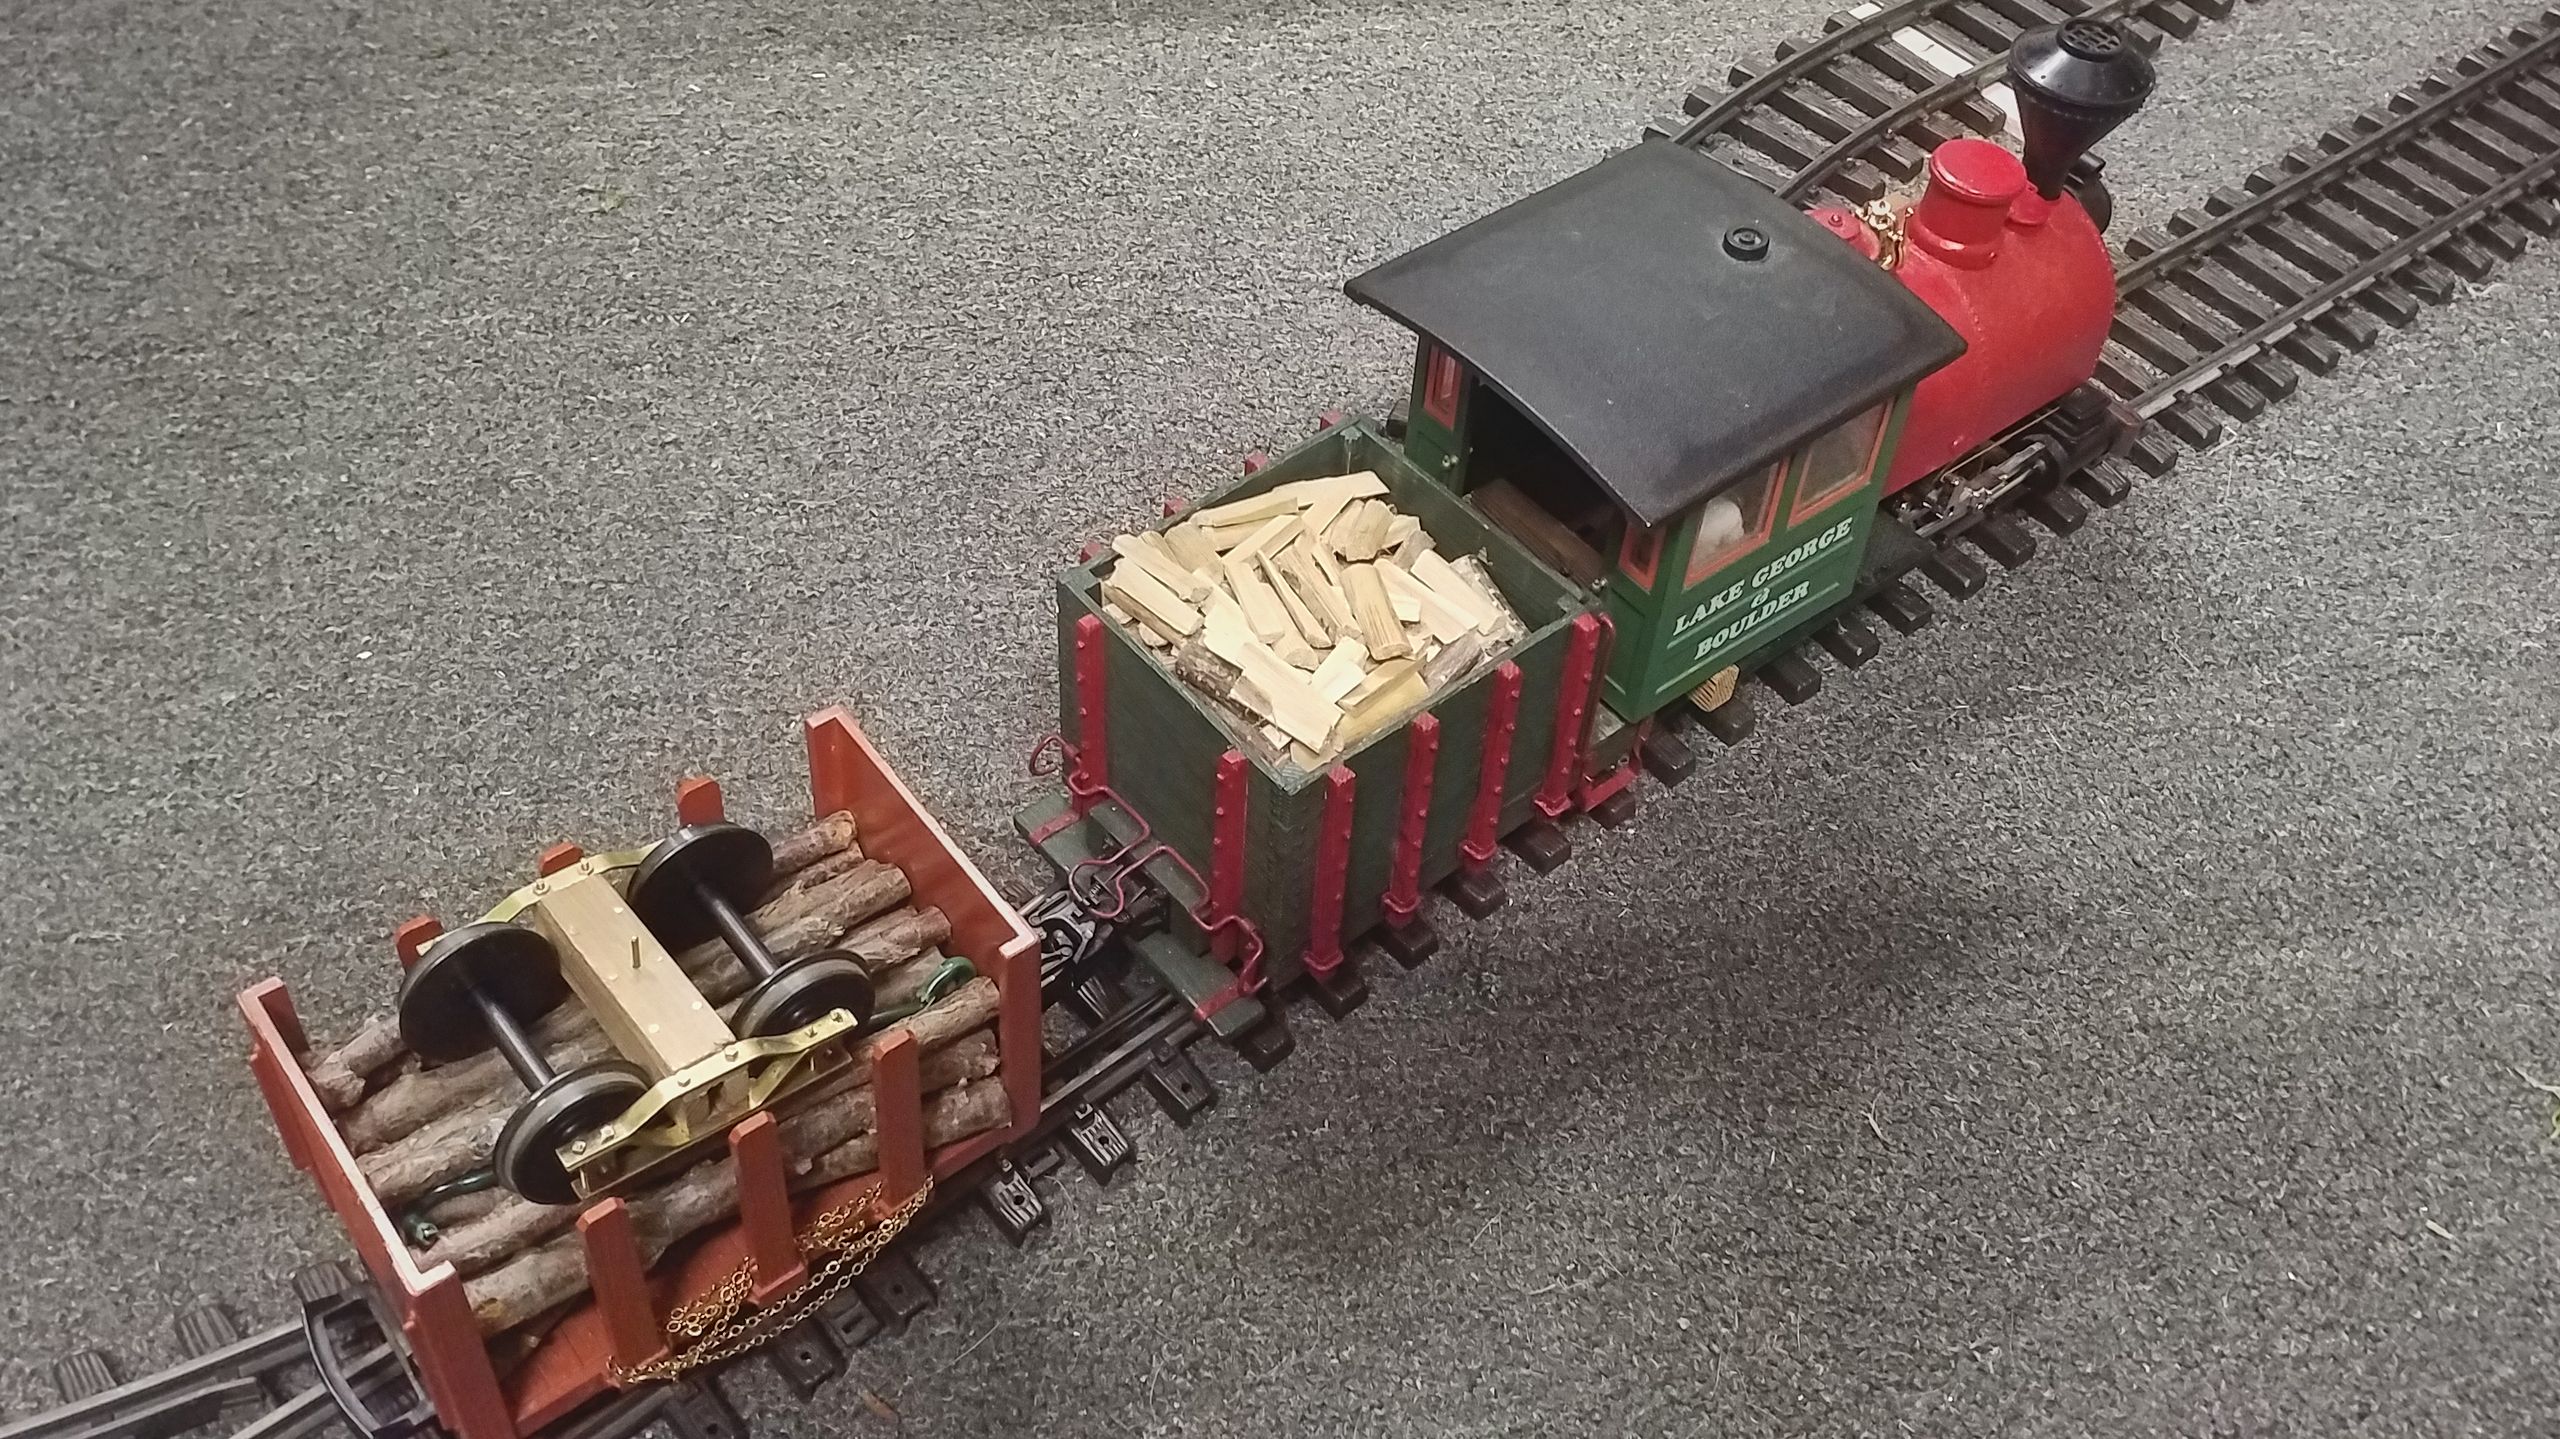
The task is simple: Two waggon loads are to be placed at the correct unloading points alongside the spur. We imagine a warehouse for a carpenter and a loading ramp to deliver a bogie. One doesn’t even need multiple waggons, as long as one assumes the presence of loading cranes.
So the train is commencing its journey. Because the right of way is demanding, the loaded waggon has to be pulled. Alas, there are no passing loops and the spur’s turnout faces the wrong way.

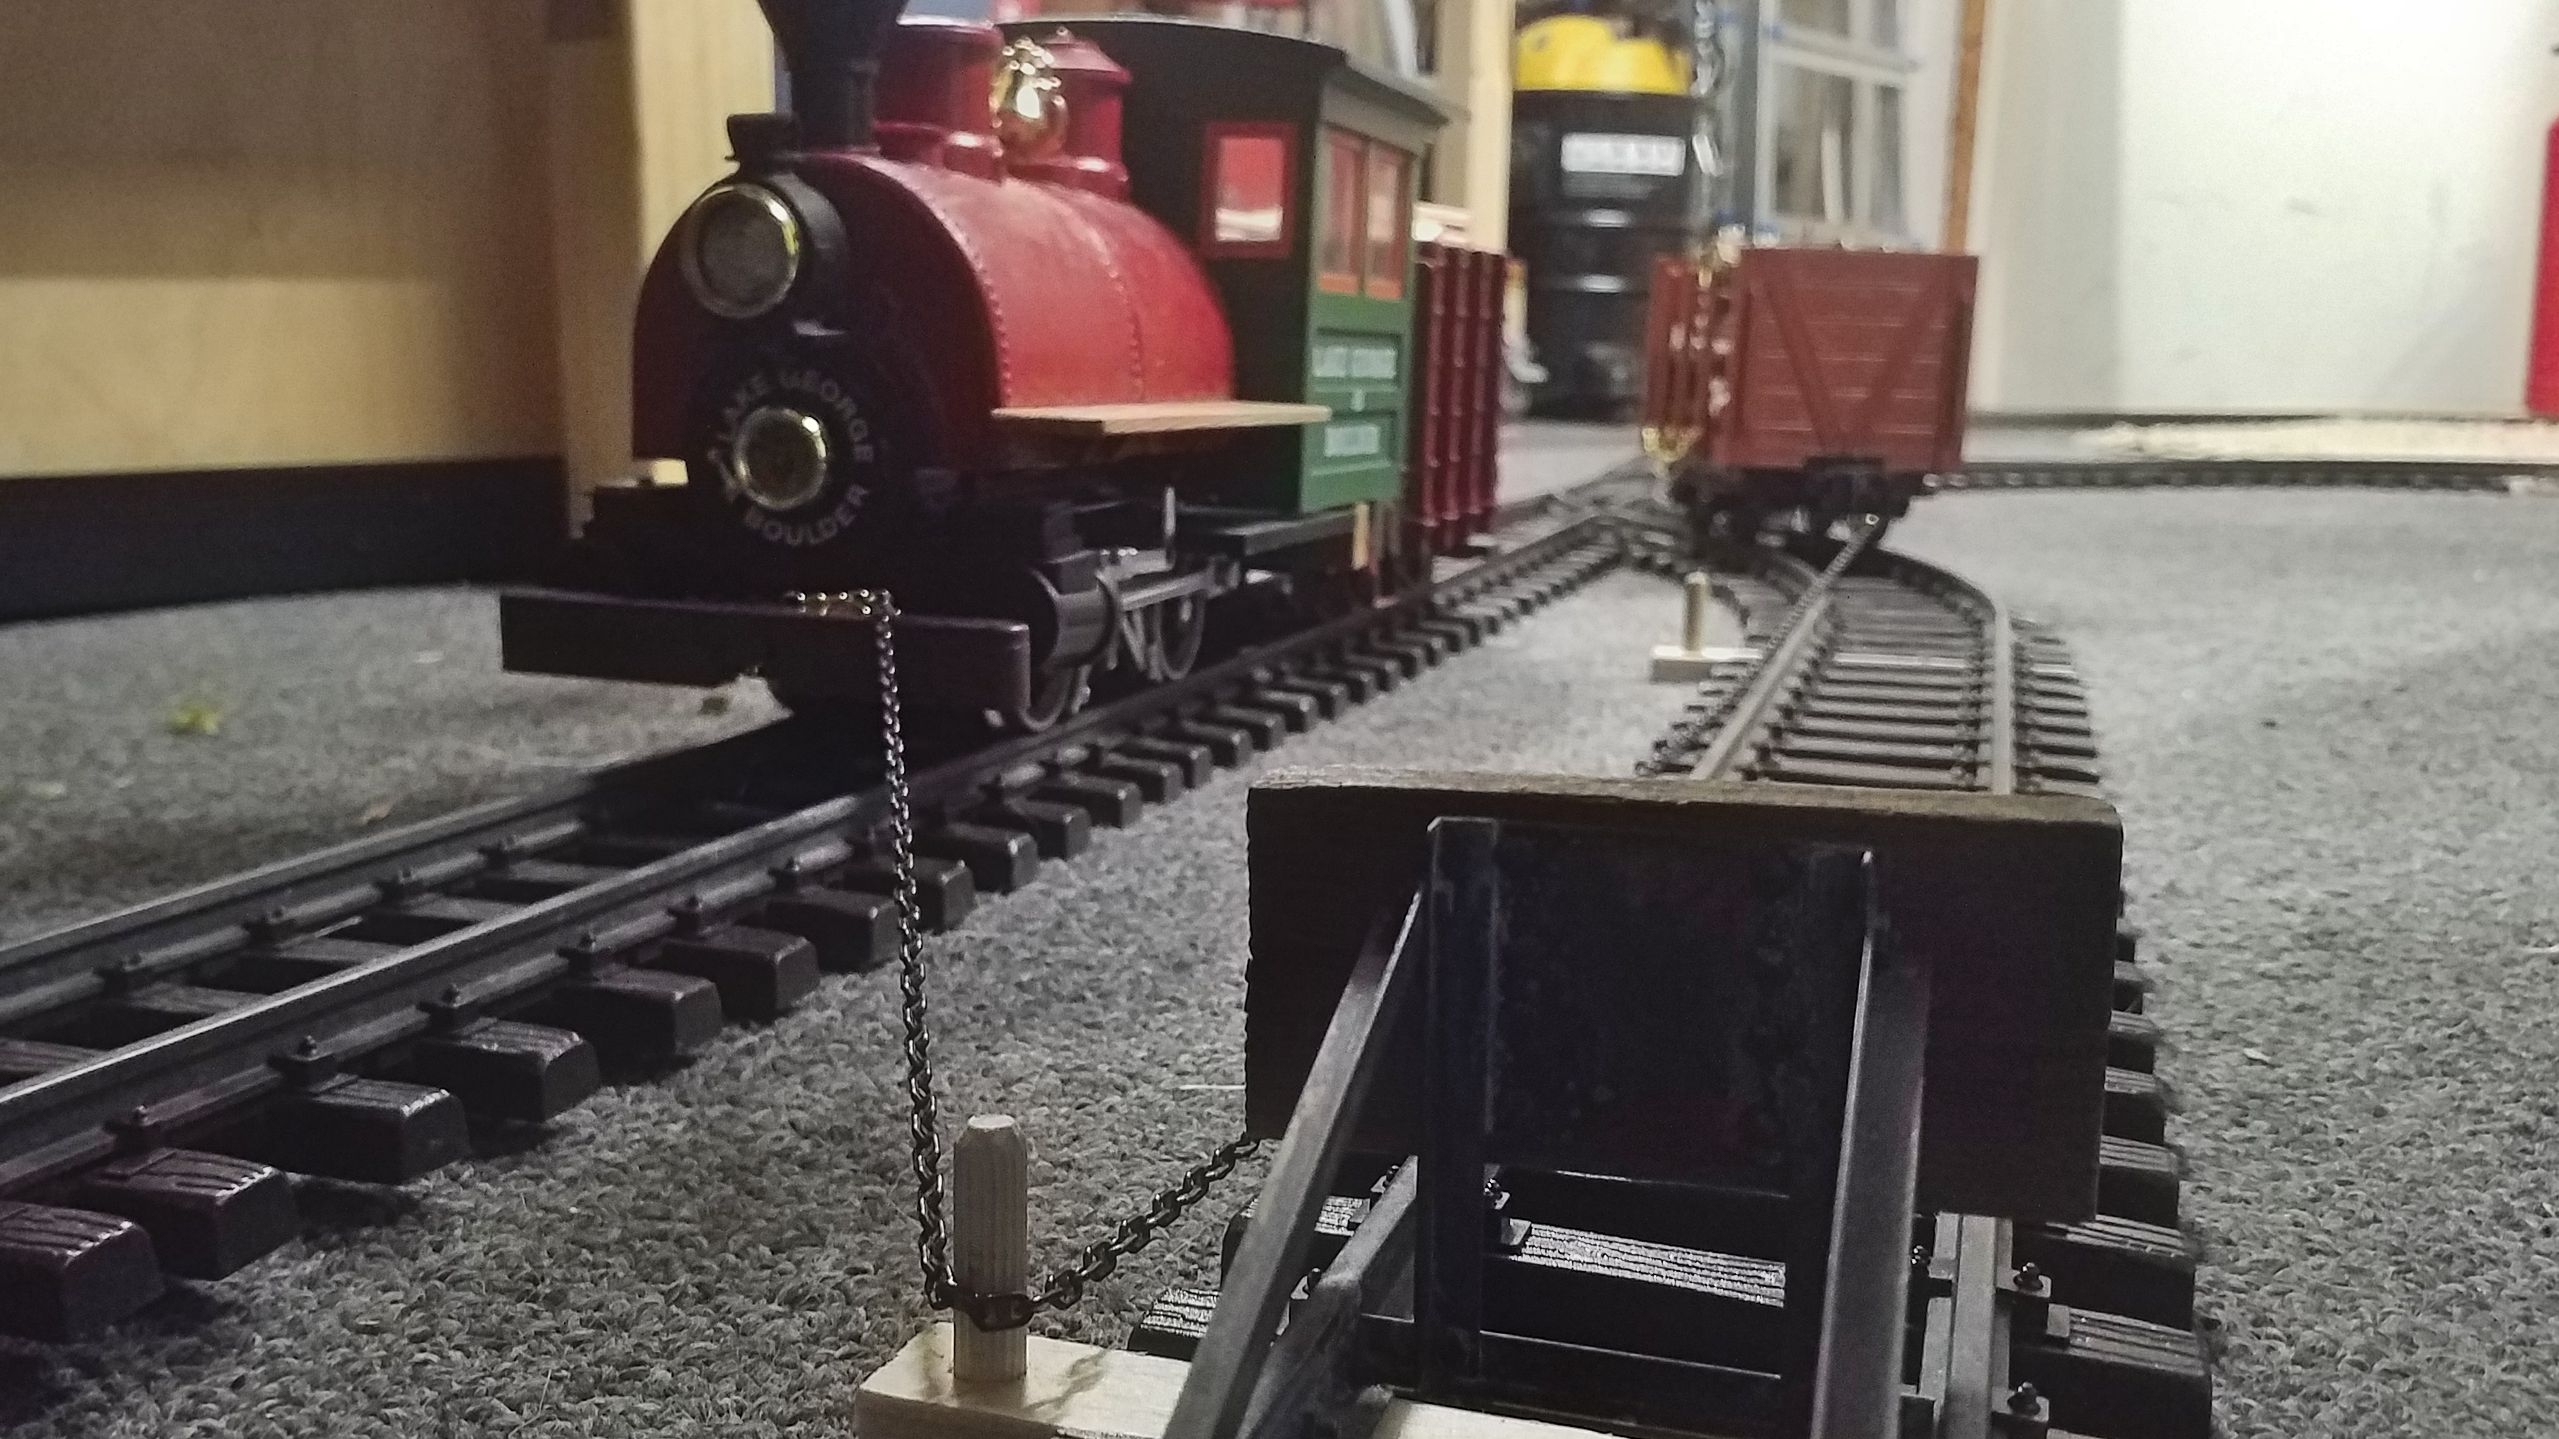
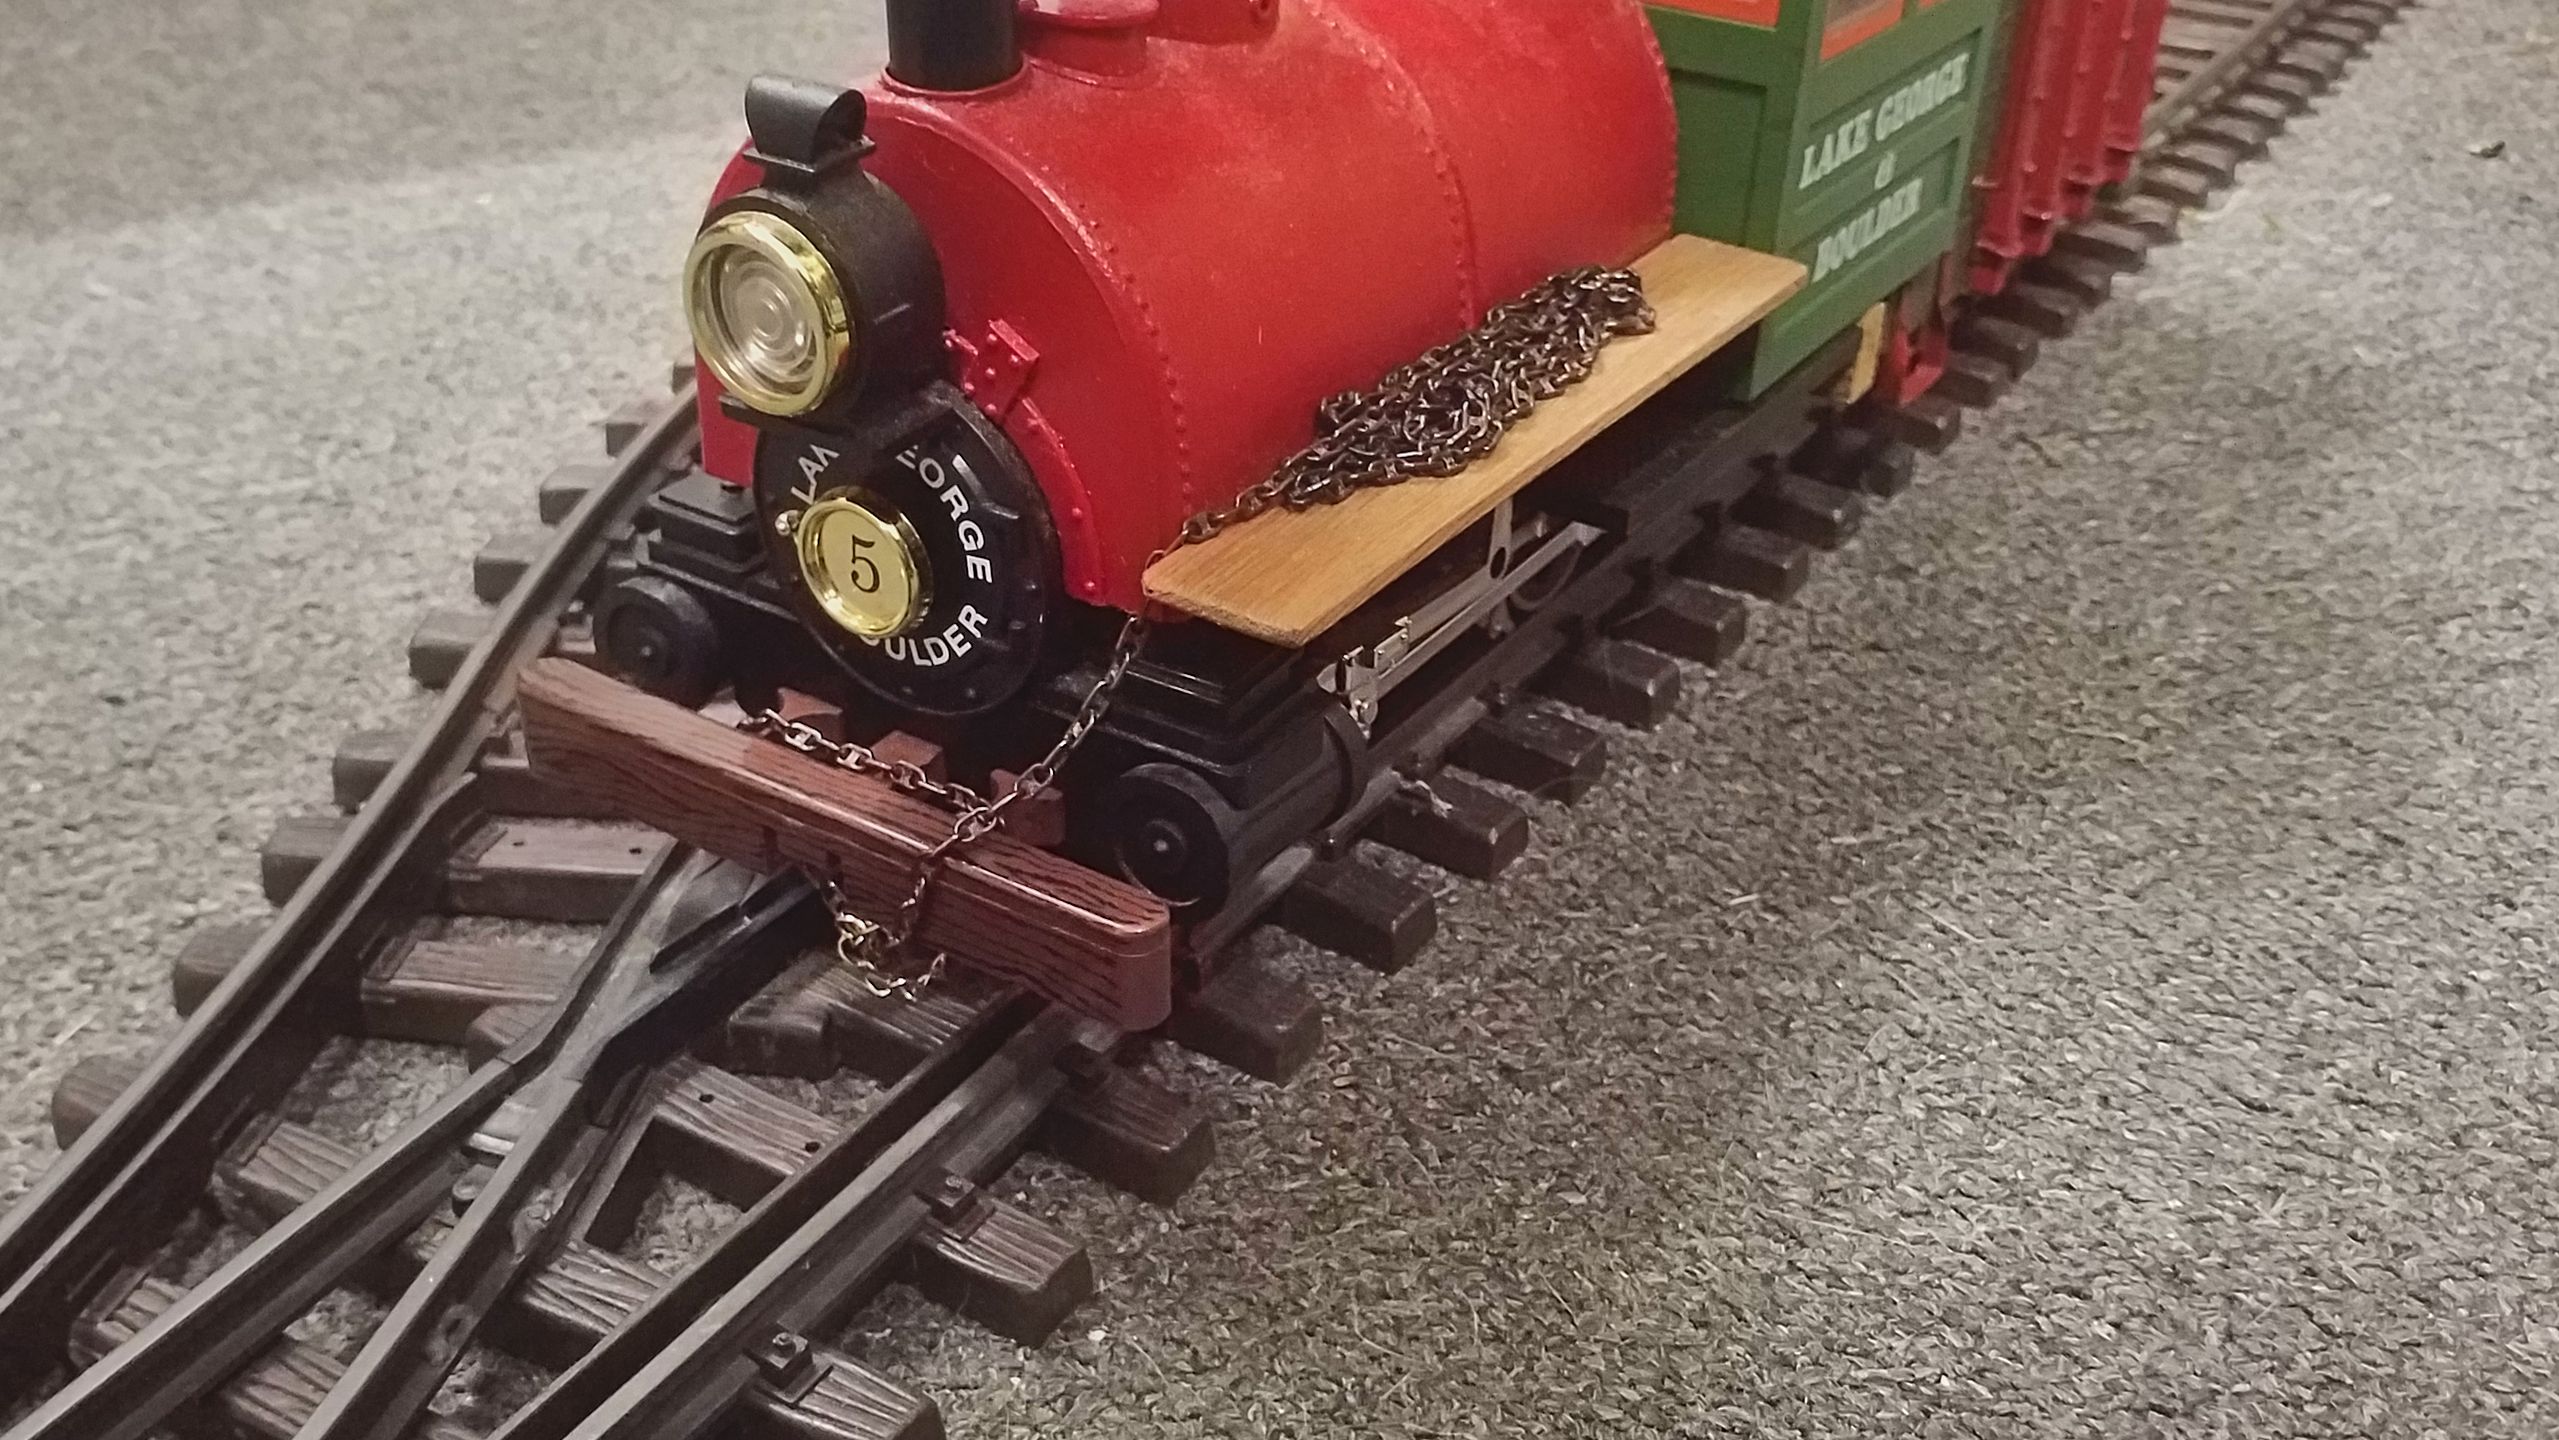
Arriving at the destination, the waggon has to be disconnected from the loco. The loco remains on the main track…
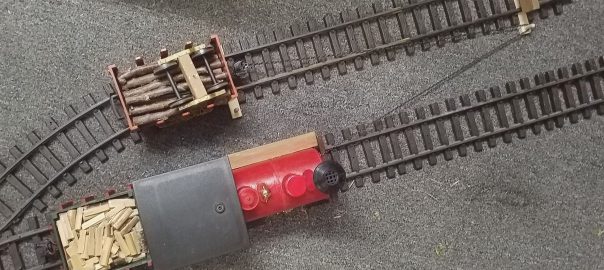
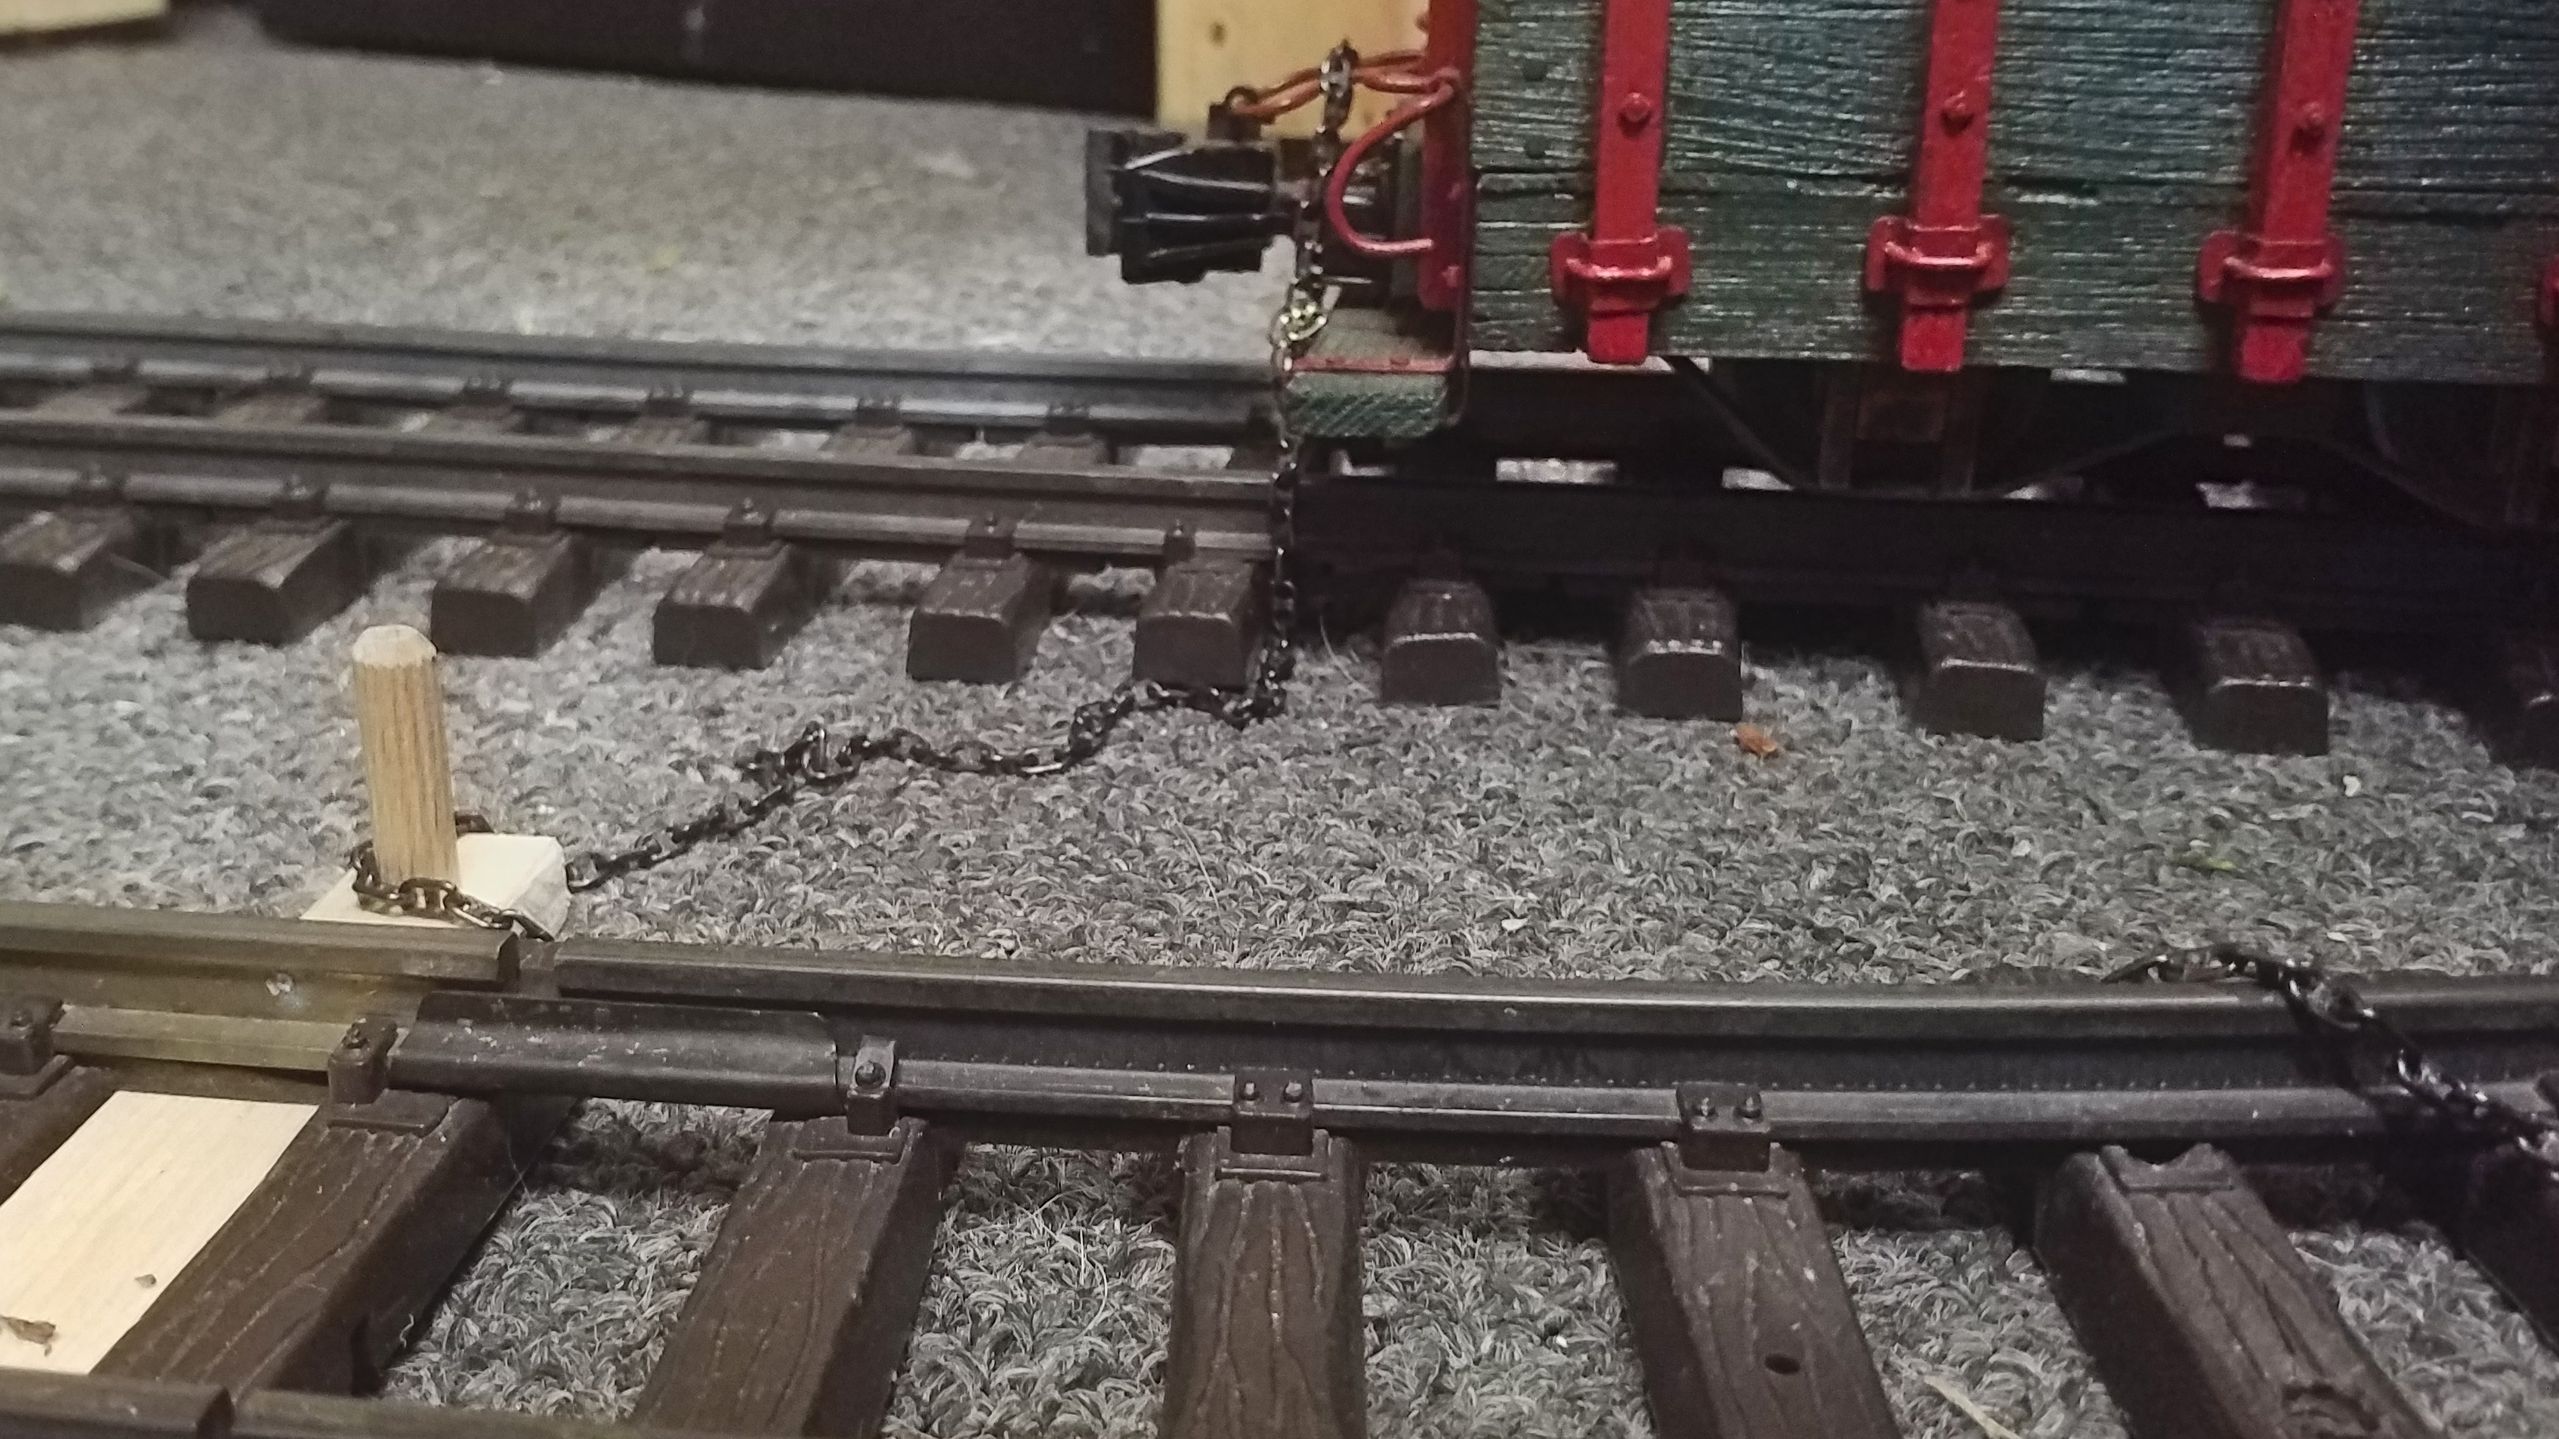
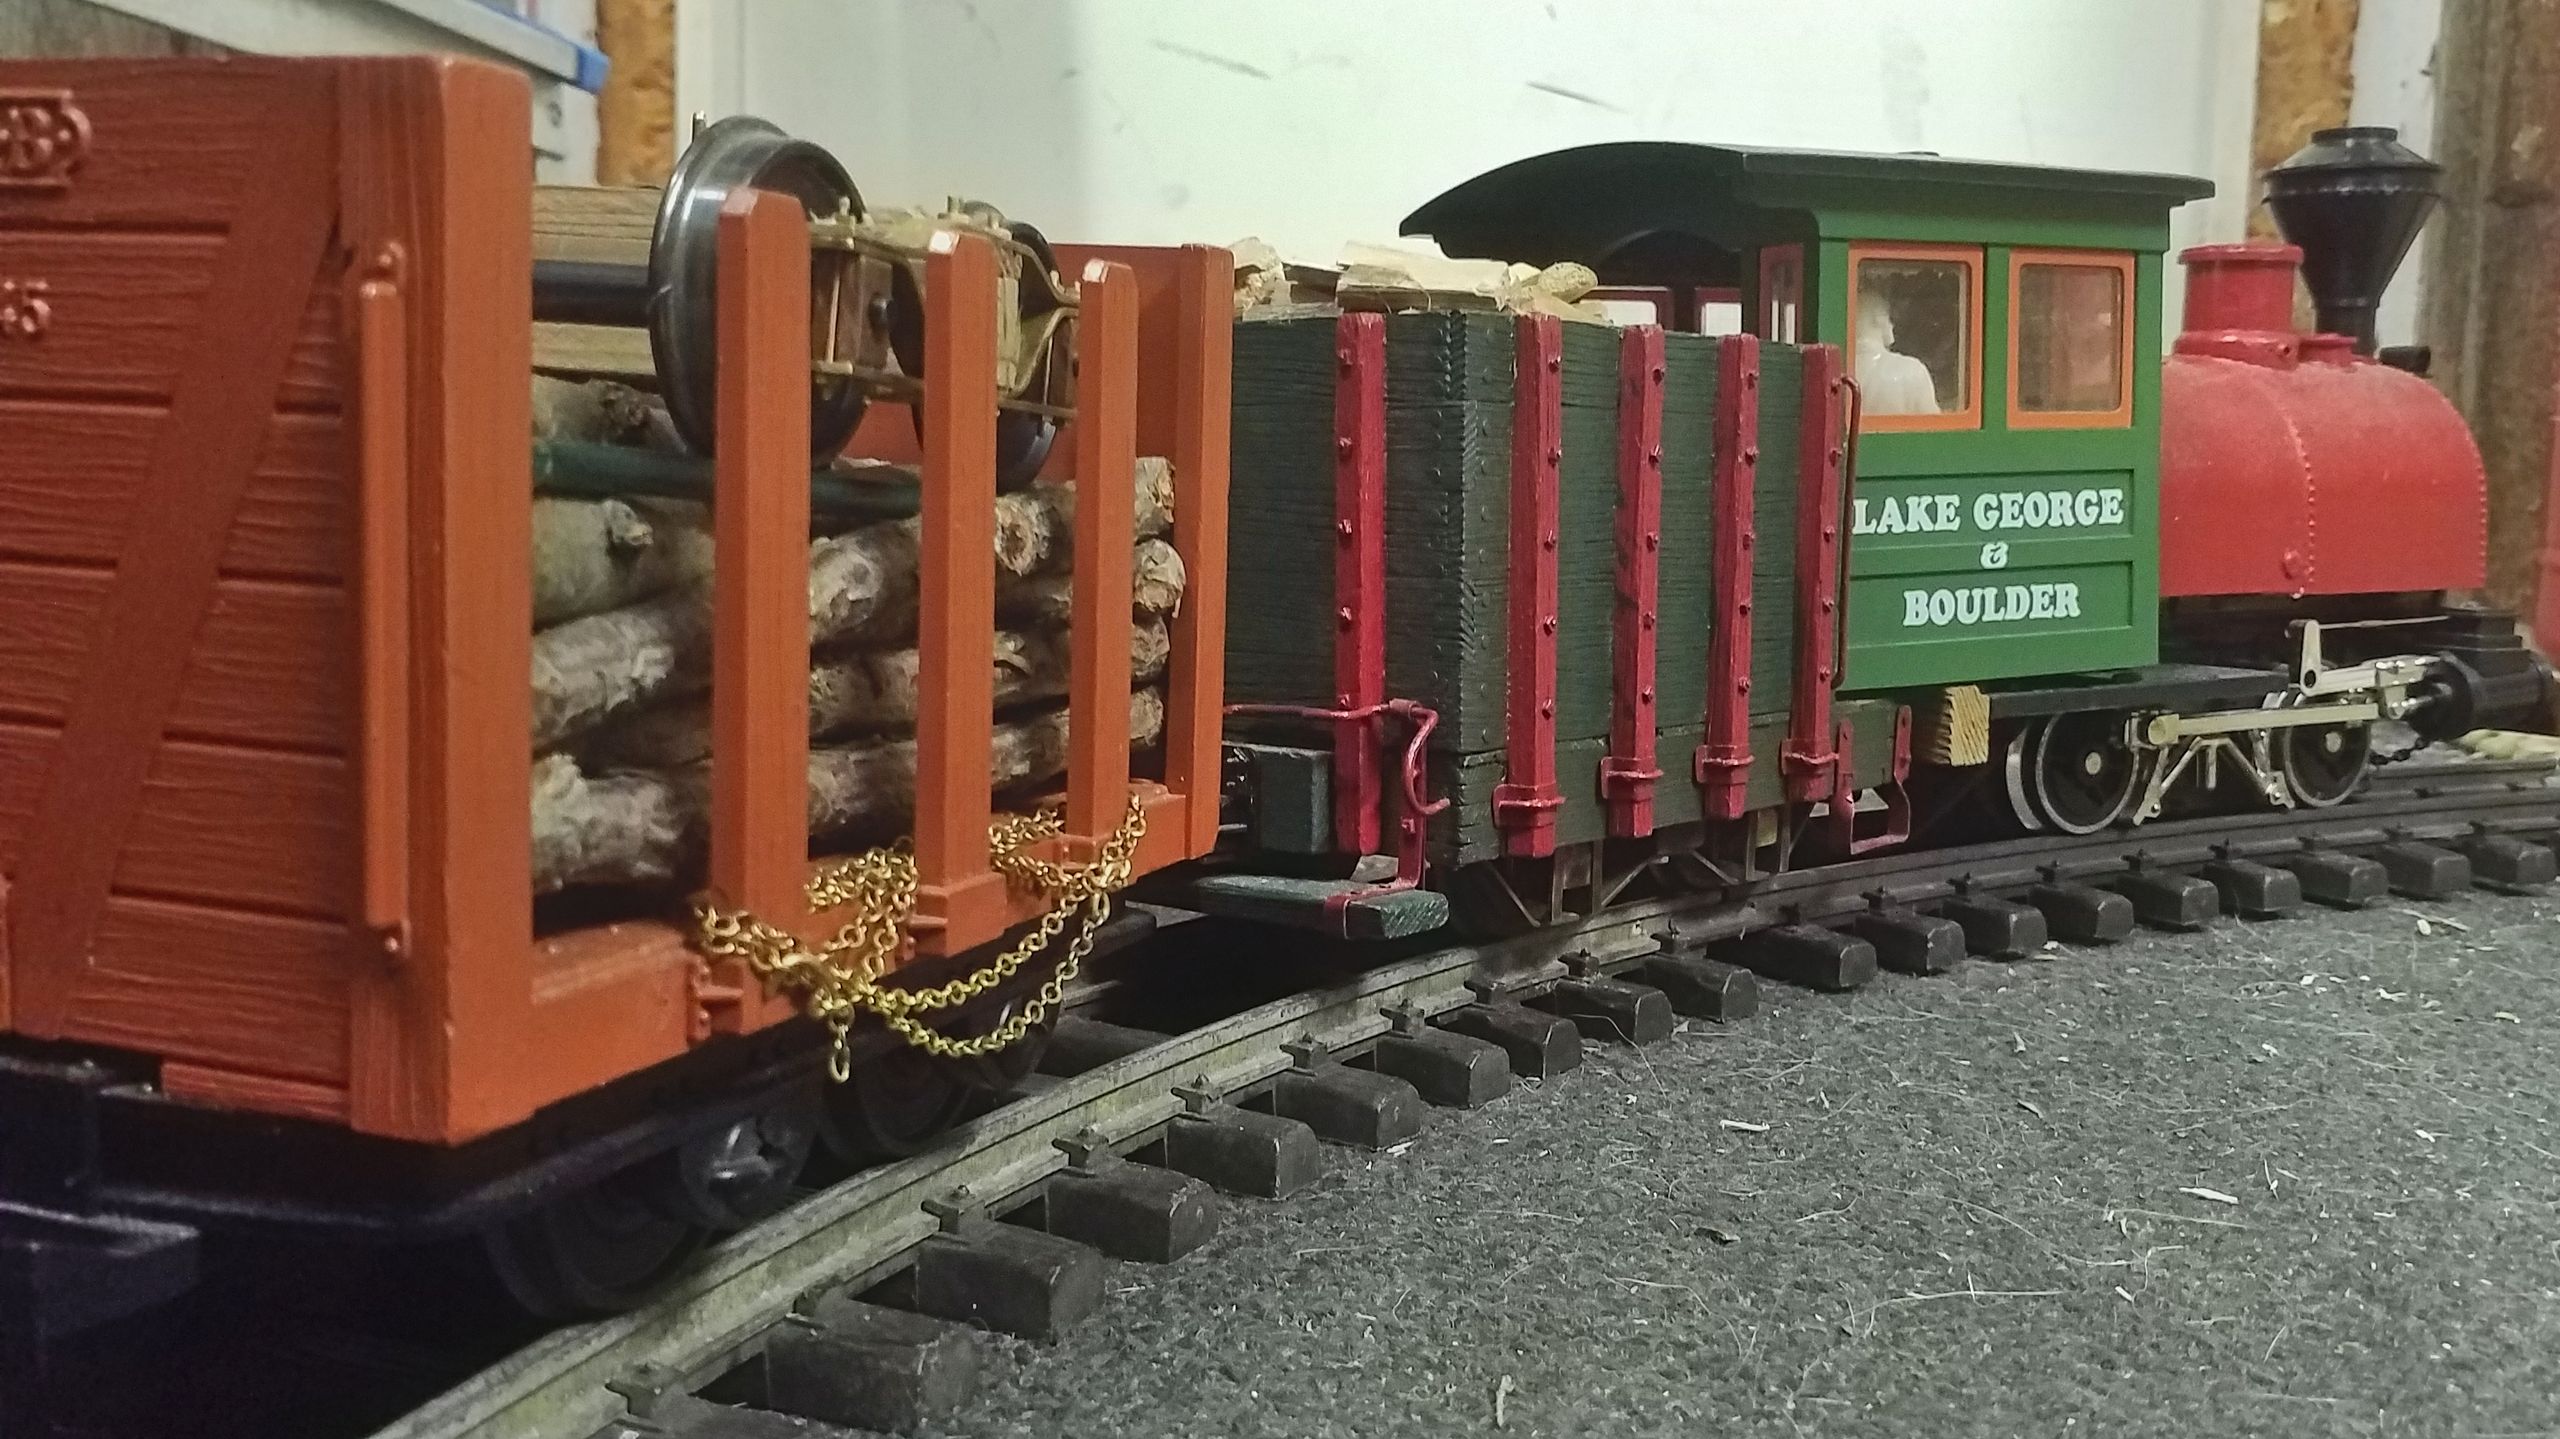
…while the chain is laid around the first bollard and fastened to the waggons knuckle coupler. That’s what those two pieces of wood are about: They are ripped with the appropriate width to wedge them between two sleepers and drilled at one end in order to accomodate a wooden dowel of 6 mm diametre.
The loco now advances and the turnout is switched to the spur, so that the waggon can be pulled into it.

Technically, the first bollard isn’t exactly necessary, but it makes sure that the pulling force is applied alongside the spur’s curve. That’s a benefit especially for the smal bulkhead N°100 because it tends to twist and derail on the turnout’s frog. (Yes, this was tested extensively…) All in all, the first bollard improves operation security.

As soon as the loco reaches the second bollard, she reverses a short distance in order to slack the chain. Then the latter can be laid around the second bollard and the loco continues to reverse.
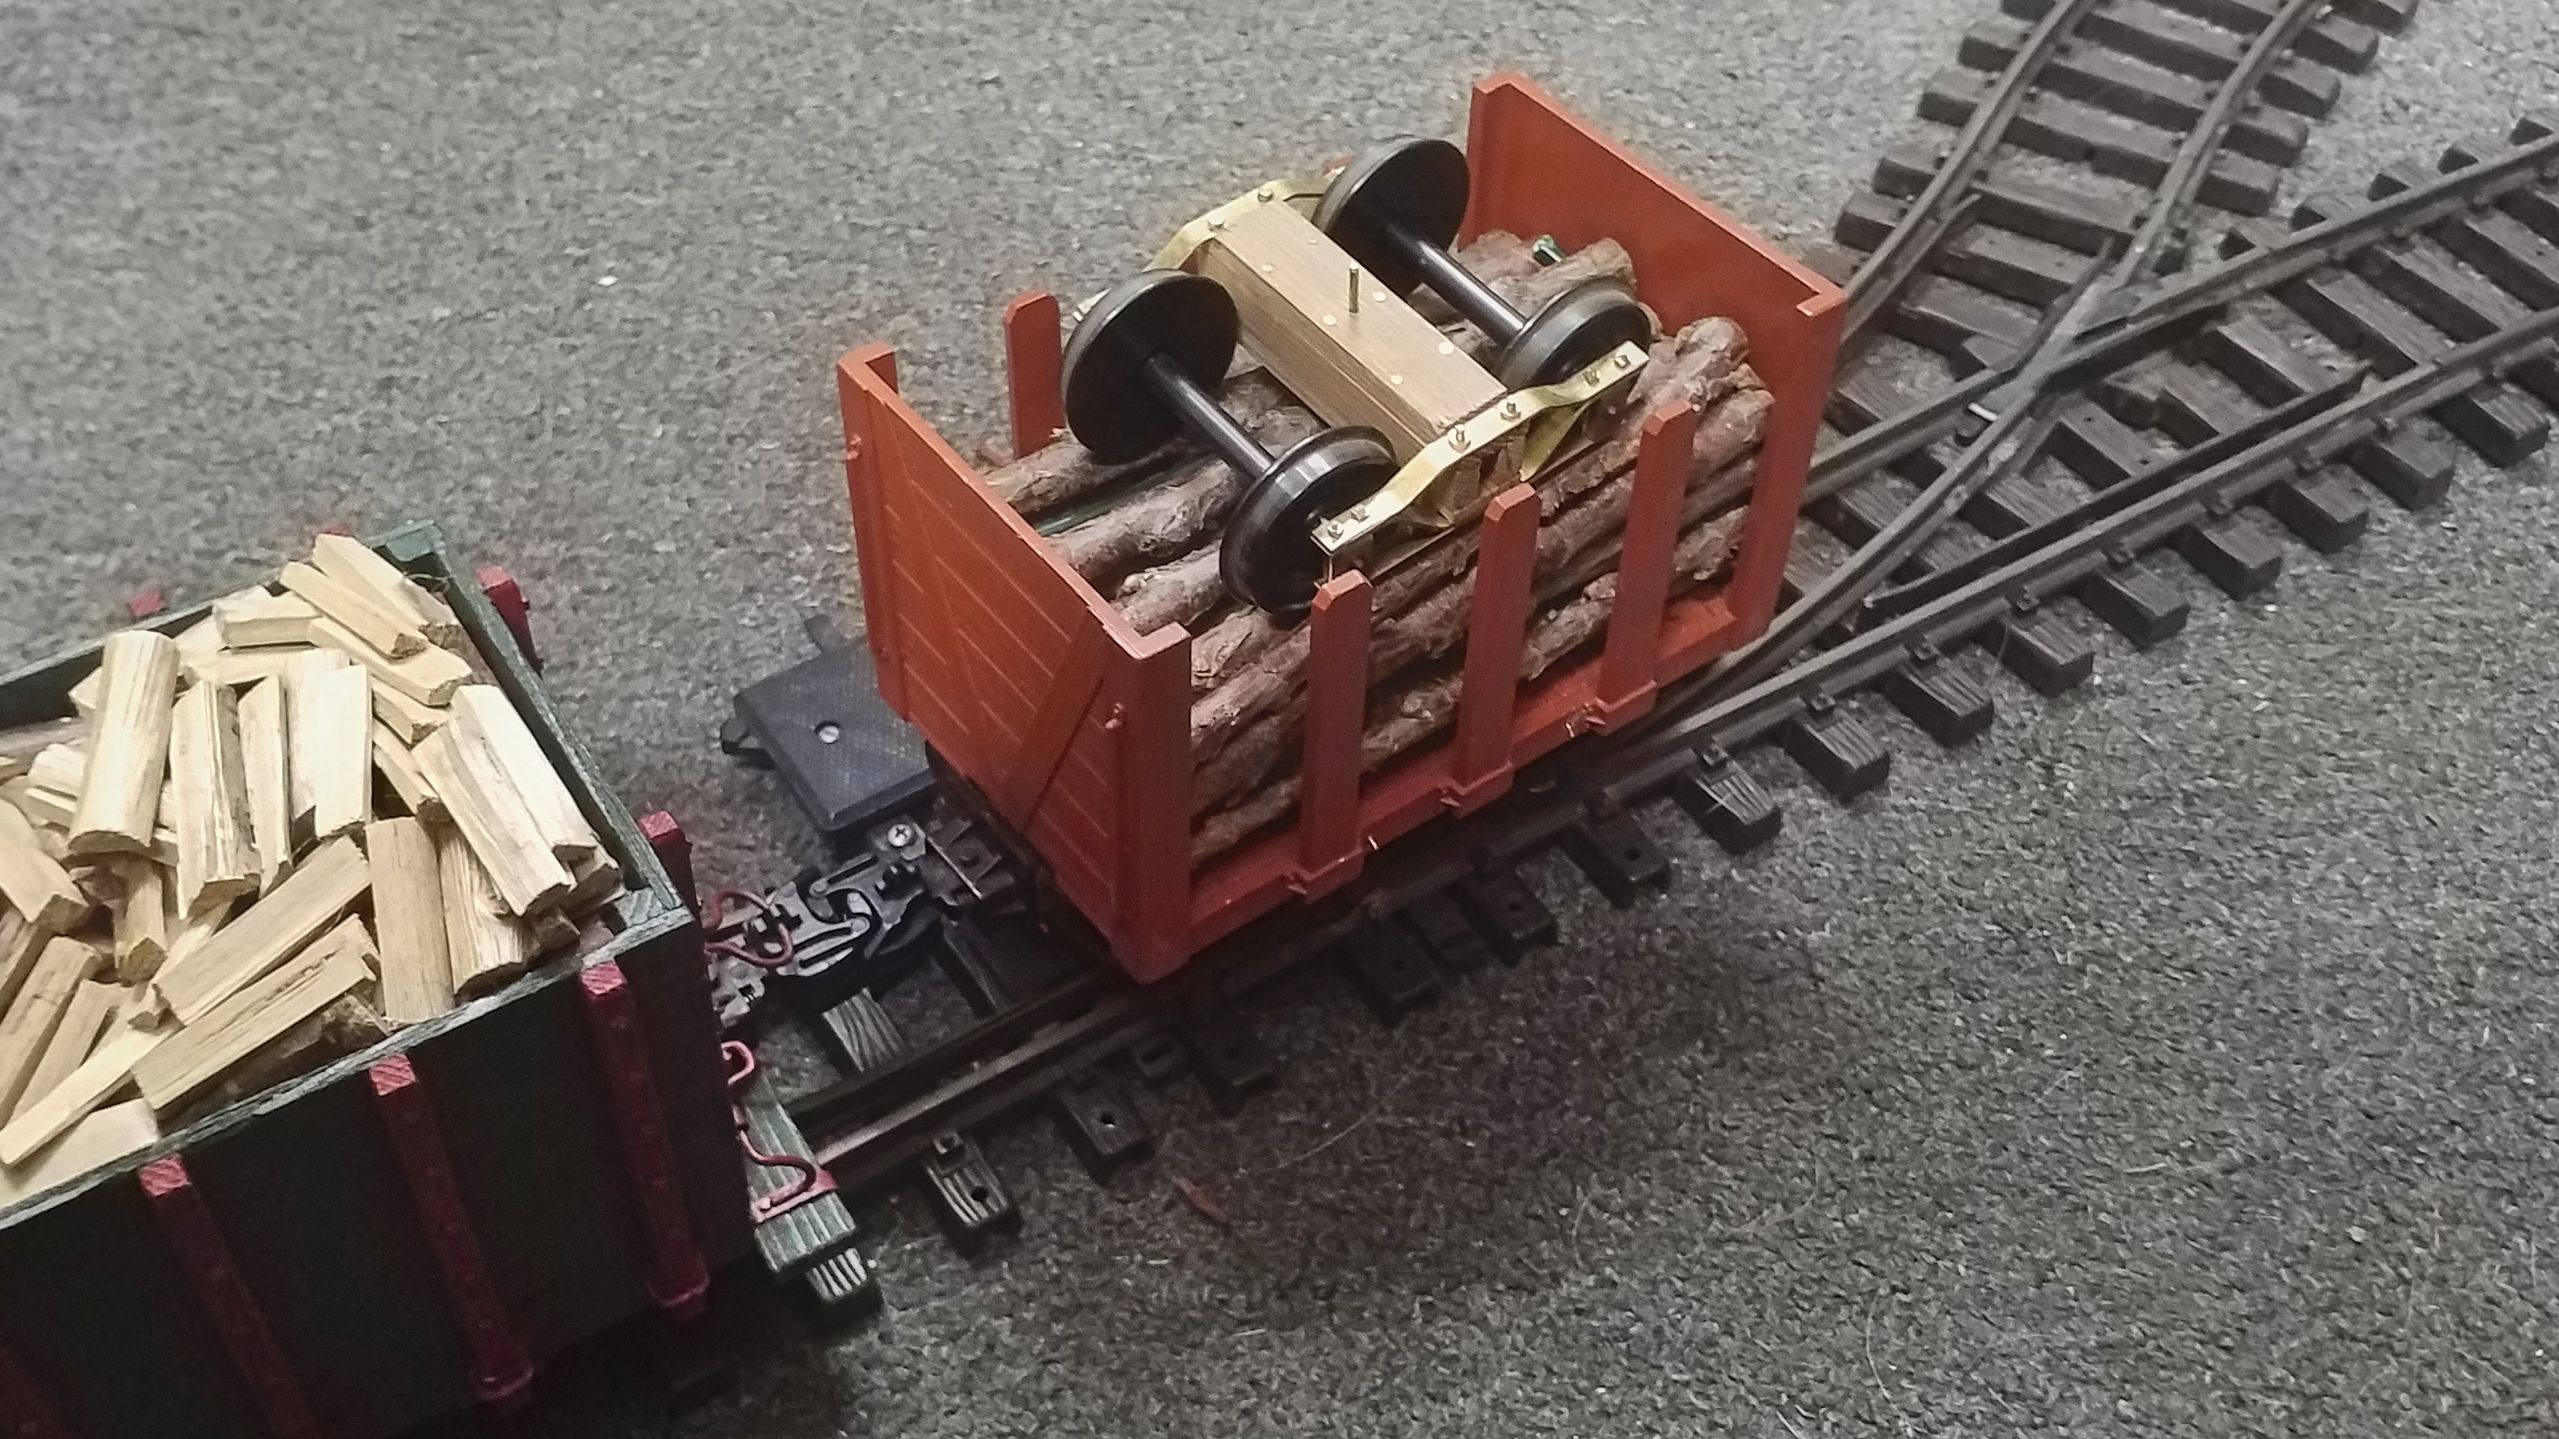
In that way, the waggon is pulled to the end of the spur, where we imagine the loading ramp which awaits the bogie.
This is how the procedure looks in moving pictures:
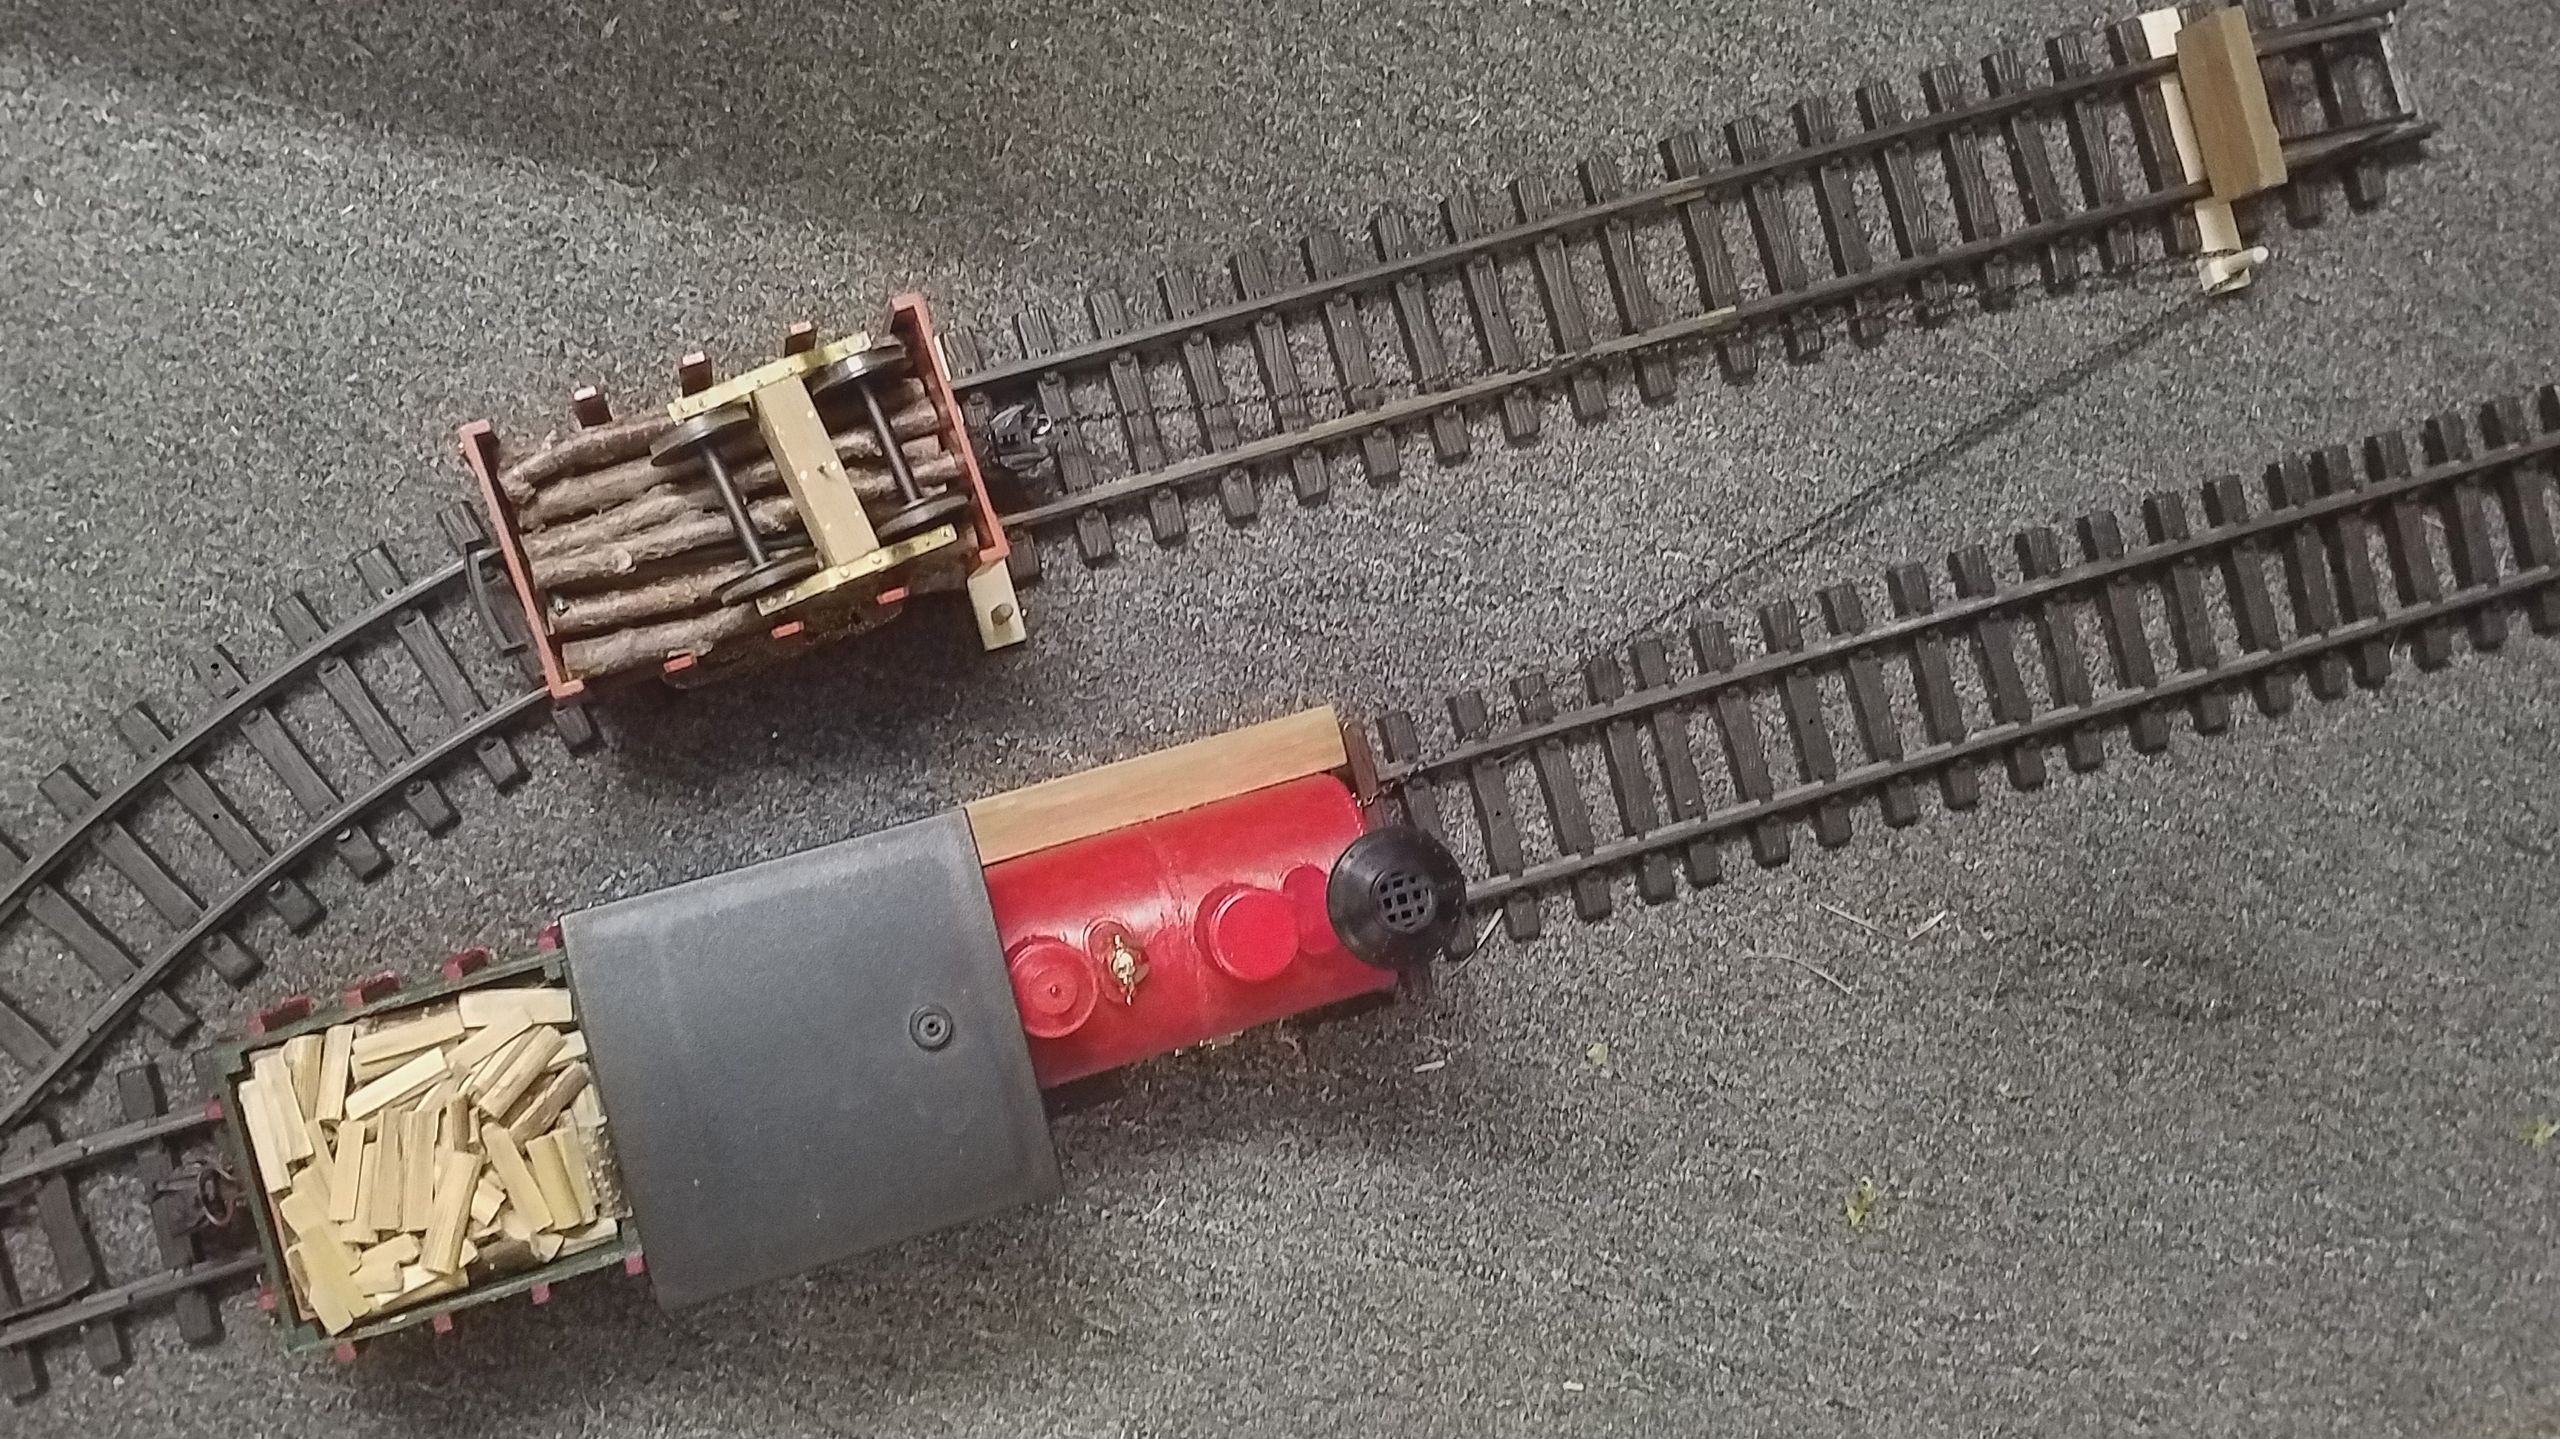
Arriving at the unloading point, the bogie (including its push rod) is unloaded. In the meantime, the stoker doubles as conductor and scoops up the chain. The loco reverses just behind the spur turnout…
…and connects to the waggon from the other side. Since I haven’t purchased any more knuckle couplers, the chain comes in handy again. The loco now pulls the waggon to the carpenter’s “warehouse”.

The second load is being unloaded. After that, the empty train can return to its departure station by running the balloon loop anti-clockwise.
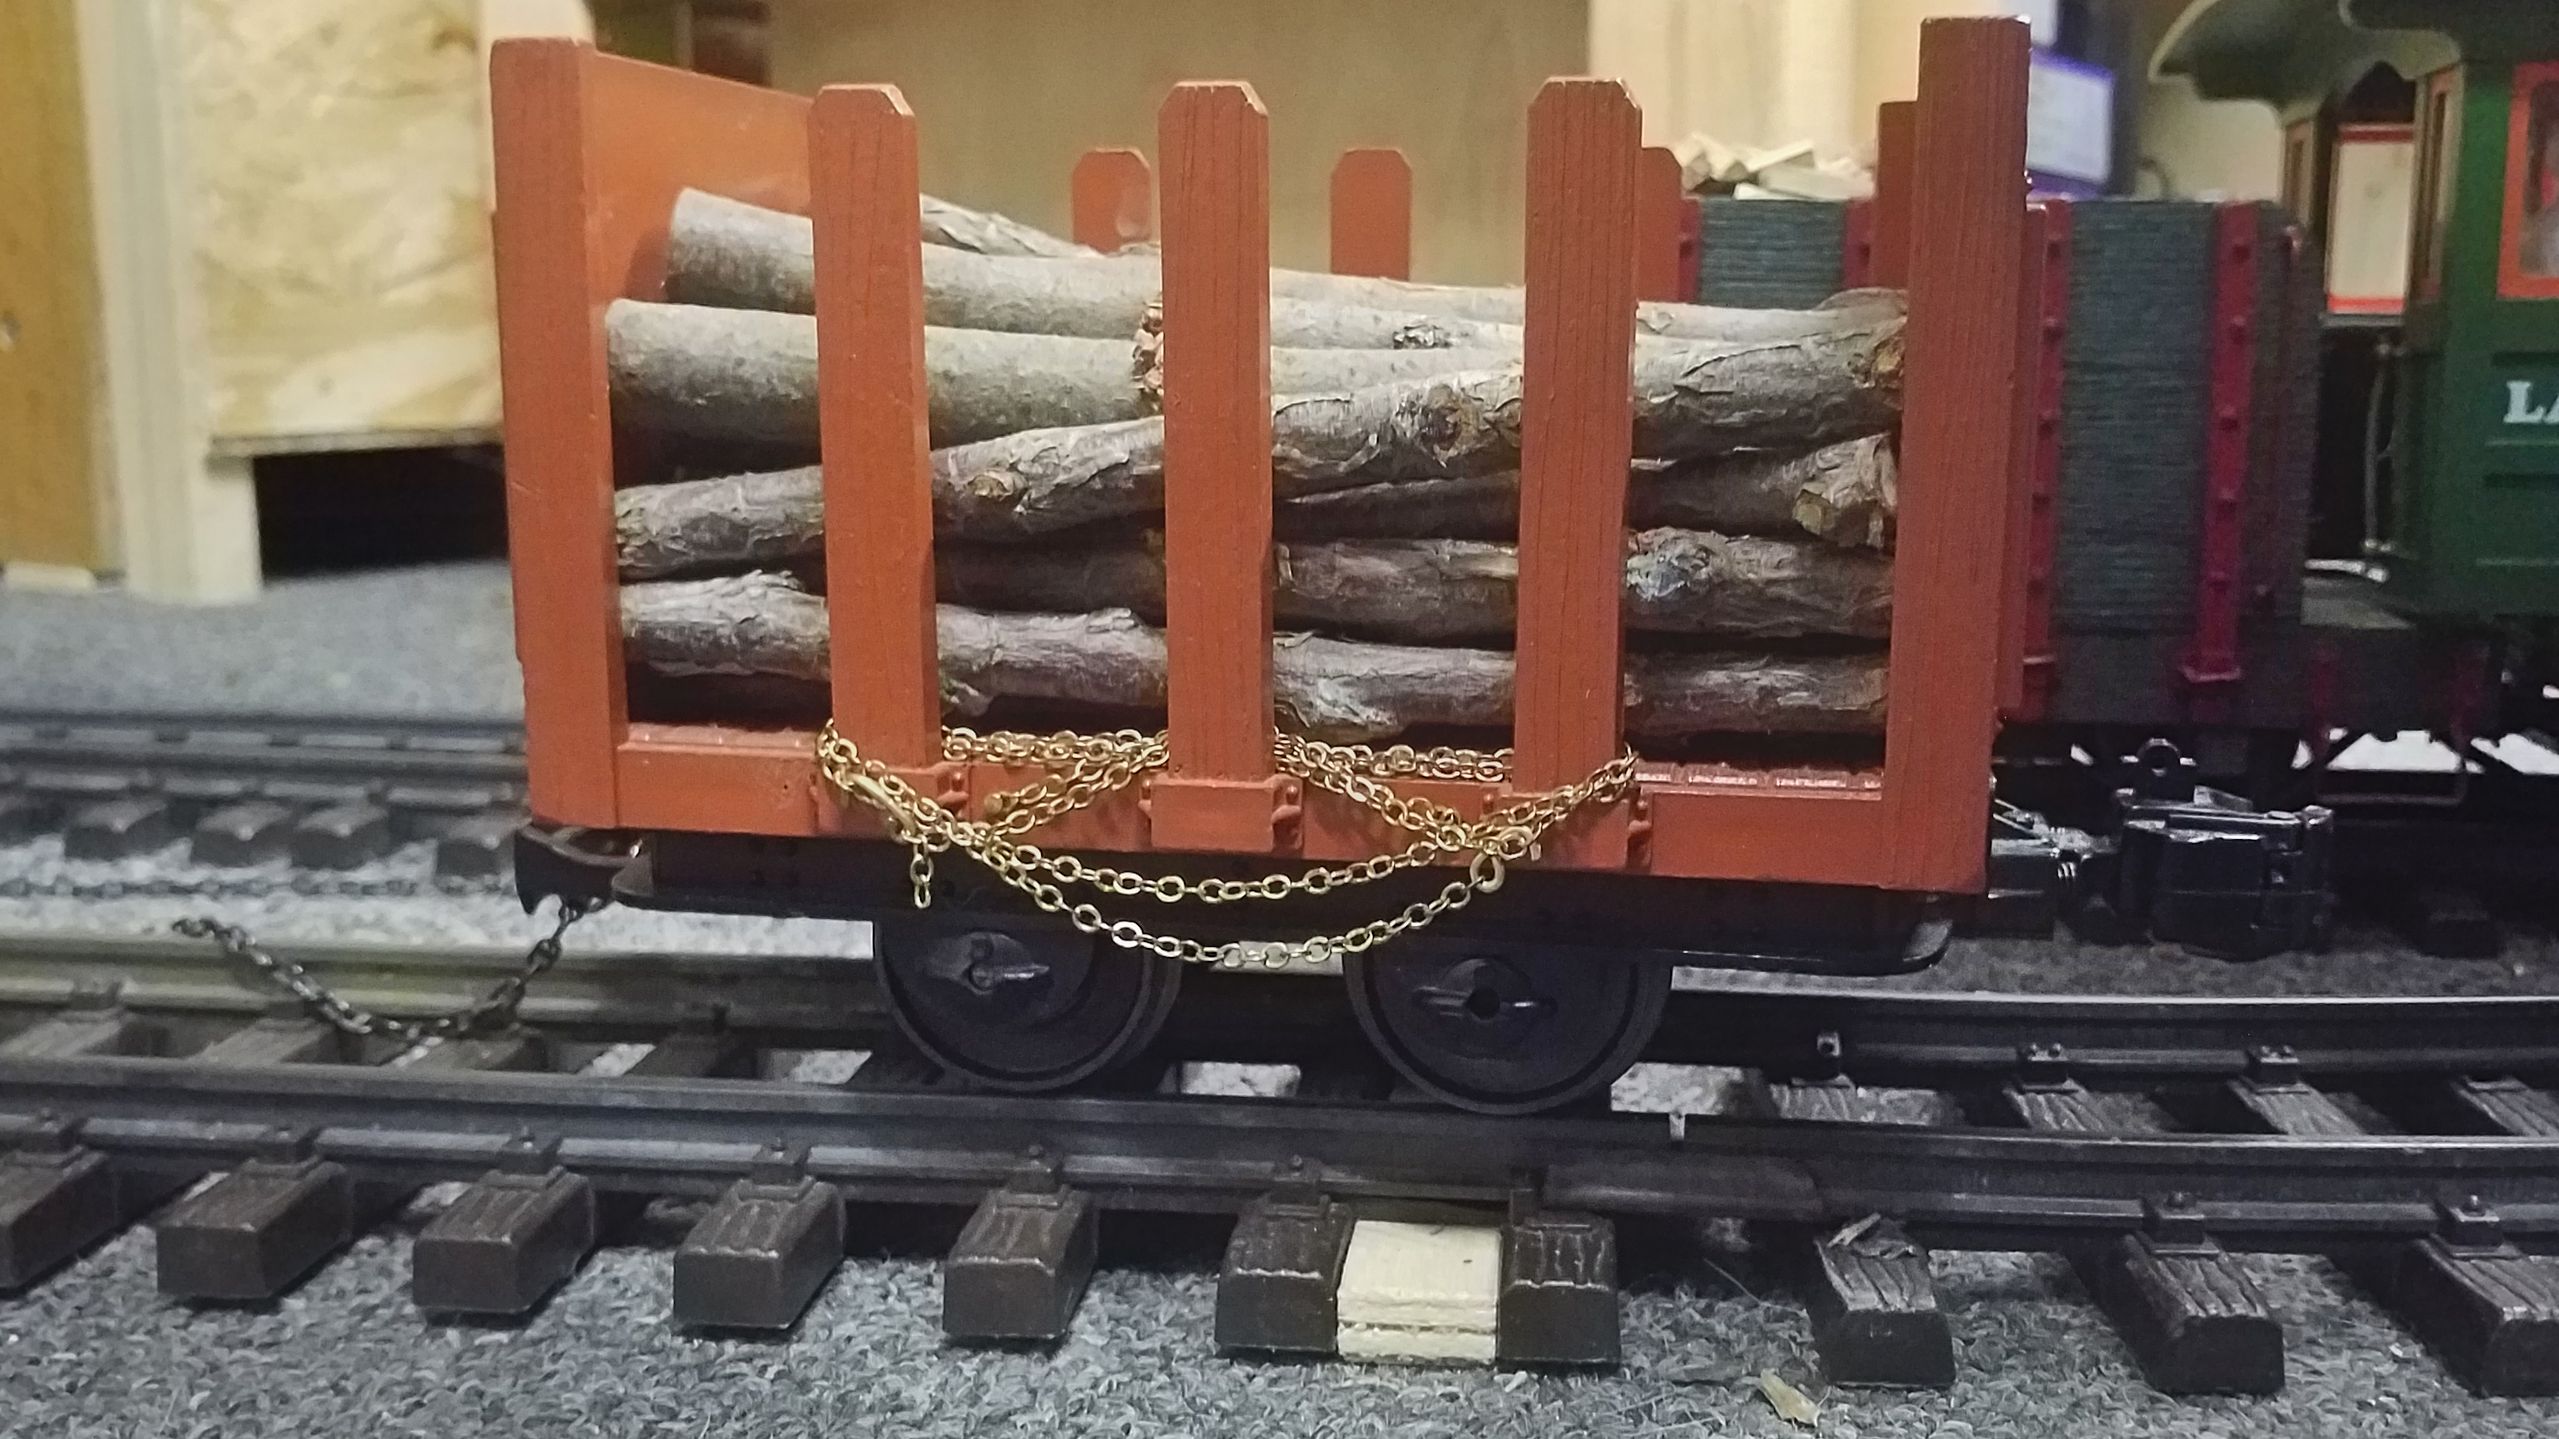
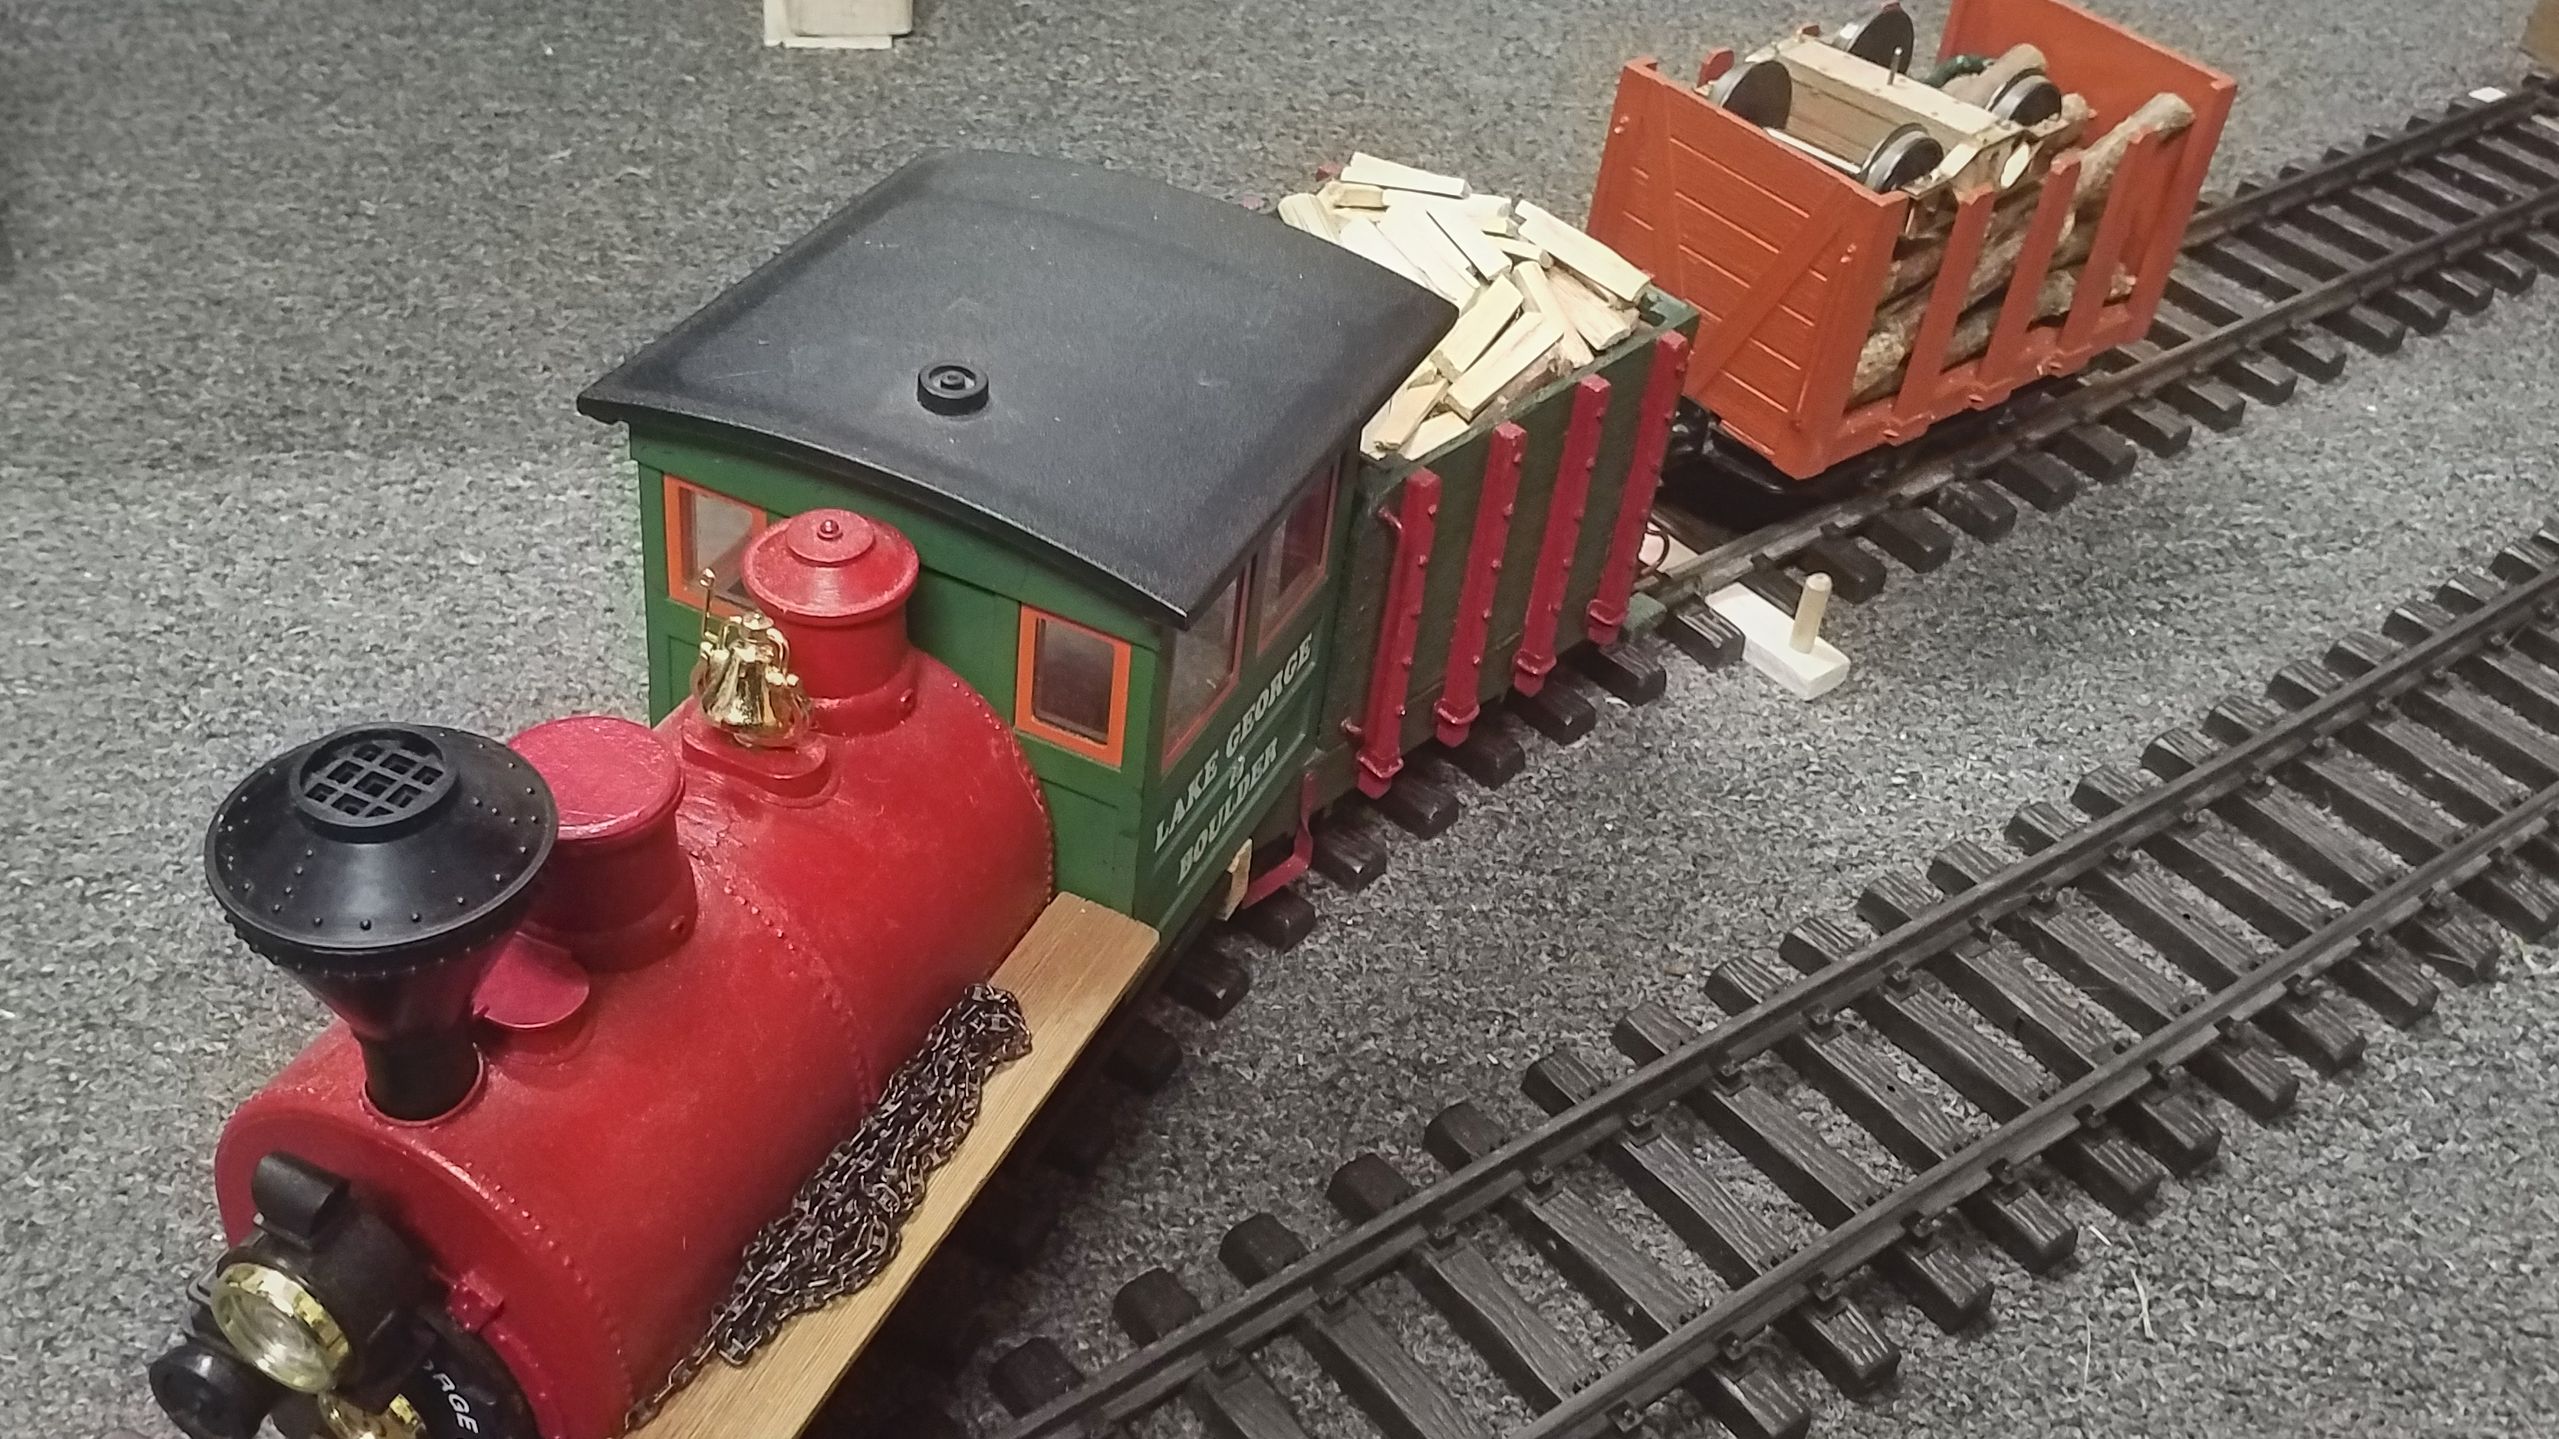
Now we imagine the spur as a saw mill’s connection to the line, where wood is made ready for the carpenter’s. The buffer now represents a warehouse where bogies are stocked for delivery. And as chance would have it, two loads happen to be ready for collection…
The second half starts. Since the loco is driving tender first, the chain has to be fastened to the tender’s knuckle coupler. That’s why I provided a noose, so it can easily be laid around a knuckle coupler or a buffer bar.
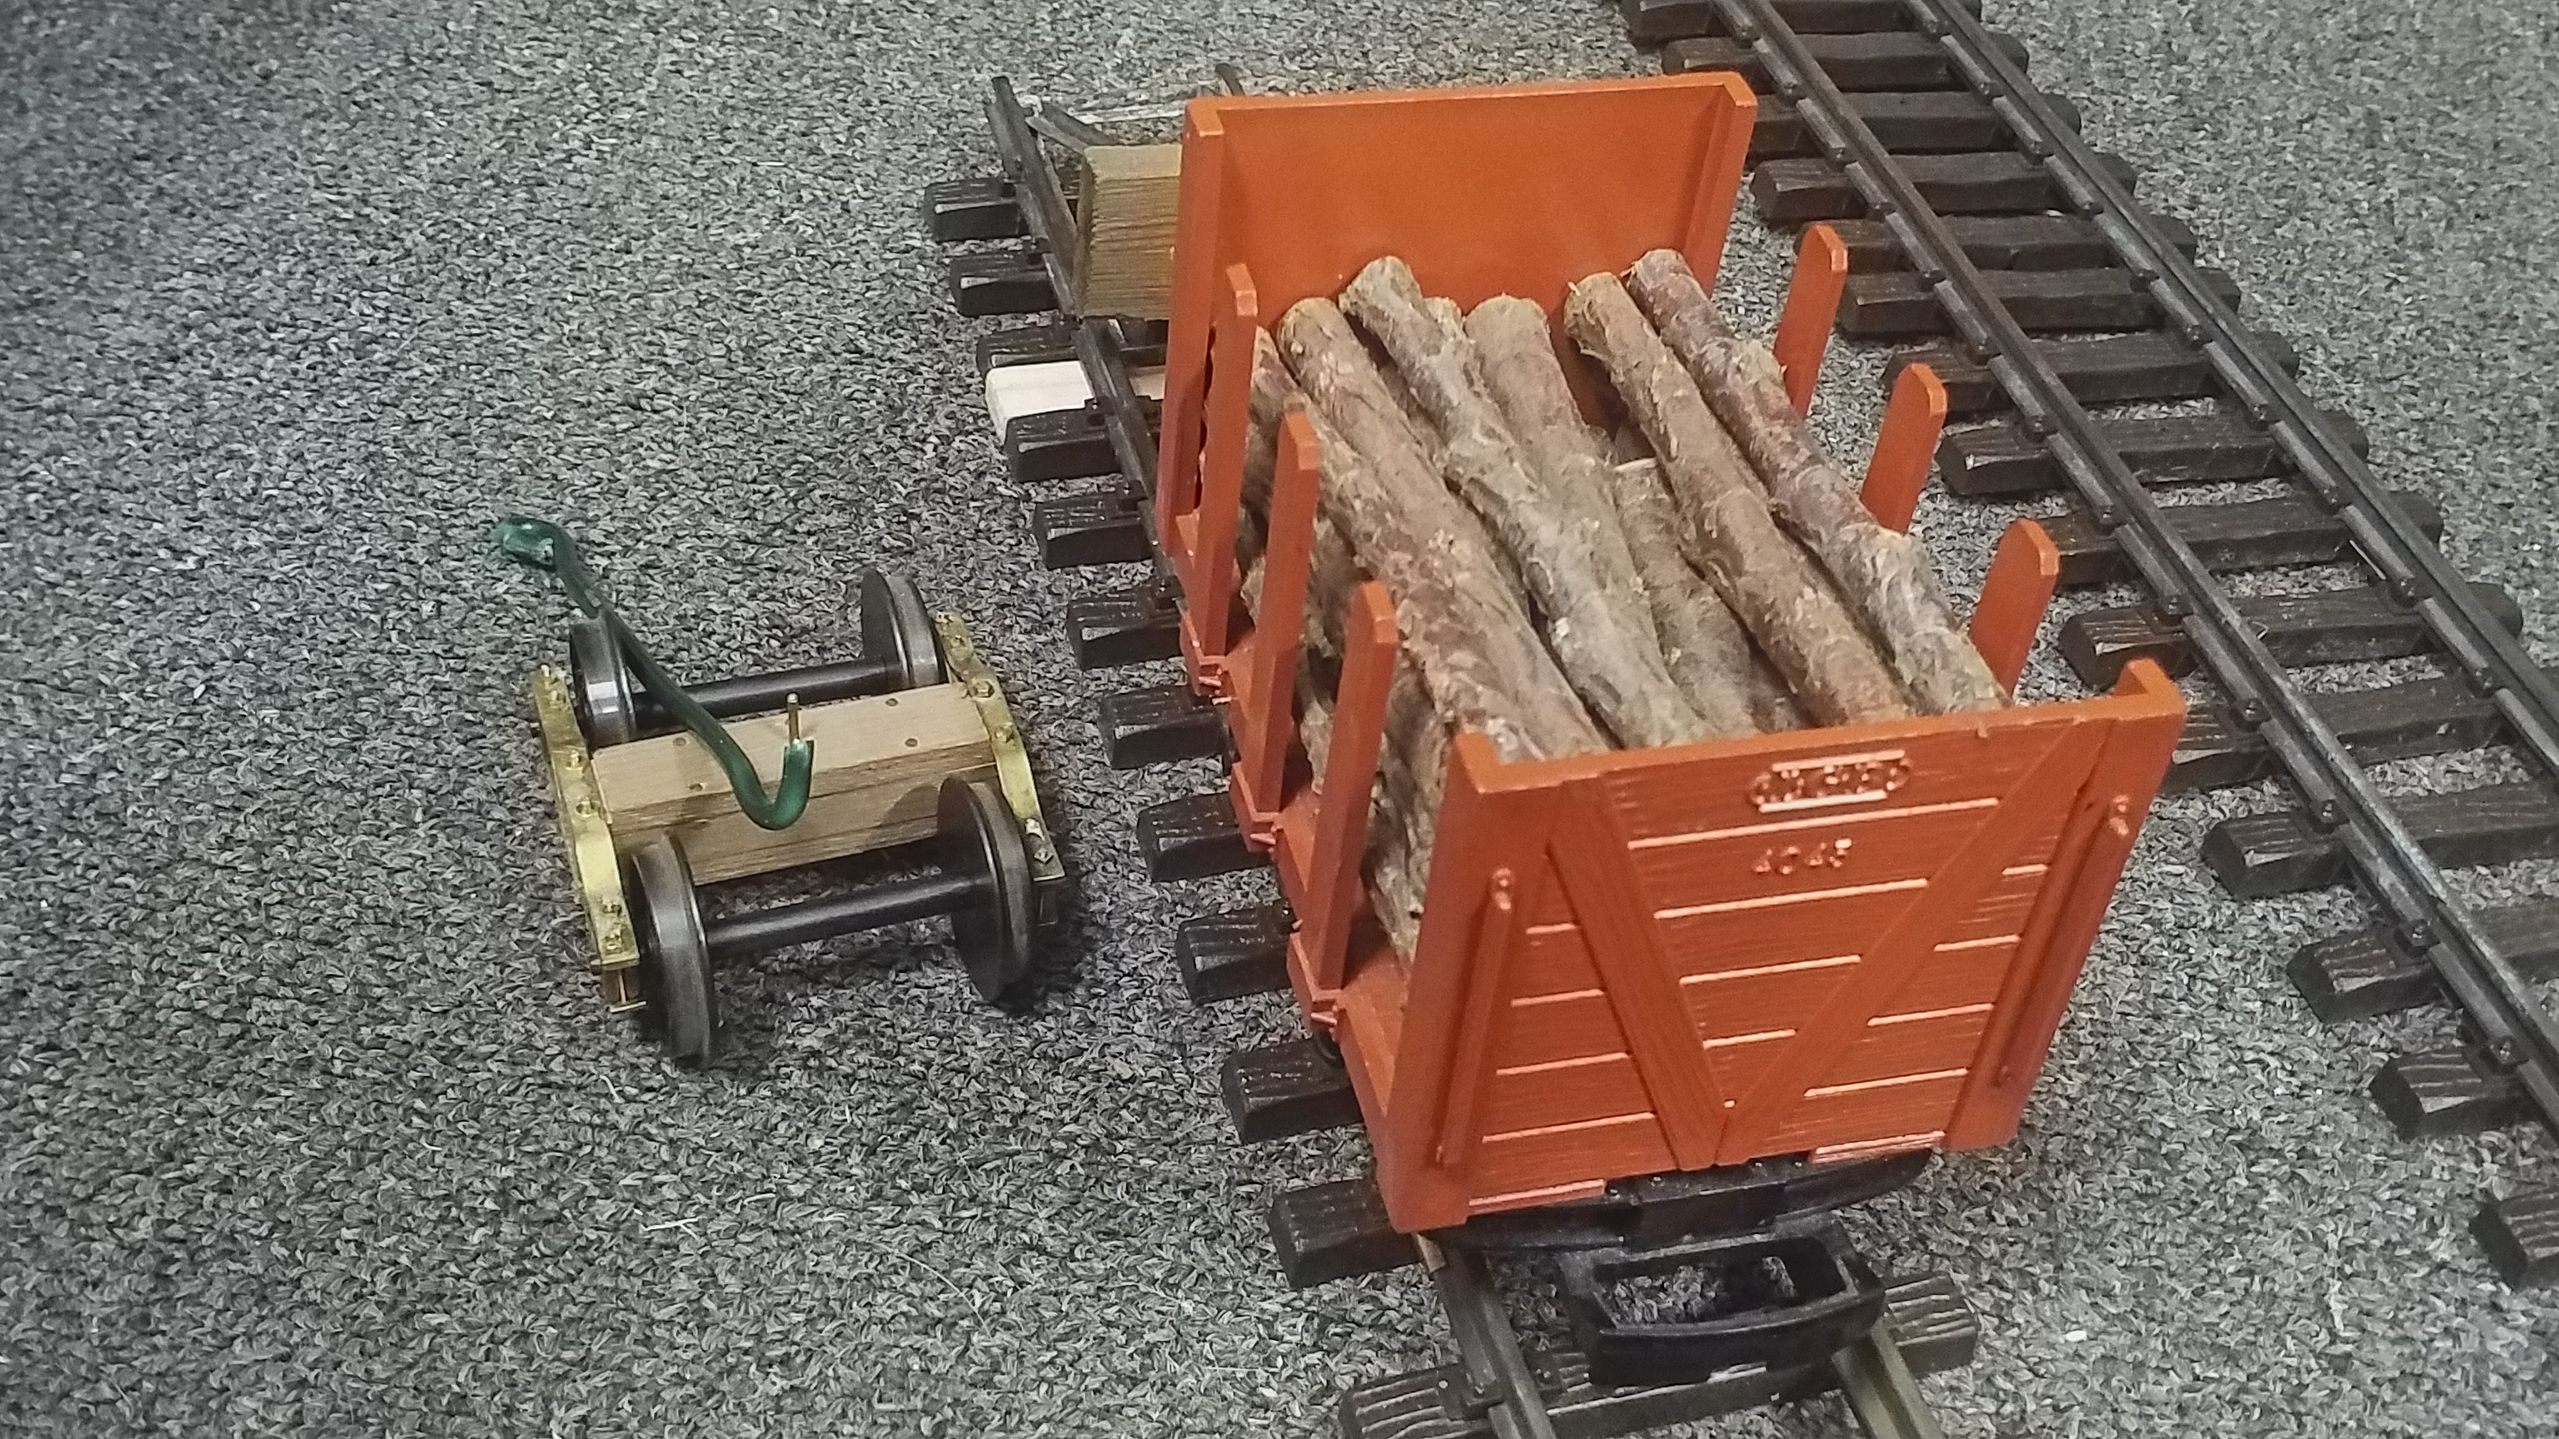
Just like the first time, the waggon is pulled into the spur via chain. However, this time to the wood loading first because it has to be placed bottommost into the waggon.
While the loading is progressing, the chain is collected and reattached to the loco’s front. The loco now enters the spur, too.
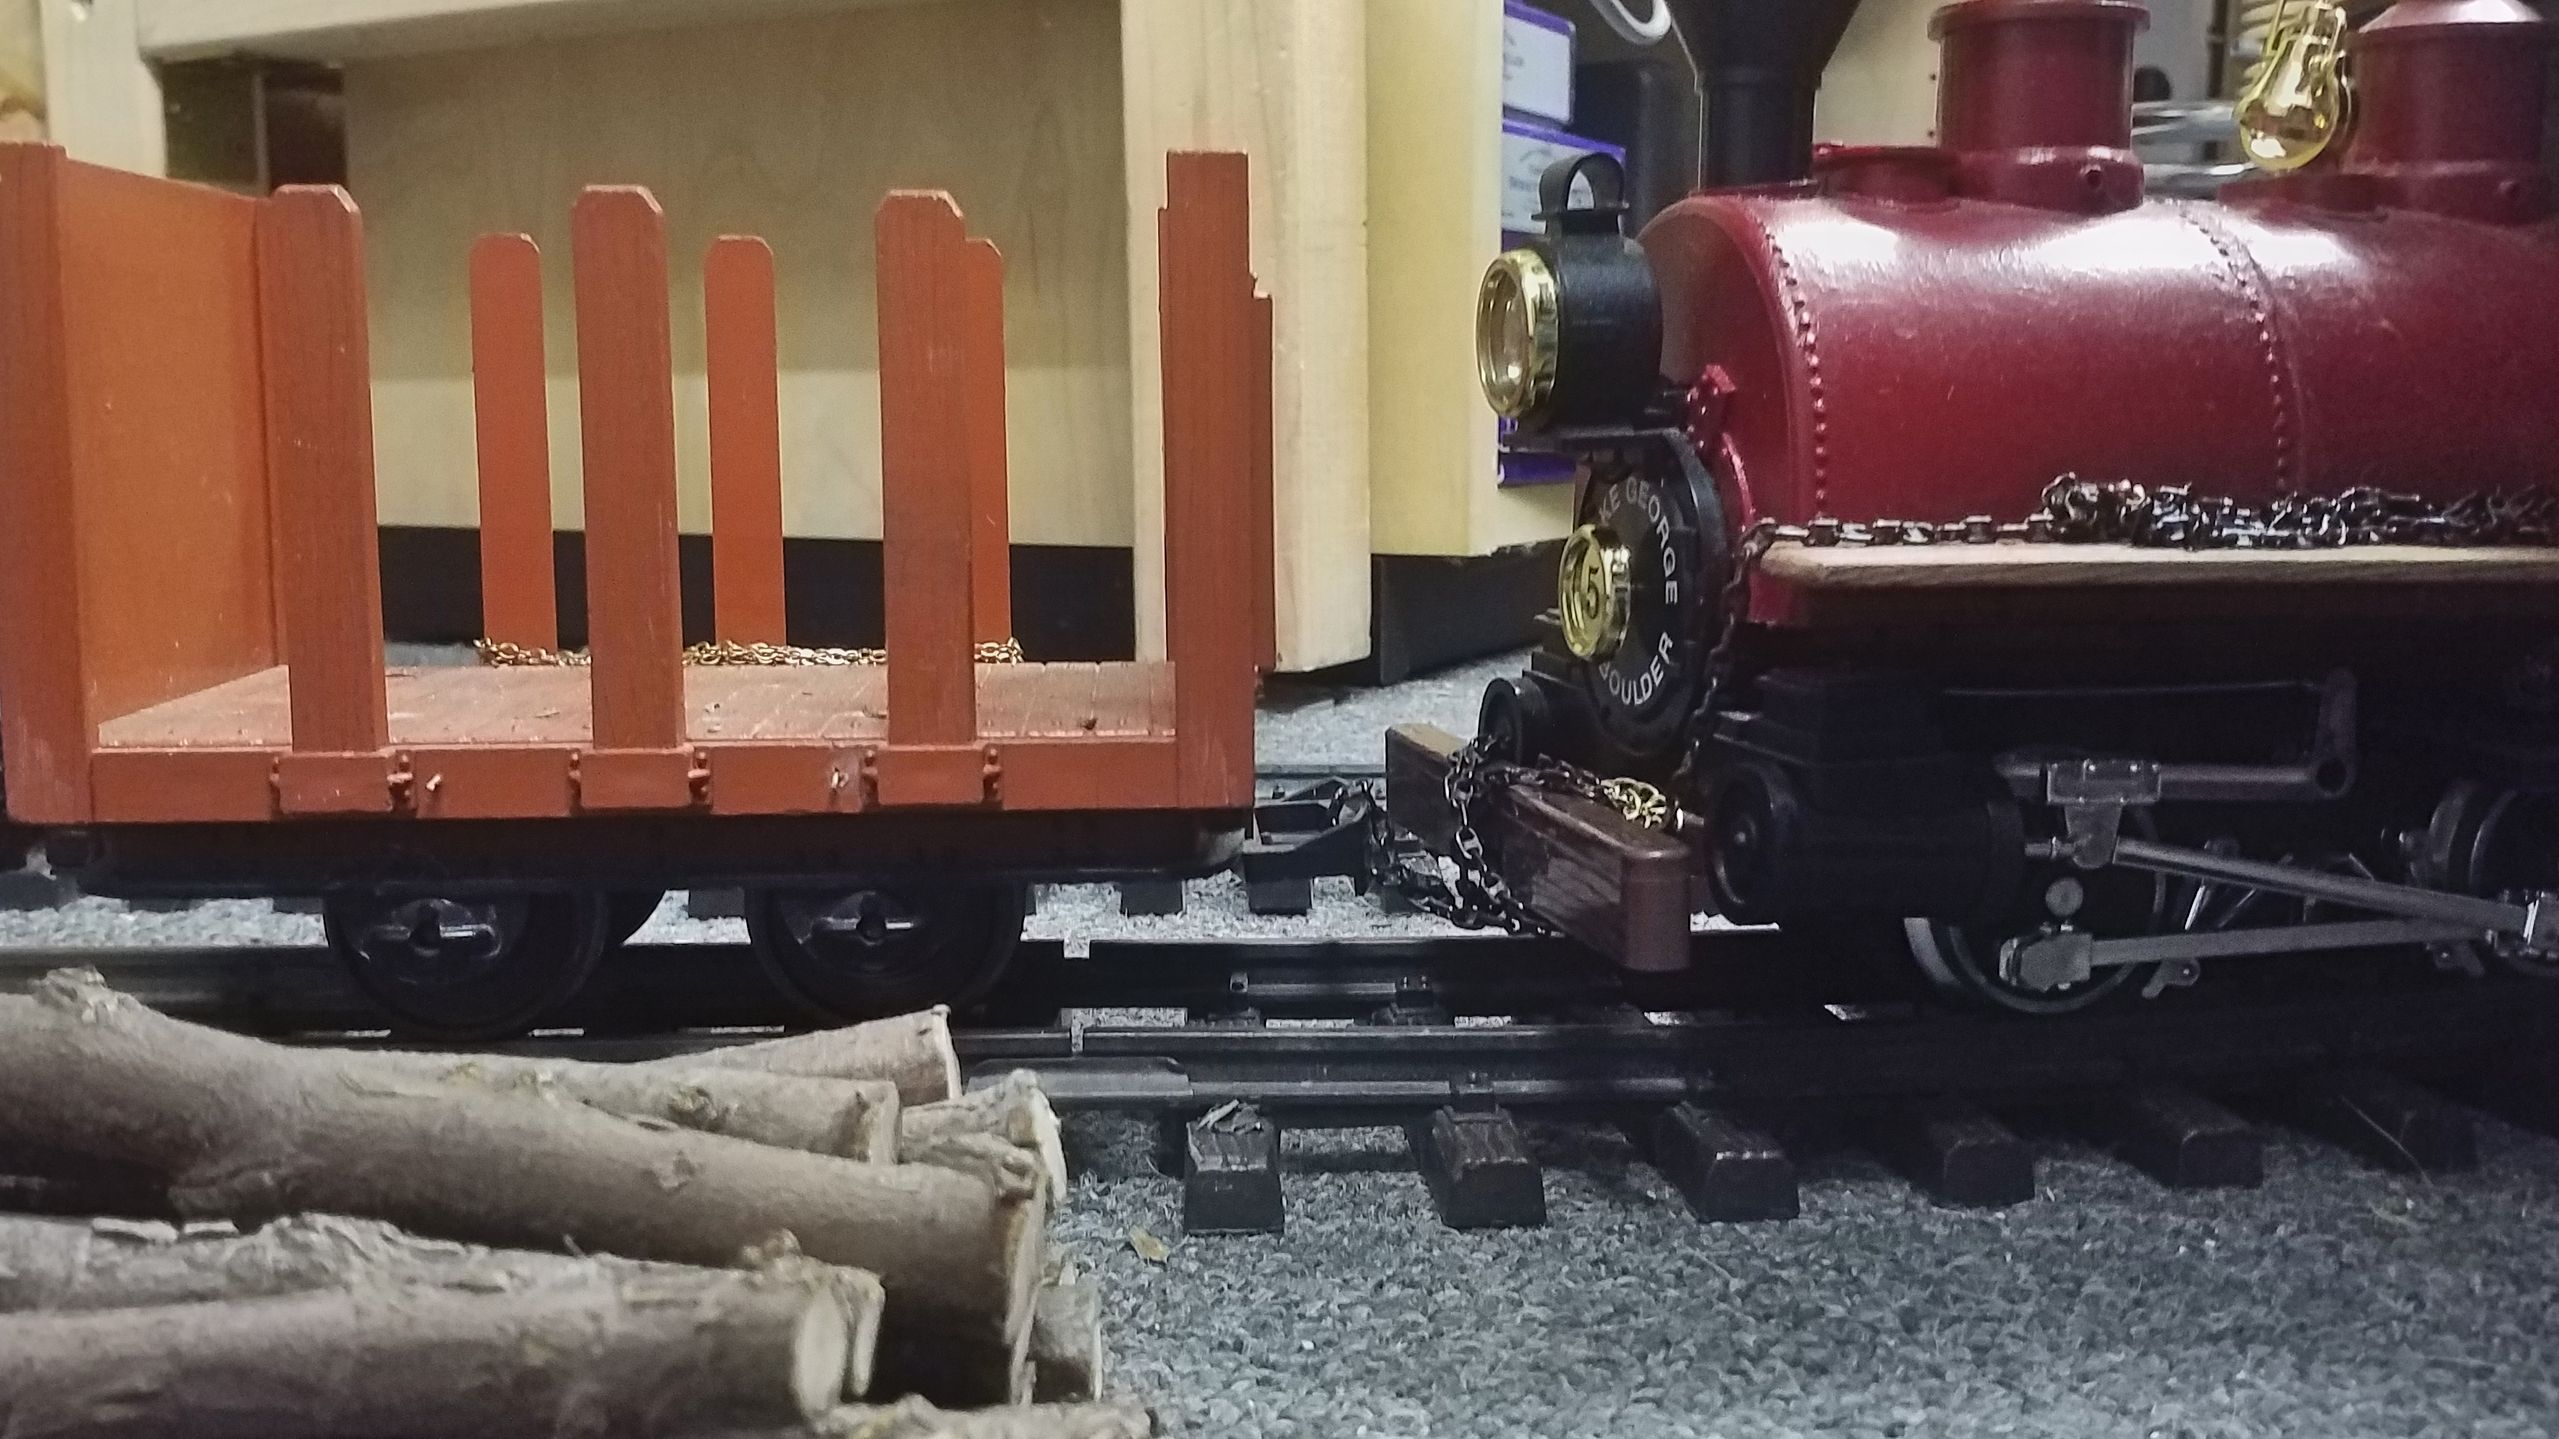
There she connects to the waggon and pushes it to the warehouse.
And the next bogie can be loaded. All is ready for departure!
And thus the train is underway again, rolling clockwise through the balloon loop and on its way to deliver the ordered goods.
If one executes the coupling and uncoupling in prototypical speed, this game takes a whole quarter of an hour per round. And there’s a lot to learn on how to optimize the proceedings.
Additional waggons can enrich the variety, of course. Or one can swap loading points or define a misorder: The ware arrive too early and no capacity is left to store them.
I hope that I could enlighten the appeal of shunting operations. I love to watch trains roll through the landscape. But to me, the real fun starts when operations have / can / may be modeled. Perhaps I could inspire somebody? Please let me know what you think about such operations or which one you’ve come up with!