
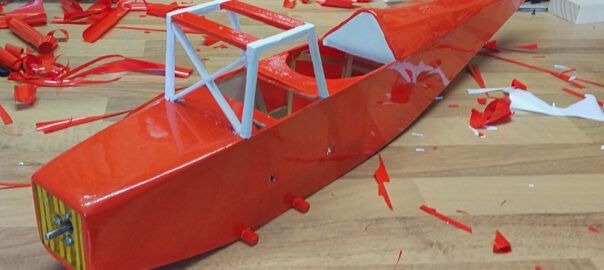
After the details are finished I can finally focus on the covering. Some model builders seem to regard covering as an irksome work and necesarry evil, but I actually enjoy it. To me it’s like a metamorphosis: the bare framing of the aicraft, as pretty as it is, equals a caterpillar, which is yet to become a butterfly.
Nonetheless it’s a lot of work all the more if one wants to get a creases-free result. In the process, I didn’t manage to take a lot of pictures, but I’d like to give an example and point out some crucial points.
The lower left wing shall serve as an example. When covering, one always starts with the underside, in order to avoid ungainly edges on the upper side and improve the imperviousness against water drops. The first step is cutting a piece of foil, slightly oversized.
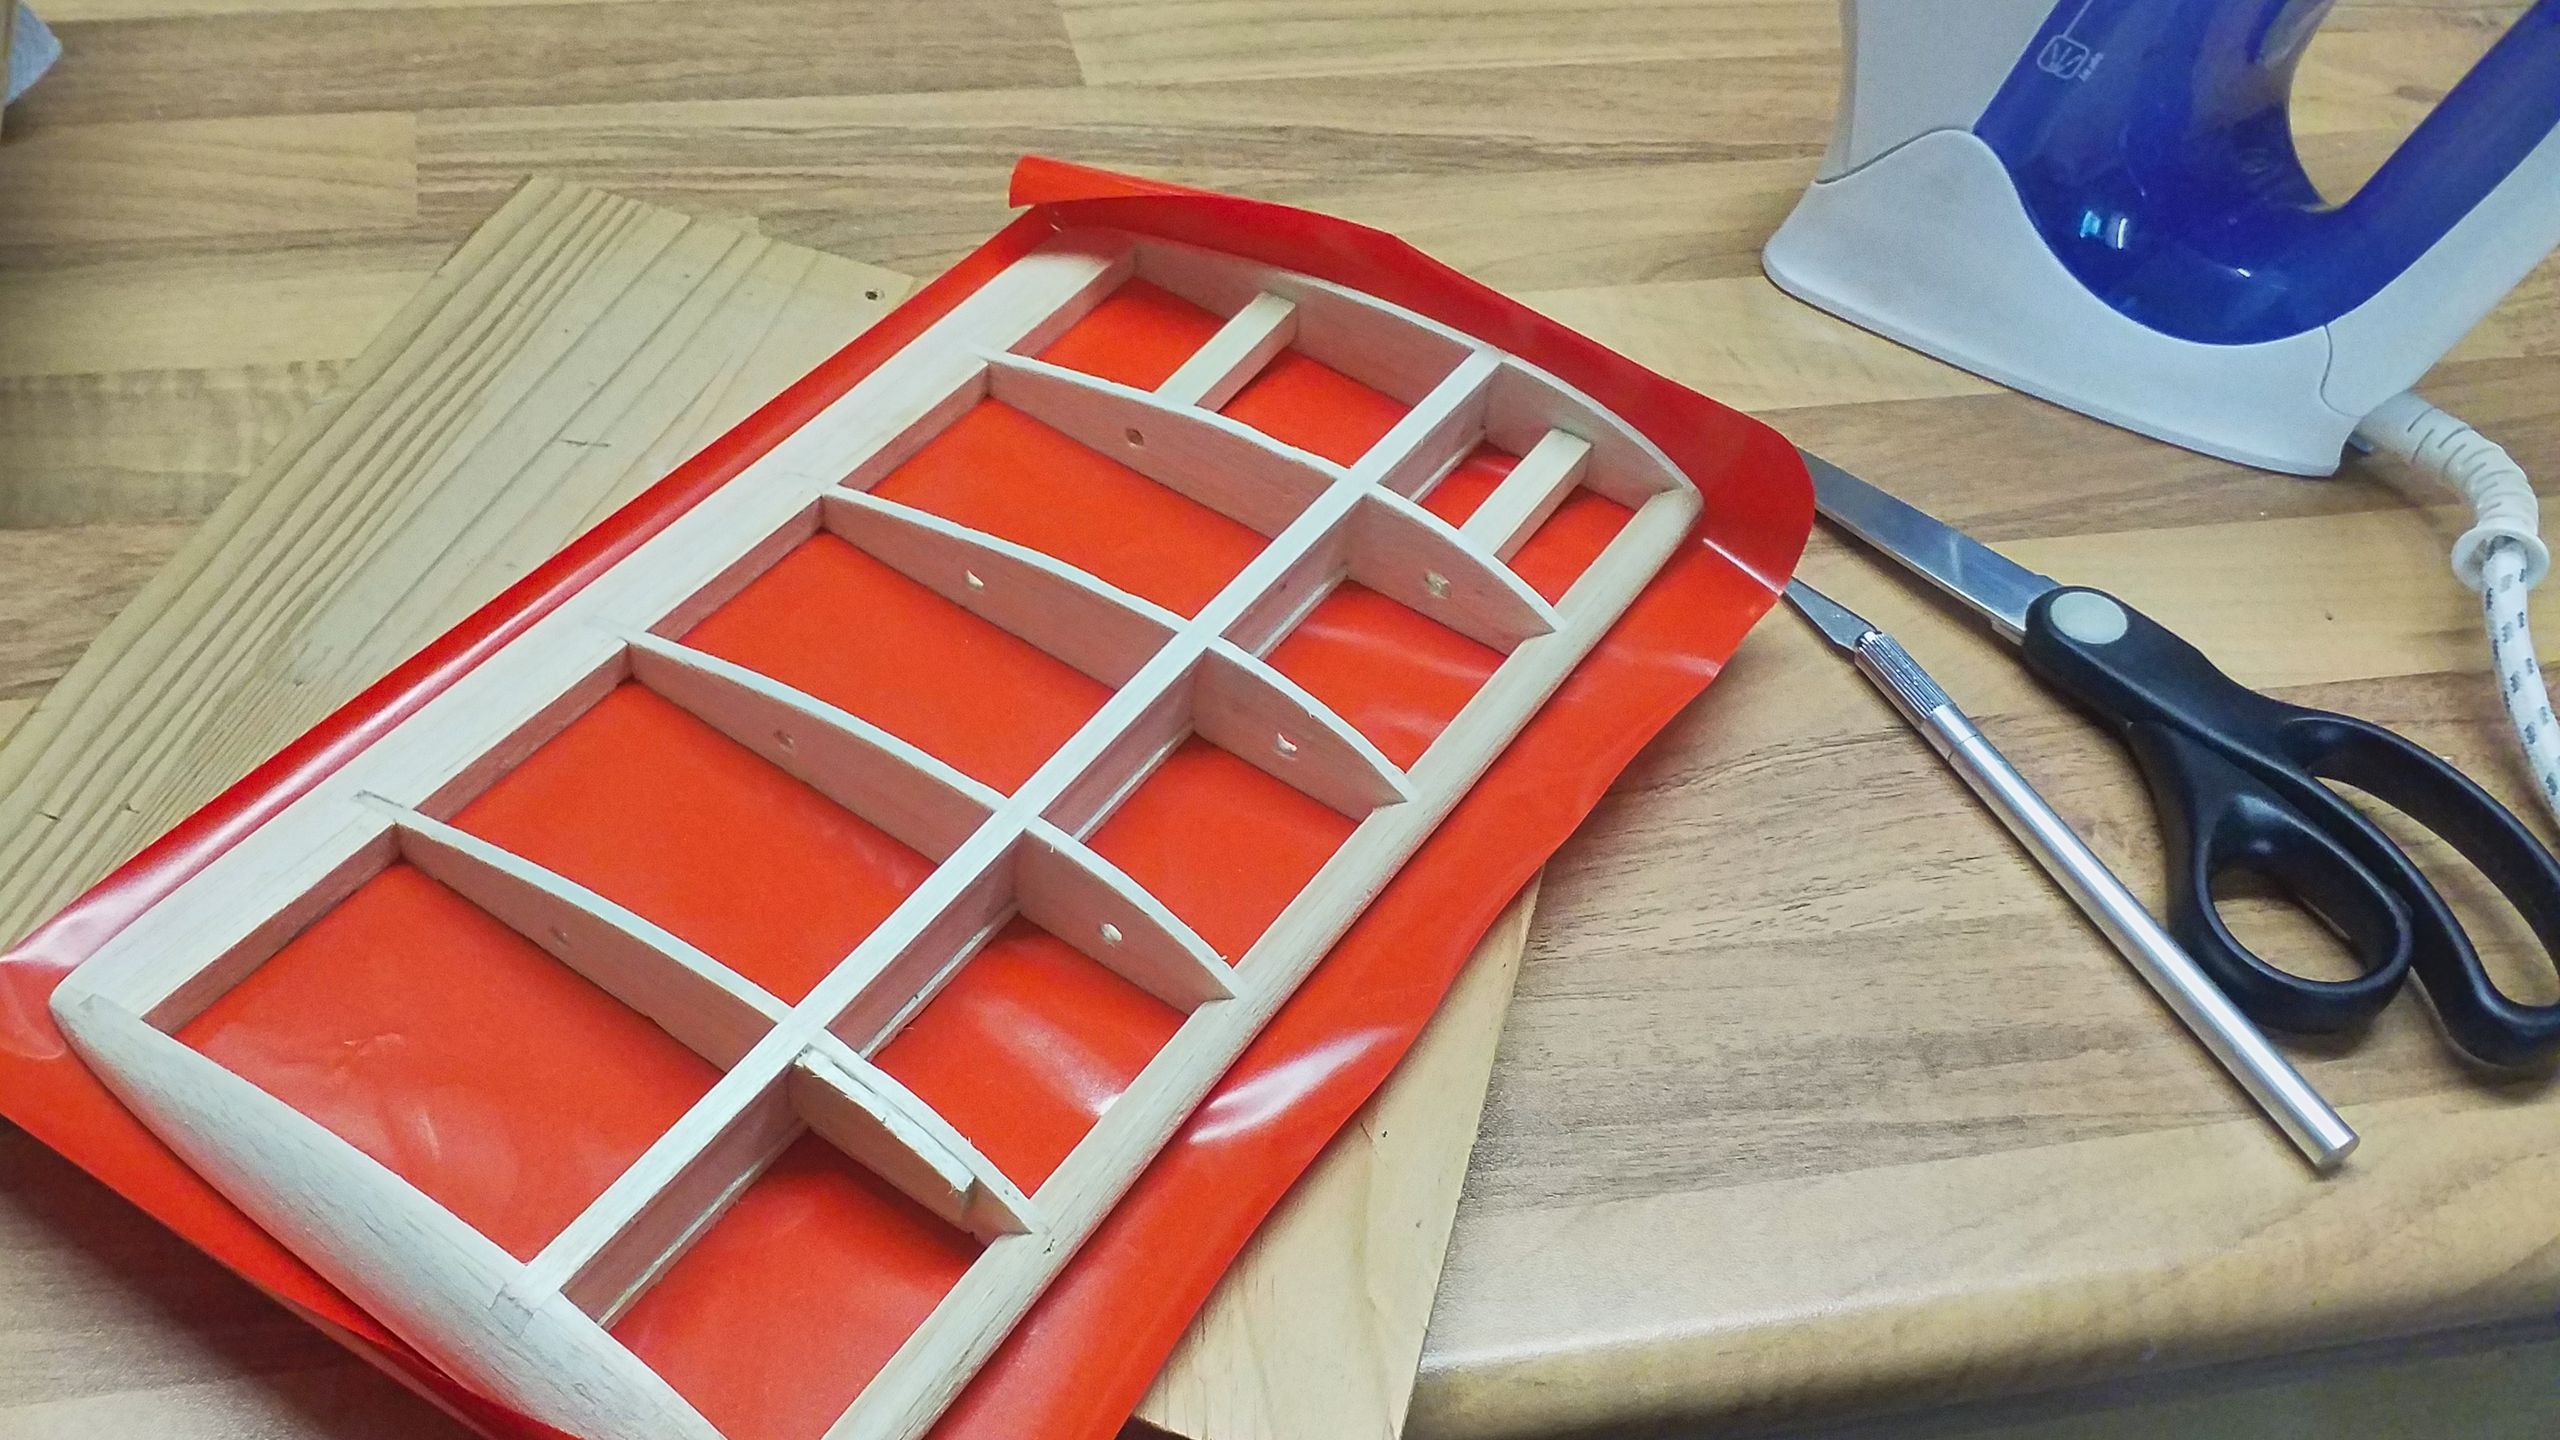
Then this piece of foil is ironed at the lowest power setting. The clothes iron’s “silk”-setting will do, “chemical fibres” at the most. It’s important to iron the foil with a bit of tension in order to avoid as many creases as possible. Most times I start with ironing the short edge. Then the foil is tightened with one hand and I iron the whole workpiece’s area.
Once the foil is fastened in this way, all the corners and curves are prepared. The foil has to be incised, so when it’s folded up it will overlap in segments. The tighter the radius, the more segments are required.
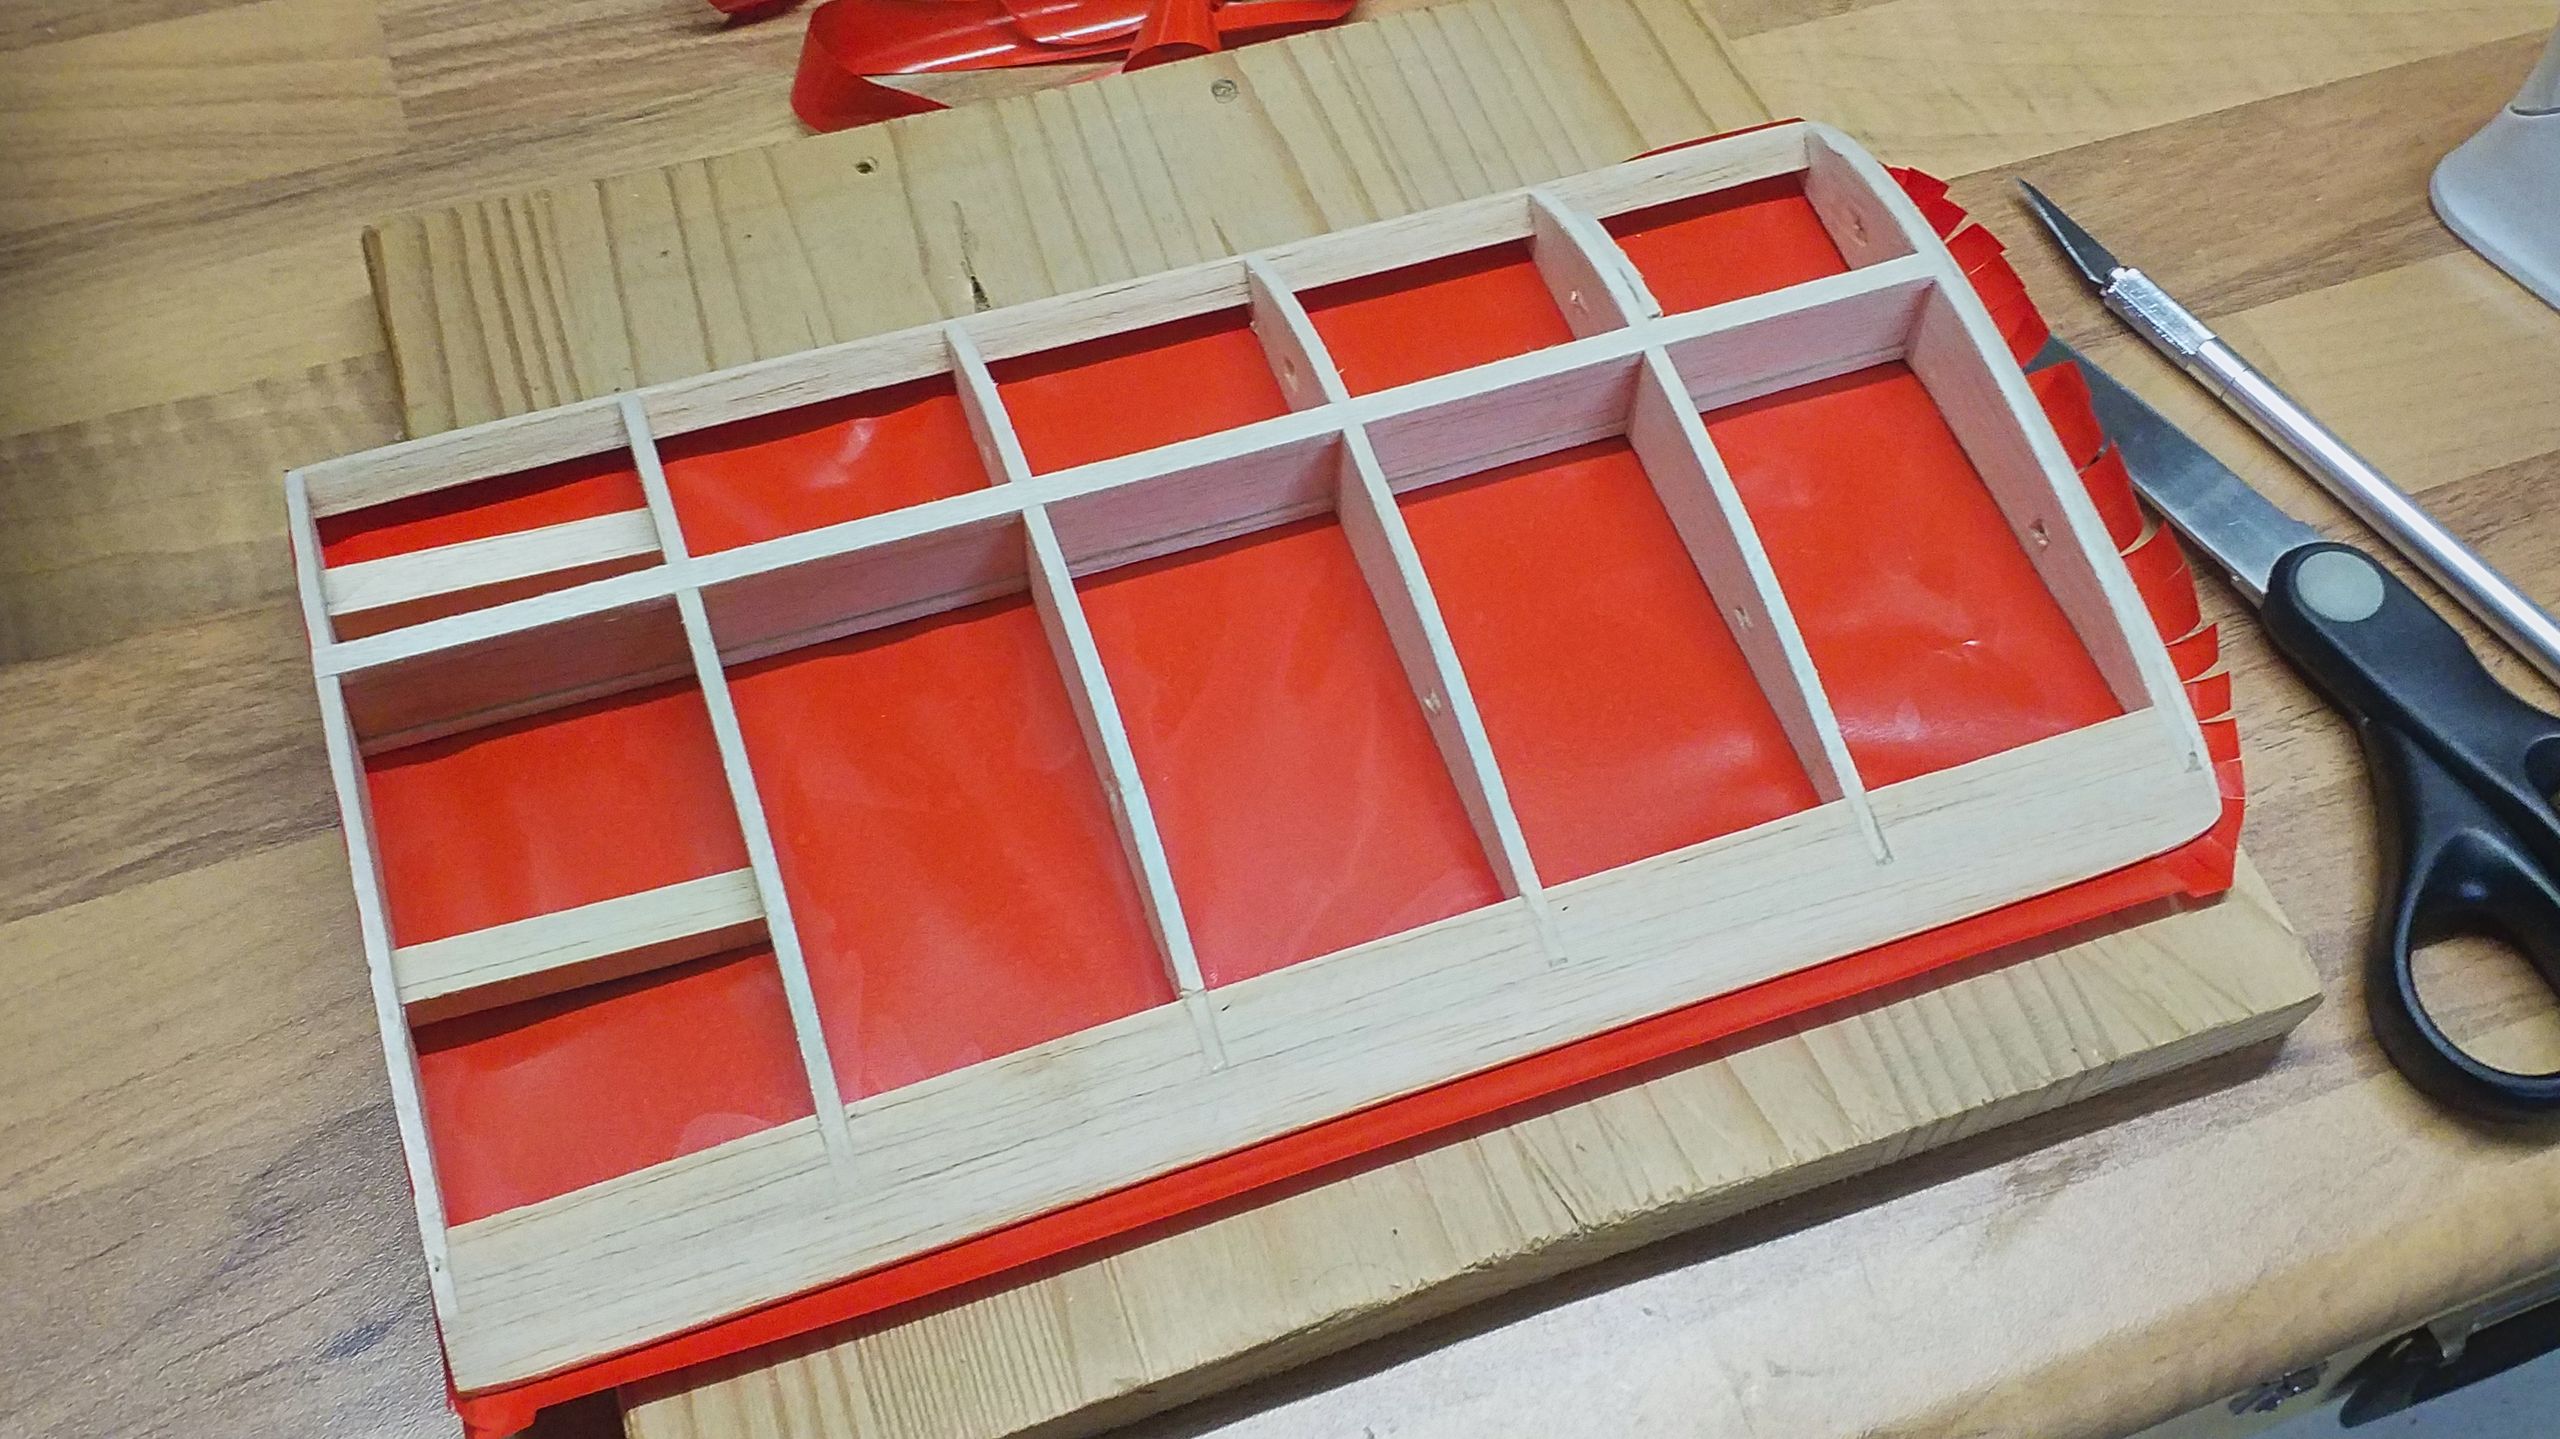
The segments are then ironed one at a time, still using the lowest warmth setting. After finishing this step, I raise the temperature up to “wool” and work my way from the outside inwards: First the folded-up edges are welded tight, then (using the iron’s tip) the edges of the ribs and spars. Only after the foil has been fixated in this way as tightly as possible, the surface areas are heated up in order to shrink them and remove the creases.
Lightly constructed pieces may bend at this point due to the tightening force of the foil. So one must either use less heat or balance the forces with the upper sides foil shrinking.
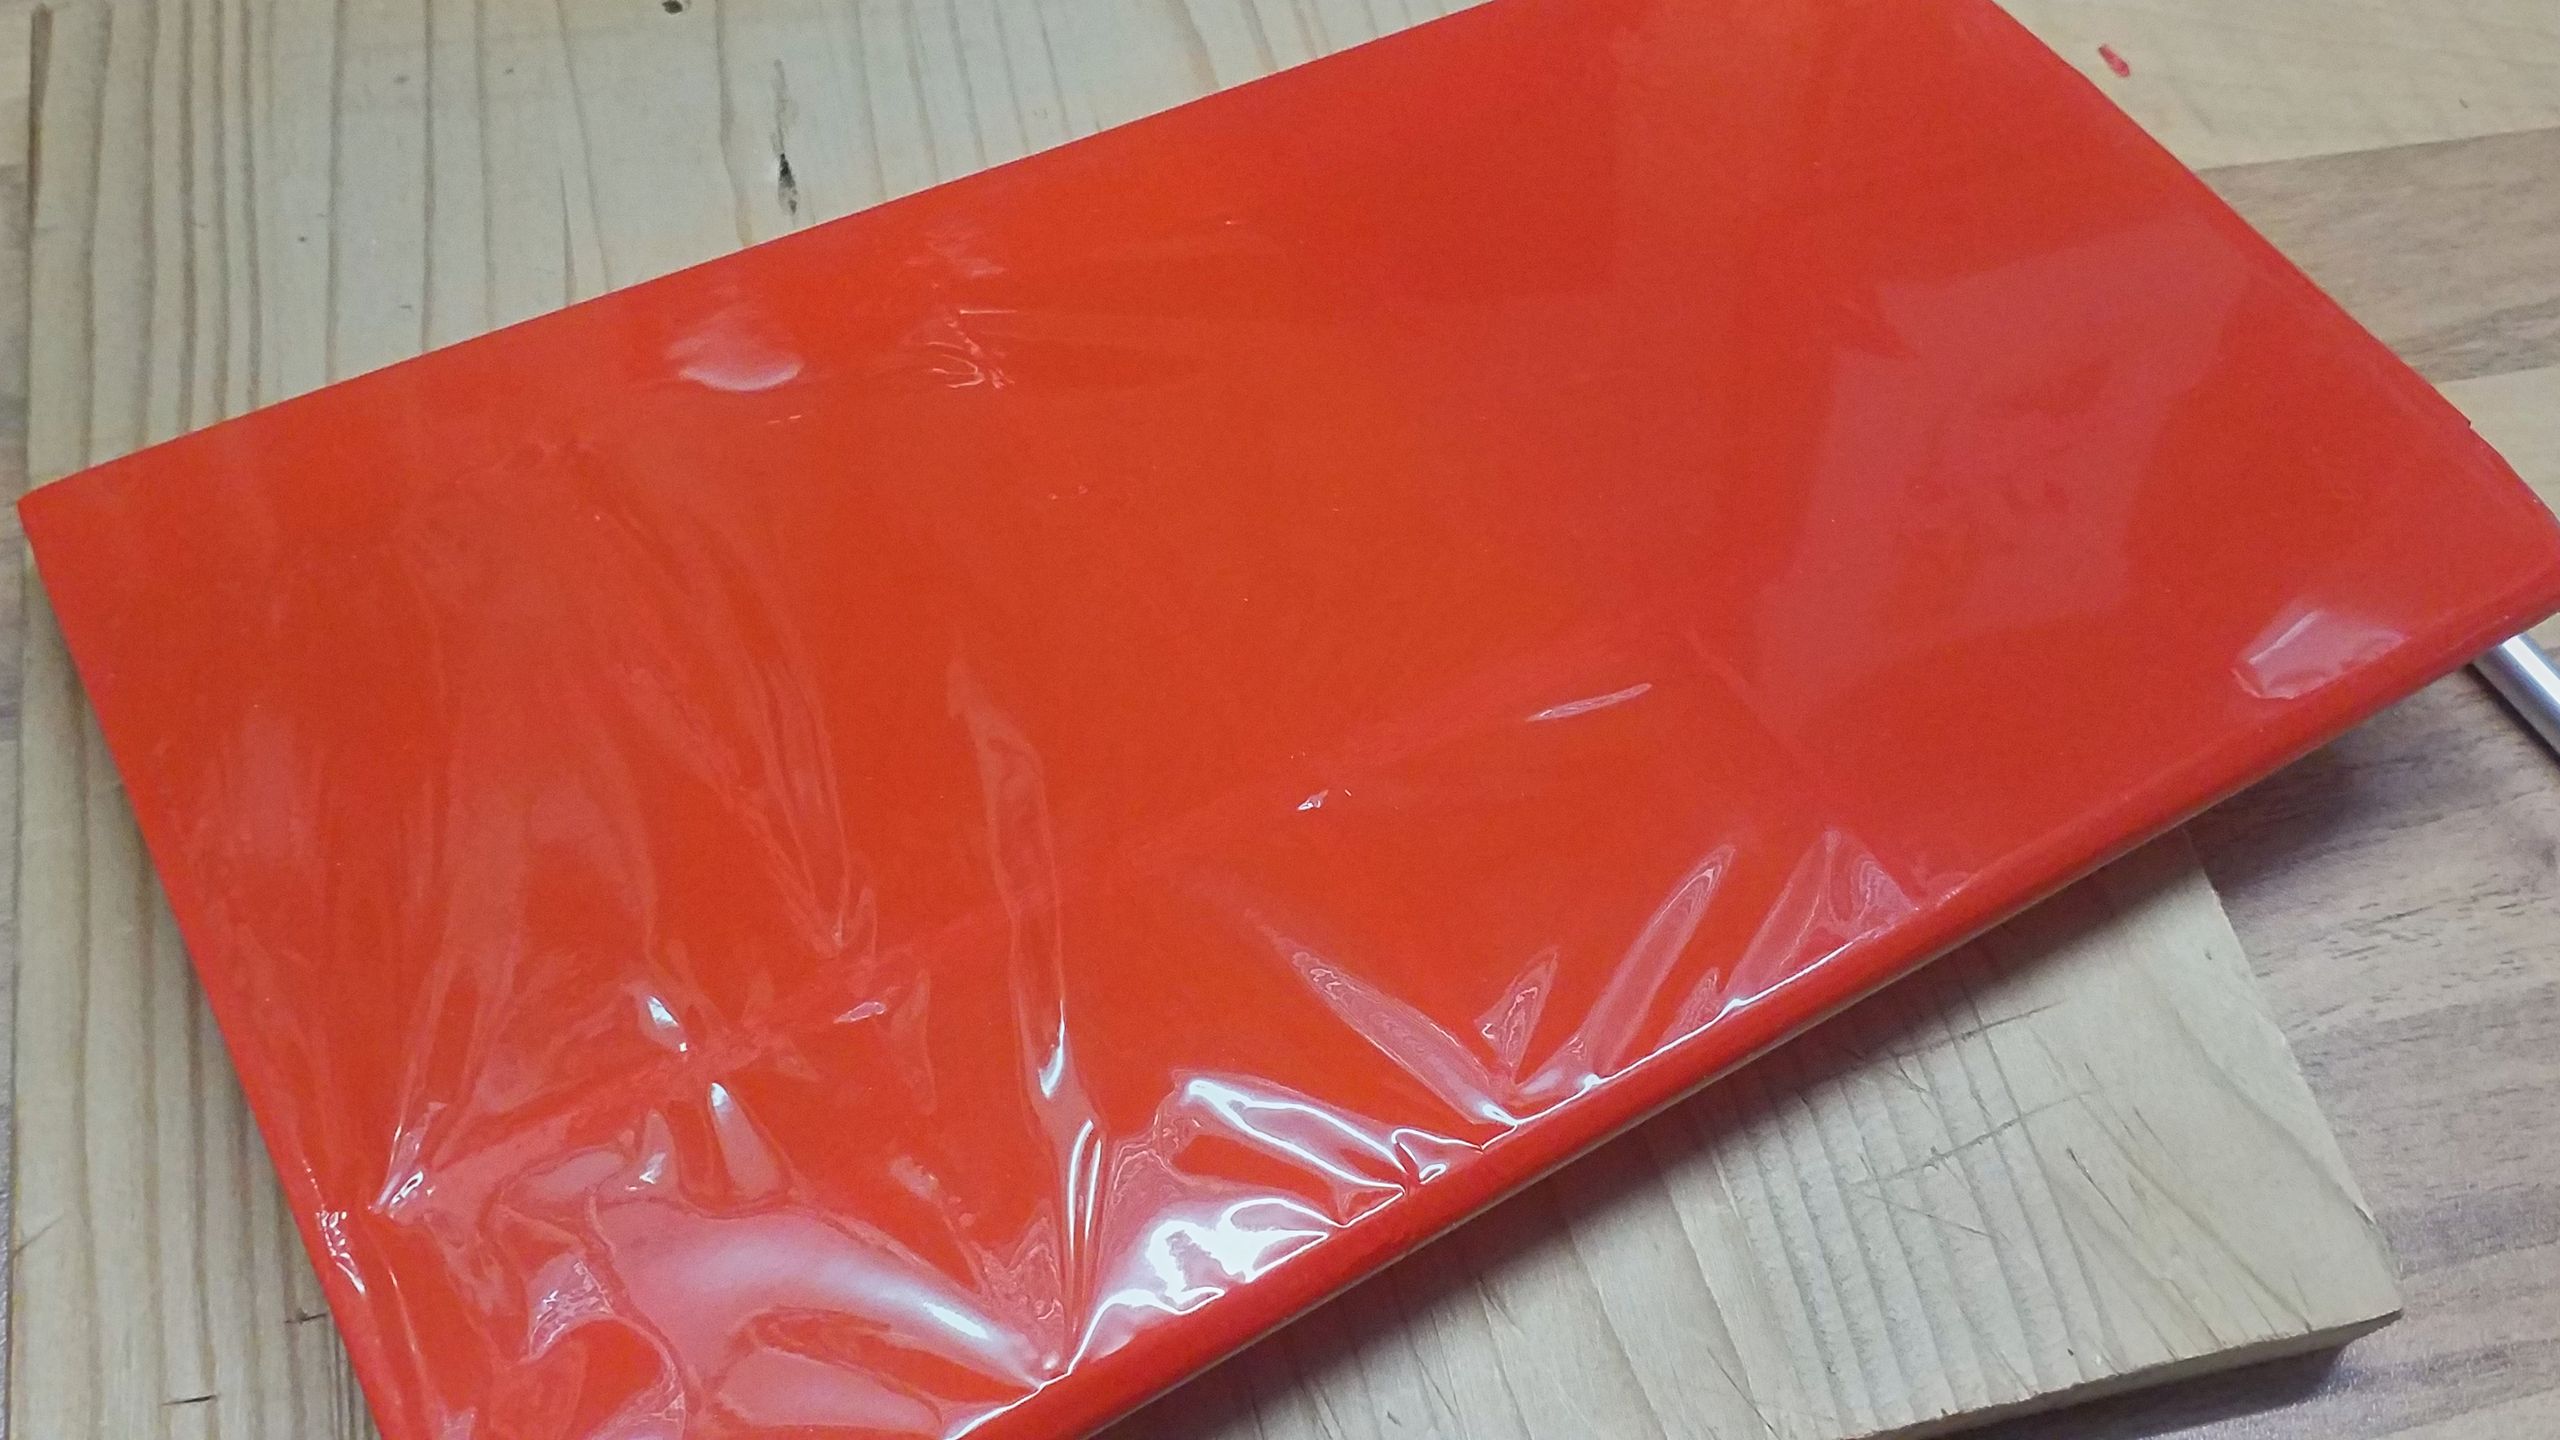
The following picture shows the underside of the wing. To the left one can clearly see how the foil is welded to the spar, while the surface areas are still crinkled. To the right I’ve just took the iron off the surface: the creases are gone and the foil is darker and partially translucent. That is this foil’s telltale for the optimal working temperature. The coloring dissipates while the foil cools down.
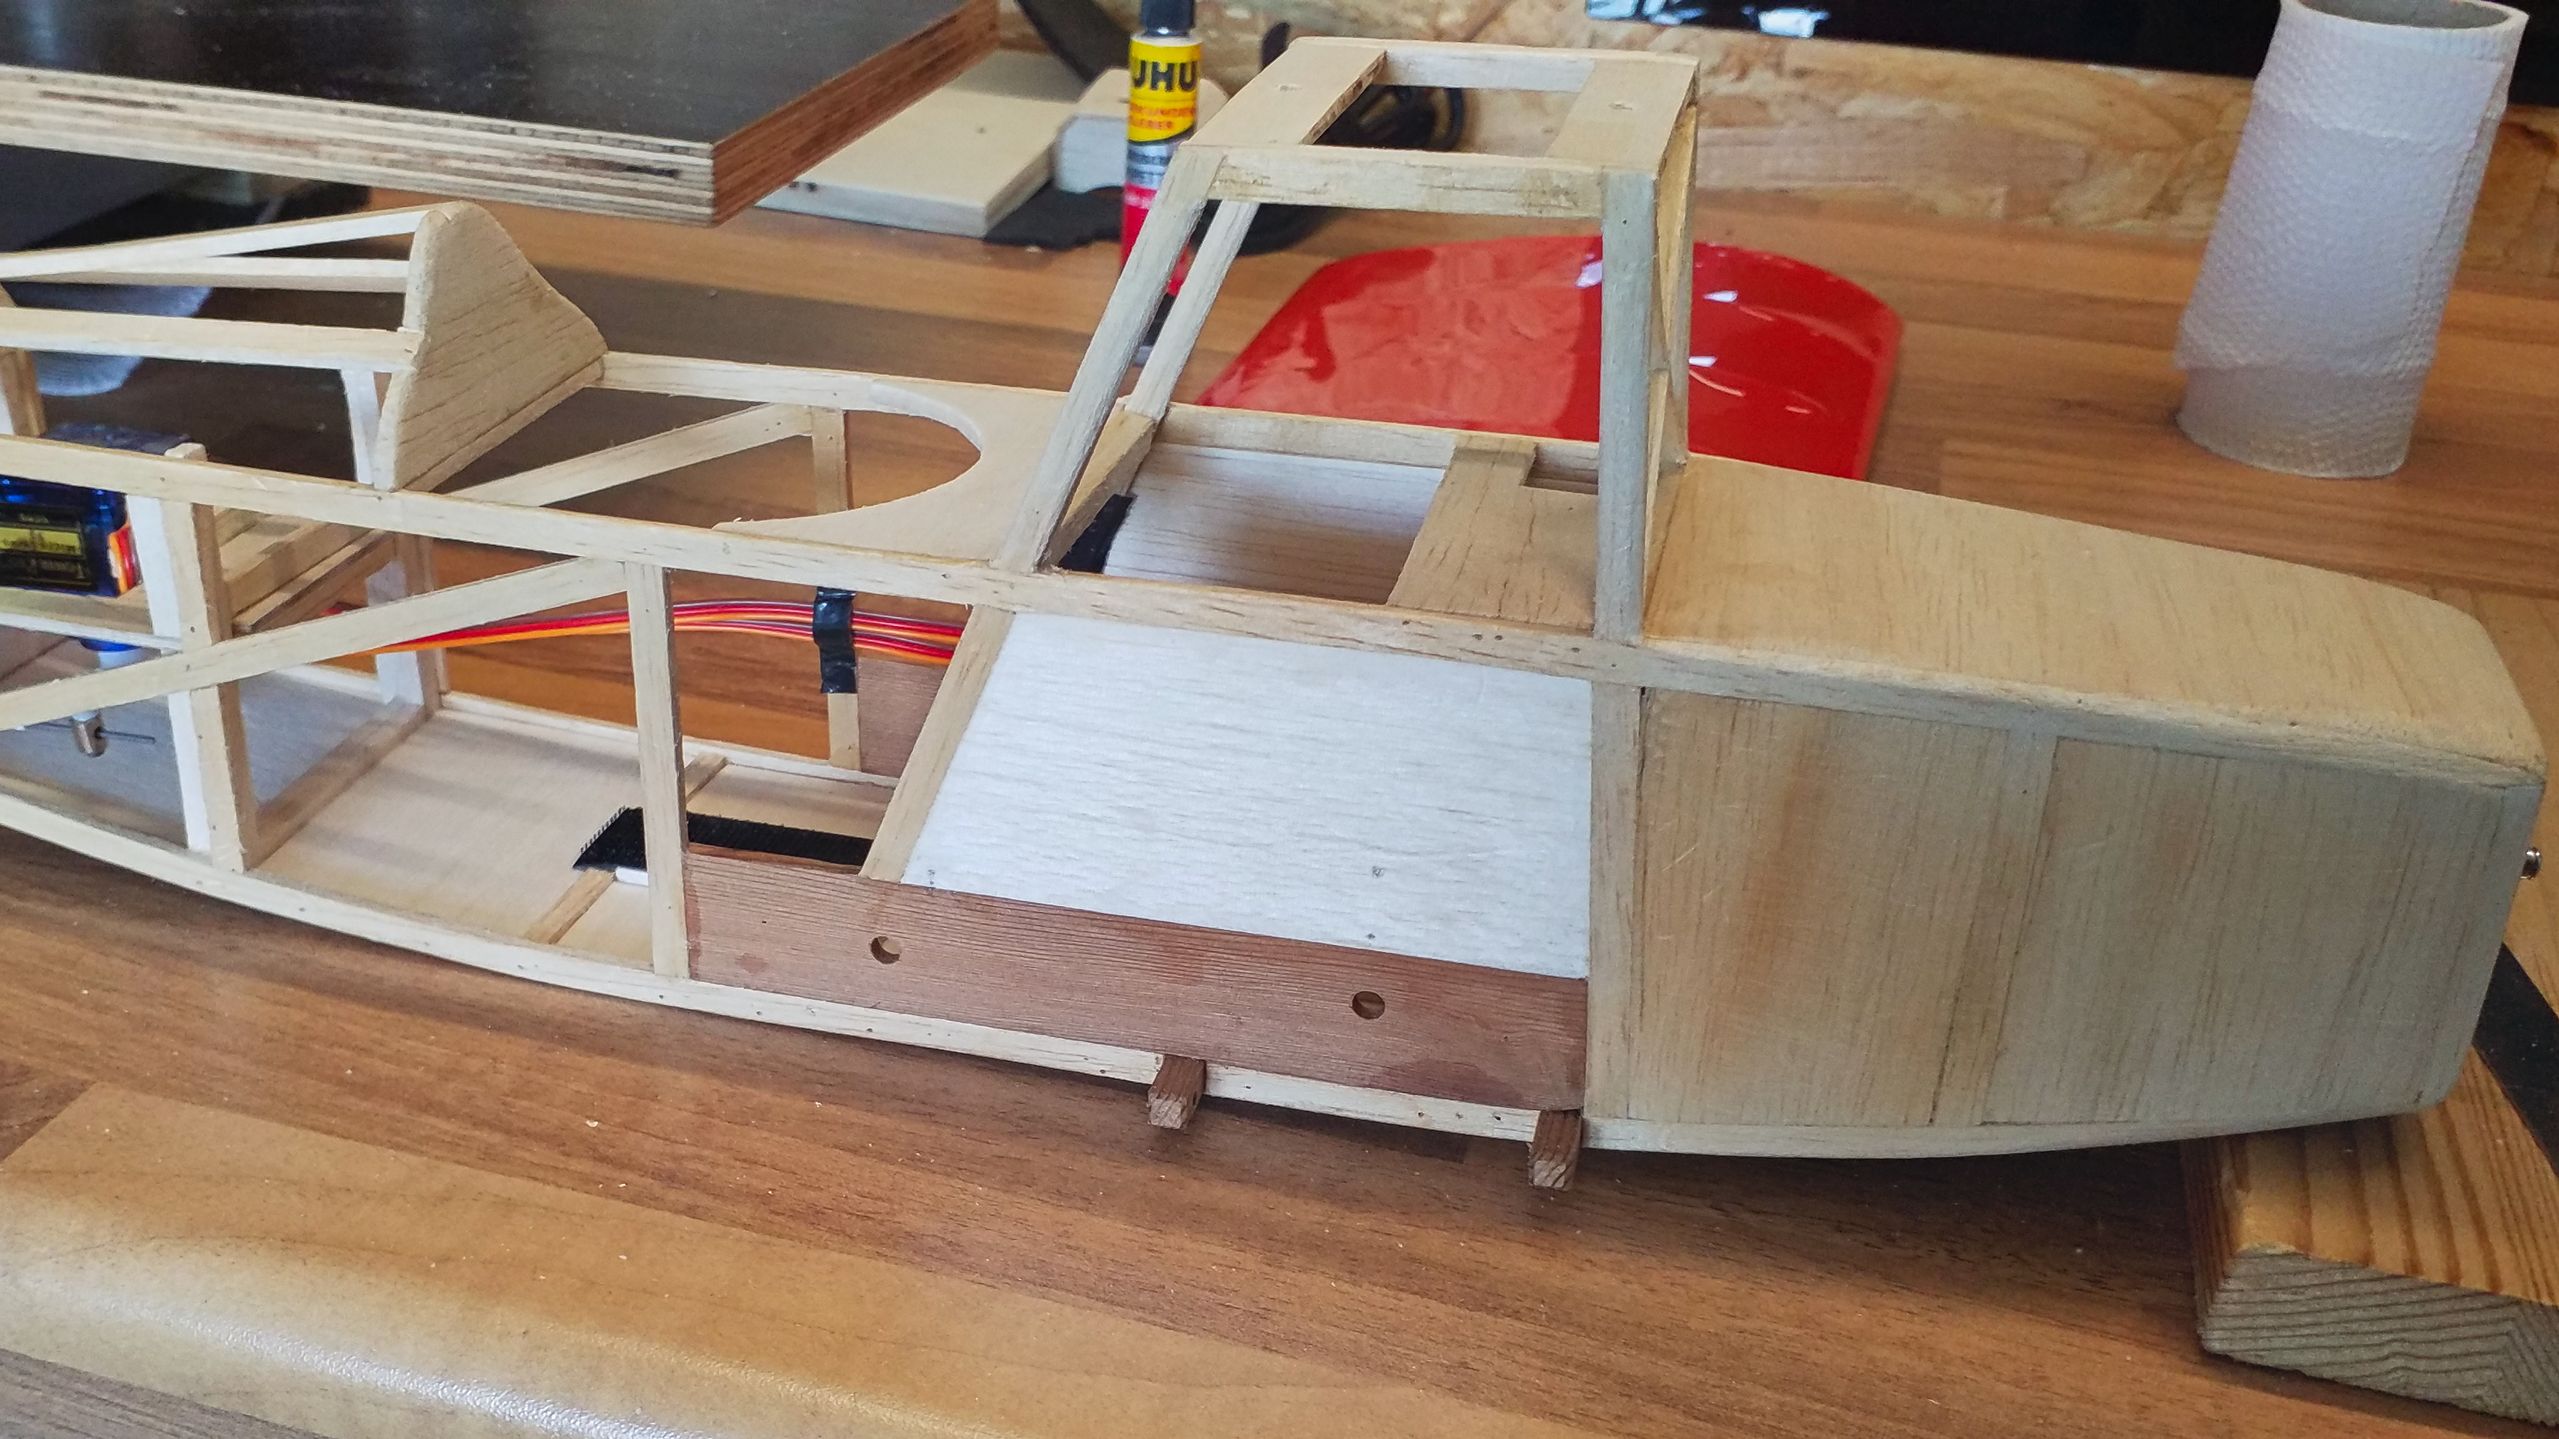
Unfortunately I only then realized that I wouldn’t be able to fasten the wings after the fuselage is covered. Because of that and since I wanted to strengthen the fuselage, too, I added some planking above the wing mountings. I will drill some holes there, through which the screws can be fastened from the outside. The holes will be sealed with covering foil, for I don’t intend to disassemble the biplane for transportation. The foil can be removed if any repairs are needed.
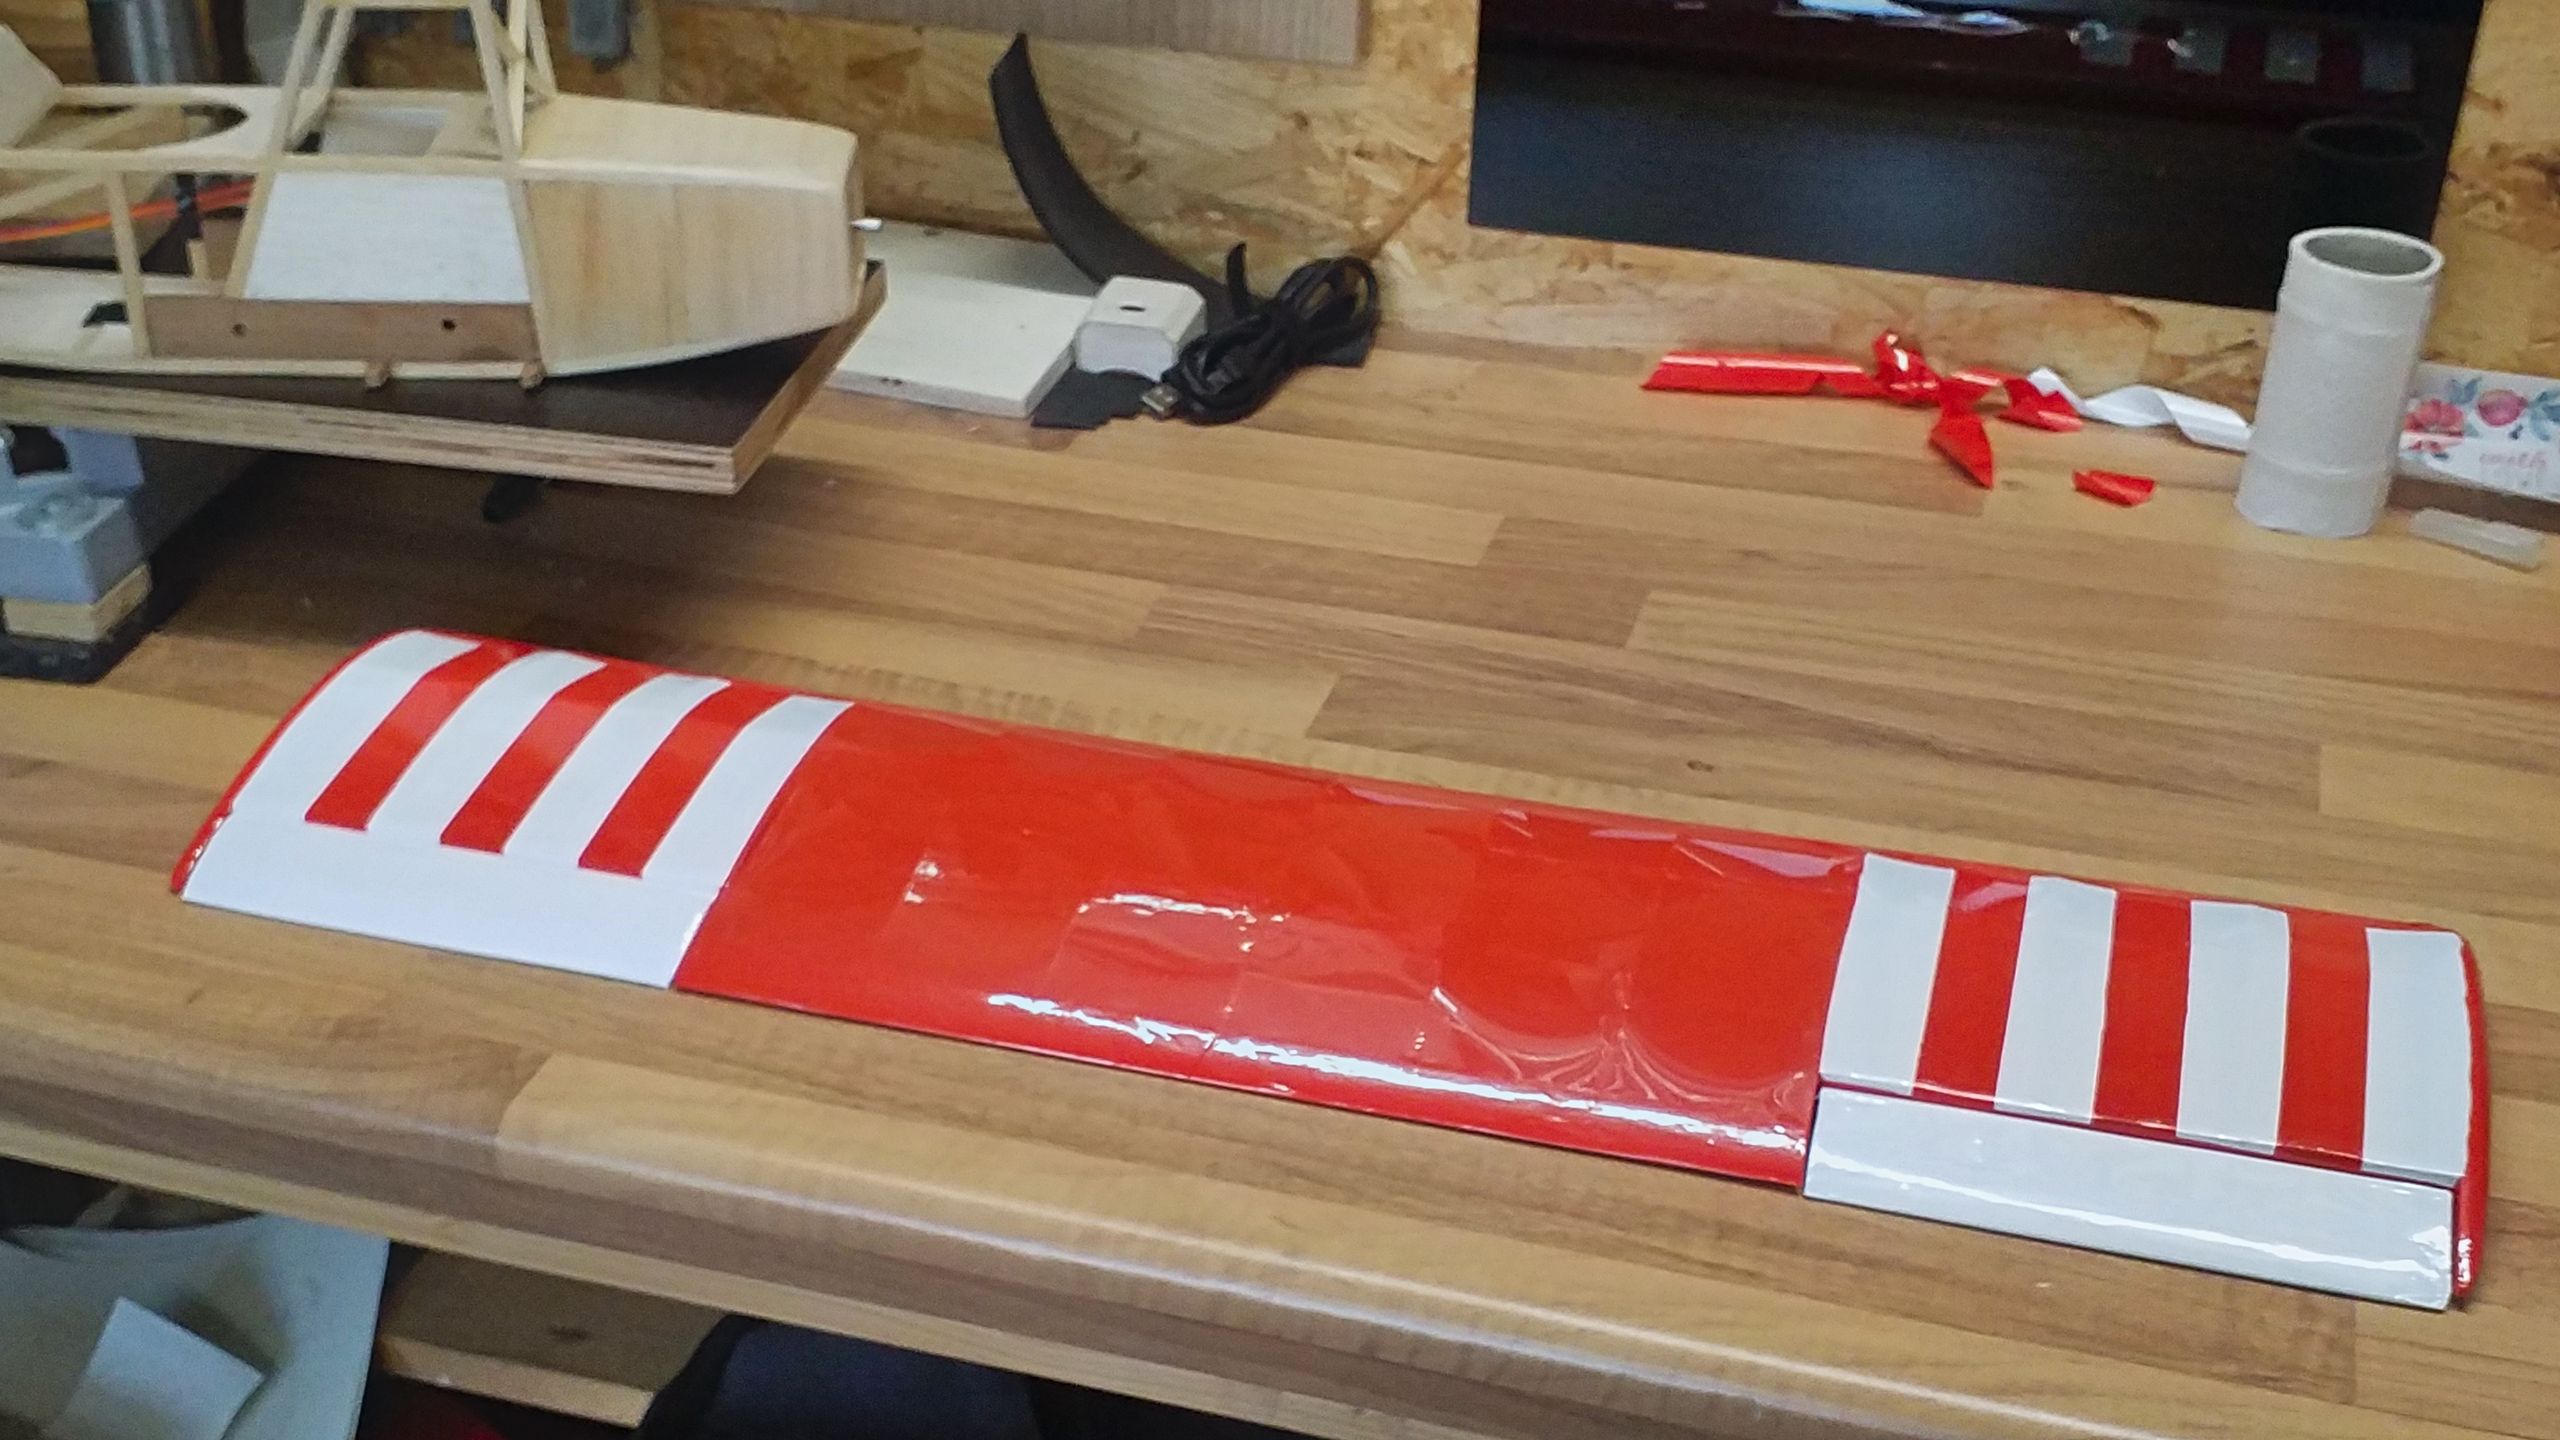
I’d like to embellish the upper wing a bit, so I’m going to use two colors for the first time. The first step is ironing on two pieces of white foil. Then the red foil is applied to the remaining wing. I planned to incise the red foil and then iron it into place, but that turned out to be a tedious ordeal with very mediocre results. So I ripped down the red foil in the outer sections and instead cut several stripes to size and iron them into place one piece at a time. The leading edges of those stripes are neary invisible and the result looks a whole lot neater. A valuable lesson for future models!
The fuselage is more complicated insofar as after the underside one has to cover both sides before finishing with the upper side. Still, that’s no big obstacle. Processing the maintenance hatches was tedious, but in the end covering the underside and both sides was only a question of time.
The upper side of the fuselage at the level of the upper wing’s mounting is a whole other ballgame. One can’t reach it with the iron. So this became a question of courage: Using a lighter’s flame, the foil was heated shortly(!) and then manually pressed to the planking. Aside from hot fingertips and clammy palms there was a happy end and I’m content with the result.
The rounded shape of the fuselage’s ridge proved to be much more complicated. The first try using a single piece of foil failed miserably. The second go with two halves led to a working result, but quite an ungainly one.
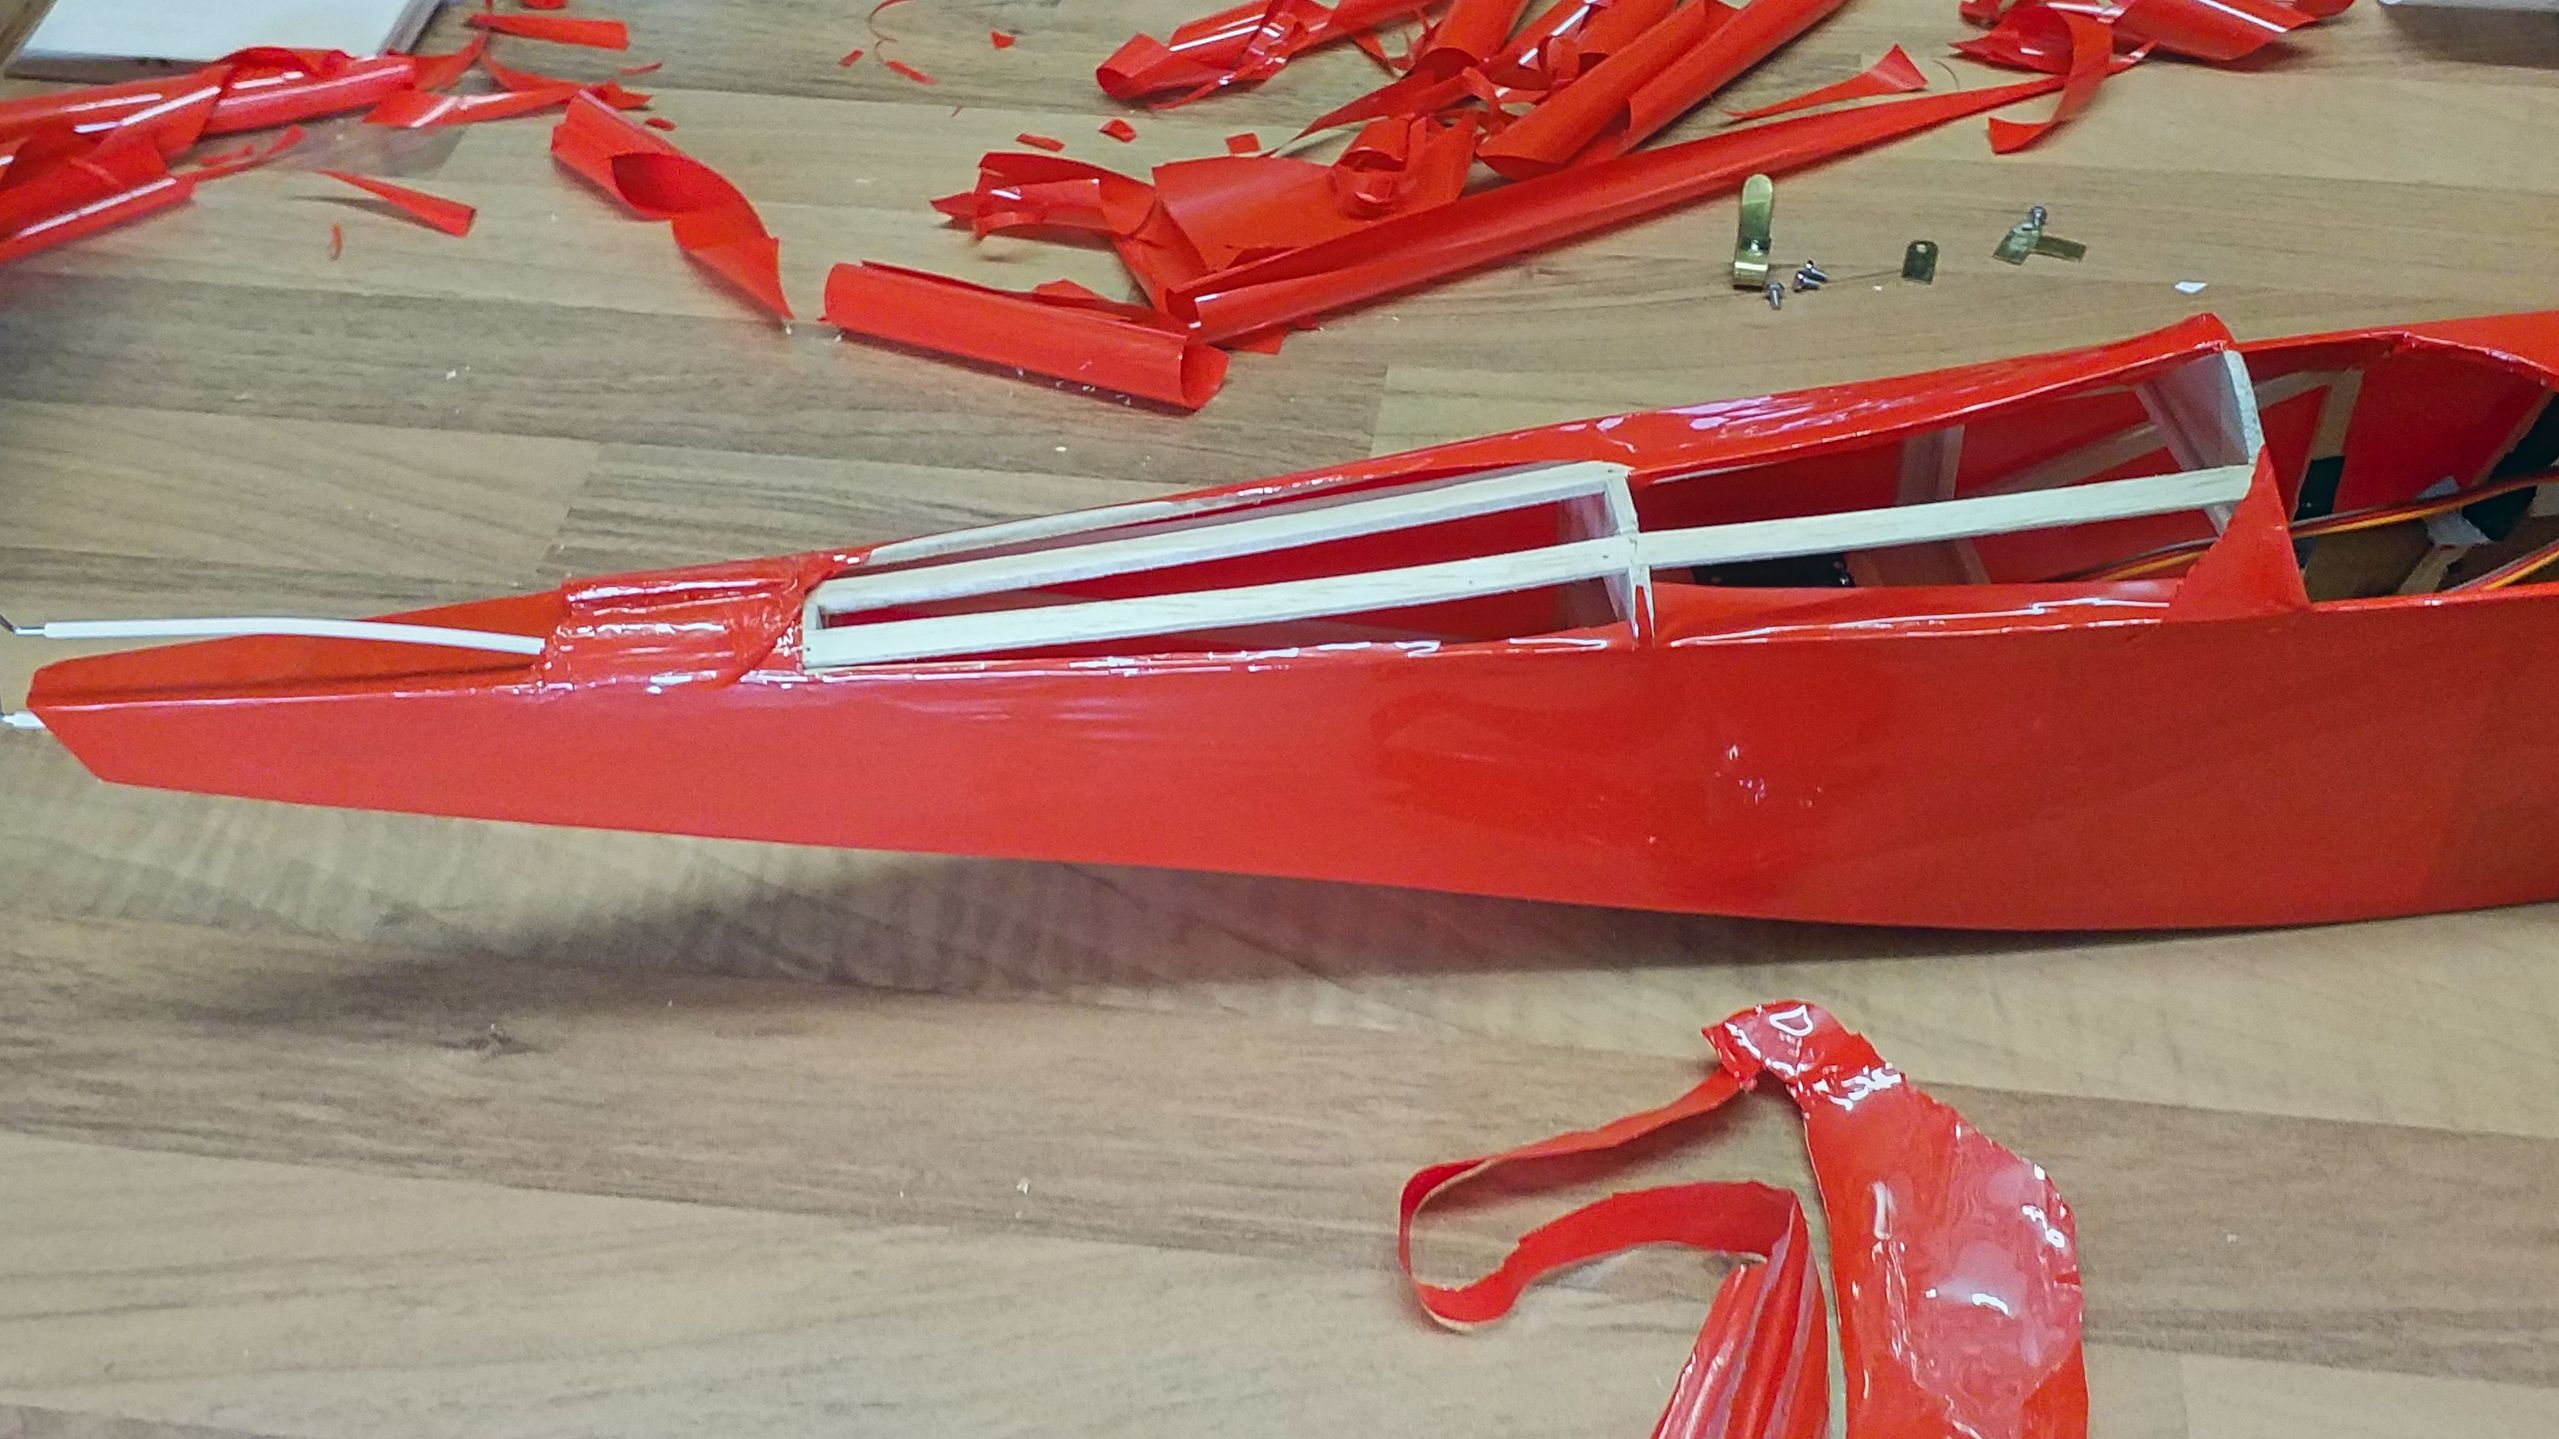
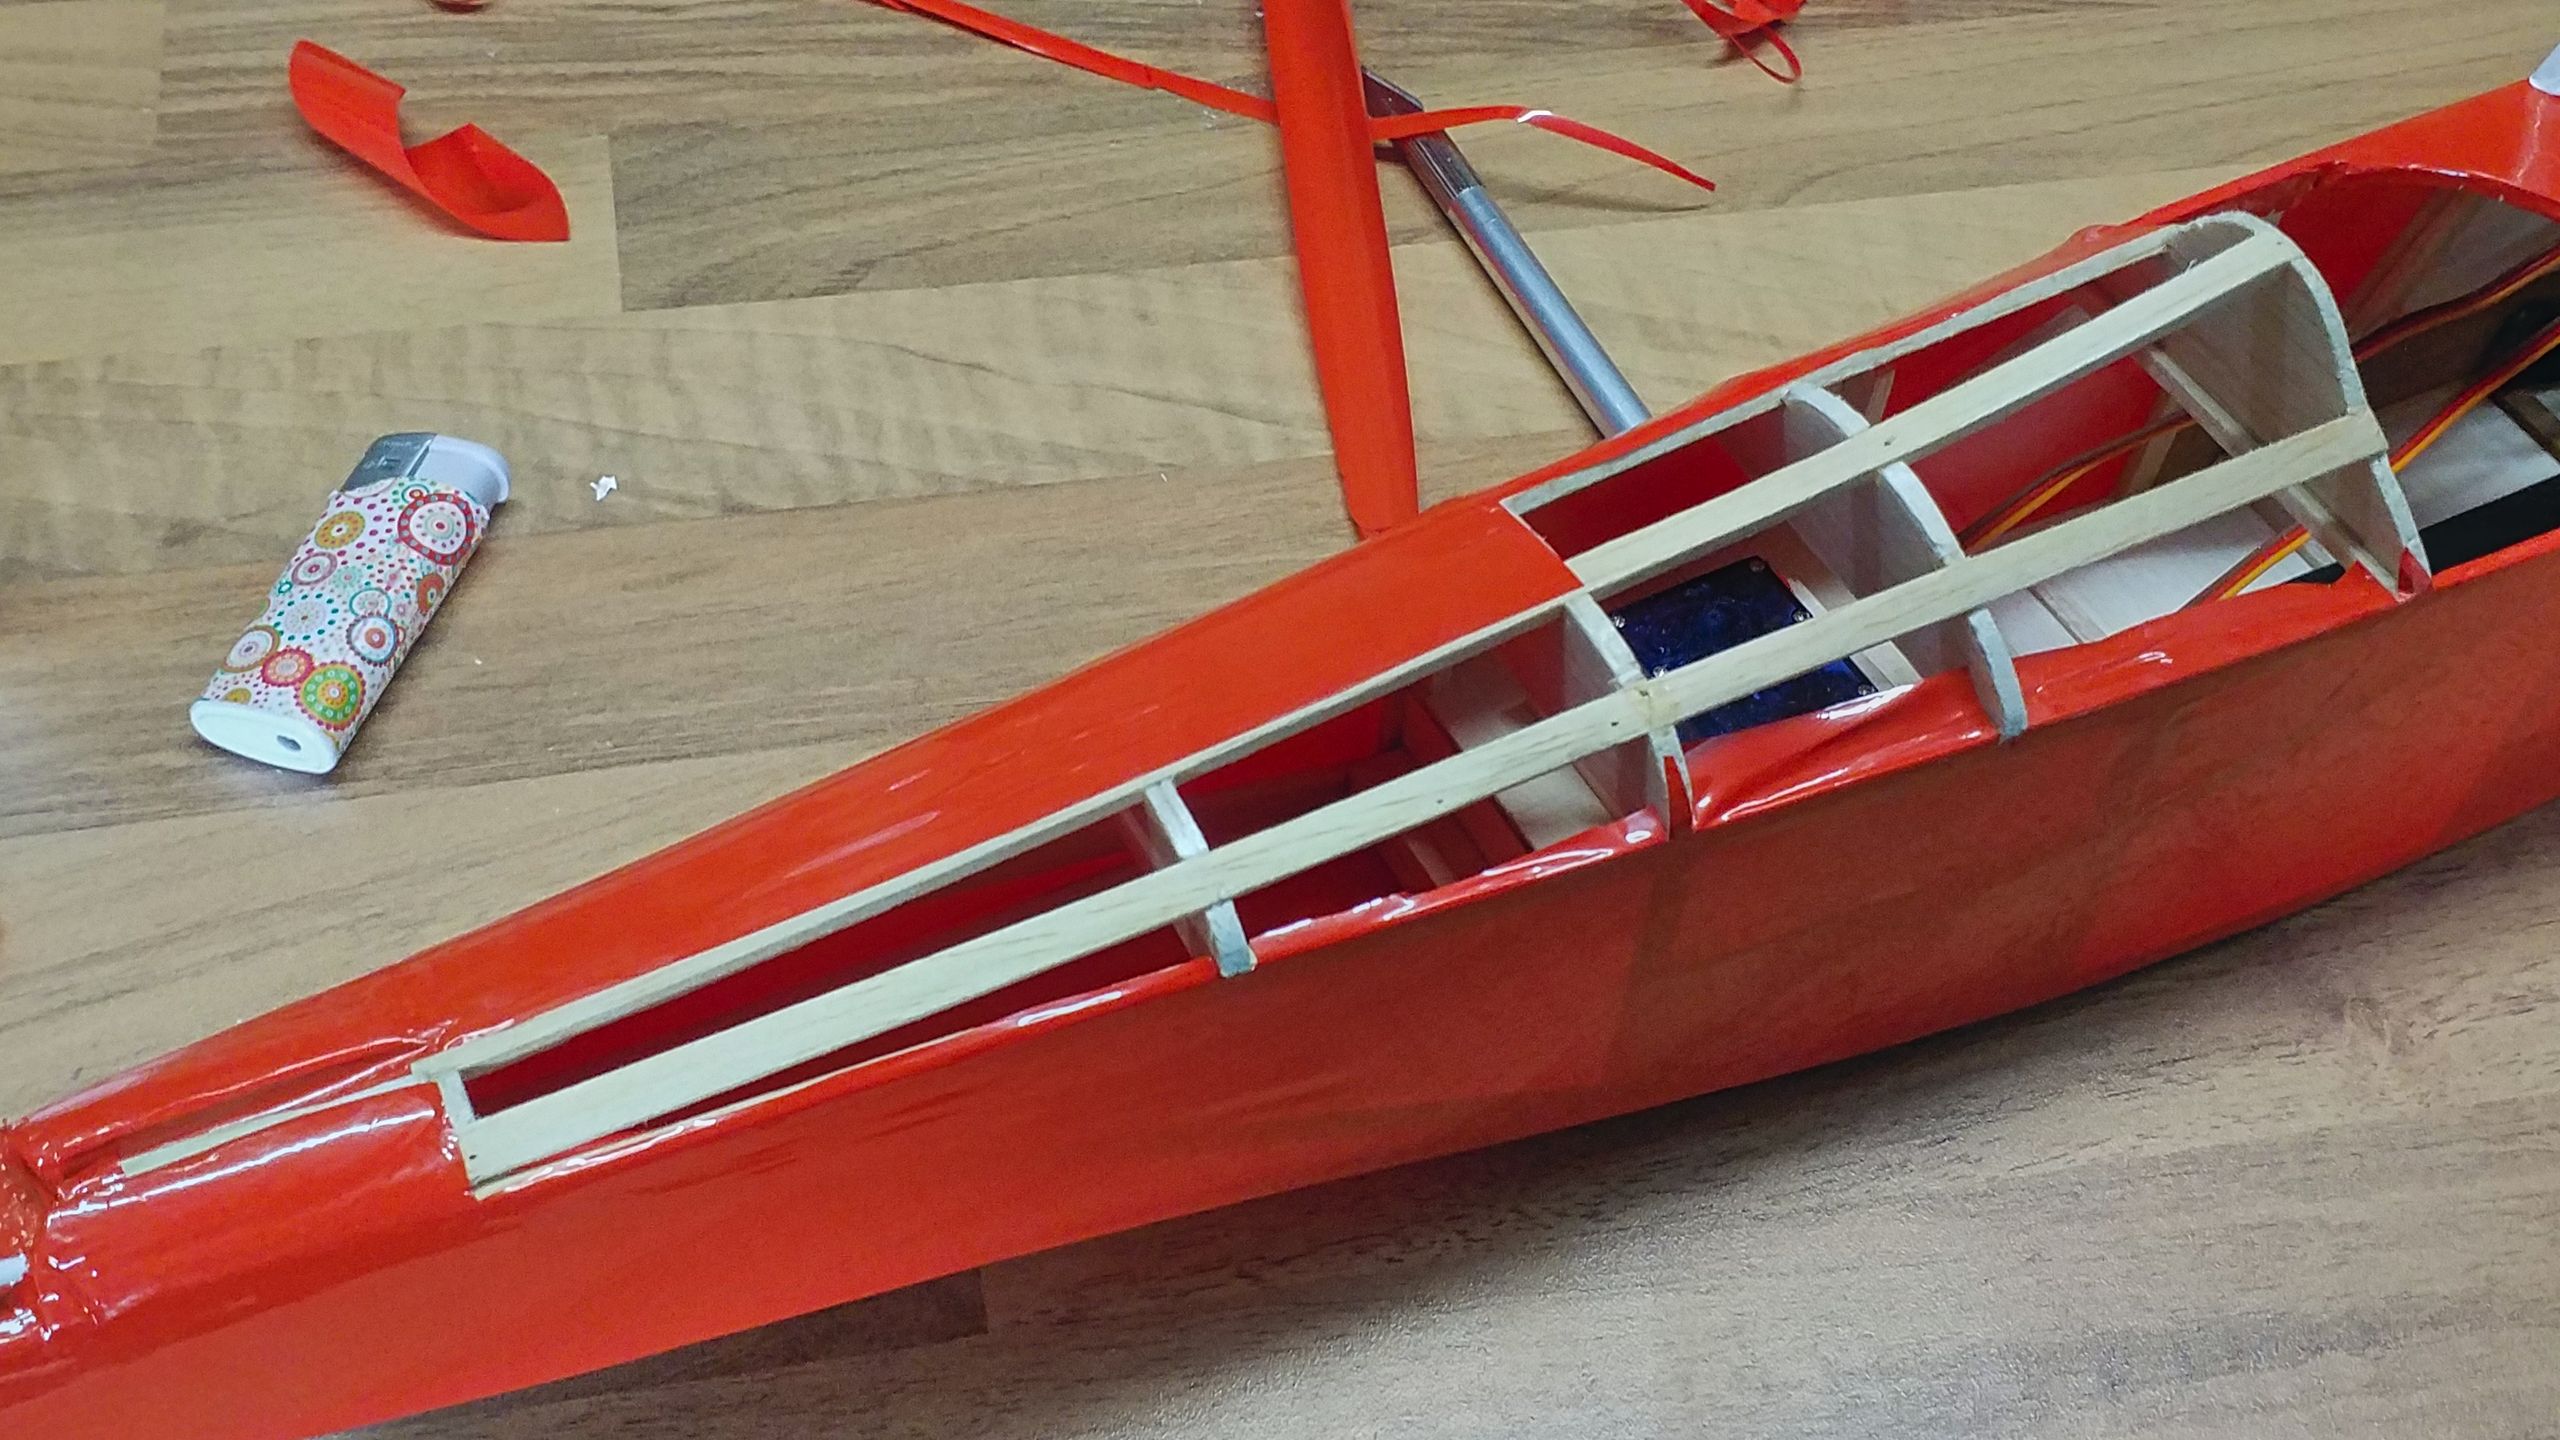
So, down the foil goes and let’s do it again. In the process I noticed that the right stringer was slightly broken. Two additional frames are added to strengthen the construction. As soon as the stringer is repaired with super glue, the covering is reapplied. This time with several, small stripes of foil. The result is satisfactory.
A host of details remained on the menu: The upper wing’s mounting was quite a fidgeting, I resorted to seal the cross struts with acrylic paint because one really can’t reach it with the iron. The undercarriage’s mounting points and the seatback are covered, too. And in the very end, the radiator grille also got some paint.
Looking back I realize that covering and fitting-out the model take at least as much effort as the construction. I honestly didn’t anticipate that. Next time, the model is going to get assembled and the servos will be adjusted.