

Of course, the electrical connection between loco and tender made it necesarry to add a coupling between the two before there could be any test runs. In order to stay close to the prototypical concepts and to make a long-lasting connection, I wanted to use threaded rods and square nuts. Unfortunately there was not enough room on the loco to use nbw on both ends, so I soldered a square nut onto a threaded rod with a diameter of 1,6mm. That way it looks like a genuine nbw from the outside, but can be screwed into the thick plastic frame.
The buffer bar was once again made of red cedar, cut to size and brused down with a brass brush in order to emphasize the grain. Thus the impression of a wooden buffer bar won’t be lost, after it has been painted.
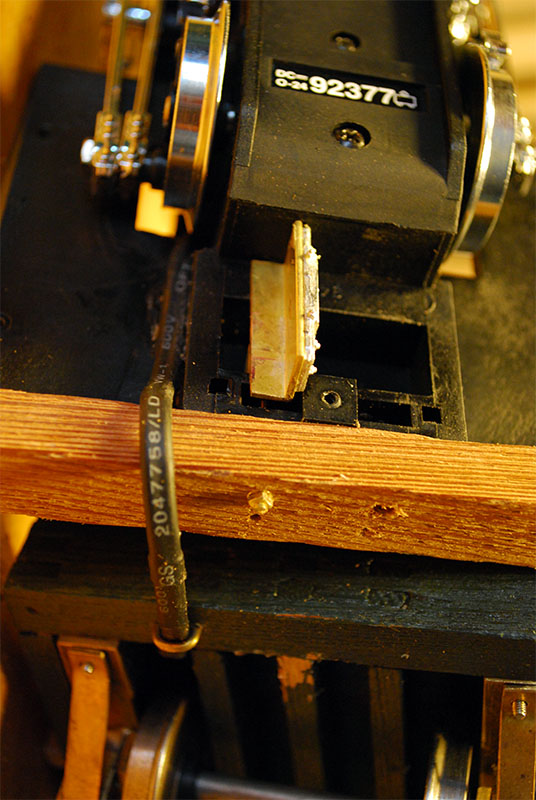
The holes for mounting the bar were drilled into the frame first, and then transfered to and drilled into the bar itself. The threaded rods are not only holding the bar in place, but they fasten the mounting for the link and pin pocket. The pocket is a piece of cast tin by Ozark Miniatures which I purchased from Modellbau-Werkstatt Heyn during the last Inter Modellbau exhibition at Dortmund.
This pocket has a suspension. I have no idea if this is actually going to help during model railroad operations, but I’d like to test it at least. The image shows the first test assembly of the right mounting. It was built from a square piece of brass that was brazened to an angle section of brass. The square piece got drilled and threaded, so that the threaded rod can be screwed into it.
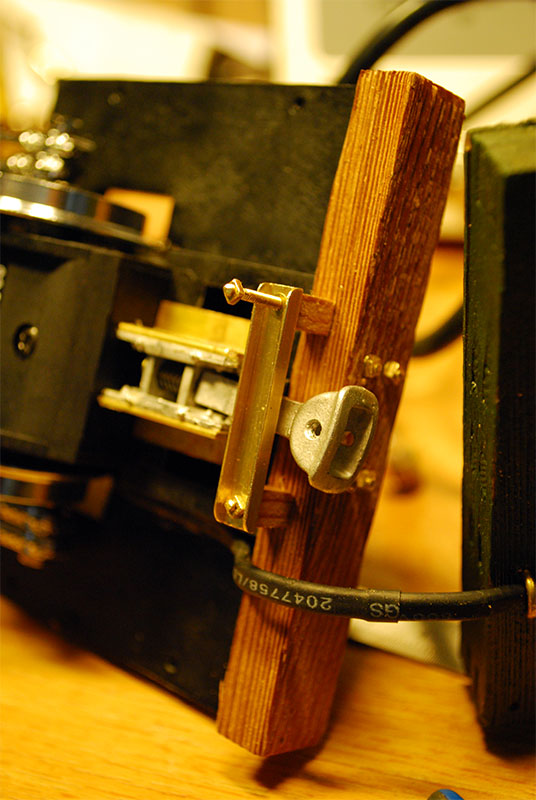
After the pocket was in place, it had to get a guidance, or else it would slack and cause excessive shearing forces to the mounting. Such a guidance would normally be built quite sturdy and with an exact fitting, however I wanted to give the porter a touch of improvisation and so I took a piece of U-shaped section and two small blocks of red cedar.
From my point of view, this construction should have another advantage, that is the pocket has a reasonable amount of play. That should make it easier to navigate through grades and tight curves and allow operations on provisionally laid track. Whether that actually helps or just increases tear and war, I’ll have to find out over time. Right now, I’m content with the appearance.
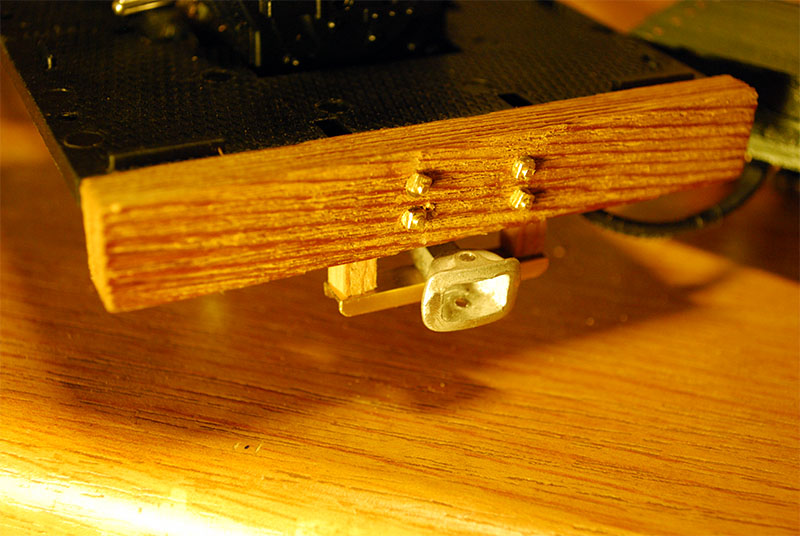 This is a final view of the pocket, without the pin. In order to make this save for operation and give it an even more prototypical look, I will have to buy some length of miniature chain. Then the pin can be chained down to the buffer bar, so it can’t get lost. The next step is going to be painting the tender’s side walls.