No.1 Porter: Snow Plough

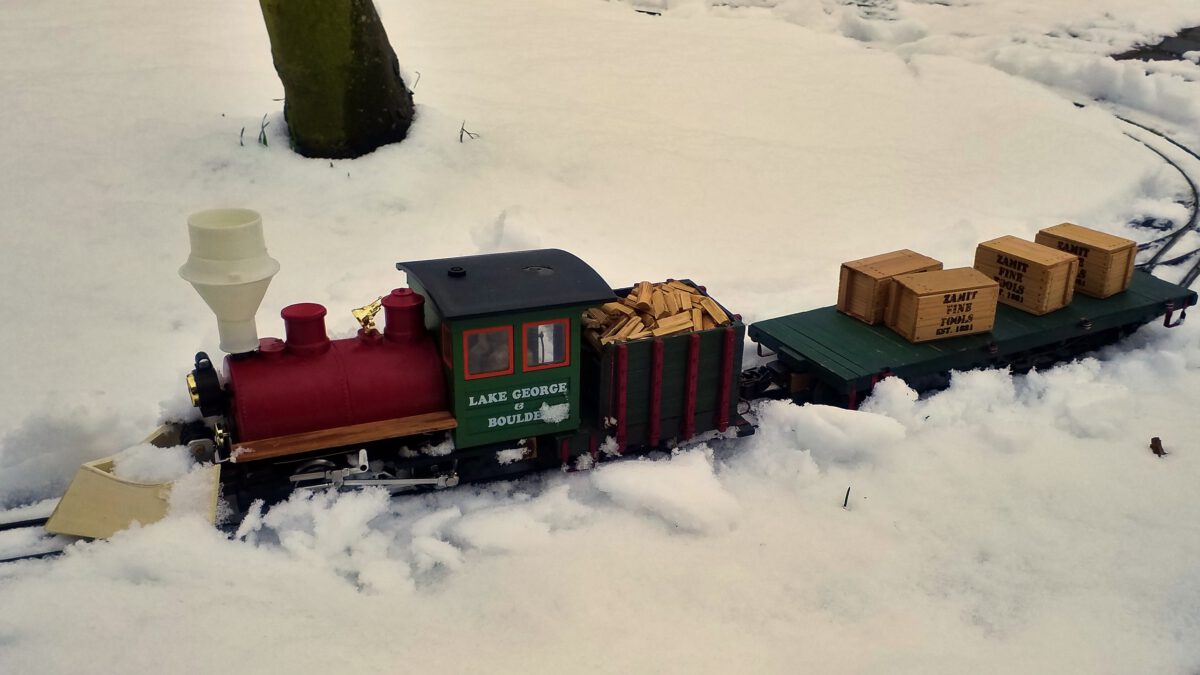
Underway on the cleared track with the flatcar.

Last week, after many years we finally had snowfall. I couldn’t miss out on that one, so out came the rolling stock and off we go!
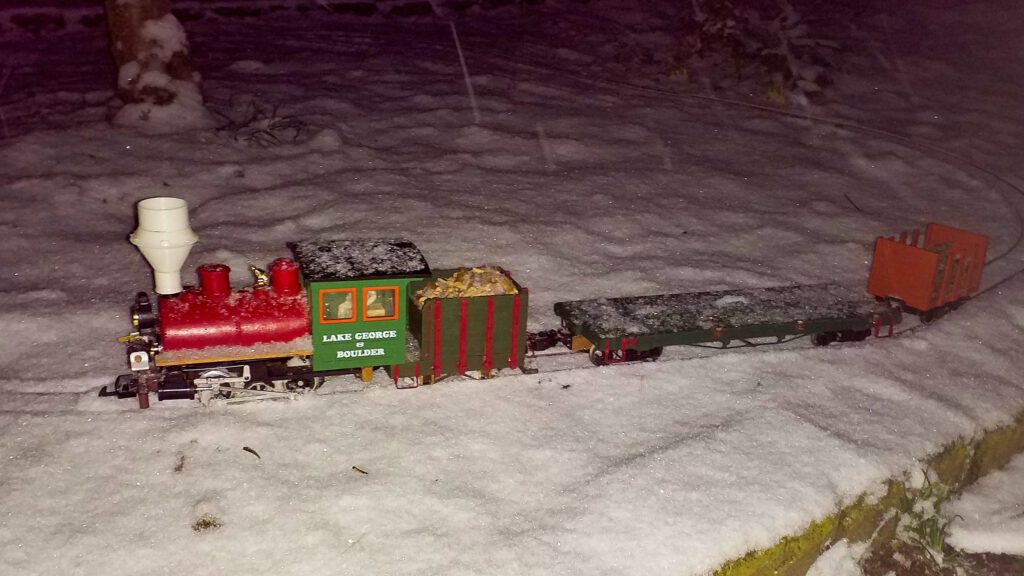
Januar 17th, 2021: Operations in the snow, for the first time since the 1990s.

The joy got somewhat marred, though, since the falling snow caused all the wheels to build up ice and caused many derailments. However, the snow remained and when the snowfall finally stopped at 11 o’clock the next morning, the whole layout was covered in a white blanket. I just couldn’t miss out on that opportunity! So, off to the workshop.

Below, I’d like to show how one can improvise a working snow plough in less than one hour.

No.1 Porter: Chain Winch

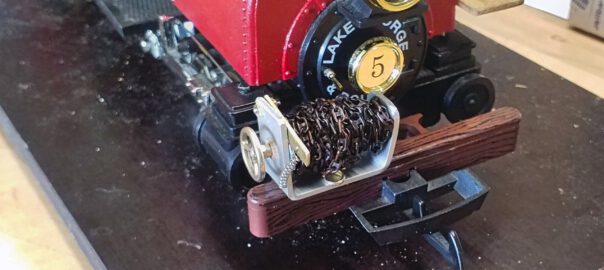
Completely assembled and mounted.

Besides other insights, the Summer Operation Session 2020 revealed that my Porter needs a better stowing place for the shunting chain.

On the one hand the chain easily drops from the loco if it isn’t properly secured, on the other hand it’s quite fidgety to fixate the chain at a given lenght. So I more or less spontaneously got the idea to tinker on a chain winch.

The first steps happend on a whin and I was sure that they wouldn’t succeed, that’s why I didn’t take any pictures. But after I realized I was onto something, I made some after the fact.

Porter: New Smokestack with Spark Arrestor

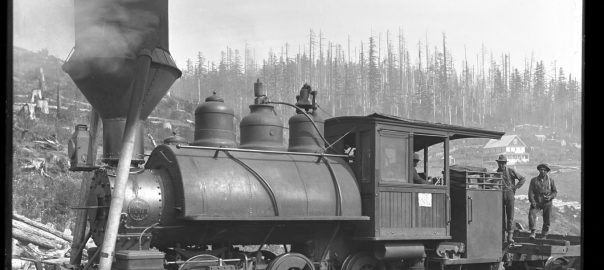
Big spark arrestor on wood burning loco.

Since my porter is serving as a working horse in the vicinity of a logging railroad, she’s burning wood, as one might tell by her tender. The original smokestack has only got a small diamond spark arrestor which doesn’t really fit to a wood burning loco.

Porter and Tender: Coupling-Maintenance

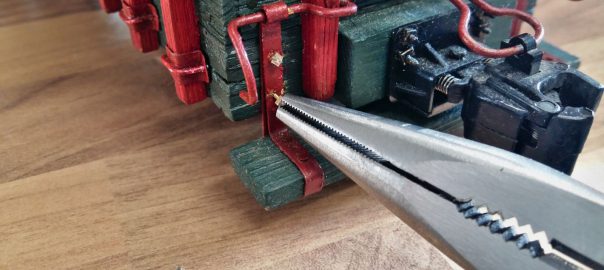
Threaded rods are screwed into the wood.

My faithful Porter had some work to do during this winter, for which it was transported to different places: Into the garden, at my parents-in-law’s, even at work. Of course, these transports always entail boxing and unboxing into transport crates, which lead to considerable wear regarding the coupling between loco and tender on the one hand, and the conductor’s platform at the tender’s rear end on the other hand. Thus, we’re going to focus today on ever-occuring maintenance and possible improvements.

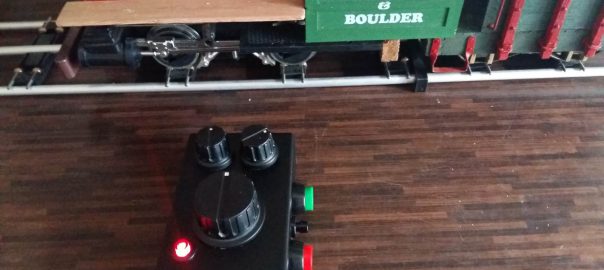
Deltang Tx22 Completion

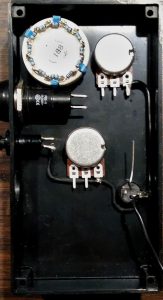
Wiring the ground first.

After assembling the transmitter, I proceeded with soldering the parts. This turned out to be a fiddly affair, which kept me from taking pictures. In return, there’s a video of the final testing! 🙂

Overall one can say that the manufacturer’s documentation works very well. Once you’ve found your way around the diagrams and schemas, the assembly is easily done in a few hours’ worth of time.

It is really helpful to plan the wiring in levels or layers. At the bottom, I placed the ground connectors. There I connected the potentionmeters, the main switch, its LED and the bind switch. The two function switches remain untouched for the moment because after soldering they will partly block access to the potentiometer.

Porter: Li-Ion Test Run

After I finished the powerpack the next opportunity was seized to perform an extensive test run.

First the pack was connected to the charger and fully charged. To be on the safe side I placed the accu pack in a fireproof bowl and thanks to the fine weather I could move the whole setup into the garden. In case that a cell had been damaged, it would have spared me the troubles of toxic fumes in my workshop.

Test run under severe supervision.

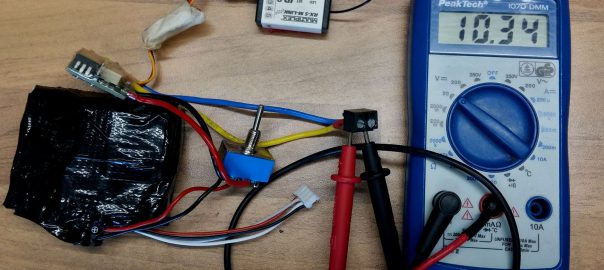
All went well, so I could plug the powerpack into the existing R/C circuit. The results were stupefying: almost three hours of solid mileage with 40% capacity remaining. Now I’m convinced that I can get up to two hours of operations out of the powerpack without overtaxing it. Next step will be the assembly of the DelTang transmitter.

Porter: Detailing and Knuckle Couplers

Since the first test run some time has passed by, but there have been only a few opportunities to make progress with the tender’s construction. Nevertheless I managed to slip into the shop now and then and today I’d like to summarize the progress.

Tender mit Klauenkupplung und Rangiertritt
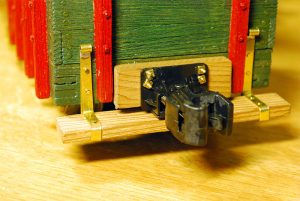
Tender with knuckle coupler and conductor’s platform

The most important thing first: the tender’s got a knuckle coupler. On the one hand it seemed plausible to me, since I’m going to model a railroad at the beginning of the 20th century, as mentioned on creating the blueprints. On the other hand I’m hoping for easier operations. I’ve already got some experience with link and pin couplers and I find it quite cumbersome to pull and put the links and pins between the cars with a long set of tweezers. Knuckle couplers however allow for automatic coupling at the best of times, especially if you can set brakes on the cars. Decoupling is even easier if you have cut levers at the side of the cars or use an R/C-controlled servo to pull the pin.

Garden Railway: The First Oval

Die erste Testfahrt im Garten
First test drive in the garden

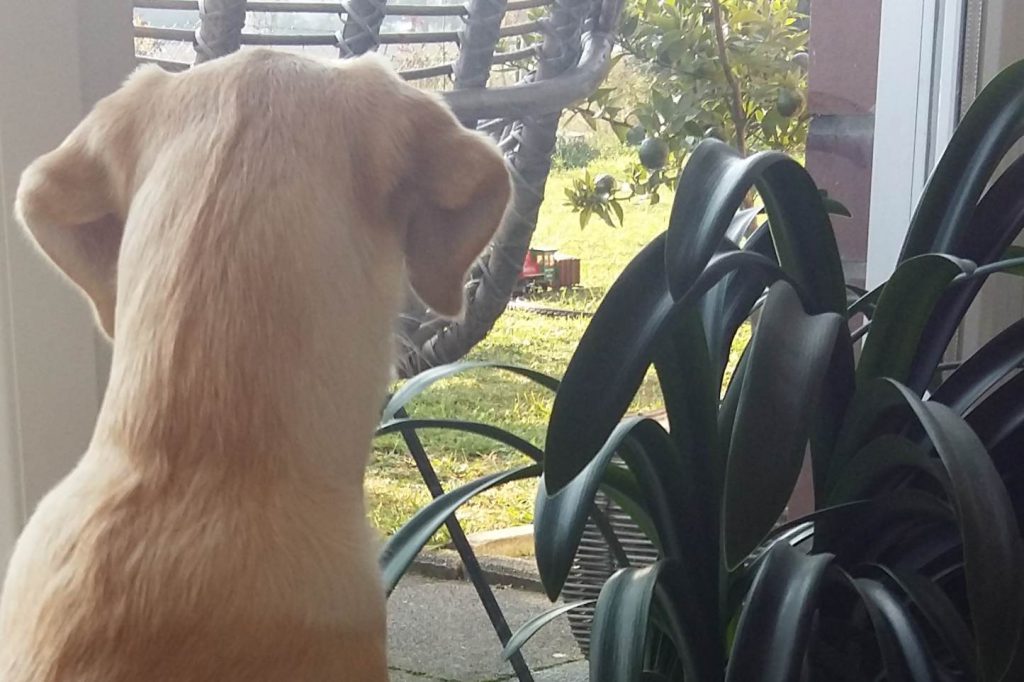
Today was a very special day for me. After years of planning, after months of constructing my porter tender, after weeks of waiting for vacation – today, I finally got to lay my own rails out in my own garden and I let my own loco run a few rounds.

Porter Tender: Paintwork

Rungen abkleben
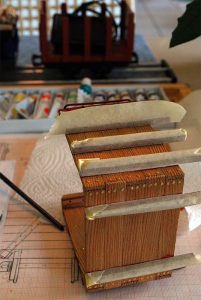
Masking stakes

With working couplers between loco and tender finished, I finally wanted to see some colour on the side walls. First, the stakes were painted with carmine red acrylic paint, as were the handrails. That turned out to be a bit tricky, but a second coating provided an acceptable surface.

After all handrails looked nice and the paint was dried, the red areas were masked with tape. You have to work carefully and pay attention to apply enough pressure at the edges of the tape, in order to avoid fresh paint to seep into the gaps of the wood’s grain.