
My faithful Porter had some work to do during this winter, for which it was transported to different places: Into the garden, at my parents-in-law’s, even at work. Of course, these transports always entail boxing and unboxing into transport crates, which lead to considerable wear regarding the coupling between loco and tender on the one hand, and the conductor’s platform at the tender’s rear end on the other hand. Thus, we’re going to focus today on ever-occuring maintenance and possible improvements.
Tag: Tender
Porter: Li-Ion Powerpack
As I wrote earlier, I’m going to switch my father’s Mogul loco to battery power. However, I want to gain some experience first by modernizing my porter loco.
At the finish line the porter as well as the mogul locos will be equipped with DelTang receivers and Li-Ion powerpacks.
Porter: Detailing and Knuckle Couplers
Since the first test run some time has passed by, but there have been only a few opportunities to make progress with the tender’s construction. Nevertheless I managed to slip into the shop now and then and today I’d like to summarize the progress.

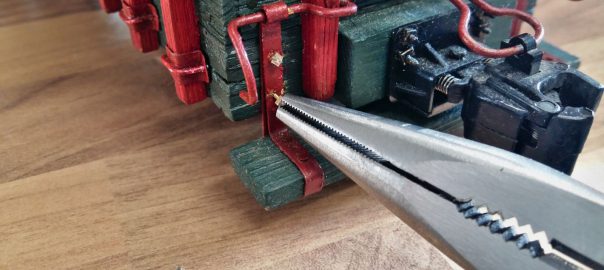
The most important thing first: the tender’s got a knuckle coupler. On the one hand it seemed plausible to me, since I’m going to model a railroad at the beginning of the 20th century, as mentioned on creating the blueprints. On the other hand I’m hoping for easier operations. I’ve already got some experience with link and pin couplers and I find it quite cumbersome to pull and put the links and pins between the cars with a long set of tweezers. Knuckle couplers however allow for automatic coupling at the best of times, especially if you can set brakes on the cars. Decoupling is even easier if you have cut levers at the side of the cars or use an R/C-controlled servo to pull the pin.
Garden Railway: The First Oval
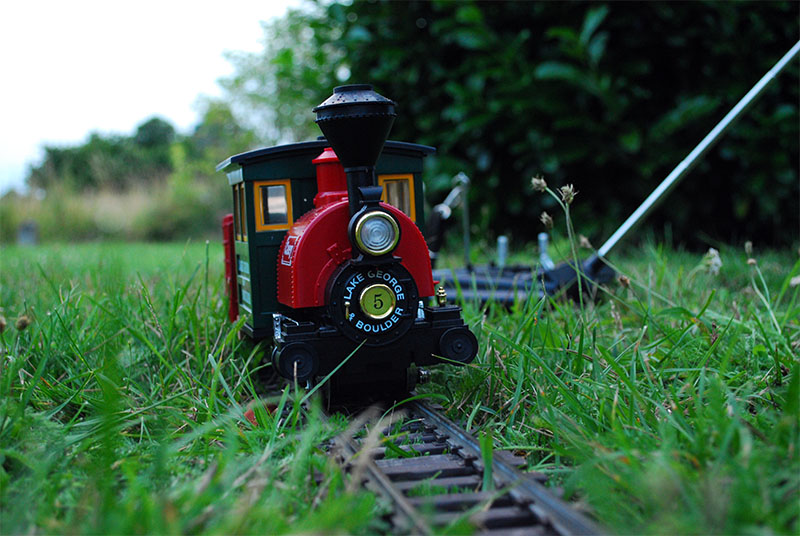
Today was a very special day for me. After years of planning, after months of constructing my porter tender, after weeks of waiting for vacation – today, I finally got to lay my own rails out in my own garden and I let my own loco run a few rounds.
Porter Tender: Paintwork
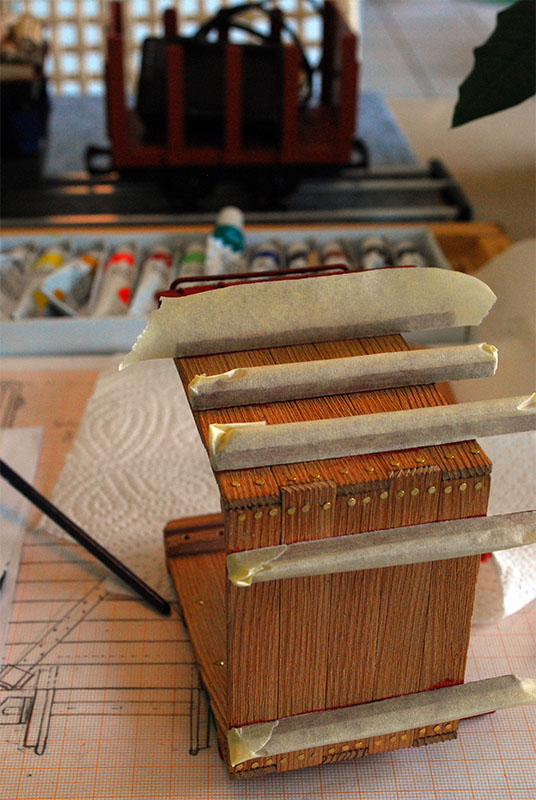
With working couplers between loco and tender finished, I finally wanted to see some colour on the side walls. First, the stakes were painted with carmine red acrylic paint, as were the handrails. That turned out to be a bit tricky, but a second coating provided an acceptable surface.
After all handrails looked nice and the paint was dried, the red areas were masked with tape. You have to work carefully and pay attention to apply enough pressure at the edges of the tape, in order to avoid fresh paint to seep into the gaps of the wood’s grain.
Porter and Tender: Coupling

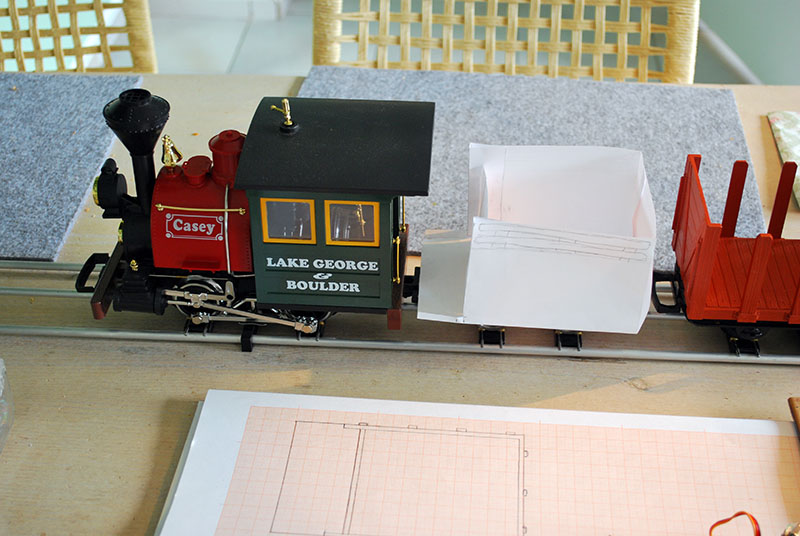
Of course, the electrical connection between loco and tender made it necesarry to add a coupling between the two before there could be any test runs. In order to stay close to the prototypical concepts and to make a long-lasting connection, I wanted to use threaded rods and square nuts. Unfortunately there was not enough room on the loco to use nbw on both ends, so I soldered a square nut onto a threaded rod with a diameter of 1,6mm. That way it looks like a genuine nbw from the outside, but can be screwed into the thick plastic frame.
Porter: Conversion to Battery Power

Now that the tender’s basic construction is finished, I wanted to achieve operational readiness. That required the porter loco to get converted from rail to battery power. The most important thing to keep in mind is to insulate the loco’s circuits from the rails in order to avoid “supplying” the rails with the battery’s current. Only then one is completely independent from other loco’s and can really enjoy the advantages of battery power.
Porter Tender: Stake Pockets

By finishing the tender’s frame (german version, translation pending) it’s about time to focus on the side walls. Quite an important part is to build the stake pockets, with the prototype they form the link between the side walls and the frame, with the models most of the time it’s just cosmetics. Since I’d like to build as many parts as possibly by myself and some prototypical pictures revealed that sometimes simple solutions prevail in the 1 : 1 scale, I chose the most primitive approach.
Porter Tender: Blueprints
After the basic requirements regarding the dimensions were cleared, an extensive online Image research took place. Apparently, opinions are divided whether a model Porter with a tender is a prototypical sight. Fortunately, I can avoid this topic altogether because I’m not going to model an explicit prototype. Instead, I’ll experiment with different themes and decide on a case-by-case basis whether and to what extend I’ll let the prototype reign supreme or just get some inspiration for my own creations.
New Construction Report: Porter on Battery Power
Since last September I’ve worked on a project, which I’d like to present now. It’s about a small Portor steam locomotive by LGB, which I want to switch over to battery that is accumulator power, controlled by R/C. At a later time I’d also like to adapt the looks.
This loco is supposed to make the starting point for my own garden railway, hopefully within this year. September and October were spent with some experiments to place all the necessary components within the locomotive. Alas, I had to take away too much of the lead ballast, so the loco wasn’t able to transmit its motive power to the rails.