With working couplers between loco and tender finished, I finally wanted to see some colour on the side walls. First, the stakes were painted with carmine red acrylic paint, as were the handrails. That turned out to be a bit tricky, but a second coating provided an acceptable surface.
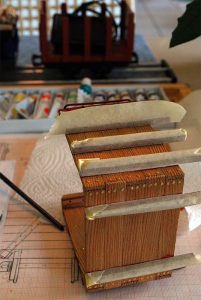
After all handrails looked nice and the paint was dried, the red areas were masked with tape. You have to work carefully and pay attention to apply enough pressure at the edges of the tape, in order to avoid fresh paint to seep into the gaps of the wood’s grain.
The most difficult part from my point of view was to mix the right tone for the green coating. I had to scratch my head on this while making my choice of colours and the tone of the fresh paint did confuse me so badly that I resorted to test it on a scrap piece.

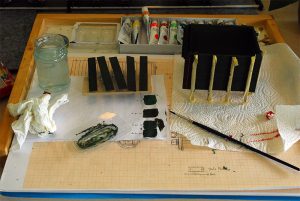
In order to let the access boards dry easier, I constructed a small bed of nails: Just take a scrap piece of 5mm thick plywood and drill holes in a regular pattern. The drill’s diameter should be a tenth of a millimeter less than the nails. Those are pressed into the plywood. The bed of nails allows the boards to be painted from both sides. If they are light enough, they can dry on the tips of the nails and there won’t be any marks.

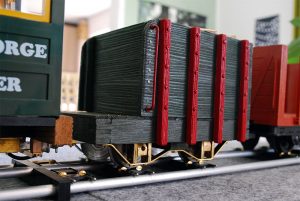
The painted tender is some sight already. The freshly applied paint is a bit shiny and seems to be a touch too bright, compared to the frame. However, it is going to darken within a couple of months.
So far, the tender has progressed to such a level that I can start adding details. Alas, there hasn’t been much time for construction in this summer, therefor the first test drive couldn’t take place until July.
