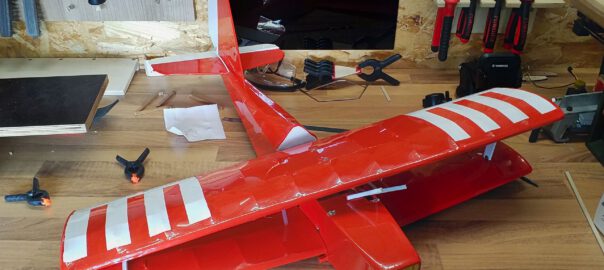
Finishing the covering was another milestone for me and I was very confident that the maiden flight would turn out just fine.
Then the first complete assembly came along and with it some new challenges. Namely undercarriage and center of gravity.
The wooden undercarriage simply wasn’t up to the stresses. So I think: well, let’s just use a steel rod instead of a spring. Trying to pass this rod through the undercarriage’s legs with the help of some drilling ended abruptly with broken slats. I’m really happy that did happen in the shop rather than during a landing!
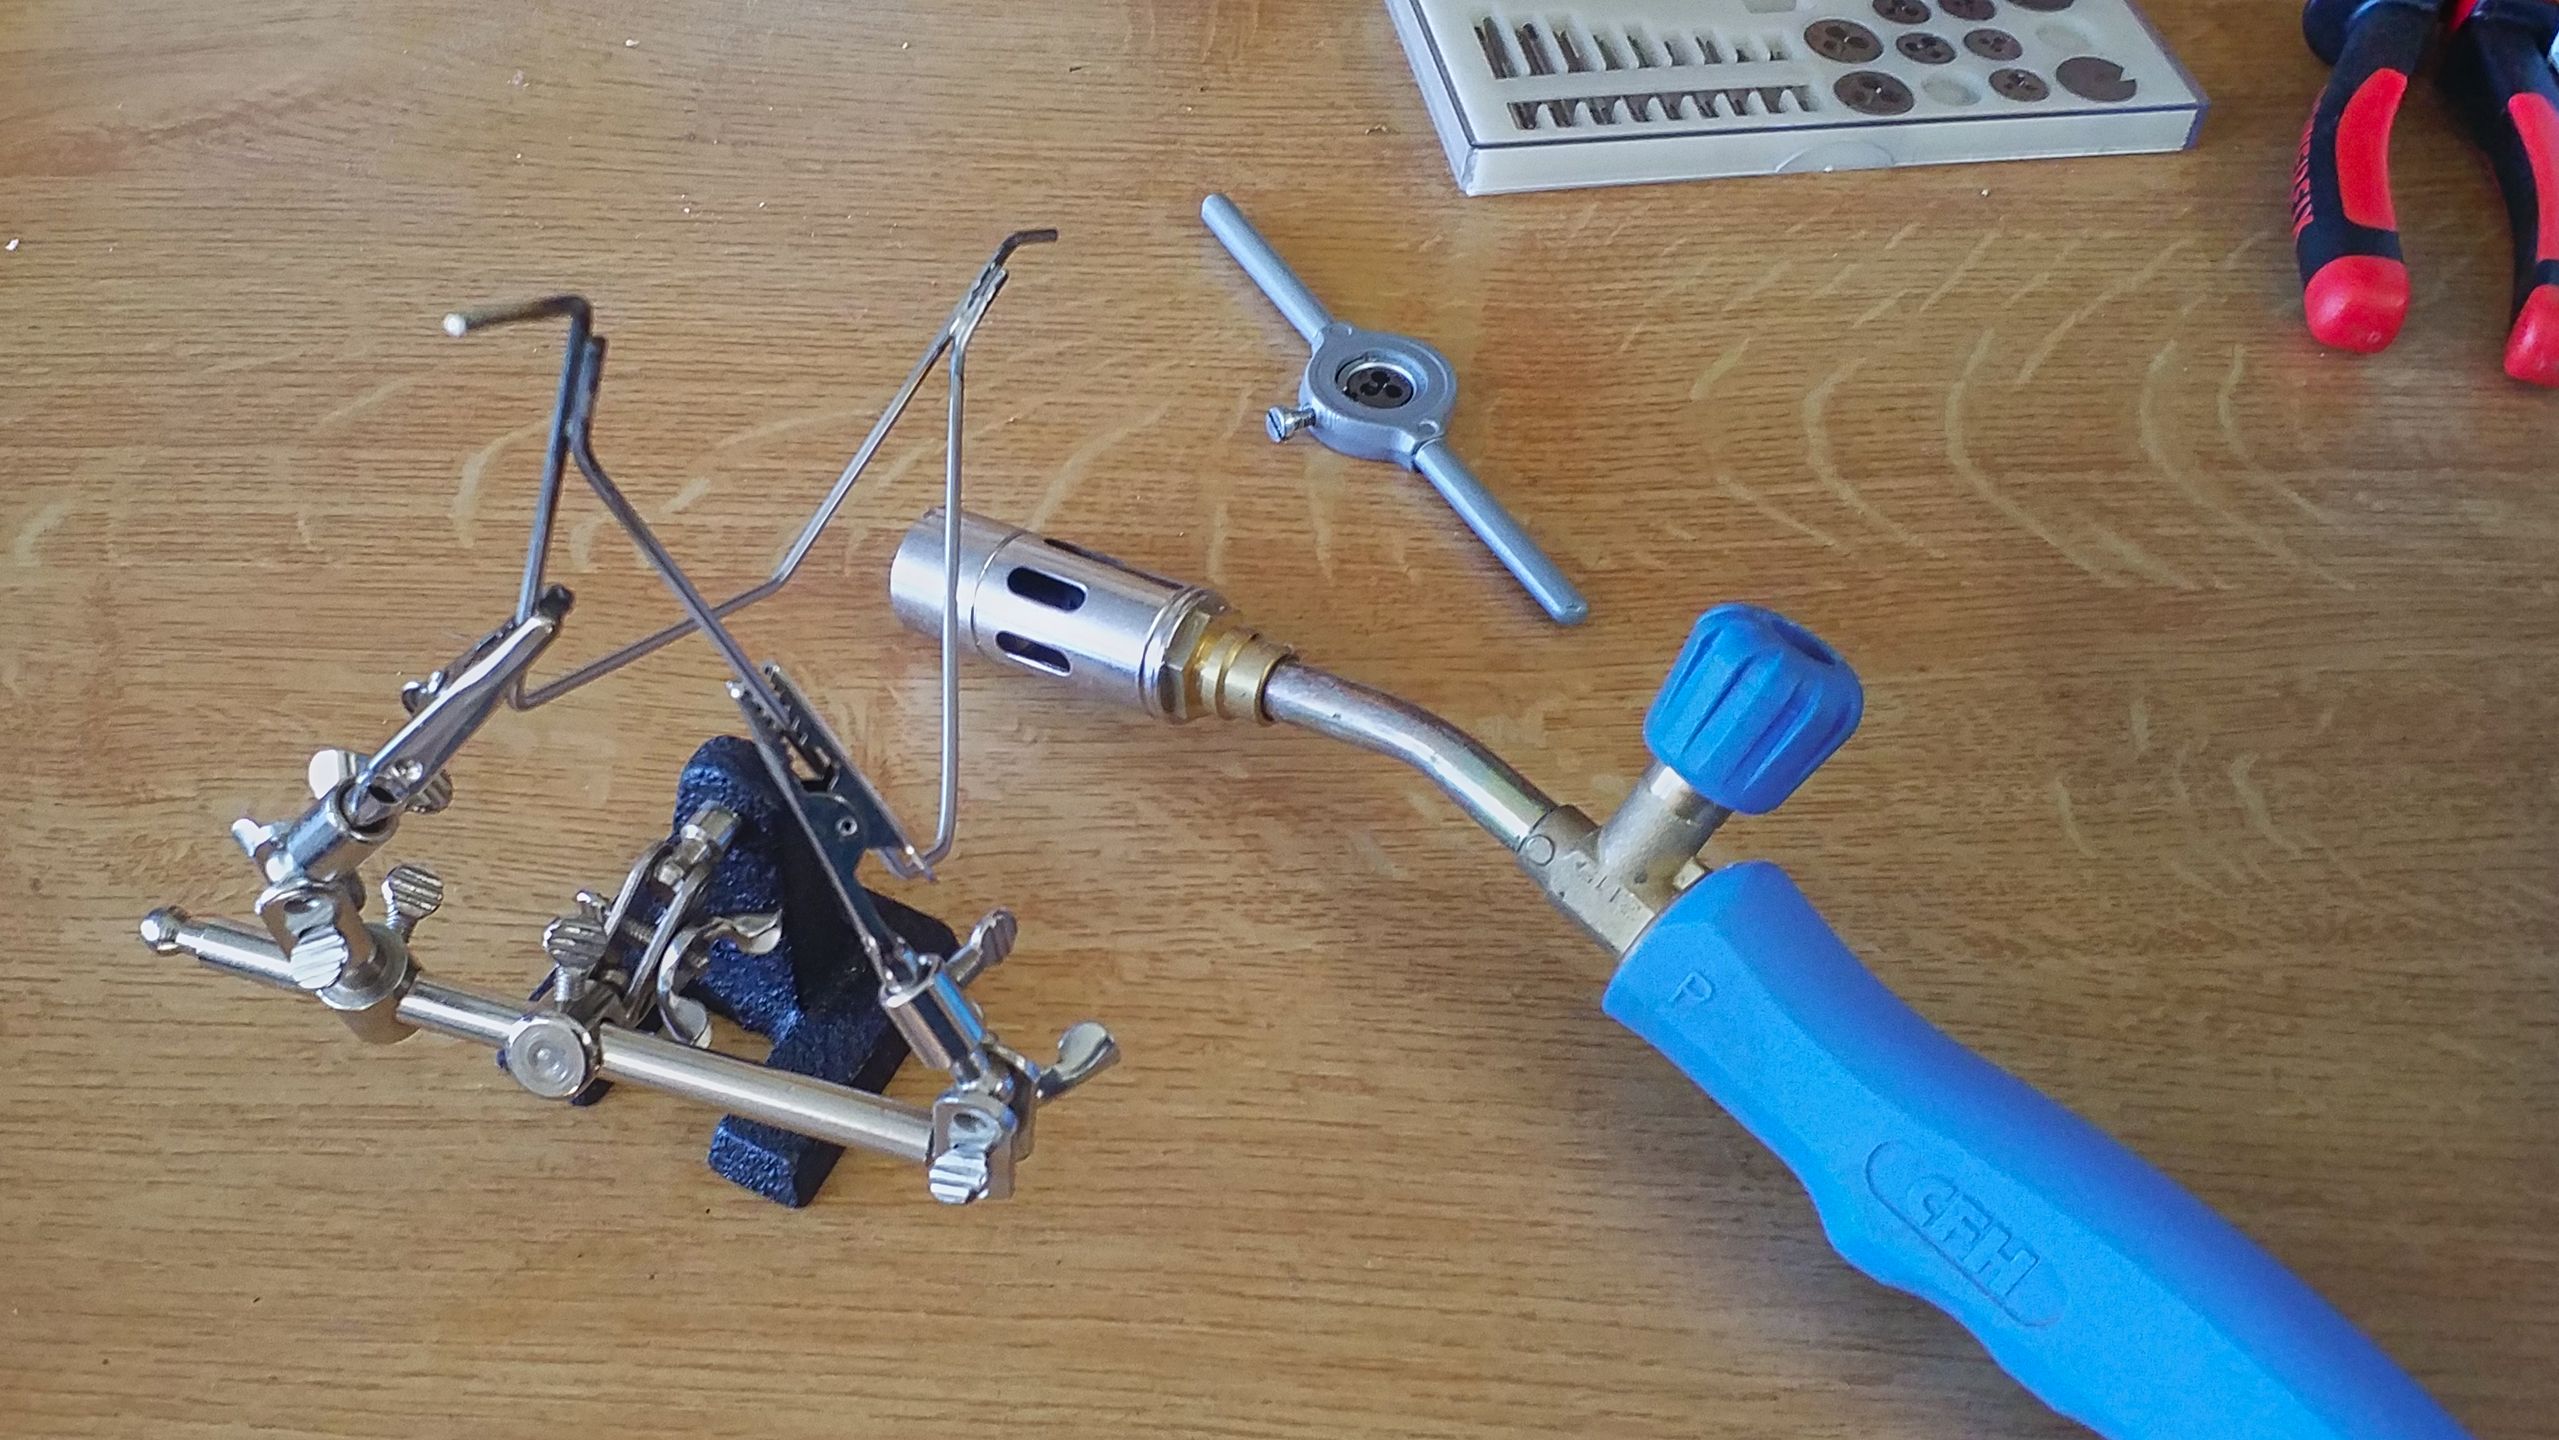
A swift research reveals to me that most aircraft modelers solder their undercarriages from steel rods. Since I’ve got all the tools from my model railroading activities, I decide to braze instead, using stainless steel and silver solder.
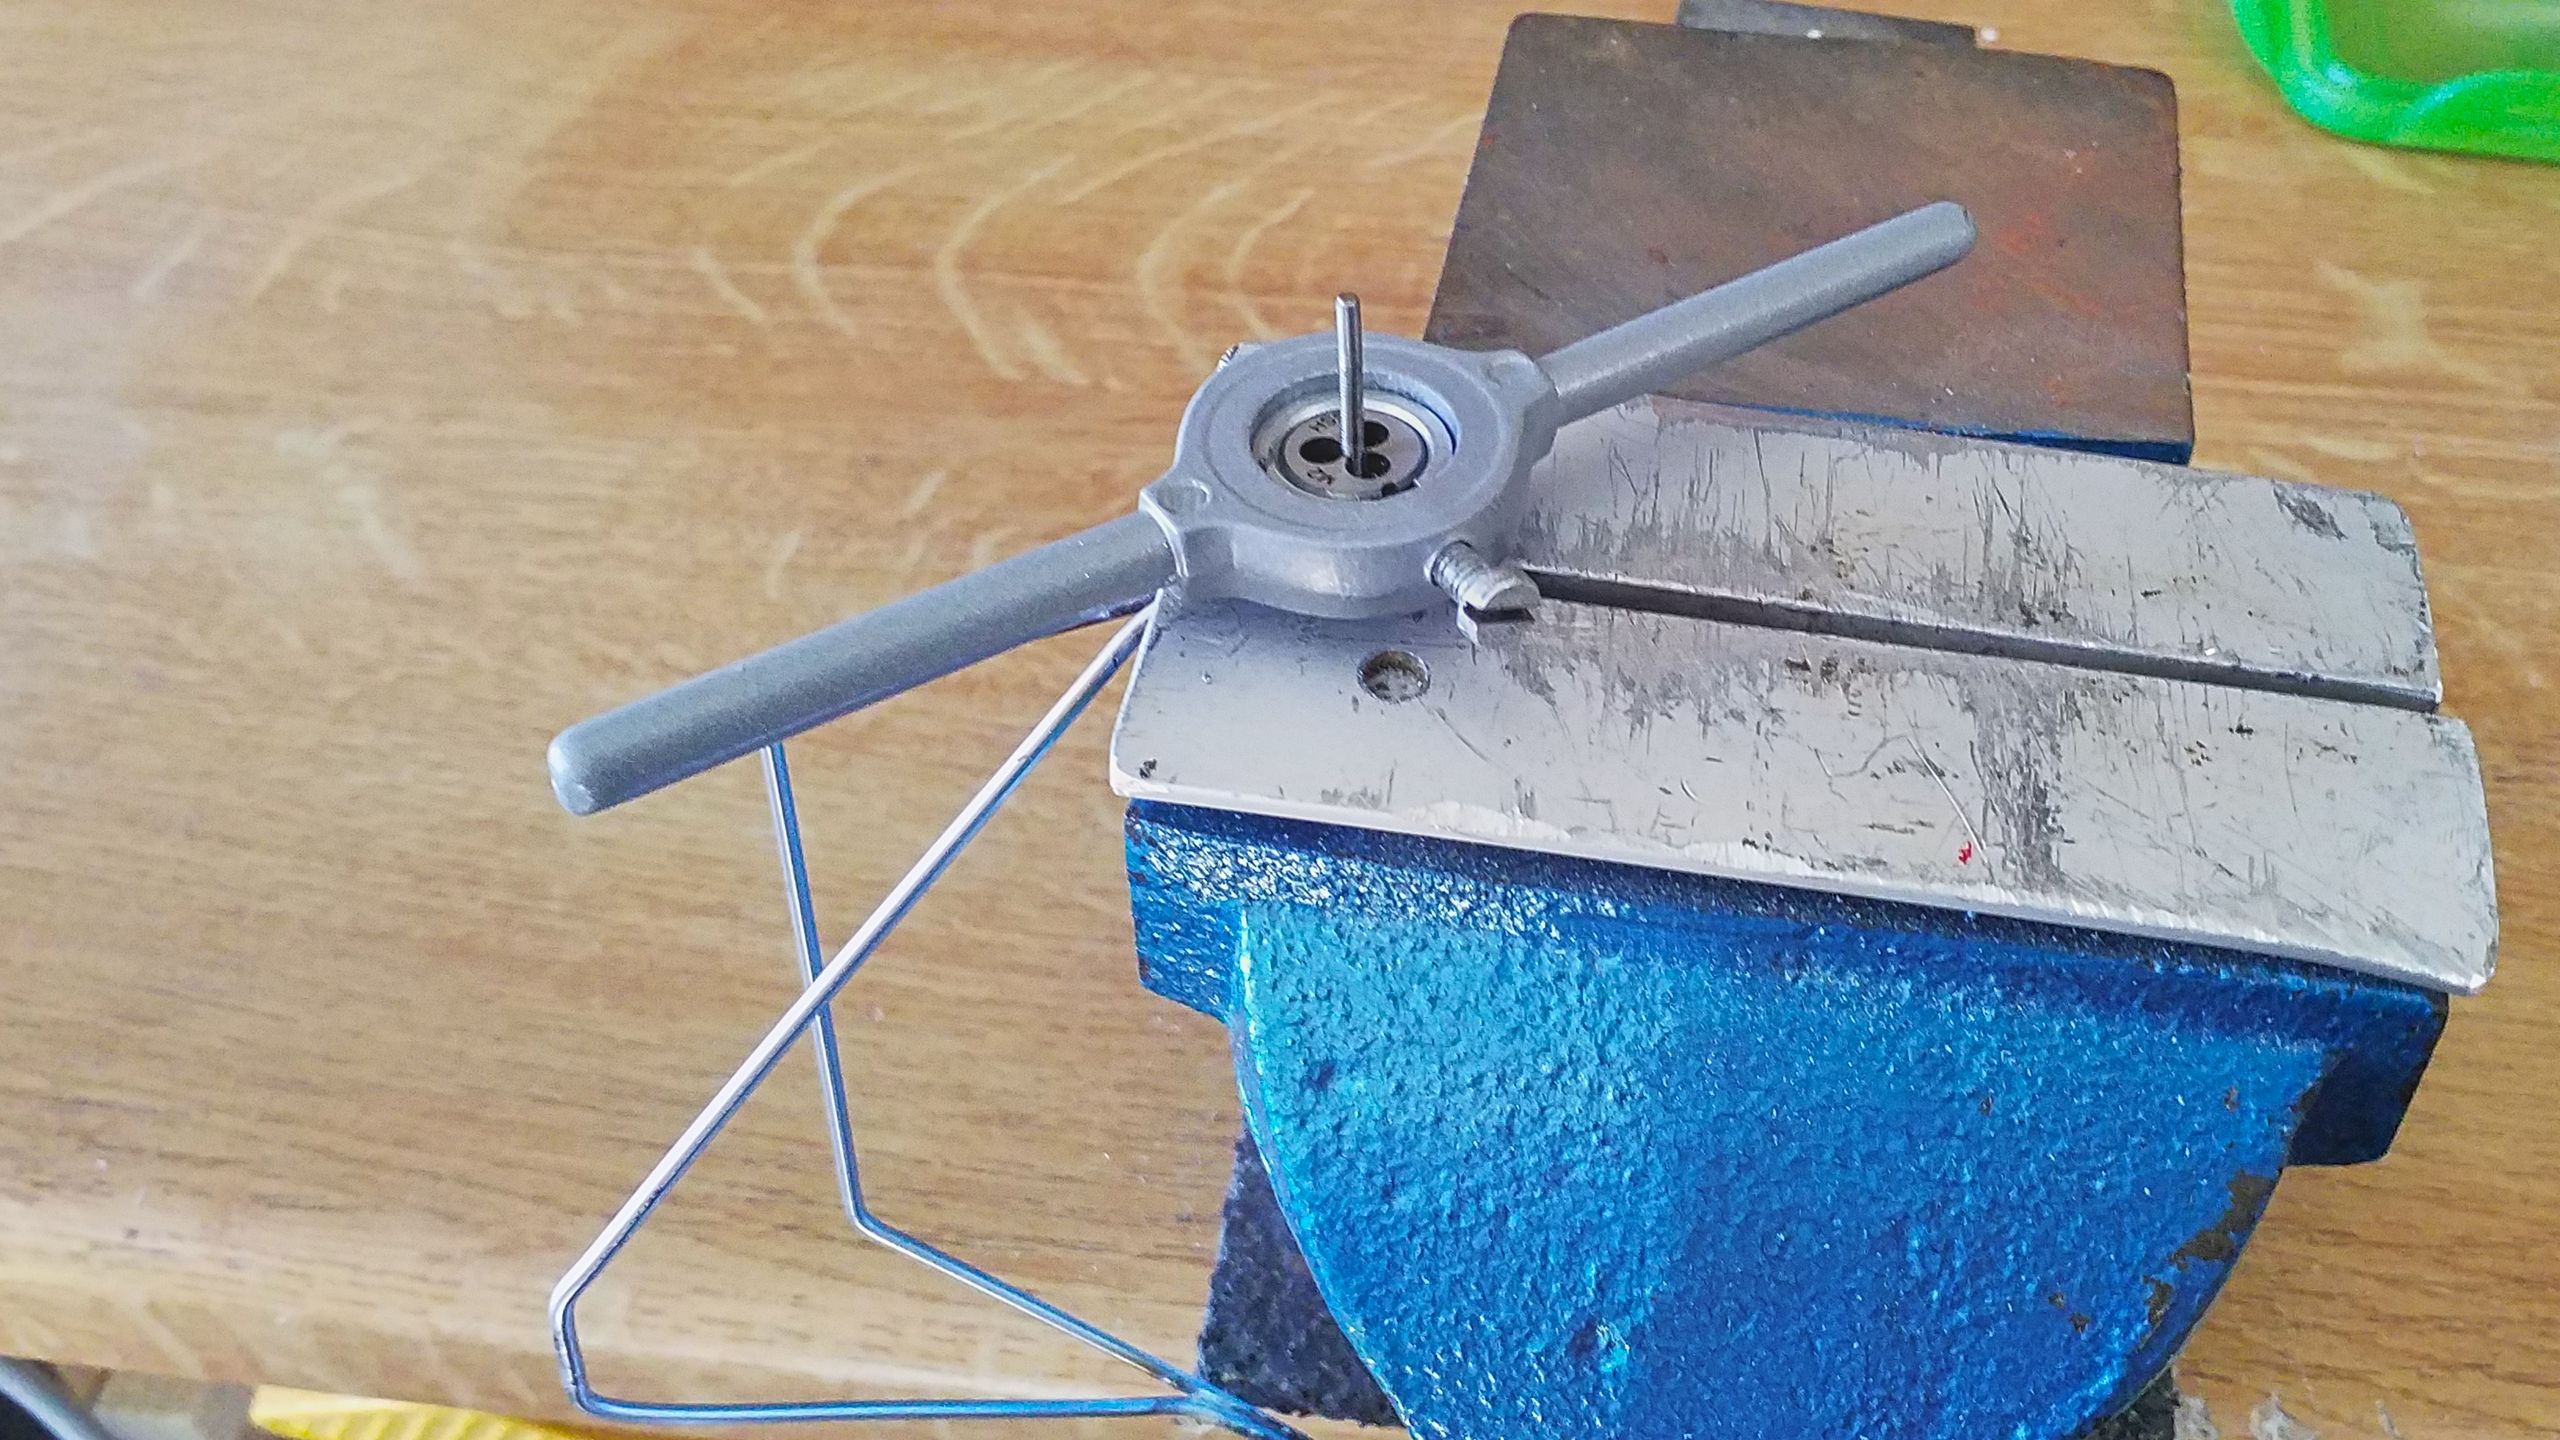
The wheels are to be kept in place by nuts and washers, so I’m threading the axle stubs.
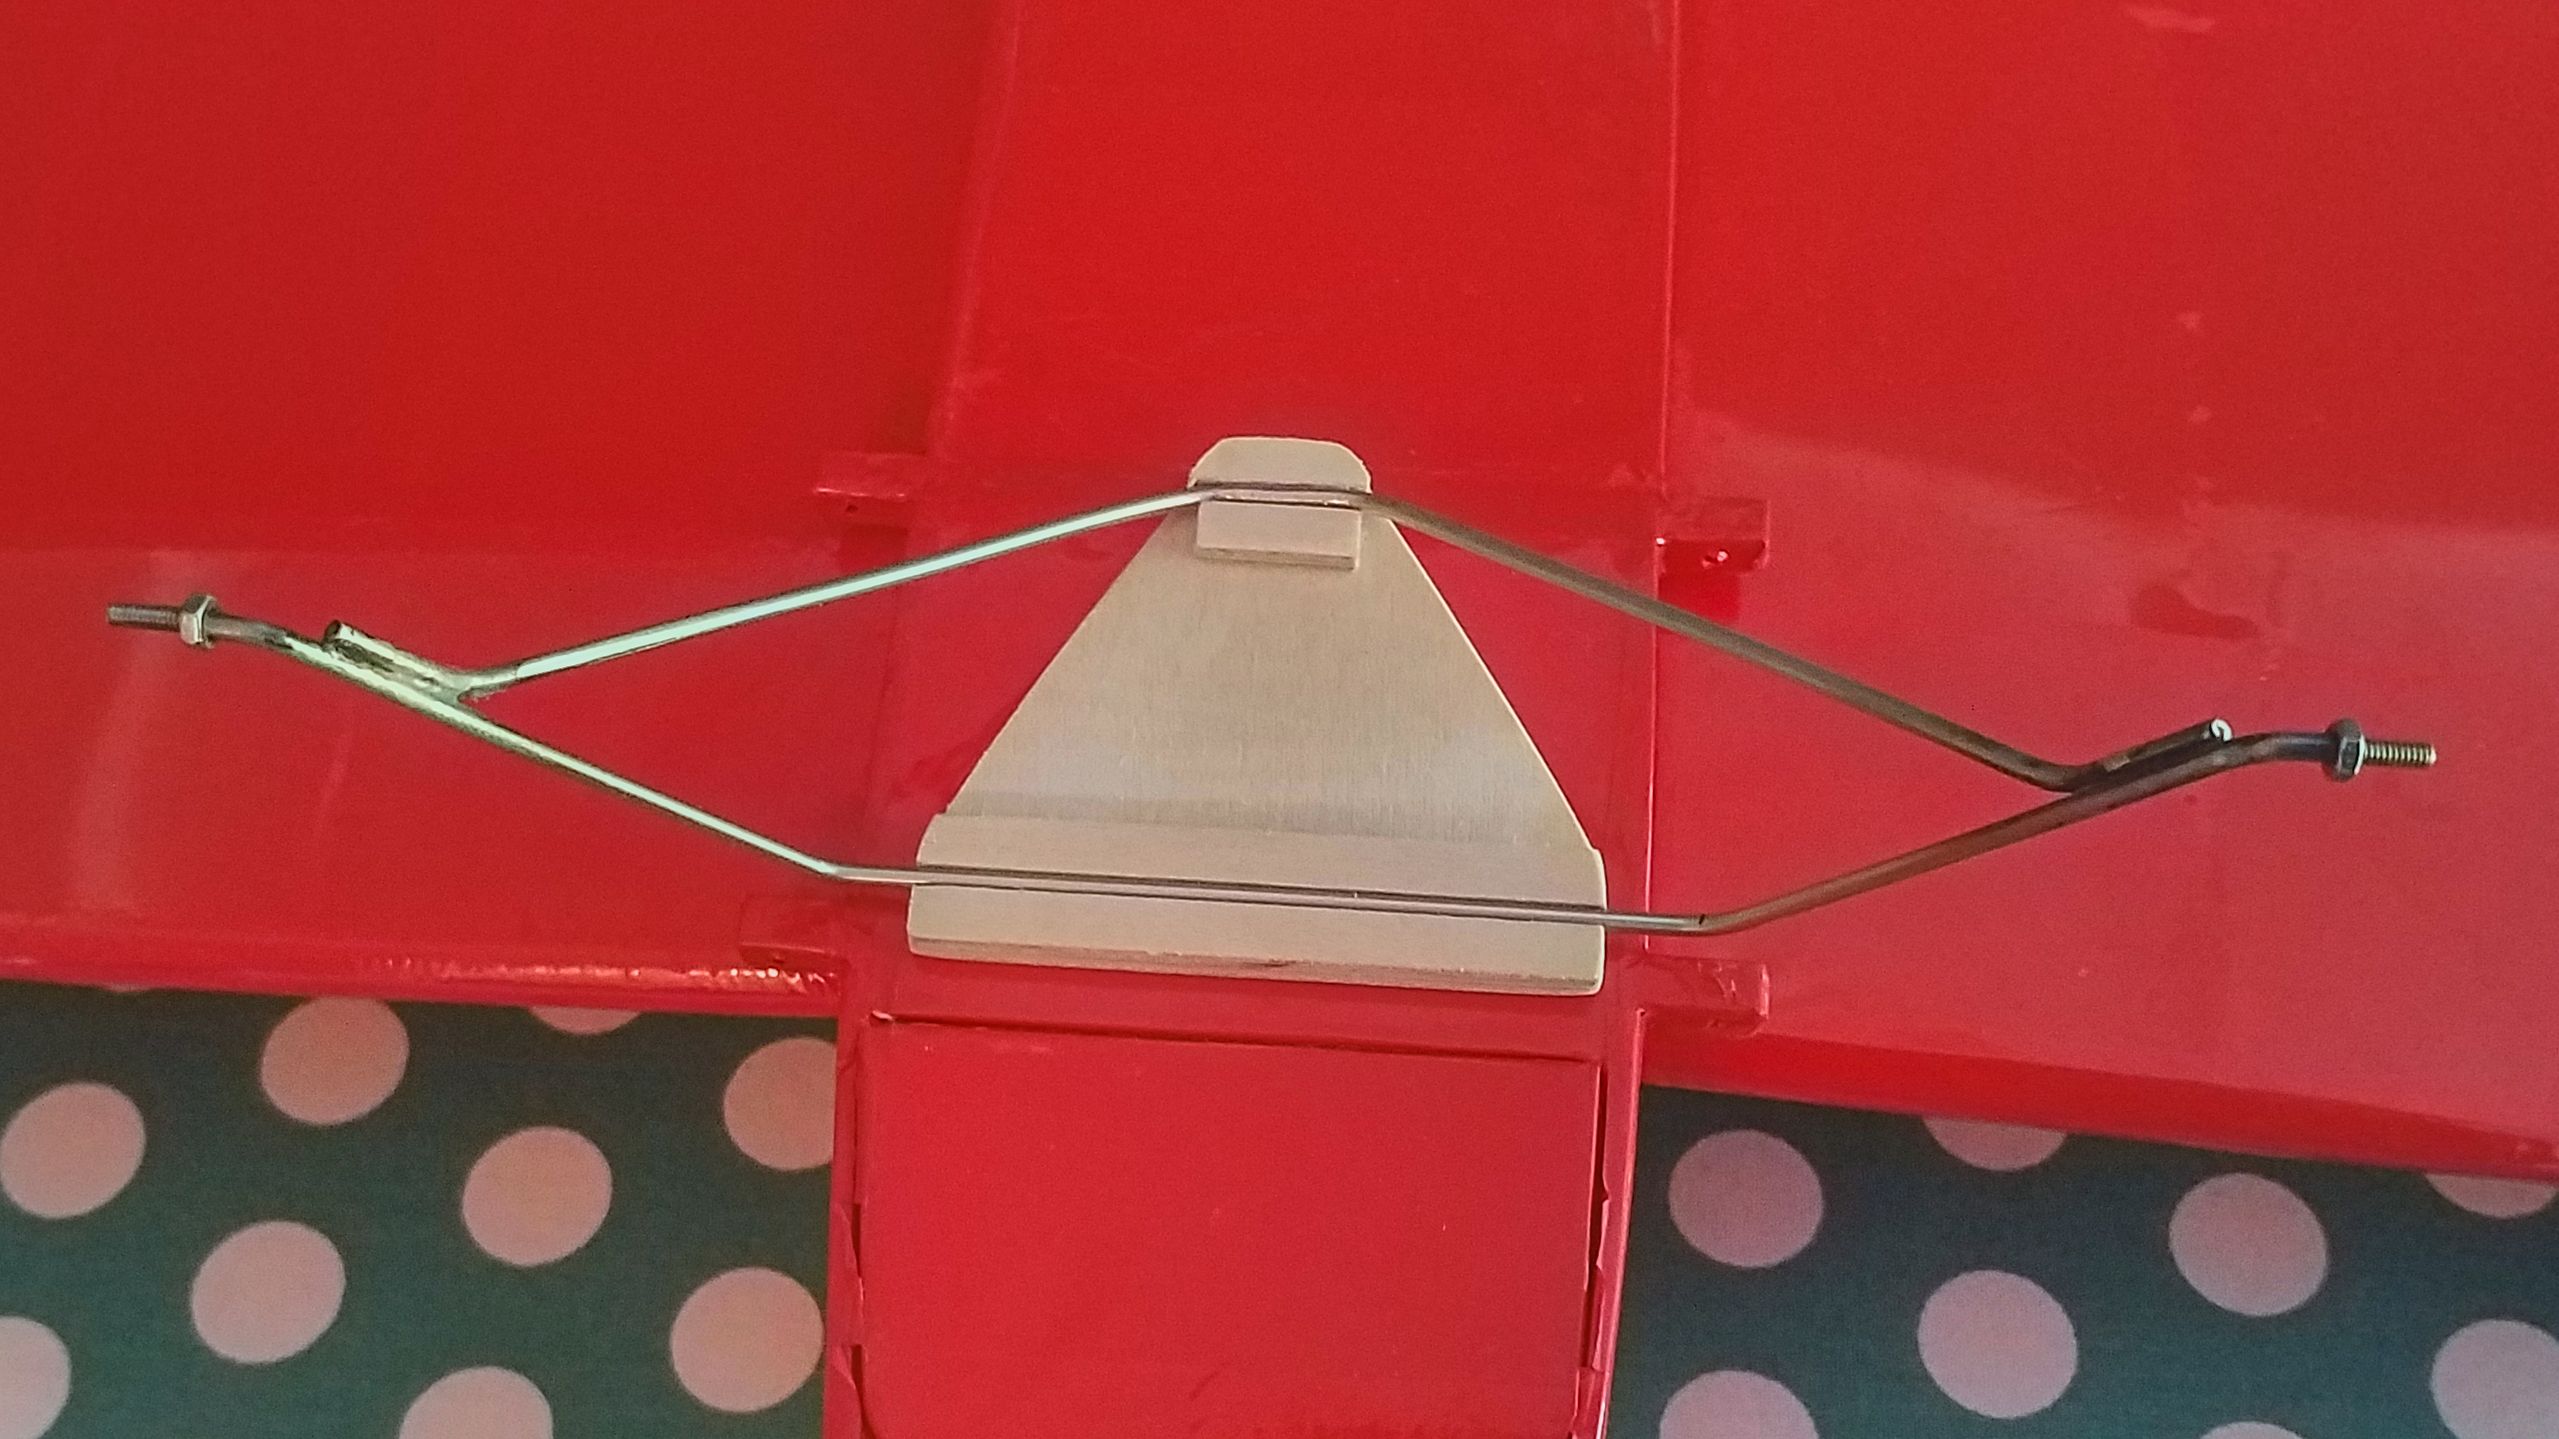
The undercarriage’s mounting is made from airplane-plywood and glued to the fuselage’s bottom. Here a detail shot of where this sub-assembly is going to be seated.
And in the meantie the Joyrider is fully assembled and put to a test for the center of gravity… and problems show up. The plane is clearly tail-heavy. That’s mostly due to the upper wing’s position, it’s placed forwardly in relation to the lower wing. And contrary to the prototype, my motor isn’t the heaviest part.
It’s no good pondering, I need some knowledge a posteriori. So out to the meadow and up in the air, some throwing tests with active R/C but without the prop. The little craft is wonderfully stable around the long axis, but she rears up. Fully down-trimmed elevator is only about helping the affair. During a further test with some additional ballast in the nose the Joyrider bores down a touch too hard and the whole upper wing’s mounting breaks. Ouch!
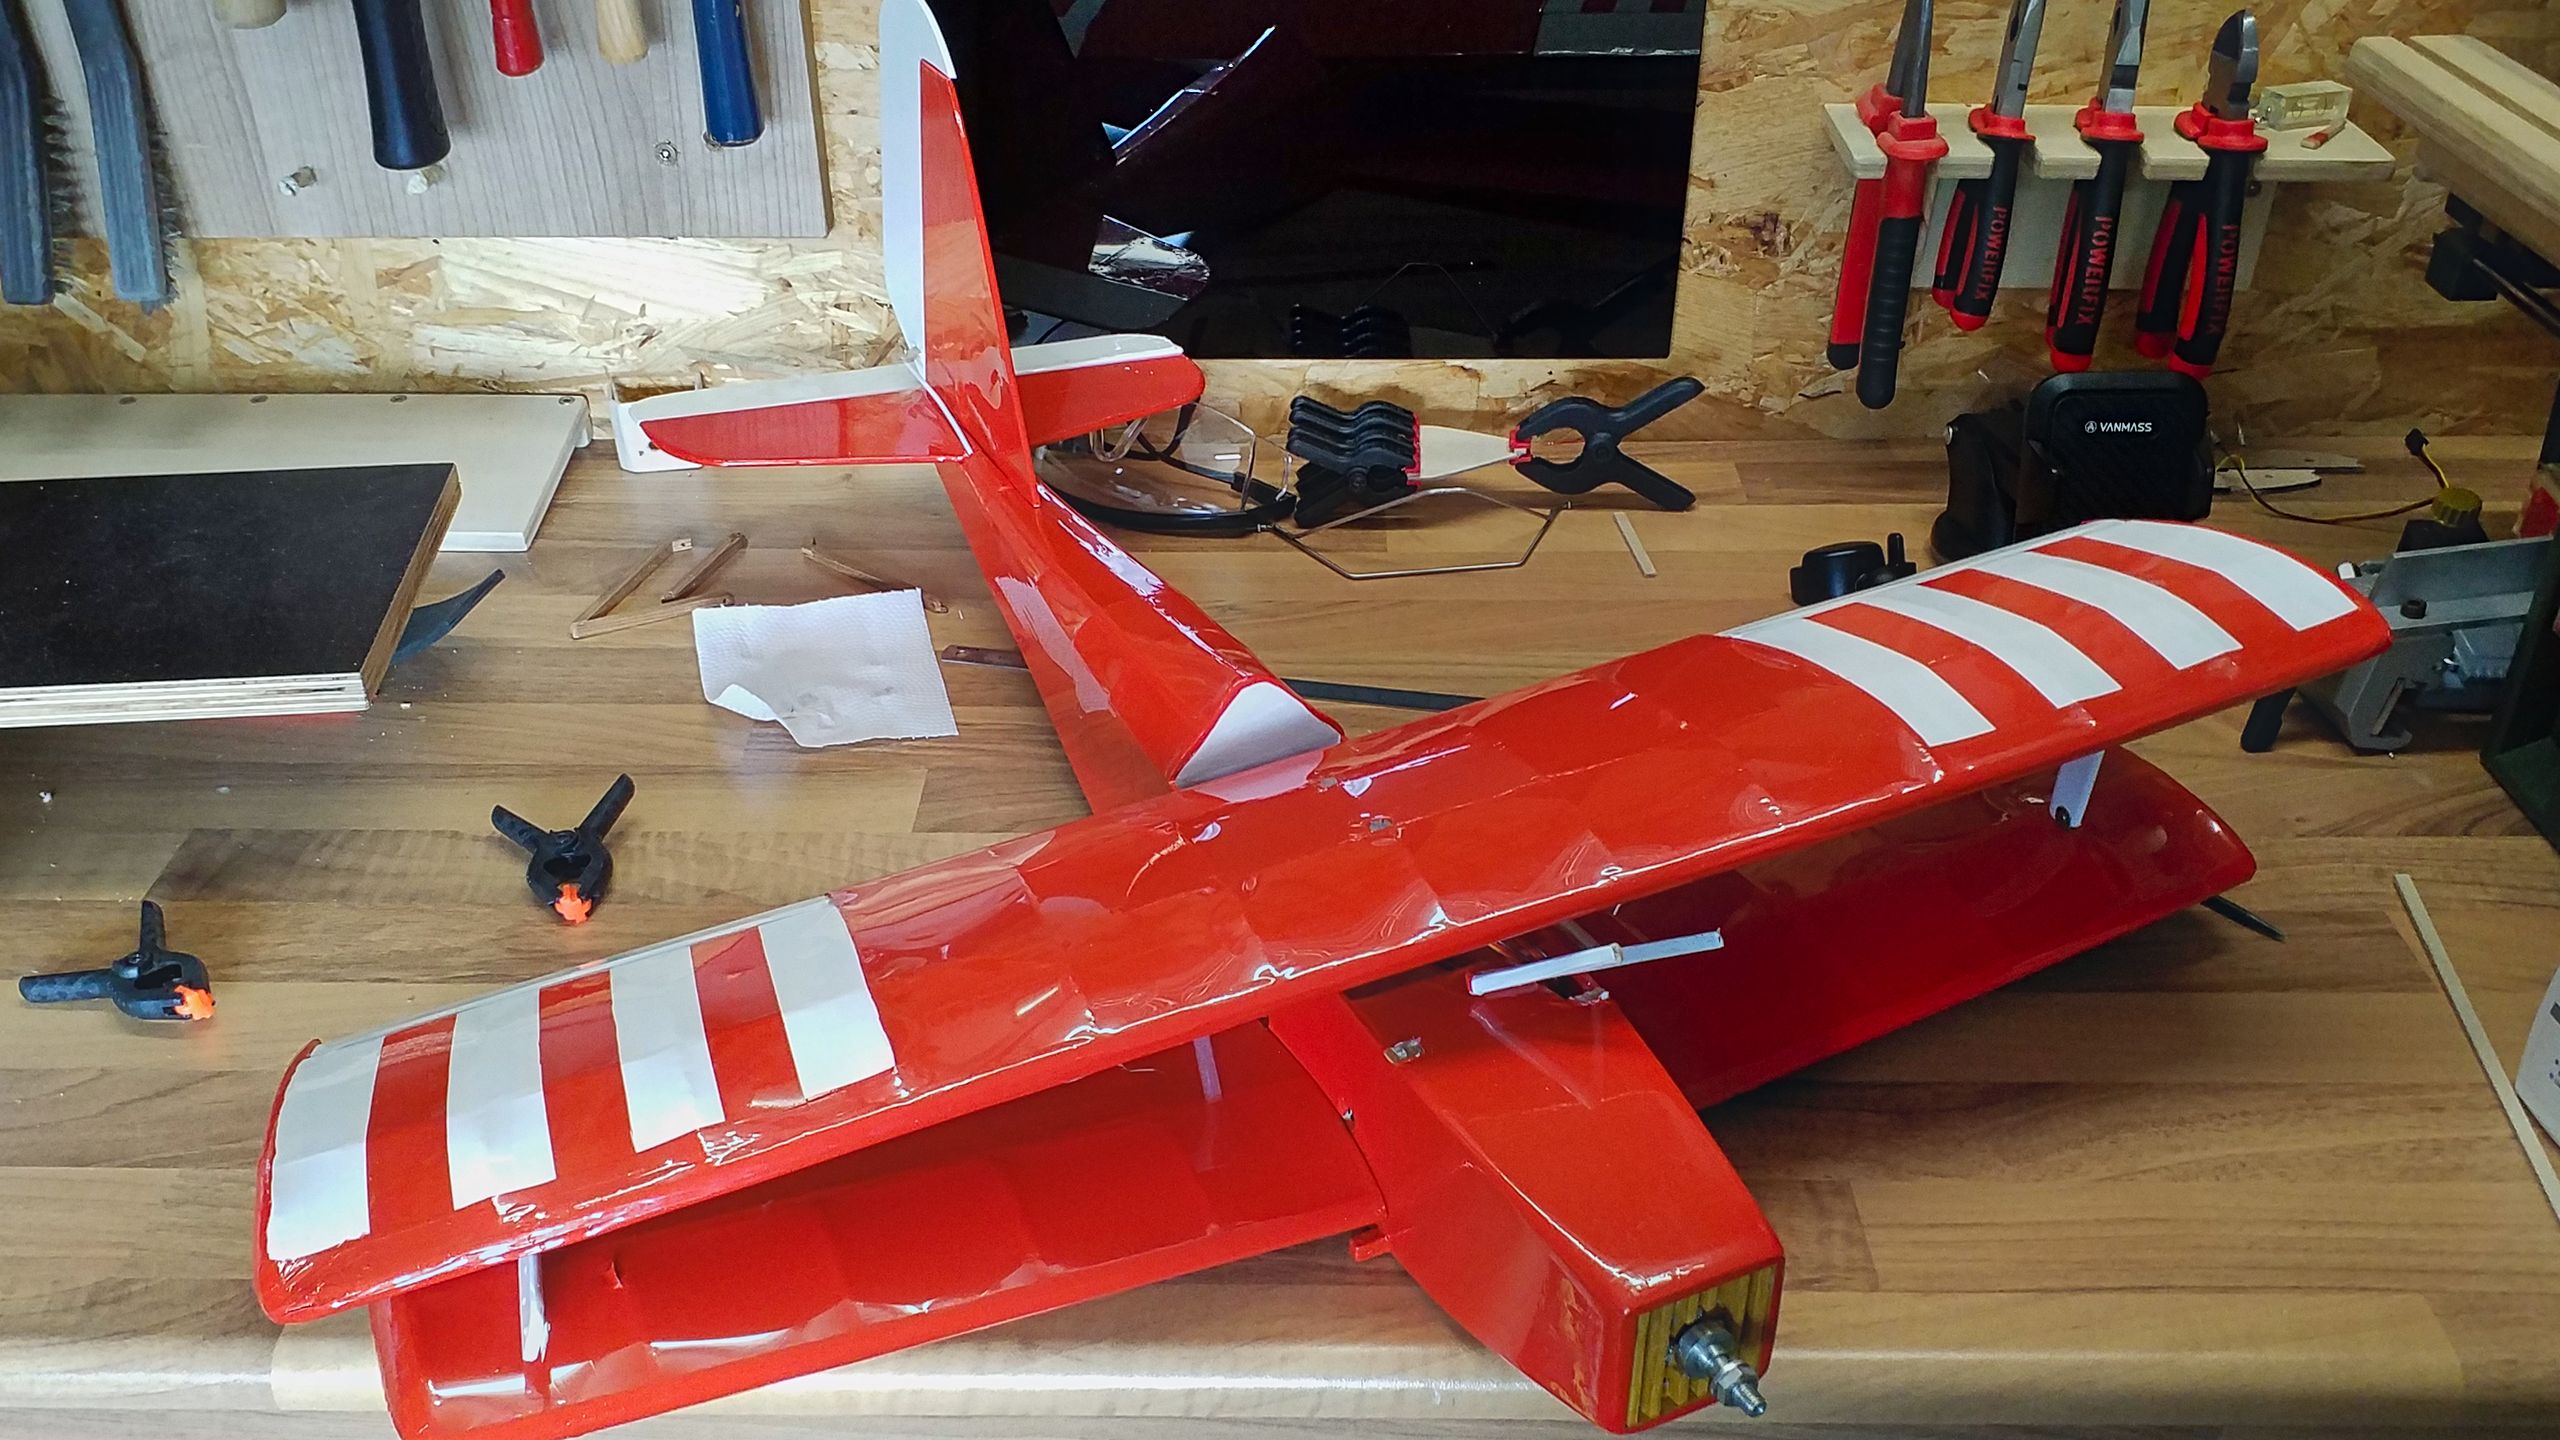
Fortunately, apart from the wing mounting nothing else is damaged. And since I’m not primarily interested in fine-scaling, I’m unceremoniously moving the upper wing to the back, so that both leading edges come to rest on top of each other.
The new wing mounting is constructed from 3mm airplane plywood, too, and deliberately built sturdy. However, this episode demonstrated to me that it’s a good thing to have predetermined breaking points; or else I might end up with a broken wing next time. That’s why I’m not going to reinforce the actual mounting slats which accept the screws because they are supposed to become the new weak link in the chain. For I’ve got the foggy idea that the nylon screws are a bit too strong…
The sites of fractures on the upper fuselage will be covered at a later point. For the time being, I’m focused on getting over with the technical problems, aesthetics will have to wait a while.
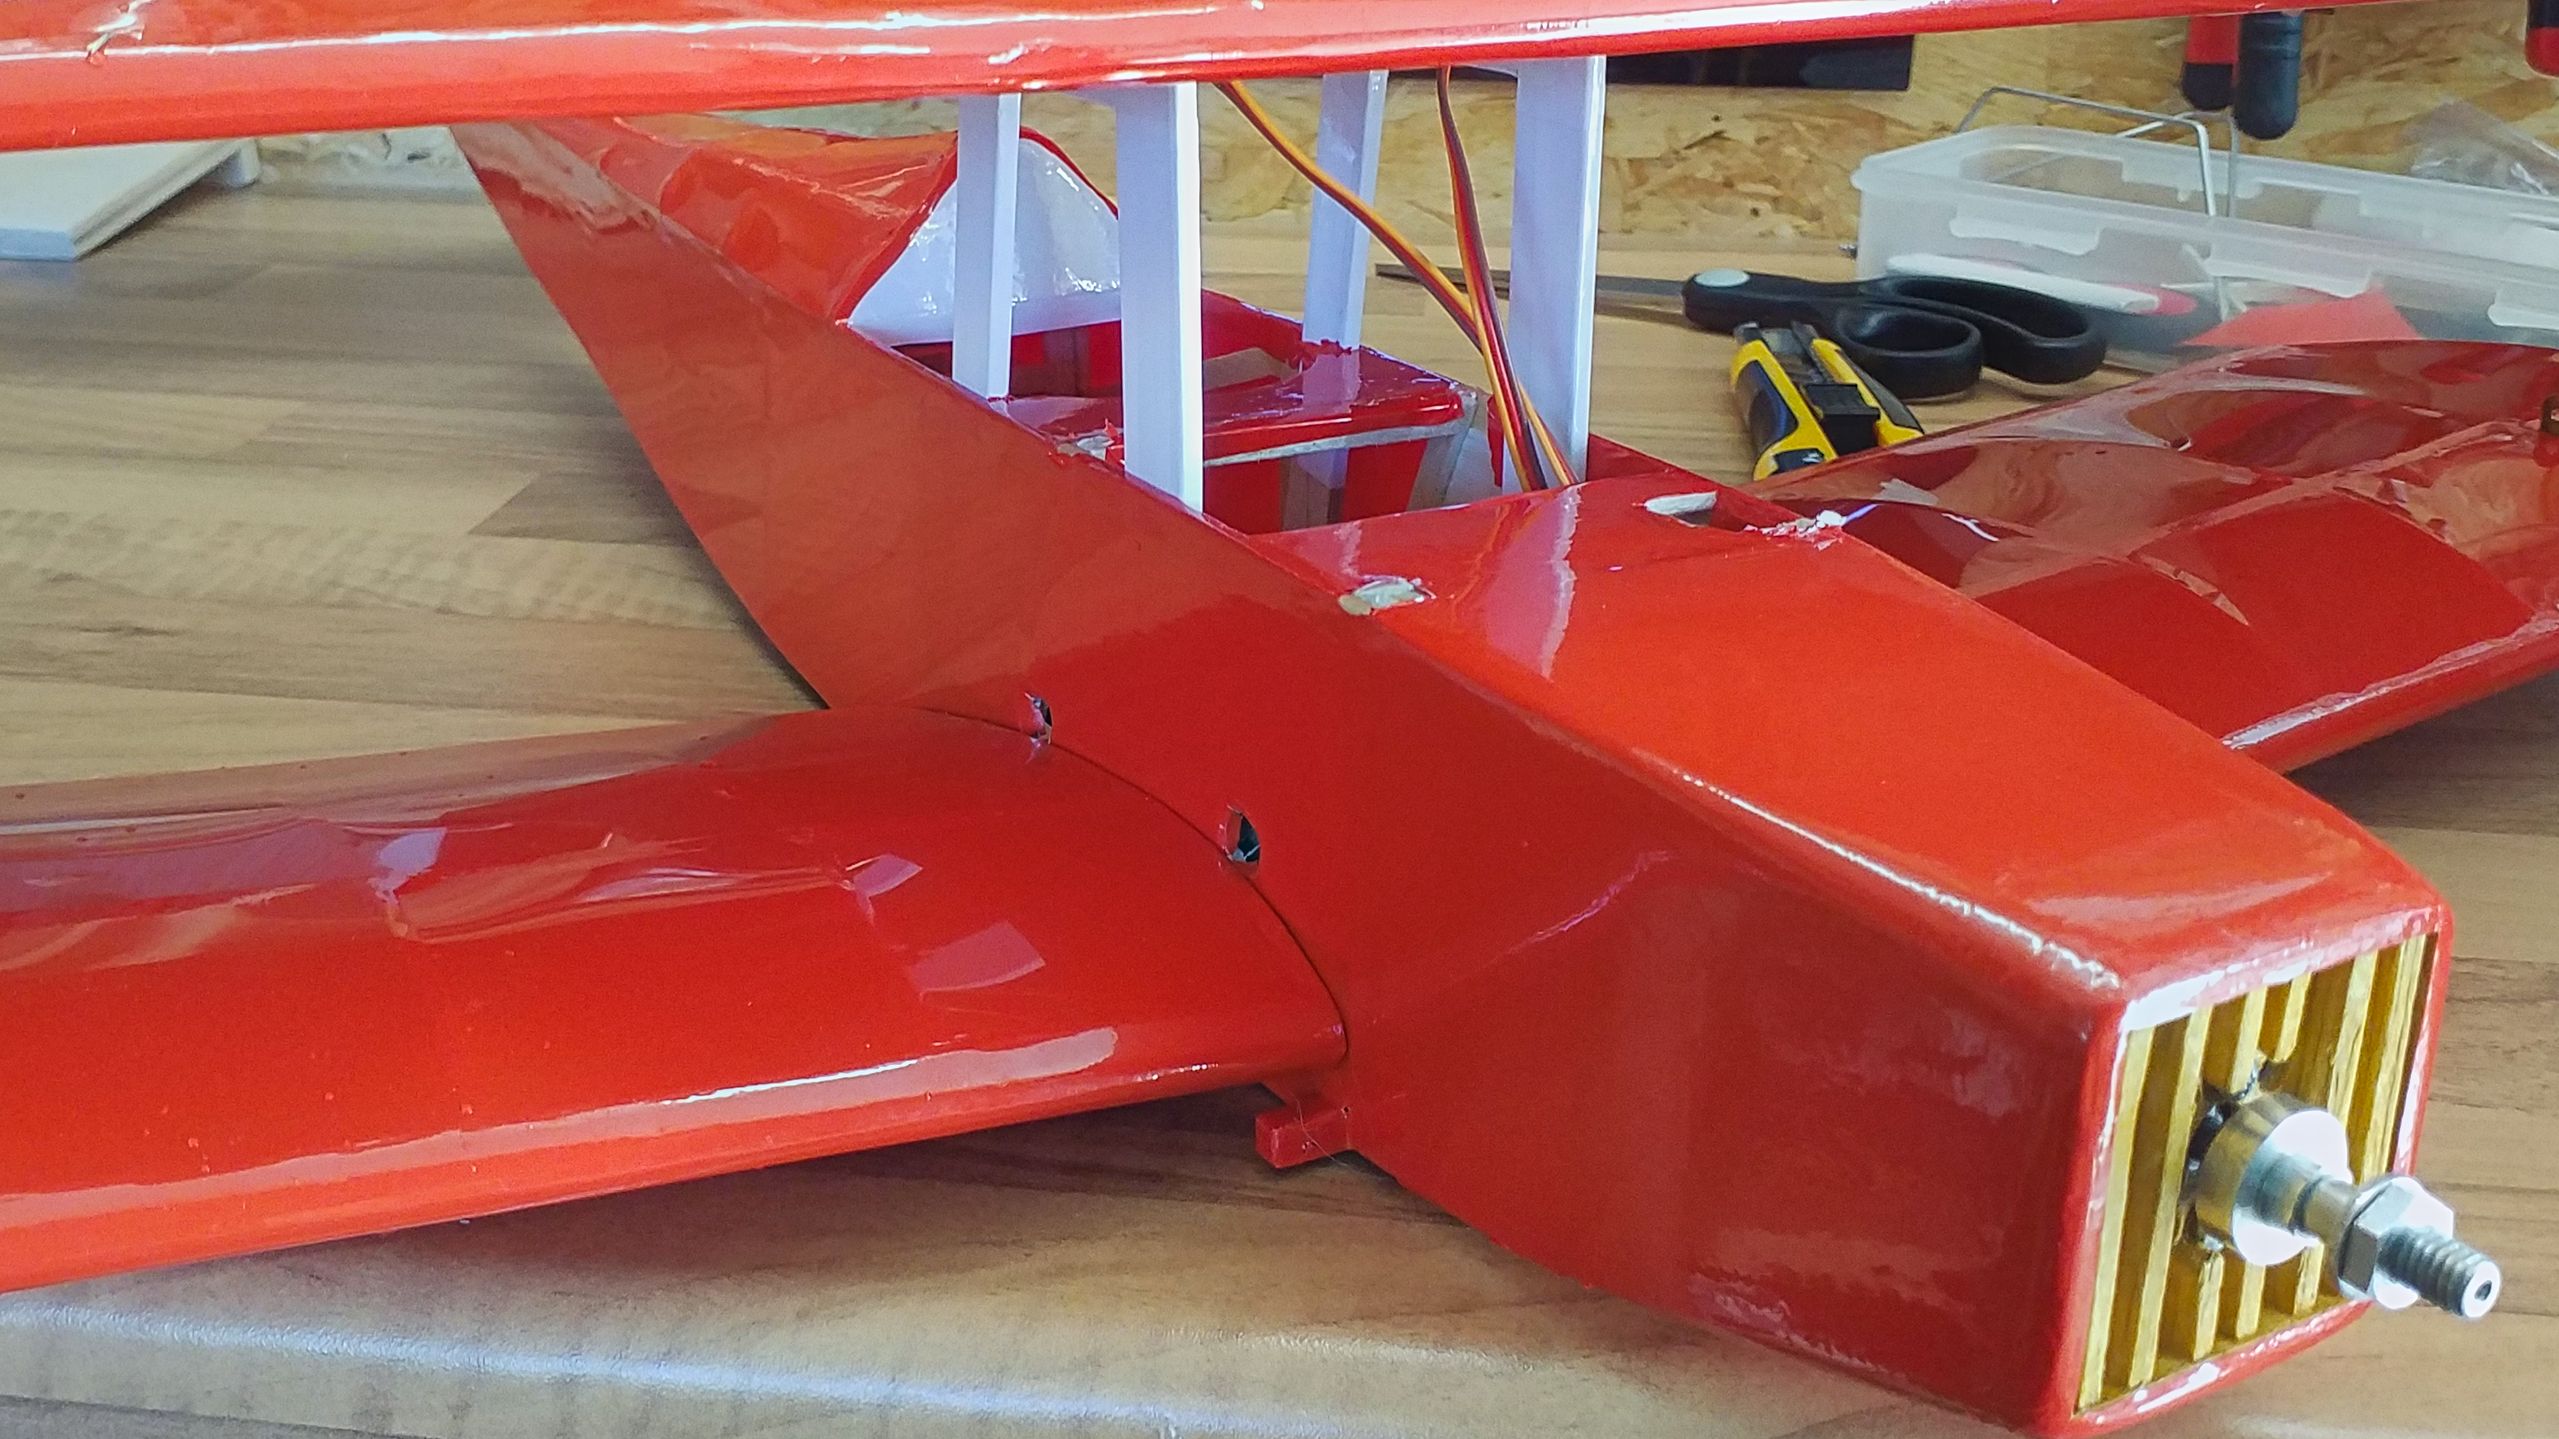
I’m happy to find out that the outer wing struts can be reused, they only have to be flipped over. Instead of taps in the balsa wood I’m going to use nuts fixated by super glue, it will make it easier to assemble or disassemble the model in the future.
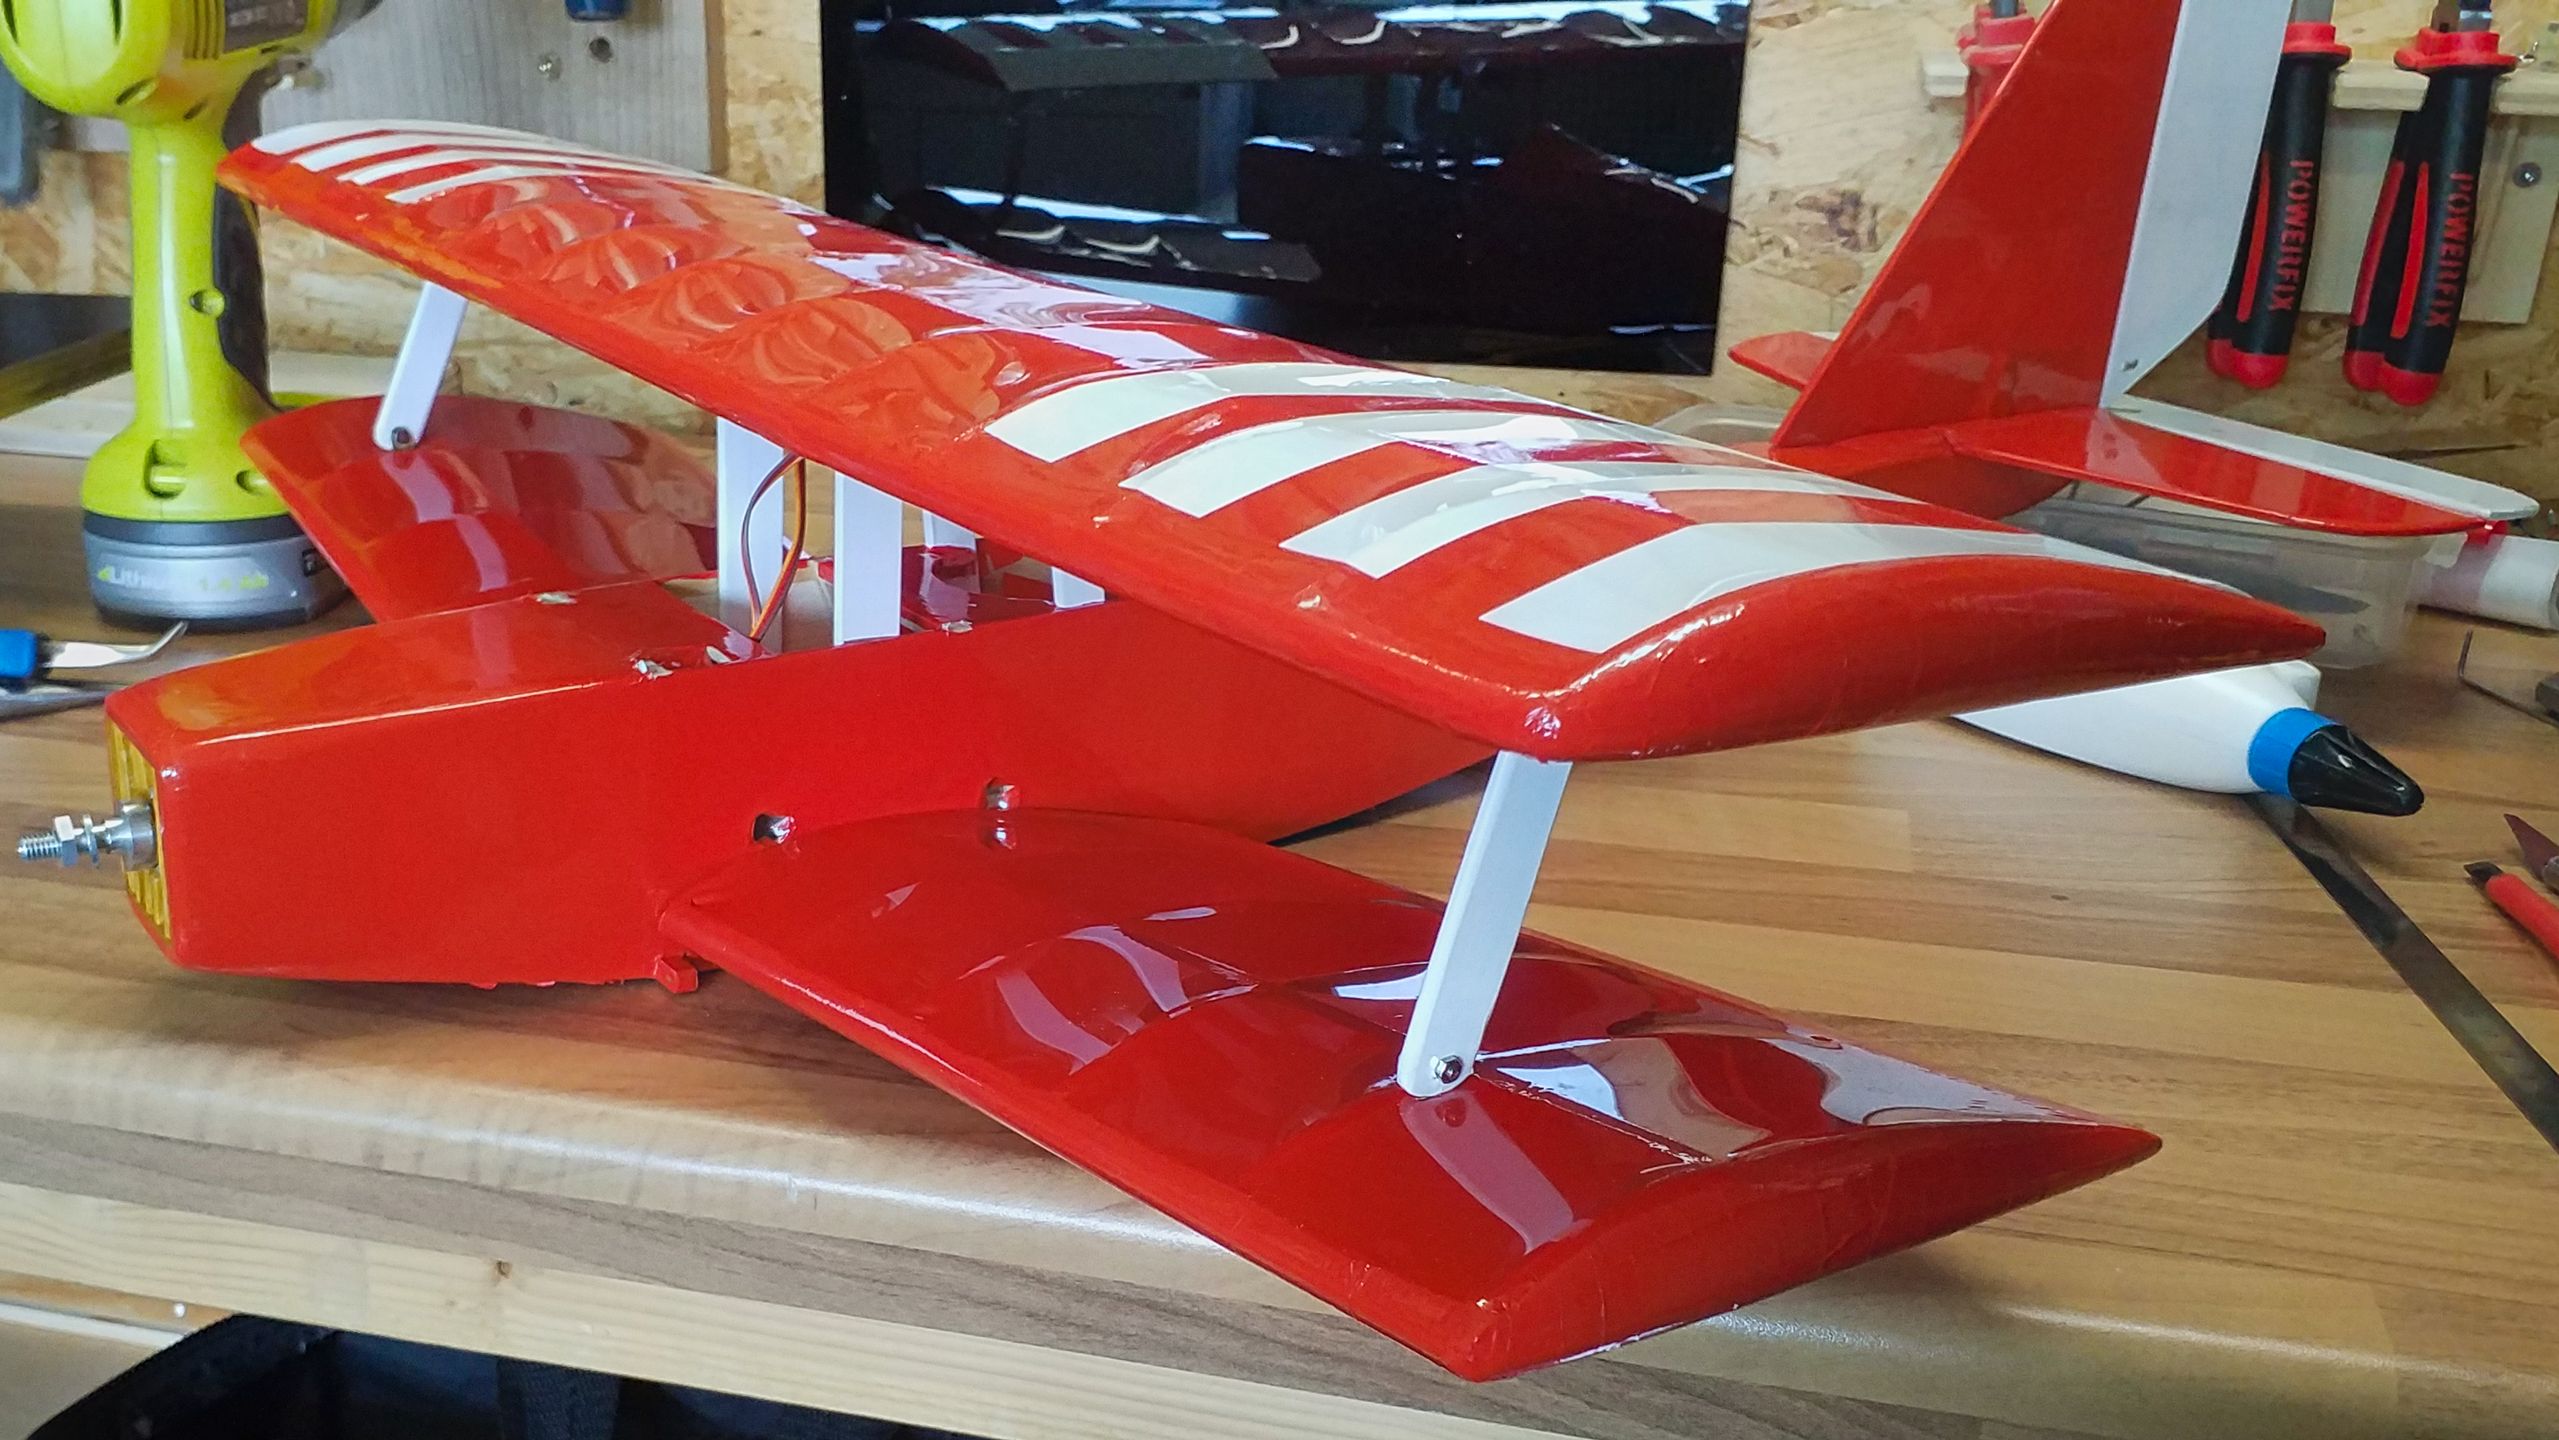
As can be seen, the Joyrider’s looks have changed drastically. However, the completely assembled plane nicely rests at the profile’s thickest part, that is right on top of the main spar in its center of gravity. That still might be a tad tail-heavy, but I will take my chances.
The maiden flight awaits.

