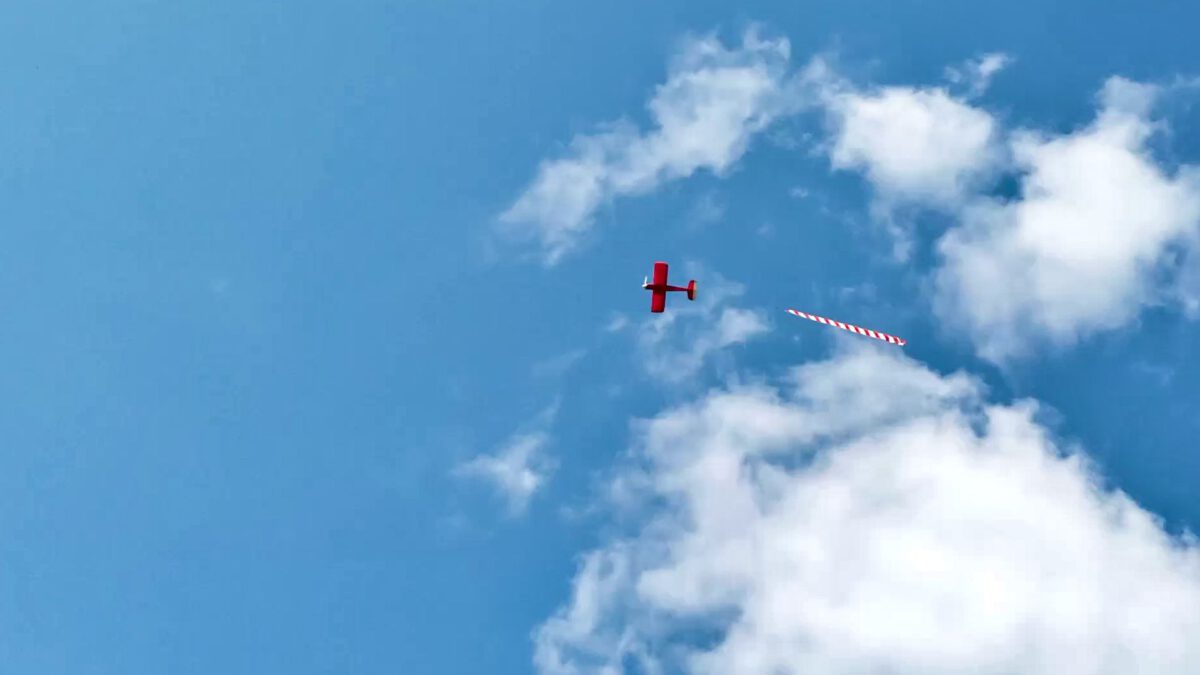
A friend of mine visited on the weekend to get an opportunity for his son and himself to practice some R/C aircraft piloting. Needless to say, the prospect of having some interested folks around spurred me into getting the Joyrider into tip-top shape… and it gave me the opportunity to try and fulfil one of those wishes left over, as mentioned in my post about taking stock. That is: banner towing.
Category: Biplane “Joyrider”
Joyrider: Taking Stock
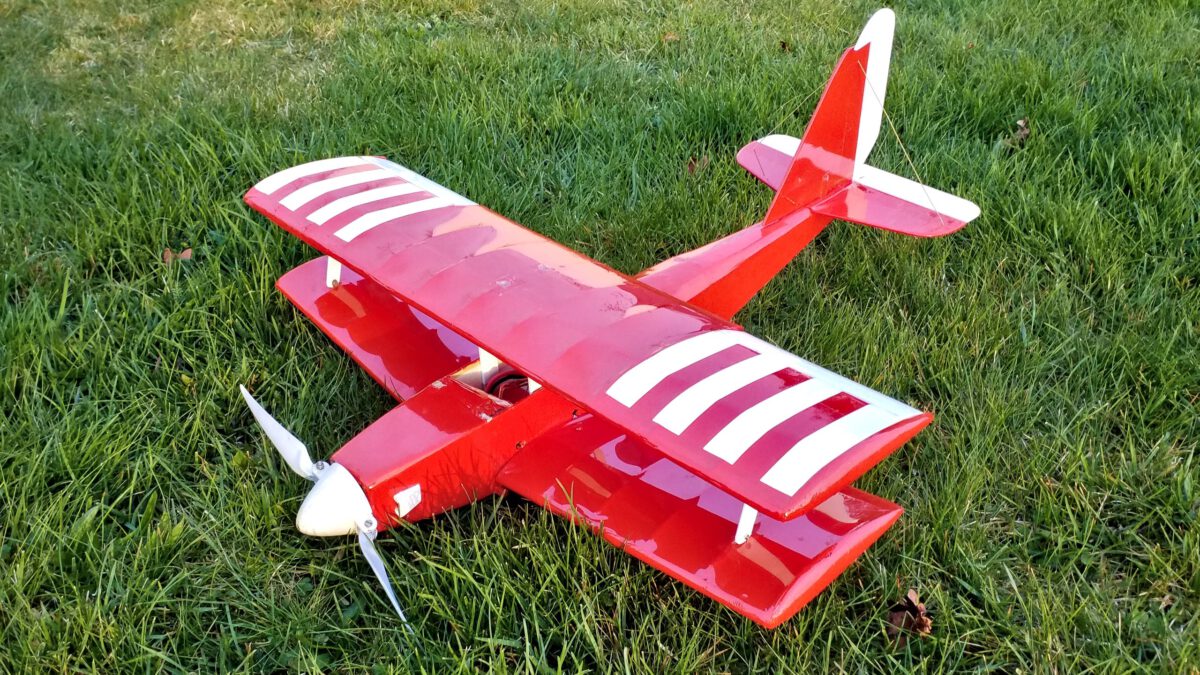
Since the Maiden Flight during Summer last year, the Joyrider has spent about one and a half hours in the air, while spending up to eight hours in the workshop and the rest of the time on shelf. It has been a rough ride, with many setbacks. However there’s a happy ending. Today, I’d like to take stock of what happened since the first flight tests.
Joyrider: Maiden Flight

After the first Center-of-Gravity tests my expectations have been thoroughly adjusted. I have to admit, at the beginning of this project I didn’t waste a thought on a possible failure. Meanwhile, the Maiden flight has become some sort of obstacle to me.
During the last weeks I’ve tried to accomodate weather, family and interested friends while taking patience and easing my doubts. That piled up too high: now or never!
A short remark: My wife thankfully took some video footage. However my PC has quit service, so I can’t postprocess. I will hand in the videos as soon as a new PC is at hand. Meanwhile, some still images will have to do.
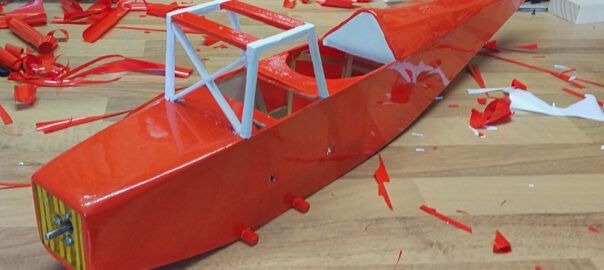
Joyrider: Setbacks and Corrections
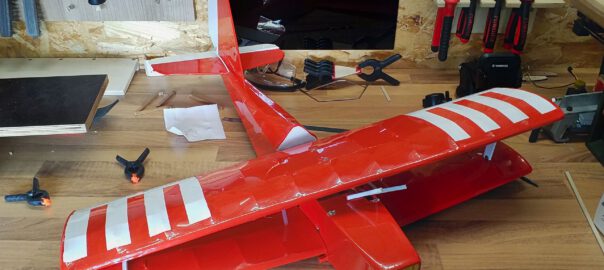
Finishing the covering was another milestone for me and I was very confident that the maiden flight would turn out just fine.
Then the first complete assembly came along and with it some new challenges. Namely undercarriage and center of gravity.
Joyrider: Covering
After the details are finished I can finally focus on the covering. Some model builders seem to regard covering as an irksome work and necesarry evil, but I actually enjoy it. To me it’s like a metamorphosis: the bare framing of the aicraft, as pretty as it is, equals a caterpillar, which is yet to become a butterfly.
Nonetheless it’s a lot of work all the more if one wants to get a creases-free result. In the process, I didn’t manage to take a lot of pictures, but I’d like to give an example and point out some crucial points.
Joyrider: Last Details
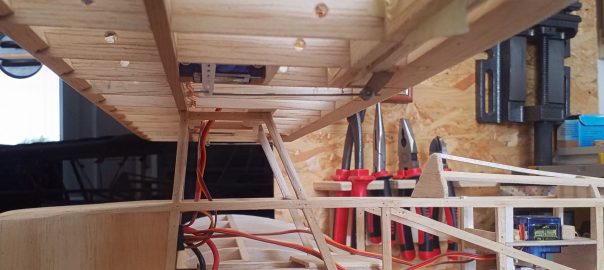
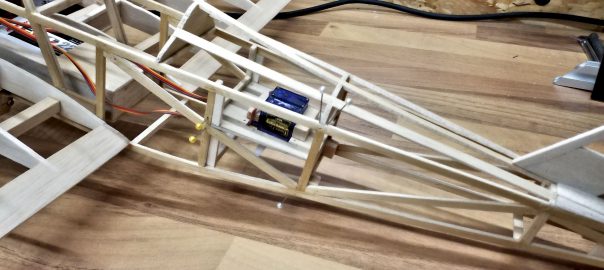
By finishing the linkage the out-fitting has come to and end an I can take care of the last details. Those cover two areas: the fuselage and the wings.
The fuselage needs a couple of maintenance hatches in order to easily gain access to the drive unit, and the tailplane’s servos and fixture. The fuselages’ belly needs to get reinforced, too. And last but not least I’d like to add some details to the nose.
The wings need an additional strutting in order to stabilize the lower wings. And it will surely add to the good looks.
Joyrider: Linkage
As soon as the tailplane’s servos fitting-out was done I busied myself with the linkage. To start off with, I made a few errors which had to be corrected. I will describe those errors as well as the solutions, so perhaps somebody can learn from my mistakes.
Since I’m not too sure what forces I will have to account for, I’m erring on the safe side. At any rate, I reproduced the linkage used with the Easy Glider and chose a combination of 1 mm steel rod, 2-to-1 mm and 3-to-2 mm bowden tubes.
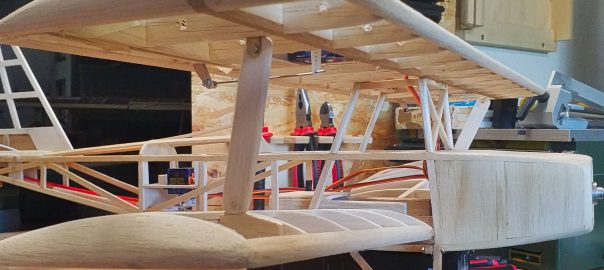
Joyrider: Fitting the Servos
Fitting the engine has sent my motivation soaring, so to speak. So I launched myself at fiting the servos.
Alas, I soon realized that my “planless” construction made my life a tad more difficult. In order to soundly fit the servos, the fuselage has to be reinforced and strutted. I had partially anticipated this and thus constructed the belly with very few slats. Nevertheless I’ve come to realize that one’s way better off if the servo mounting’s fixture is built into the fuselage from the get-go.
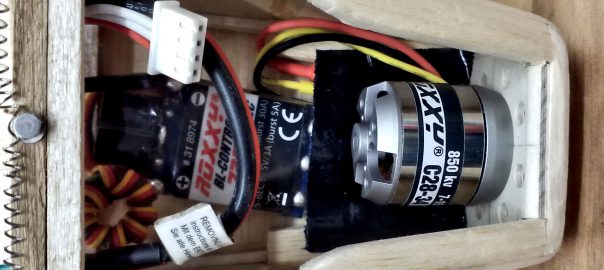
Joyrider: Fitting the Engine
By assembling the tailplane the construction is finally finished, so now it’s out-fitting the model. As a matter of fact that’s already started since I fitted the aileron servos while building the upper wing.
I’m going to work my way through the fuselage from nose to tail. So today’s topic is set: the engine has to be fitted.
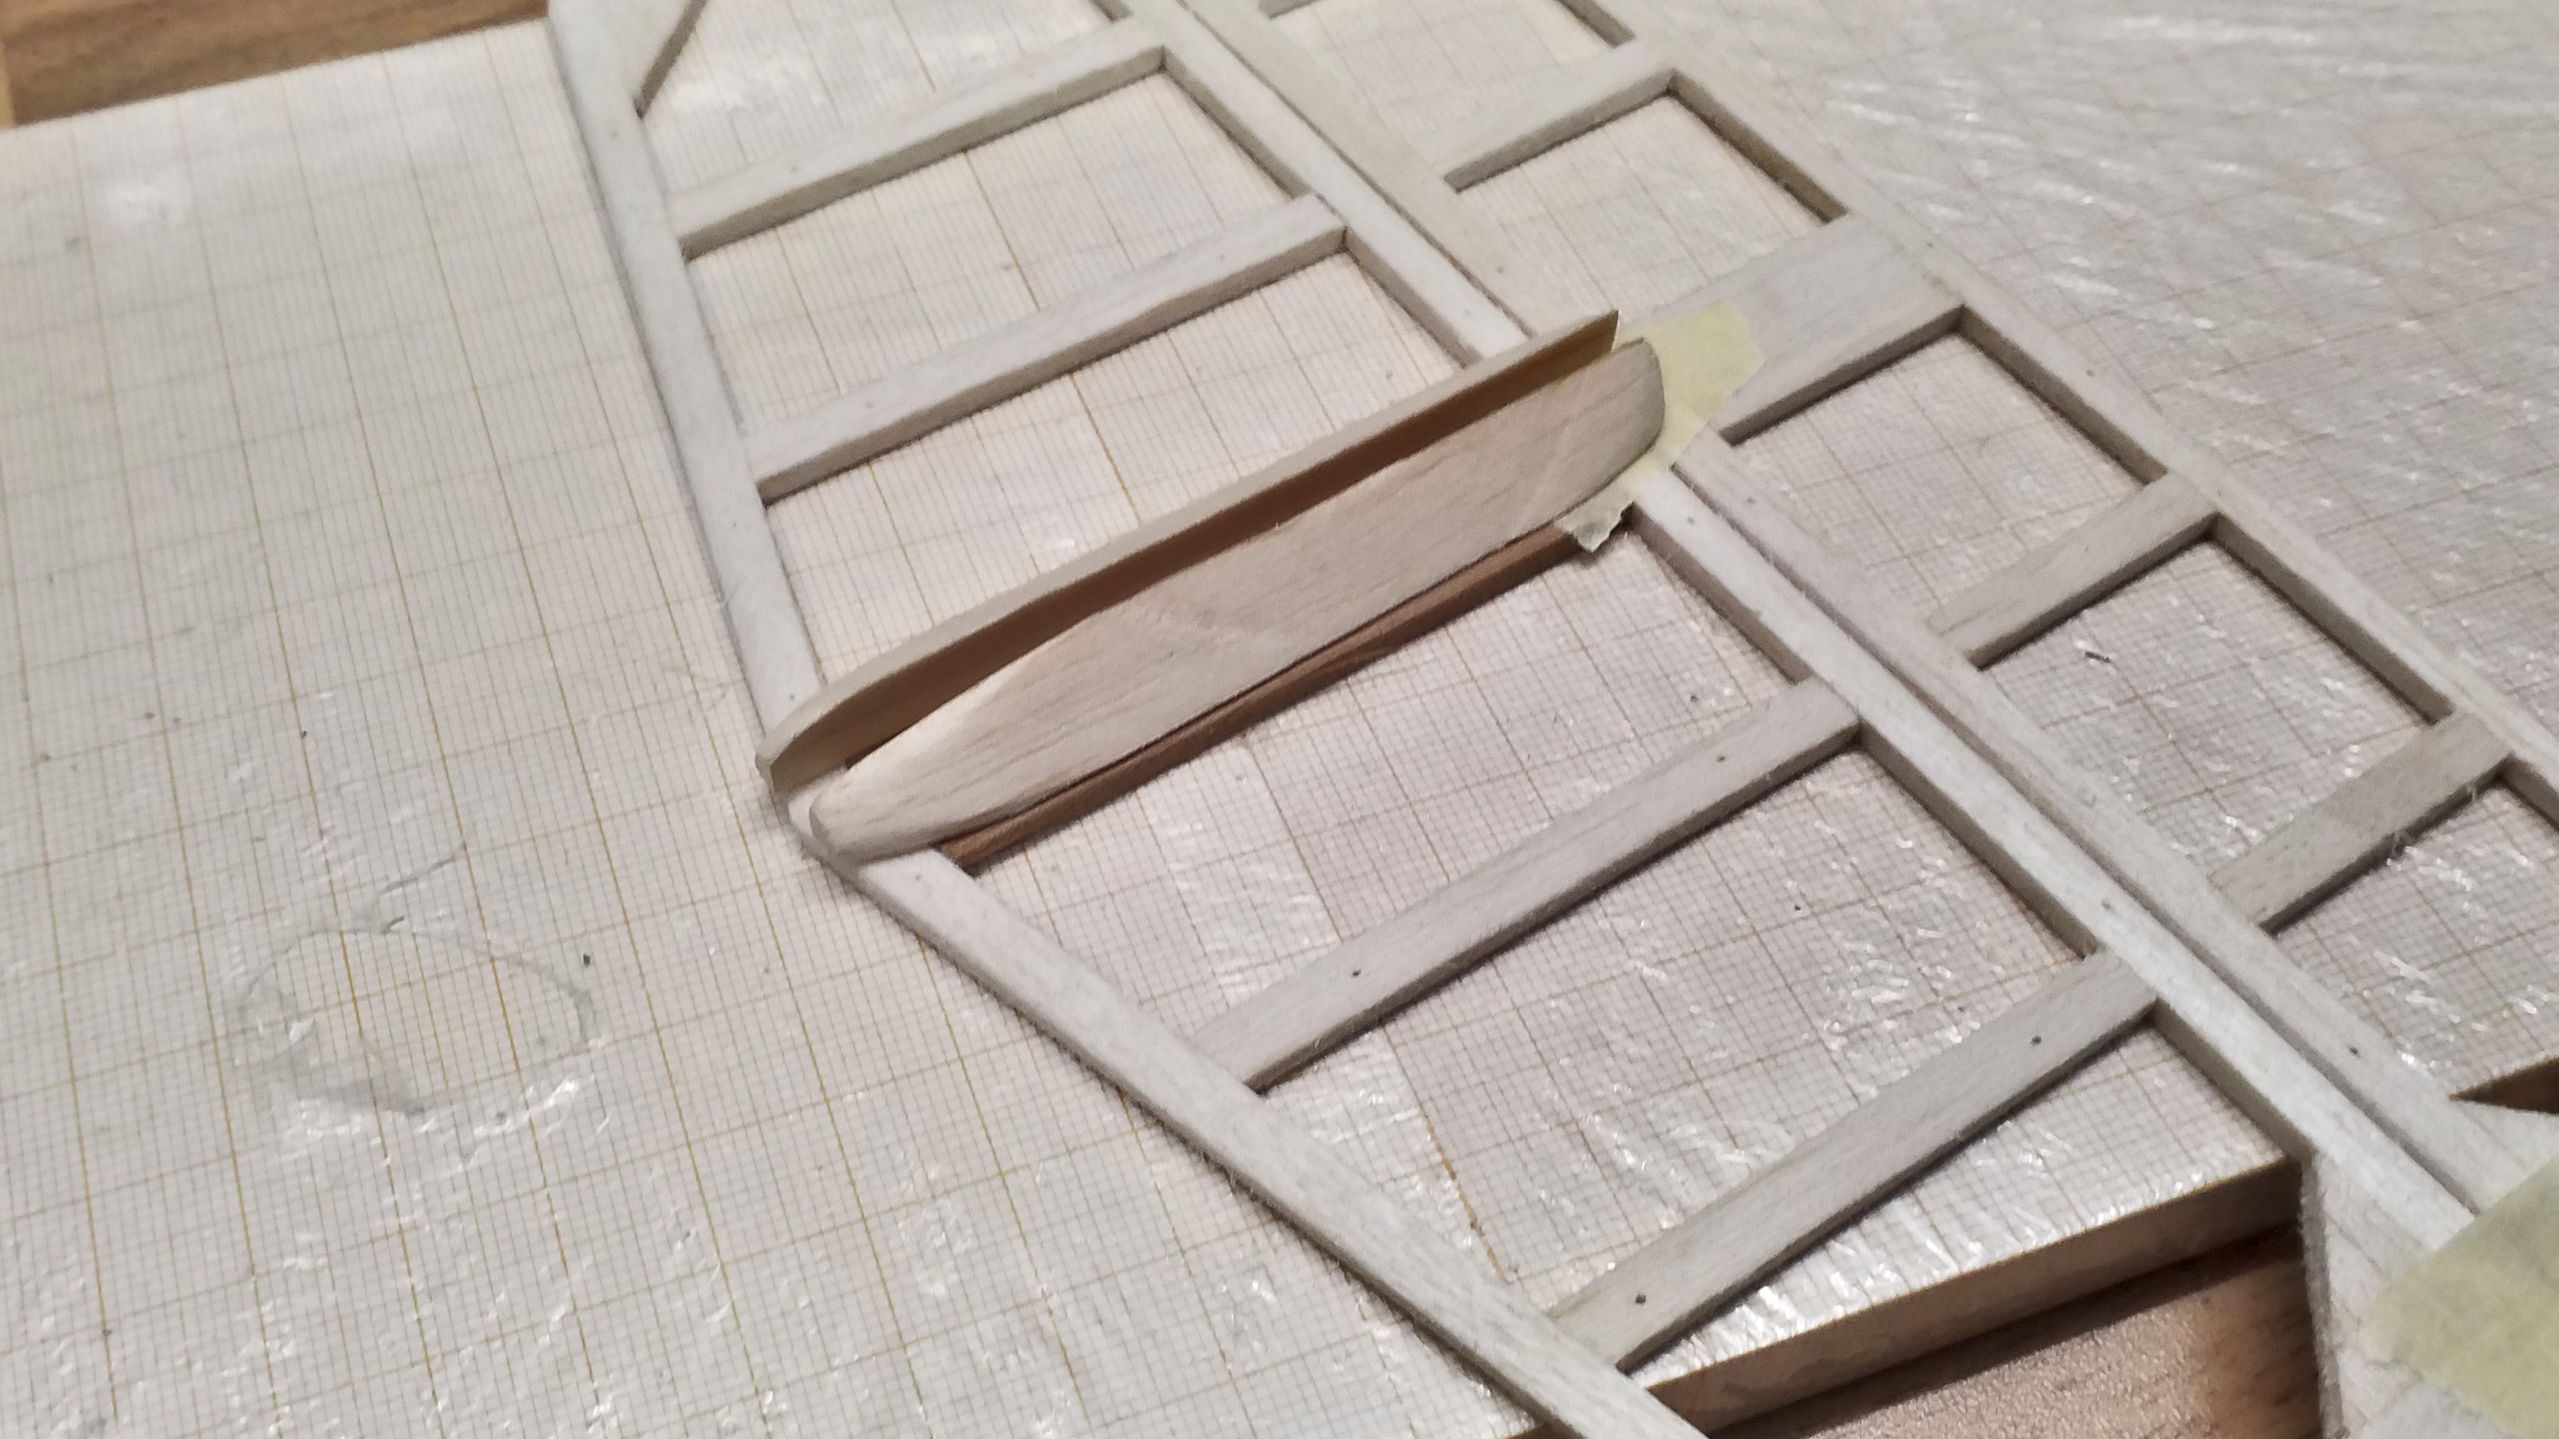
Joyrider: Tailplane Assembly

Finishing the vertical stabilizer only leaves the tailplane’s assembly. Here, three important objectives have to be met: the horizontal stabilizer must be in parallel to the long axis, so must the vertical stabilizer, and the vertical stabilizer has to be at right angles to the horizontal stabilizer.
The most important contribution to the right angles is provided by clean, perpendicular cuts, which I can achieve easily thanks to my table saw. In order to further stabilize this orientation, I’ve constructed two guides from balsa wood and sanded them into a streamlined shape.