Spin: Covering and R/C Fitting

With the finished priming the covering can commence. I like to use Oracover because it’s really easy to work with and yields very good results. I always start with the easiest parts in order to get re-used to the task. So first up is the rudder.
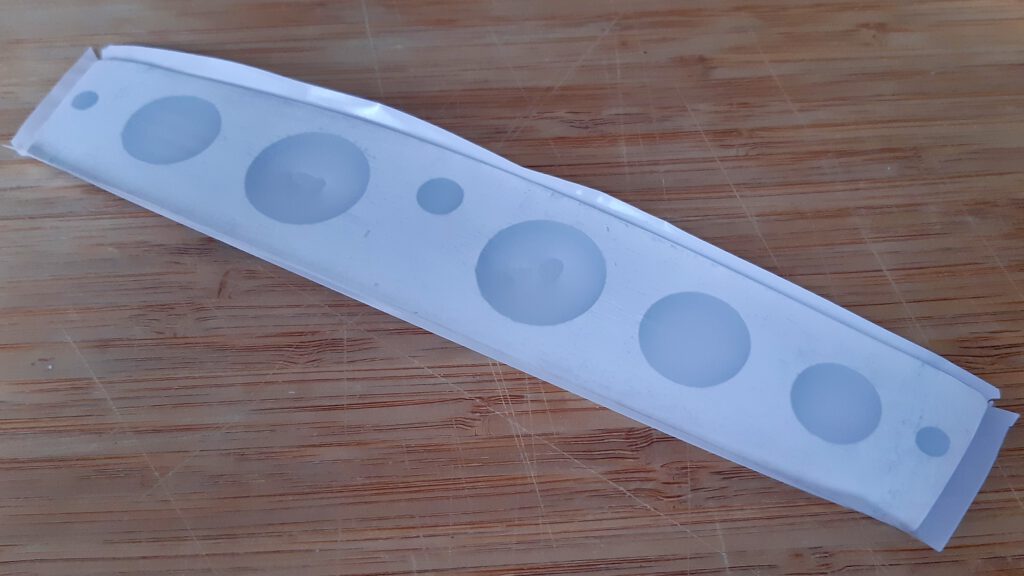
The rudder is covered.

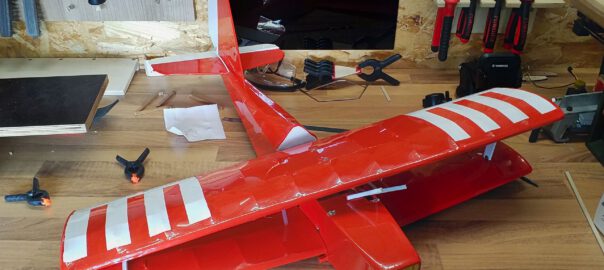
…and one can easily spot that I managed to fuse the foil in the recesses. In this case I was lucky and could get them apart with some additional heat, but often enough one has to start over. With due warning received, the ailerons come up next. On the left side of the pictures some creases are still visible, which will disappear in the last step which is heating up the whole area.

Joyrider: Taking Stock

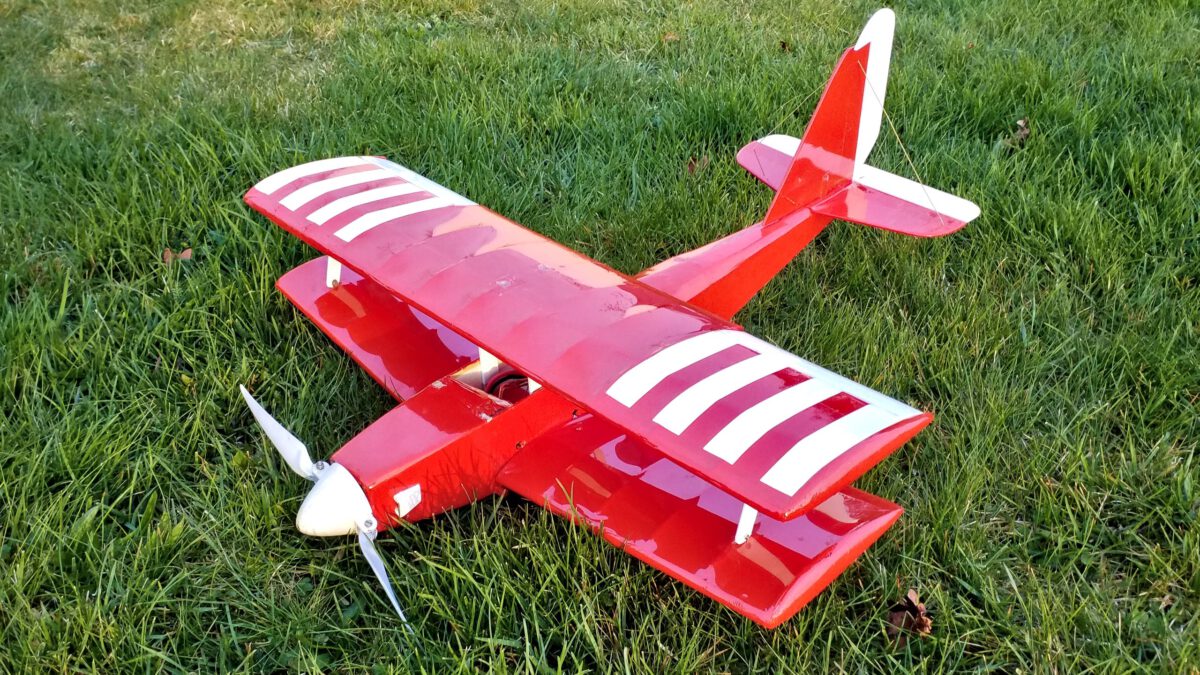
After successfull test flight.

Since the Maiden Flight during Summer last year, the Joyrider has spent about one and a half hours in the air, while spending up to eight hours in the workshop and the rest of the time on shelf. It has been a rough ride, with many setbacks. However there’s a happy ending. Today, I’d like to take stock of what happened since the first flight tests.

Joyrider: Setbacks and Corrections

After a failed center-of-gravity test.

Finishing the covering was another milestone for me and I was very confident that the maiden flight would turn out just fine.
Then the first complete assembly came along and with it some new challenges. Namely undercarriage and center of gravity.

Joyrider: Covering

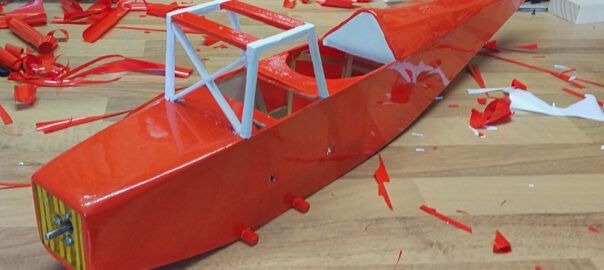
The upper wing's mounting, the undercarriage's mounting and the seatback are finished.

After the details are finished I can finally focus on the covering. Some model builders seem to regard covering as an irksome work and necesarry evil, but I actually enjoy it. To me it’s like a metamorphosis: the bare framing of the aicraft, as pretty as it is, equals a caterpillar, which is yet to become a butterfly.

Nonetheless it’s a lot of work all the more if one wants to get a creases-free result. In the process, I didn’t manage to take a lot of pictures, but I’d like to give an example and point out some crucial points.

Joyrider: Last Details

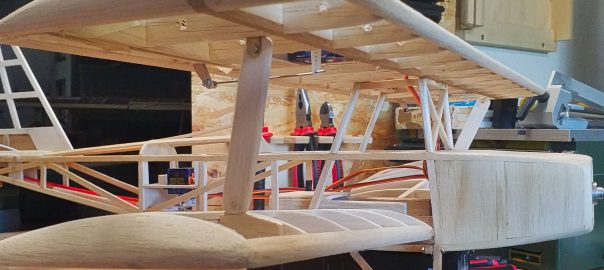
Upper and lower wing are now linked with each other.

By finishing the linkage the out-fitting has come to and end an I can take care of the last details. Those cover two areas: the fuselage and the wings.

The fuselage needs a couple of maintenance hatches in order to easily gain access to the drive unit, and the tailplane’s servos and fixture. The fuselages’ belly needs to get reinforced, too. And last but not least I’d like to add some details to the nose.

The wings need an additional strutting in order to stabilize the lower wings. And it will surely add to the good looks.

New Construction Report: Biplane “Joyrider”

About half a year after I started flying with my EasyGlider the desire for another model aircraft grew stronger.

I soon realized that I’d have to build my own models rather than buy premade ones. Especially larger models would quickly overtax my financial abilities. However, scratch building can consume a lot of money, too. So I decided to test my will: Do I really want to build a model aircraft from scratch?

Thus an old cardboard filled with balsa wood was ravaged, following the old saying: it only costs time. Taking stock, I realized that the materials wouldn’t quite suffice to build a whole plane. However, it would suffice to put my endurance under proper scrutiny.