
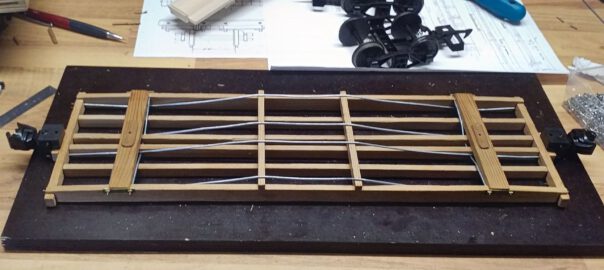
After preparing the frame and floor boards, construction can continue with the underframe. The main components are the body bolsters, needle beams and trusses. Unfortunately, I don’t have got a complete set of diagrams, so I had to guesstimate concerning the longitudinal and cross trusses. However, it’s not rocket science.
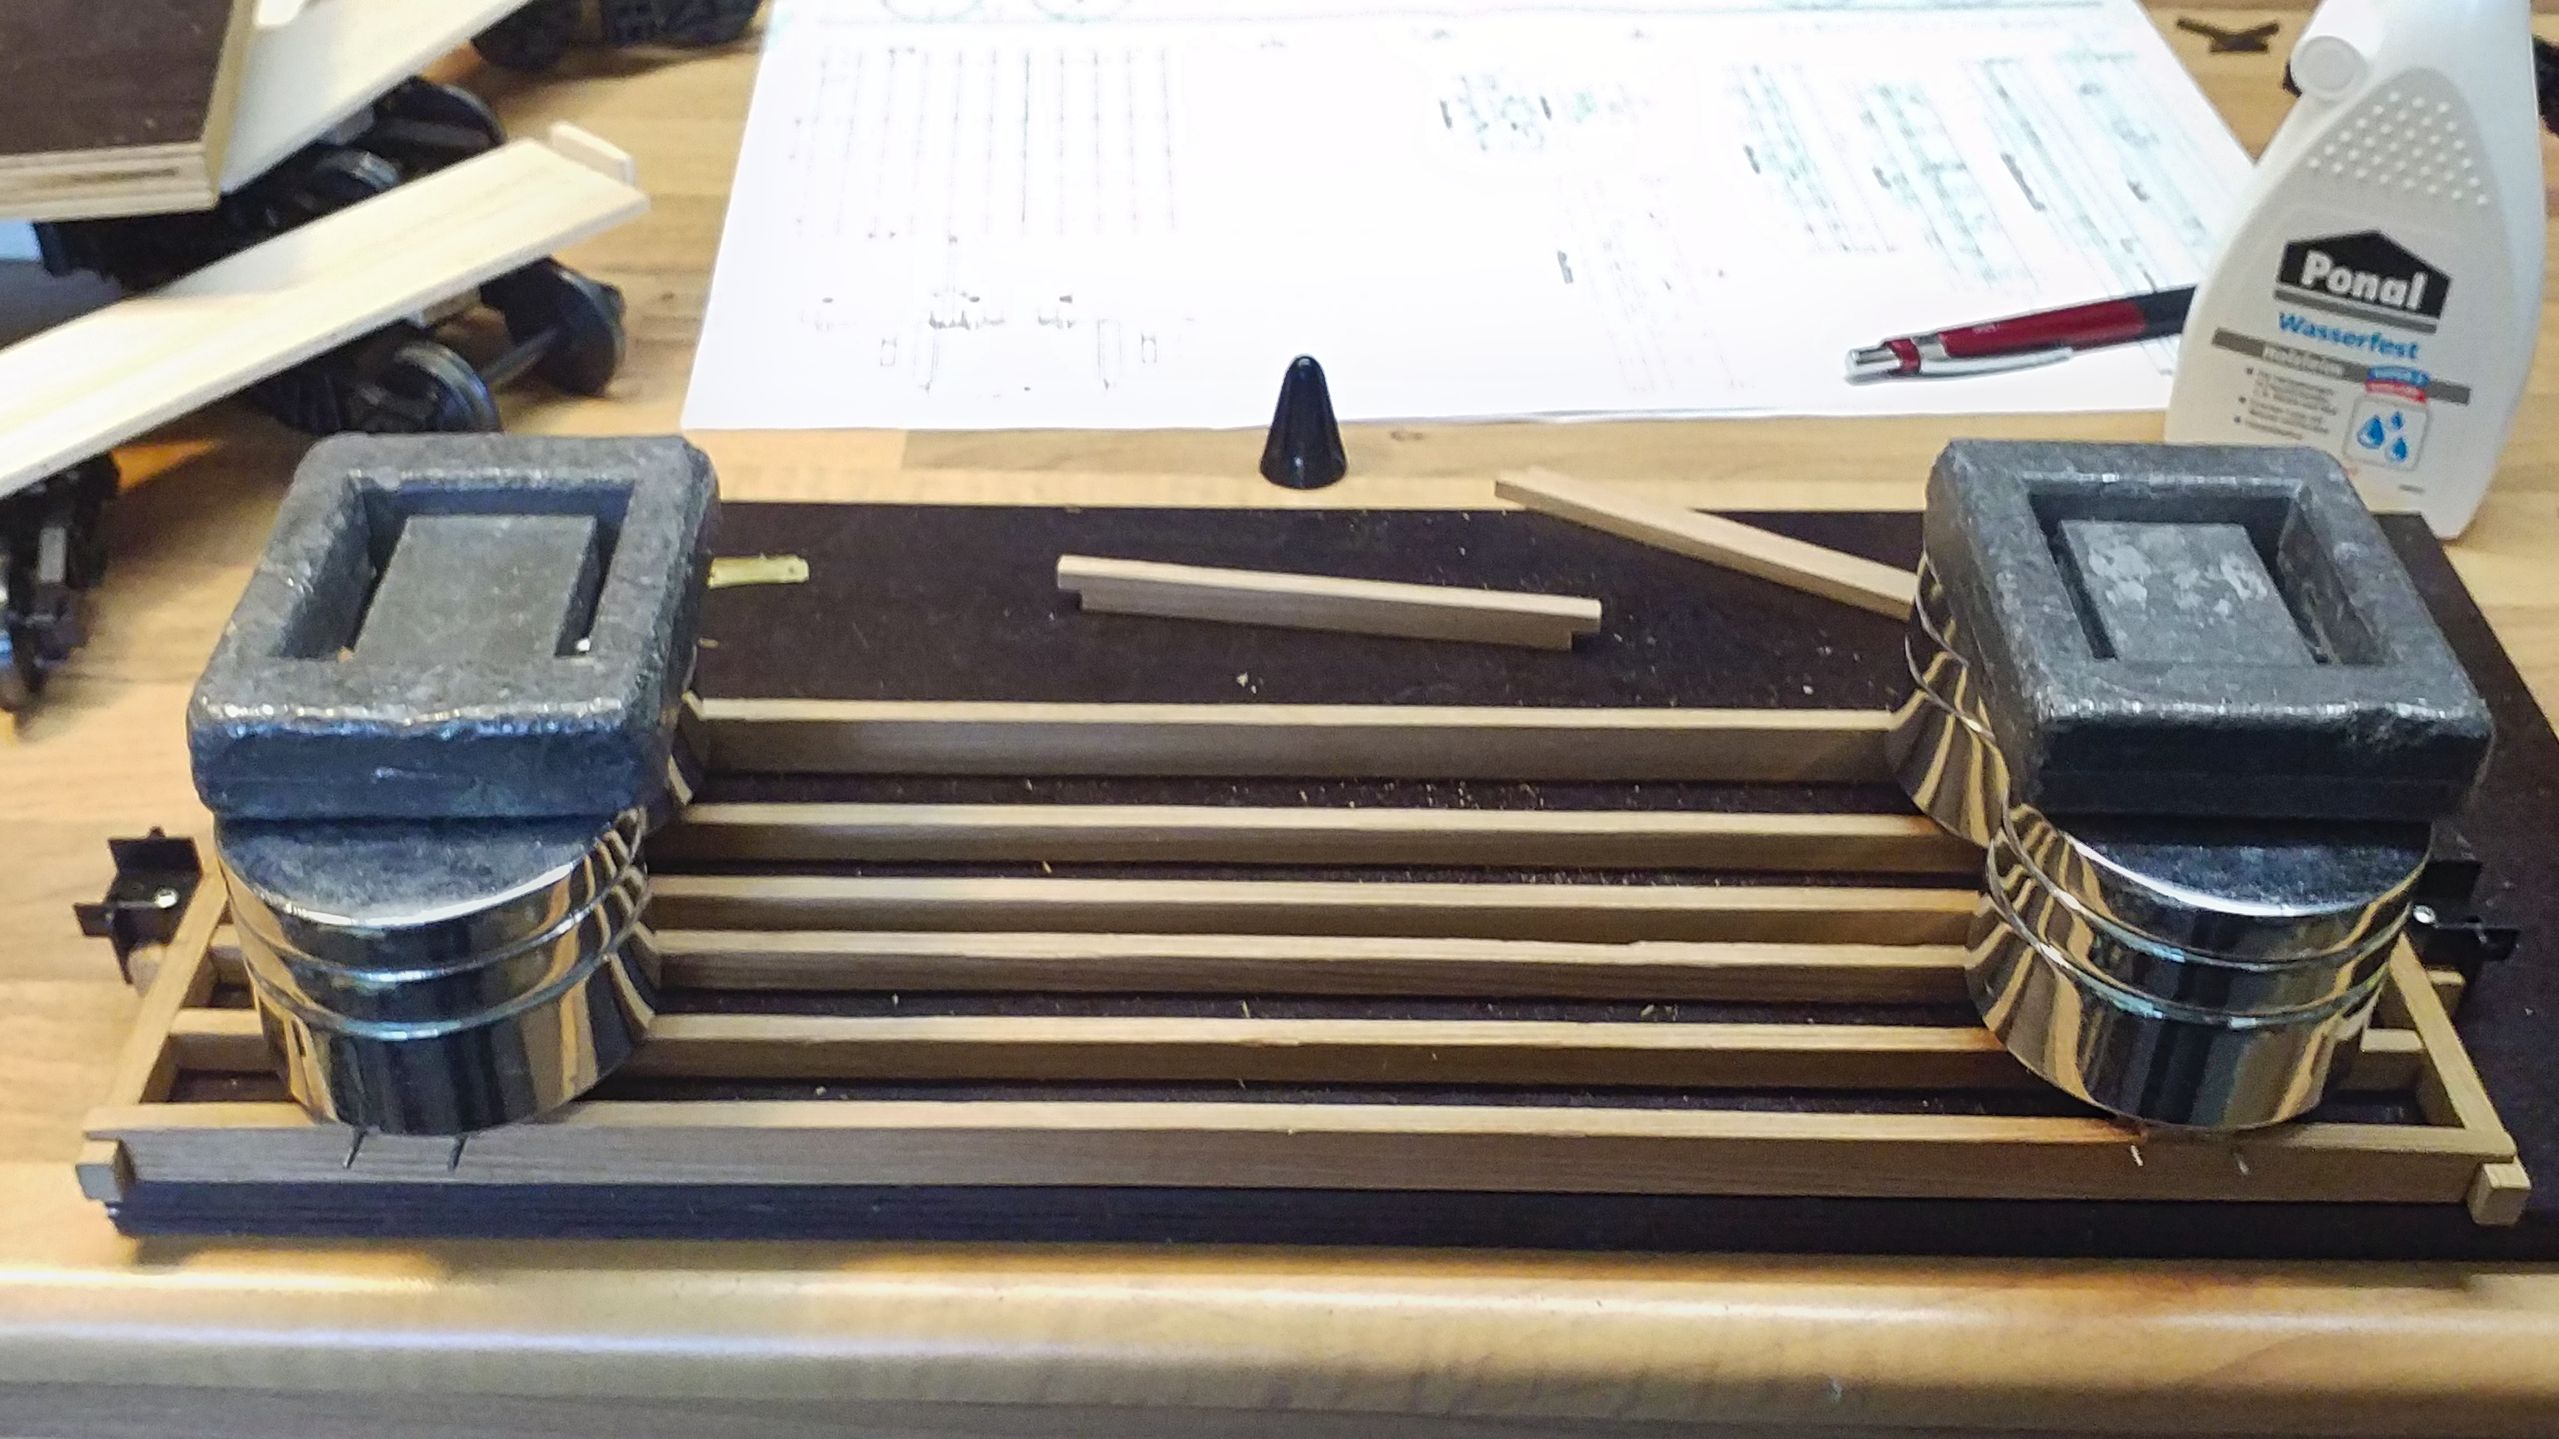
Since I’ve already cut all the floor boards to length, an assembly rehearsal was in order. Again, everything was loosely put together, nothing can be glued, yet.
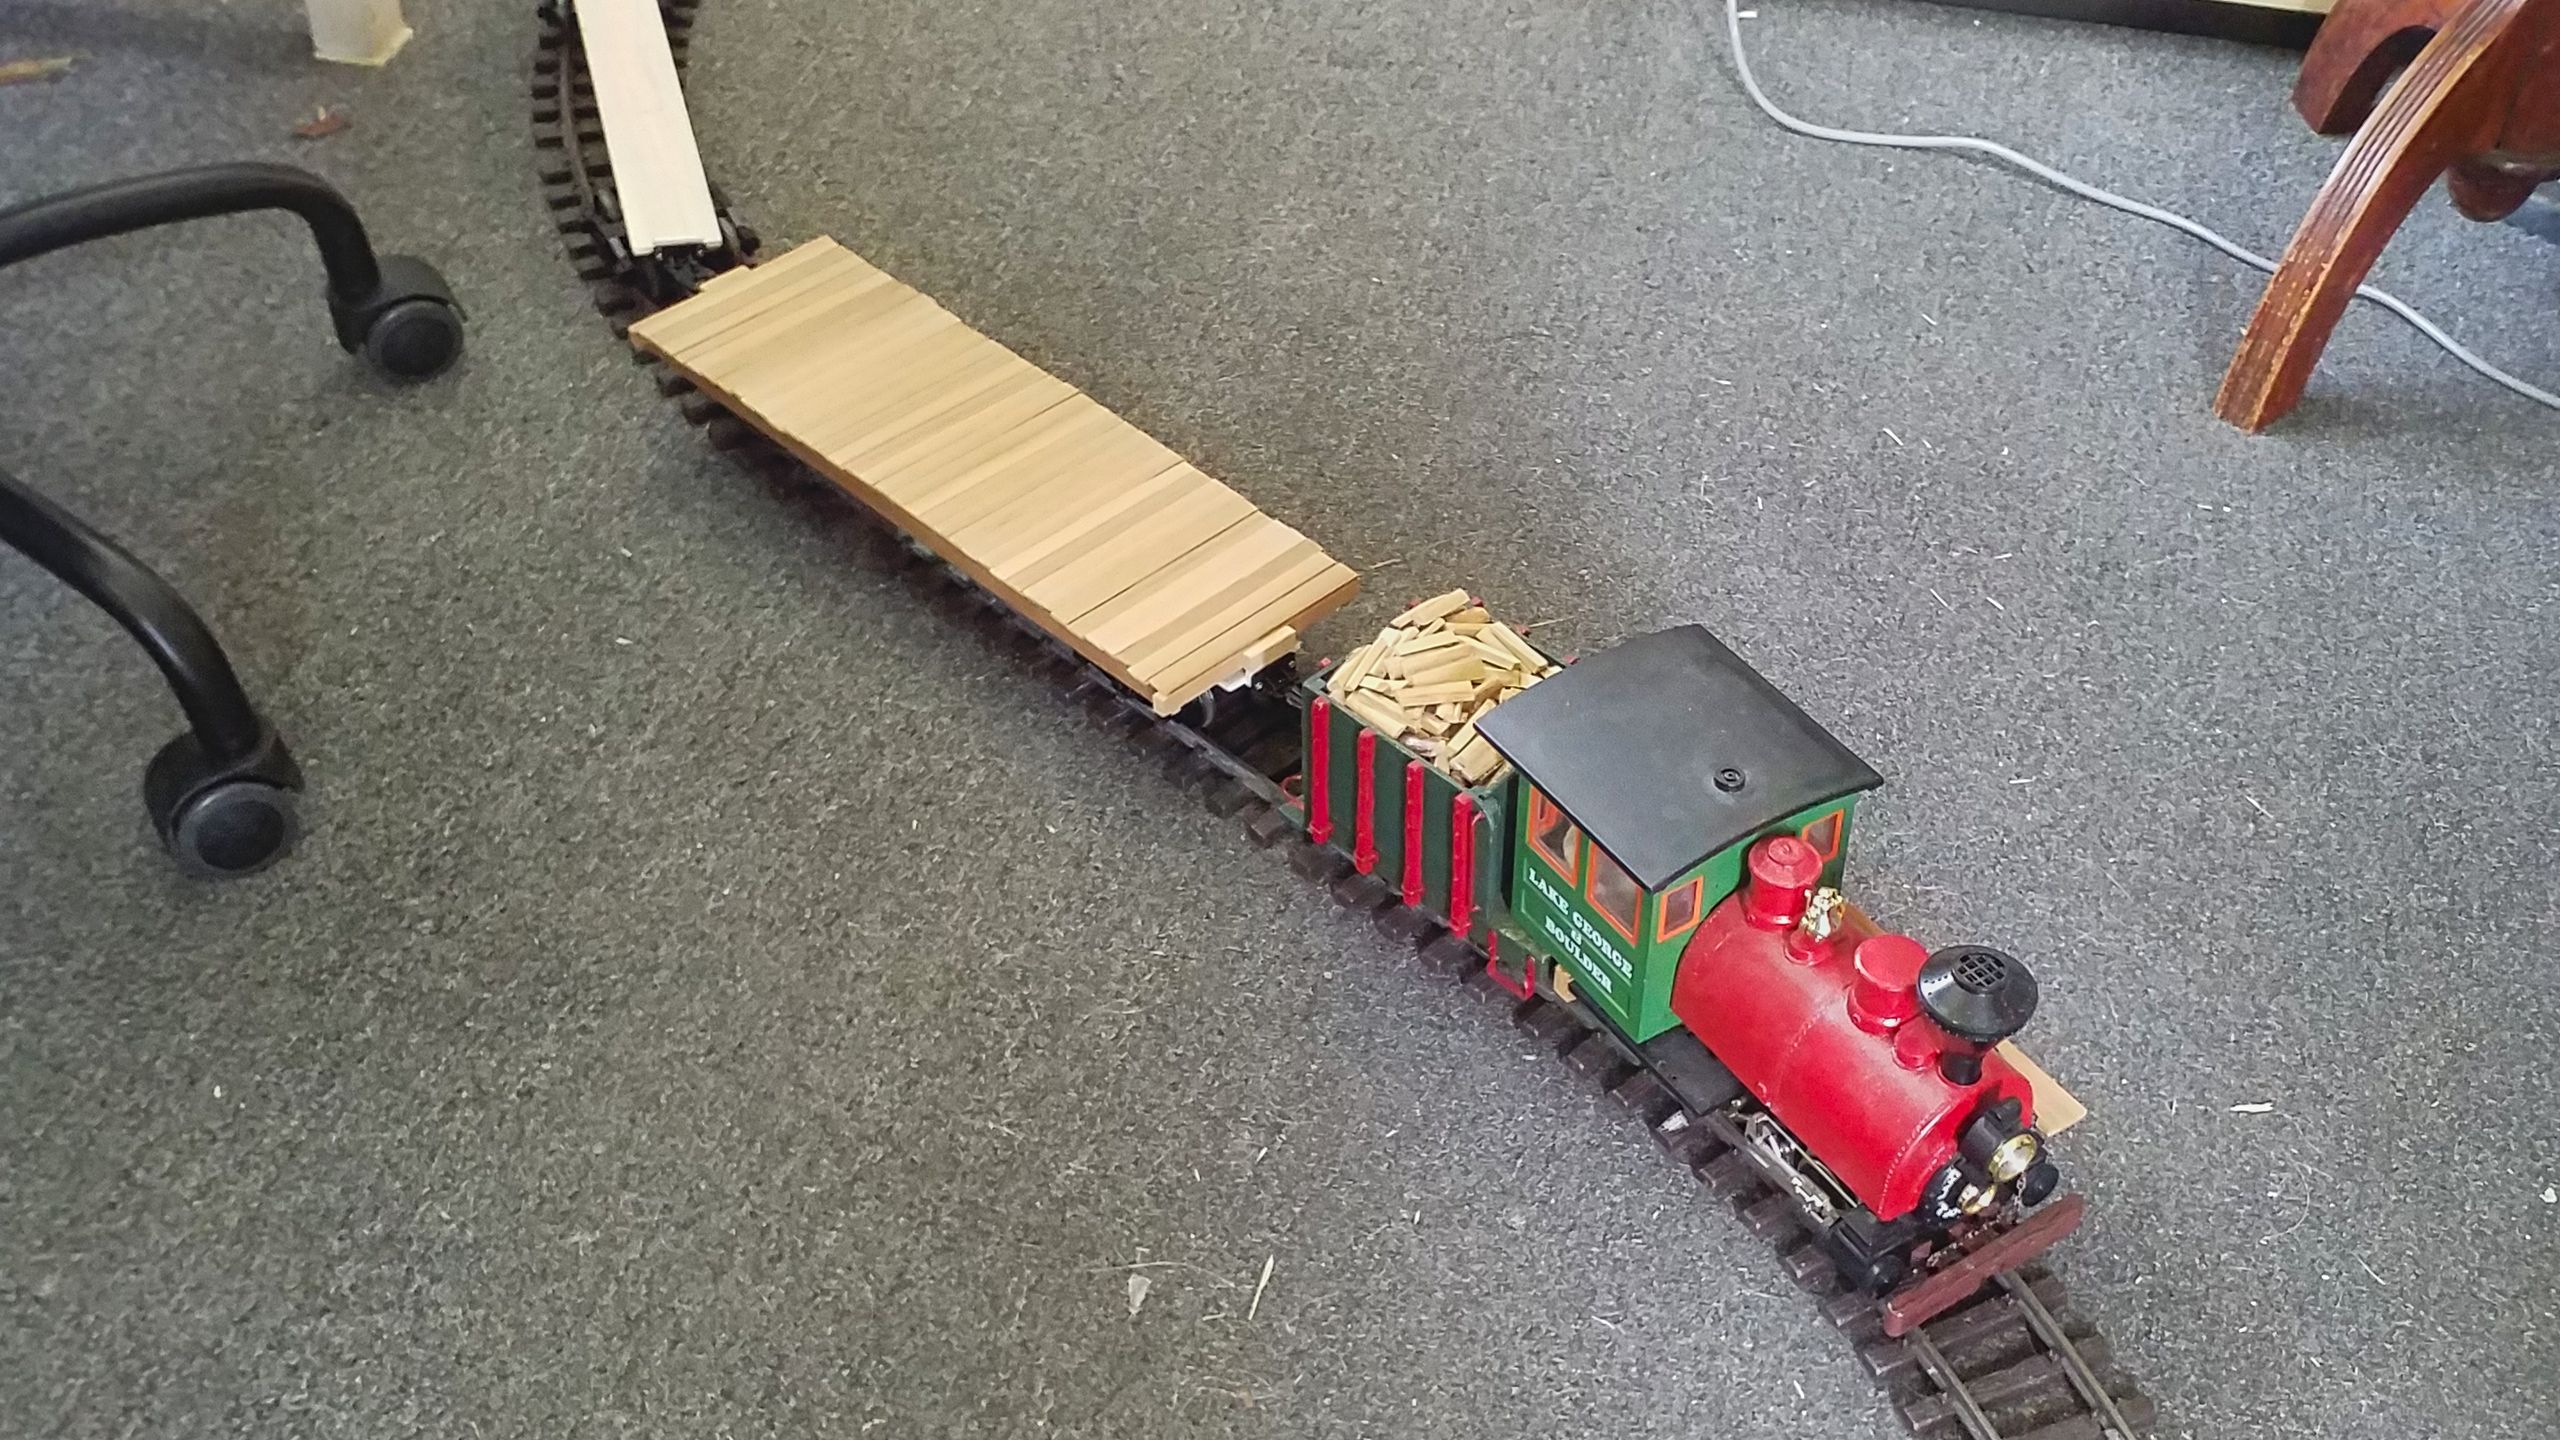
And while one’s at it, there can (Nah: must!) be a short ride of the whole contraption on top of one of the demonstration waggons. There was some concern because the flatcar is going to be quite a bit wider than the locomotive. However, while building my first scratch-built flatcar, I don’t want to bow to a loco which isn’t to scale. So I fall back to my company having purchased a small loco and some standard cars.
But let’s get on with it: The body bolsters and needle beams are cut to length, notched and assembled for test purposes. The needle beams will later carry the queen’s posts, which enhance the distance between the frame and the trusses and hence facilitate the leverage.

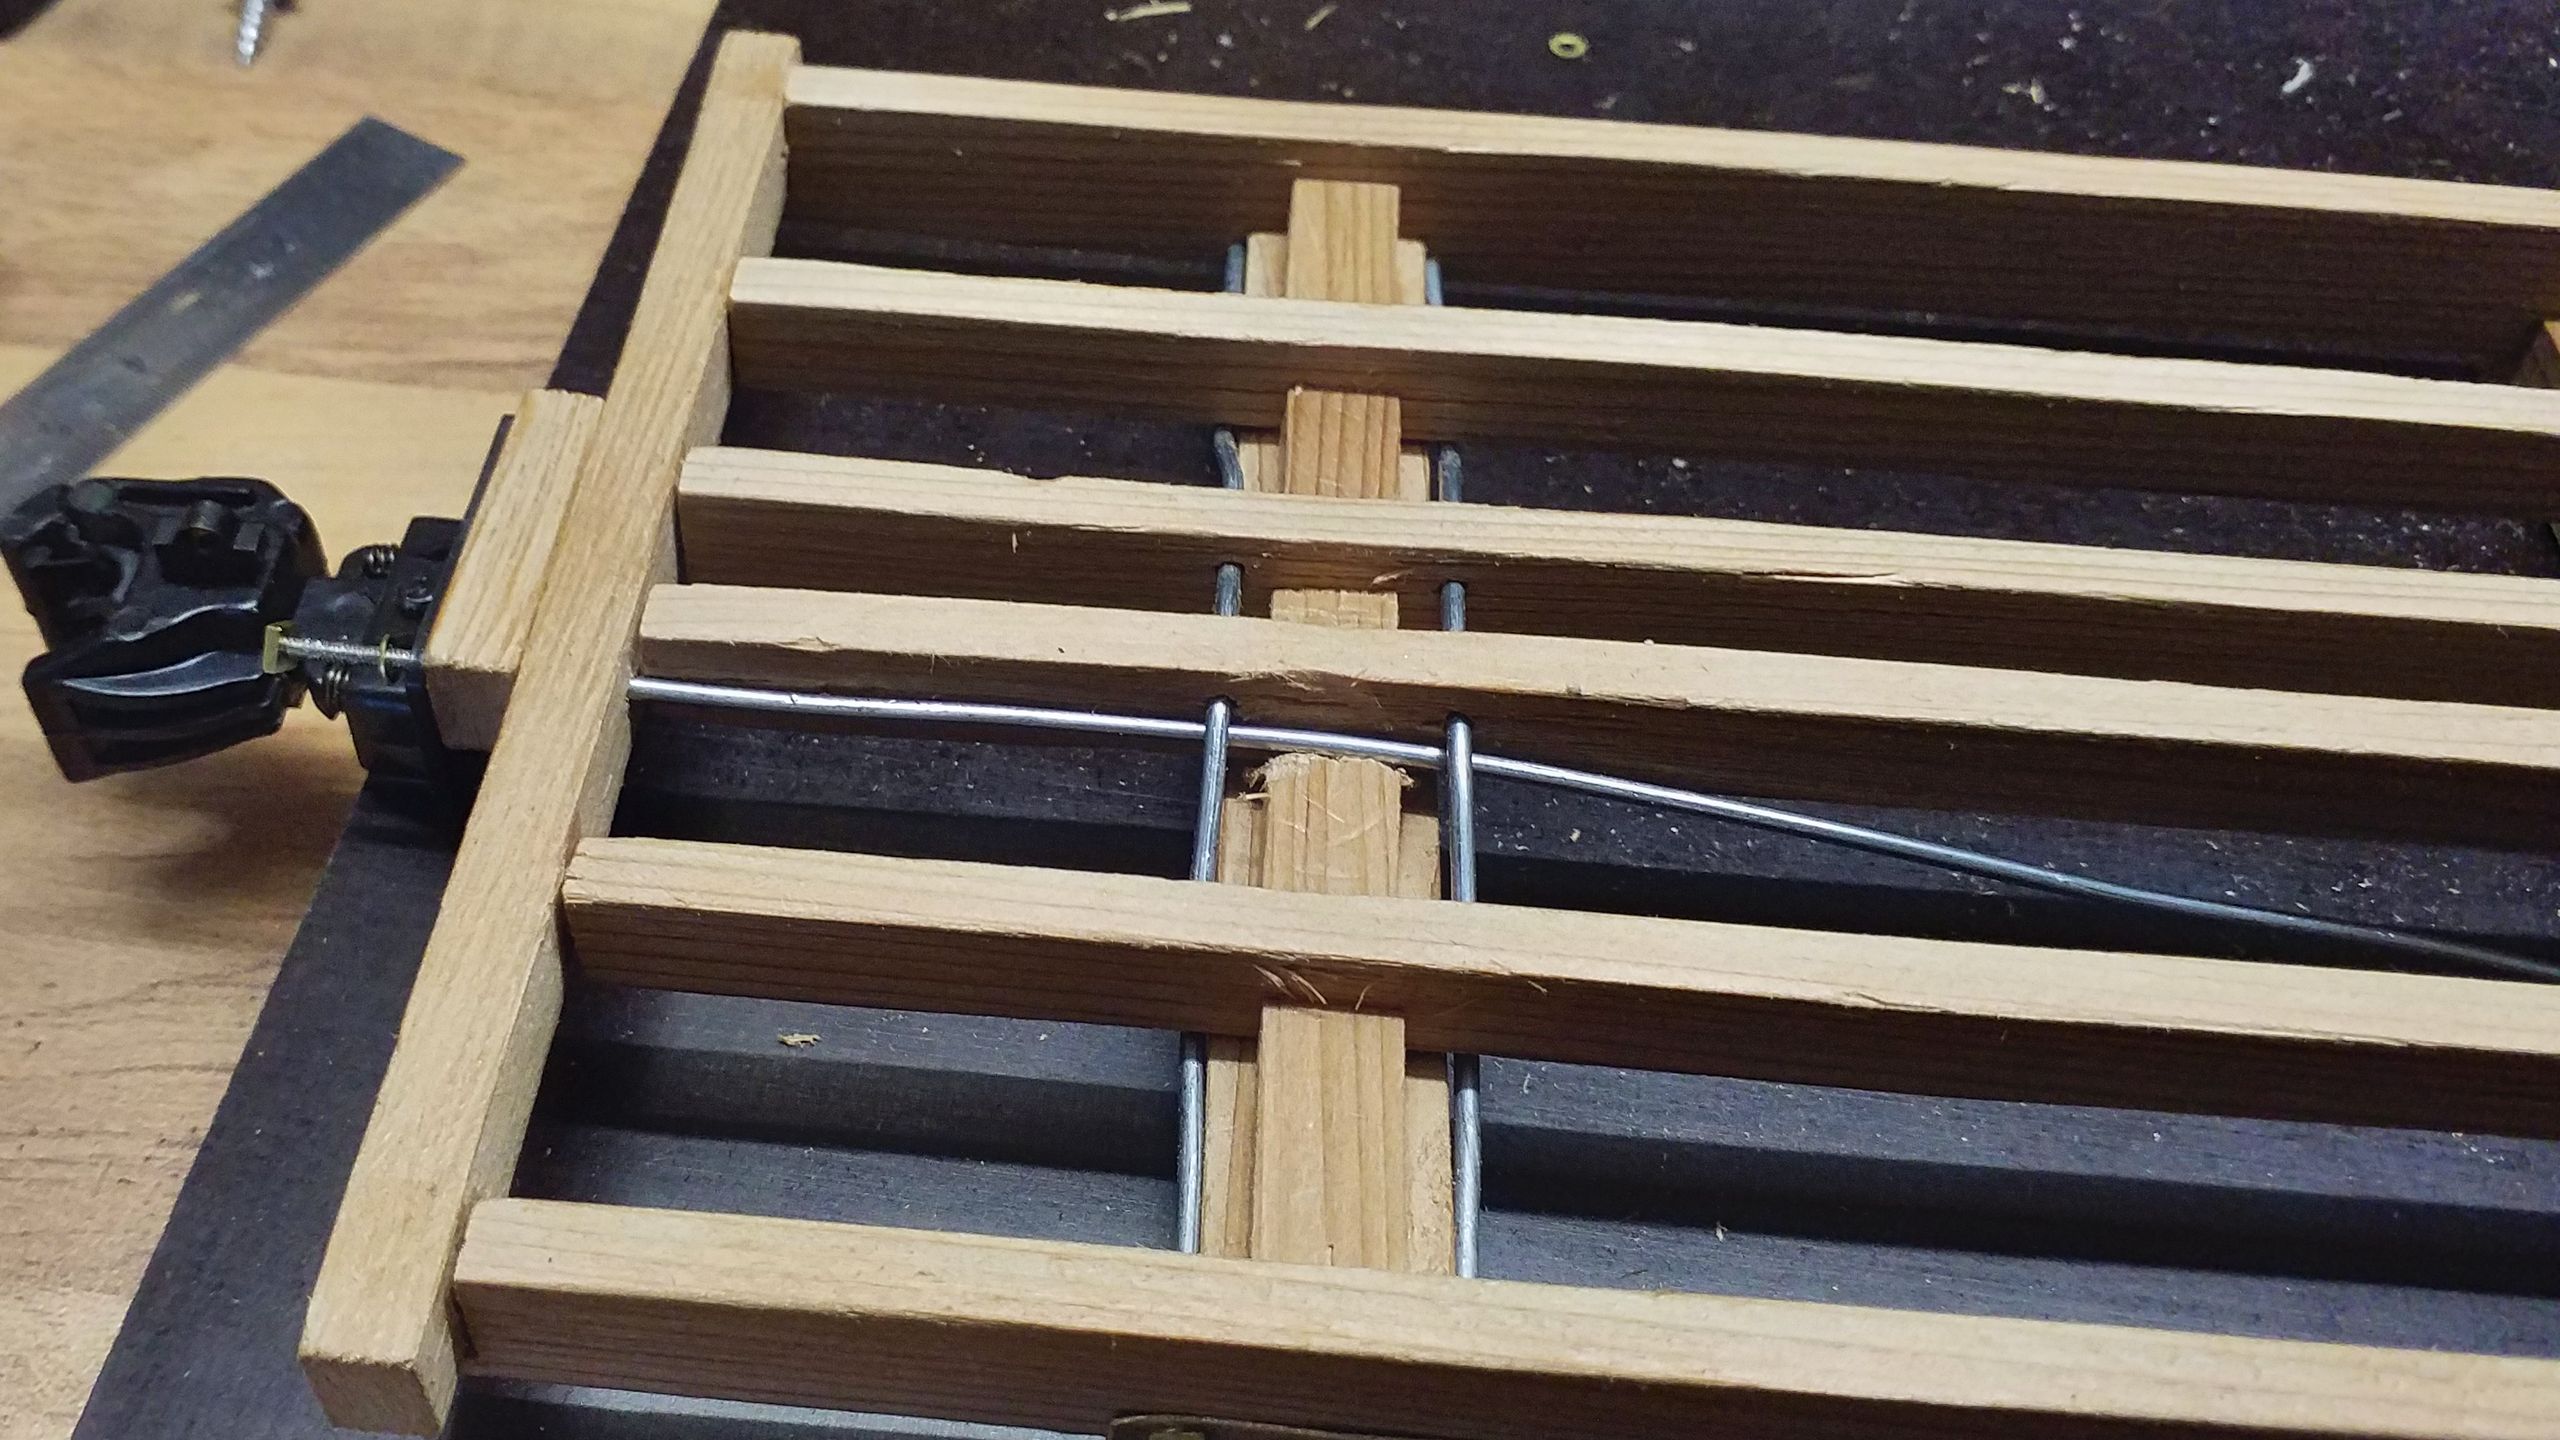
Now the really fiddly part commences. The cross trusses have to be threaded into the frame. They pass the forces that exert onto the side sills on to the king pin in the middle of the car. Because the operation session is drawing closer and I want to see some results, this time I’ve bought square nuts and washers in M1.6. The truss plates are cut from 0.3 mm brass sheet.
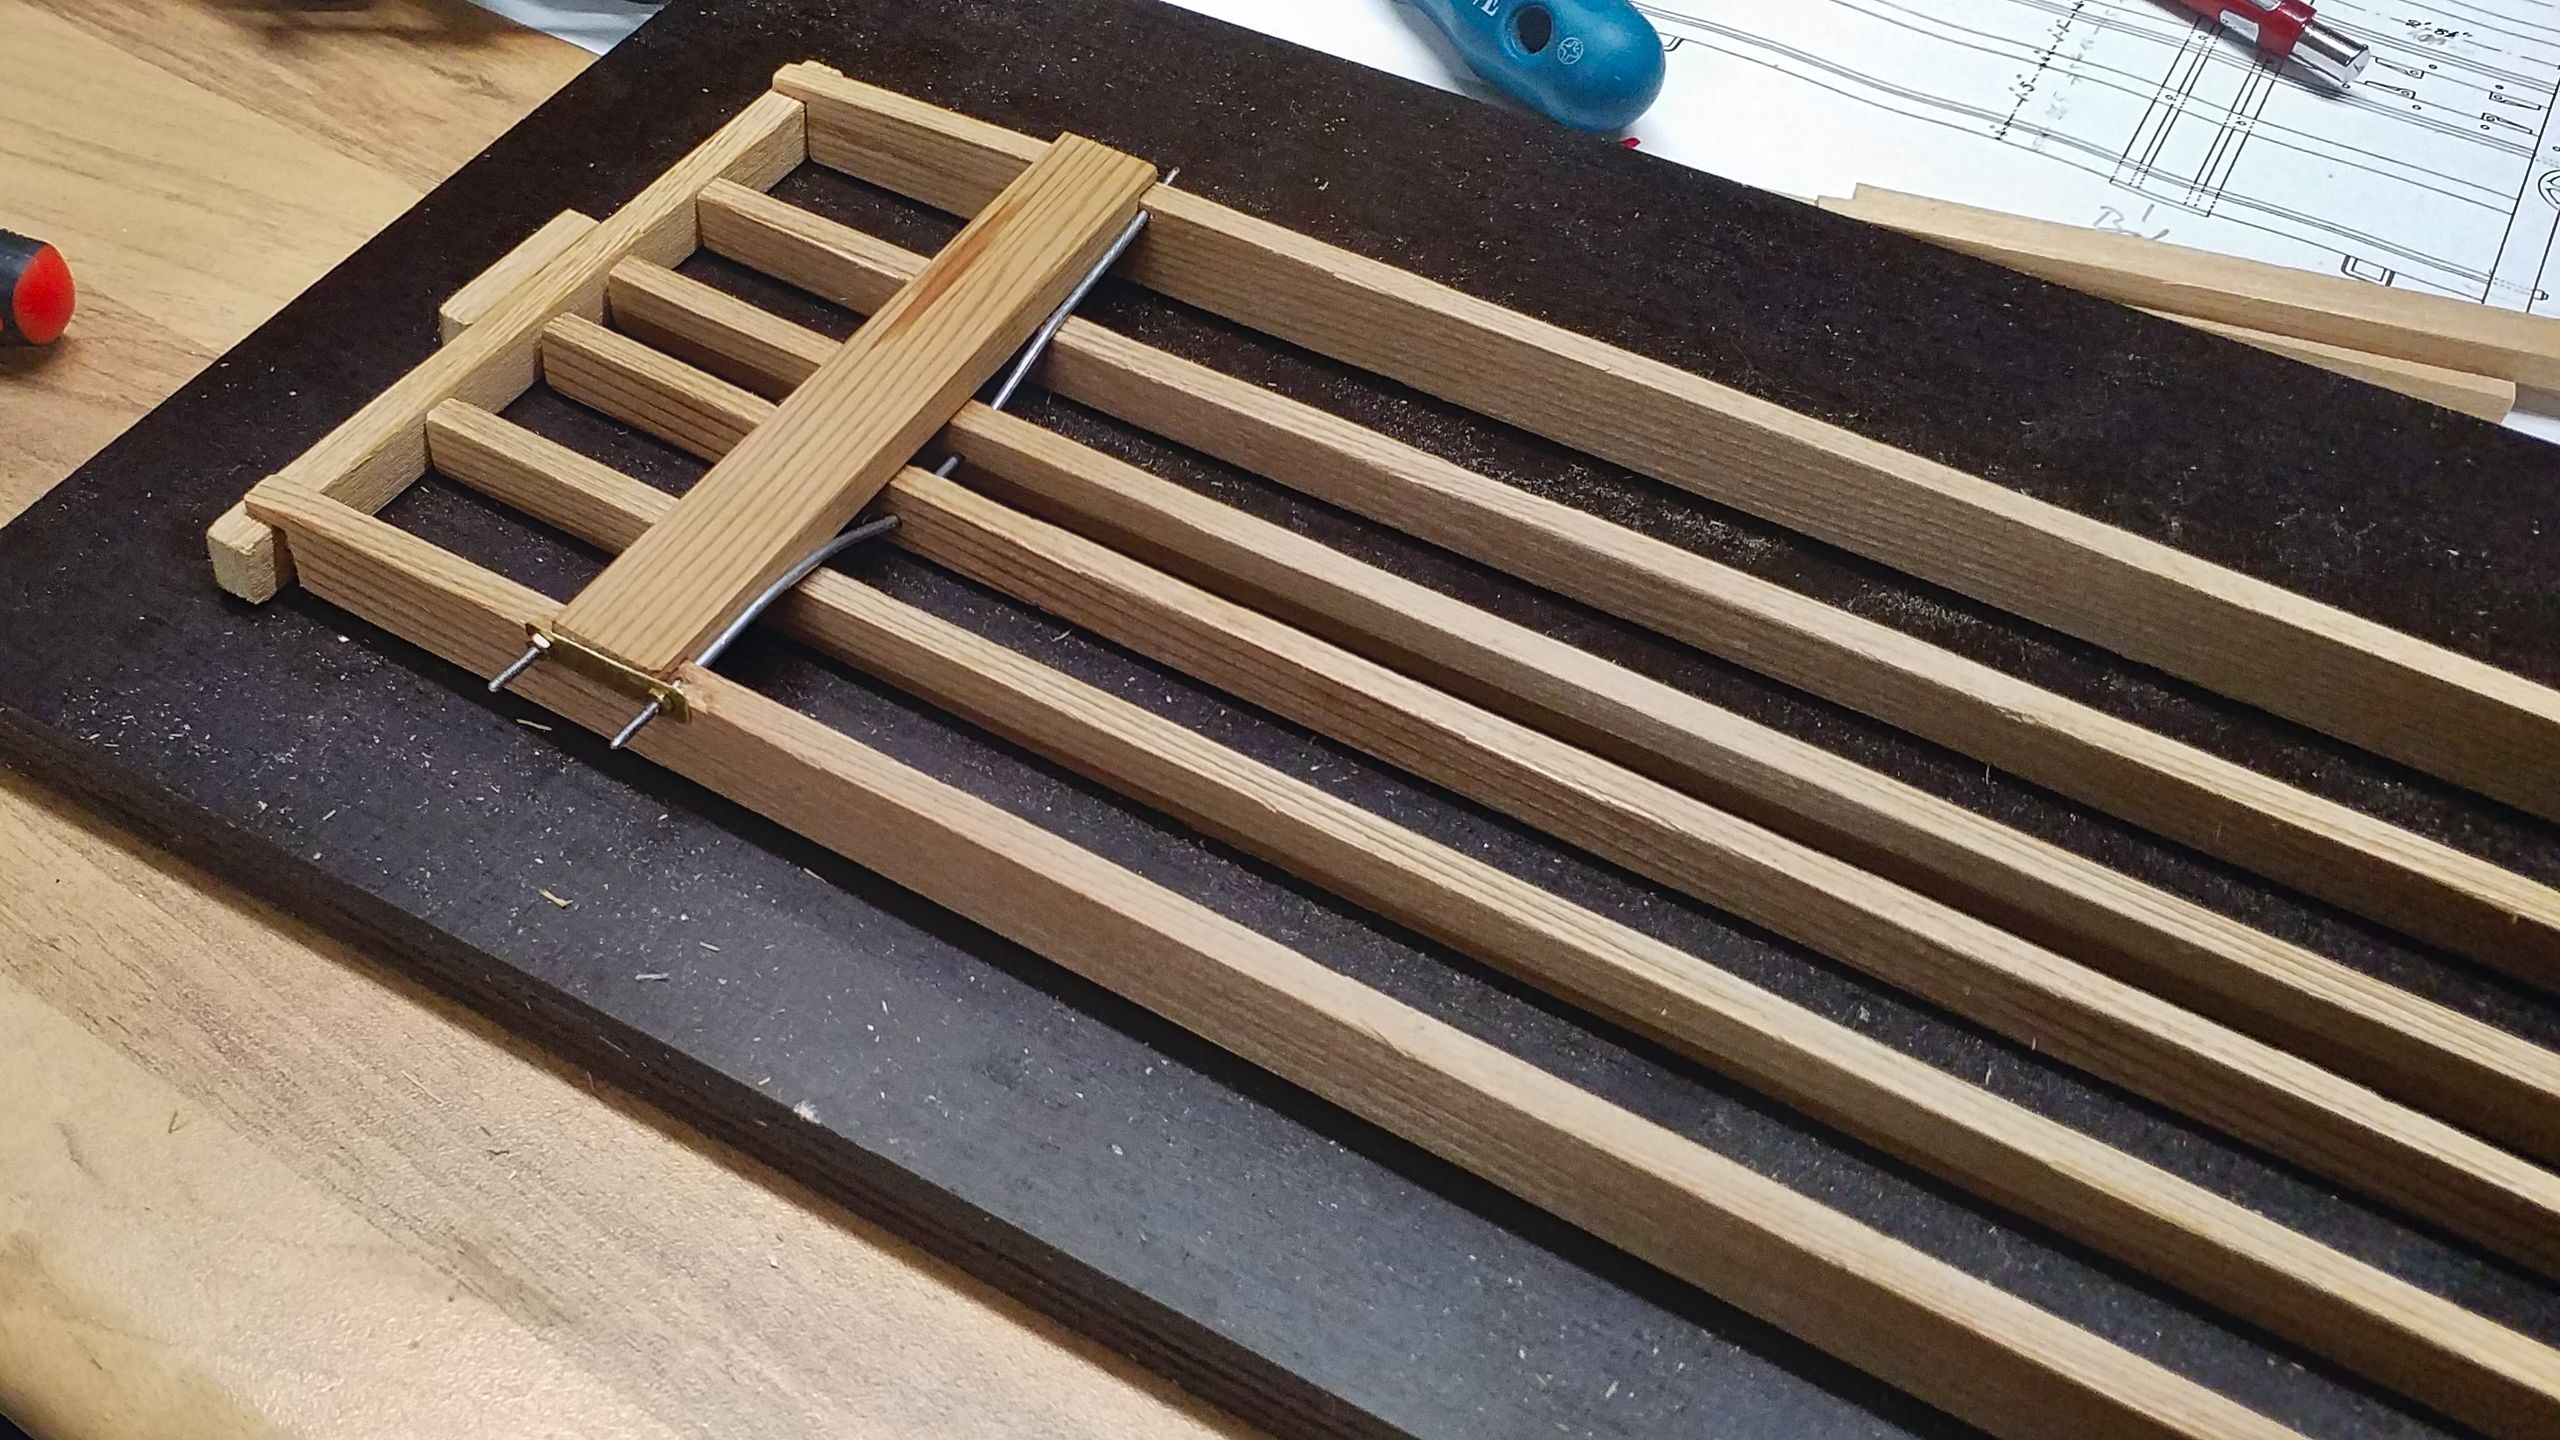
A close-up of the nut and washer fastenings. The boxes of my Accucraft’s knuckle couplers are in place, too. Later on, I will have to add the draft timbers which pass the pull and push forces into the frame. By the way, the flawed spots on the side sills are quite a welcomed side effect, they can stand in as tear and wear.

Now that both sides are prepared, the frame is finally white-glued. The picture shows how the body bolsters are being pressed to set the glue, after the sills have already been fixated.
If you thought the cross trusses had been tricky, you will love the next part. The longitudinal trusses are layed out along the whole length of the waggon and fixated at the end sills with square nuts and washers. I also had to add some support on top of the body bolsters, the diagrams hint at some metal plates. I couldn’t spare the time and nerve for those. That might be something that I’m going to change for the other flatcars.
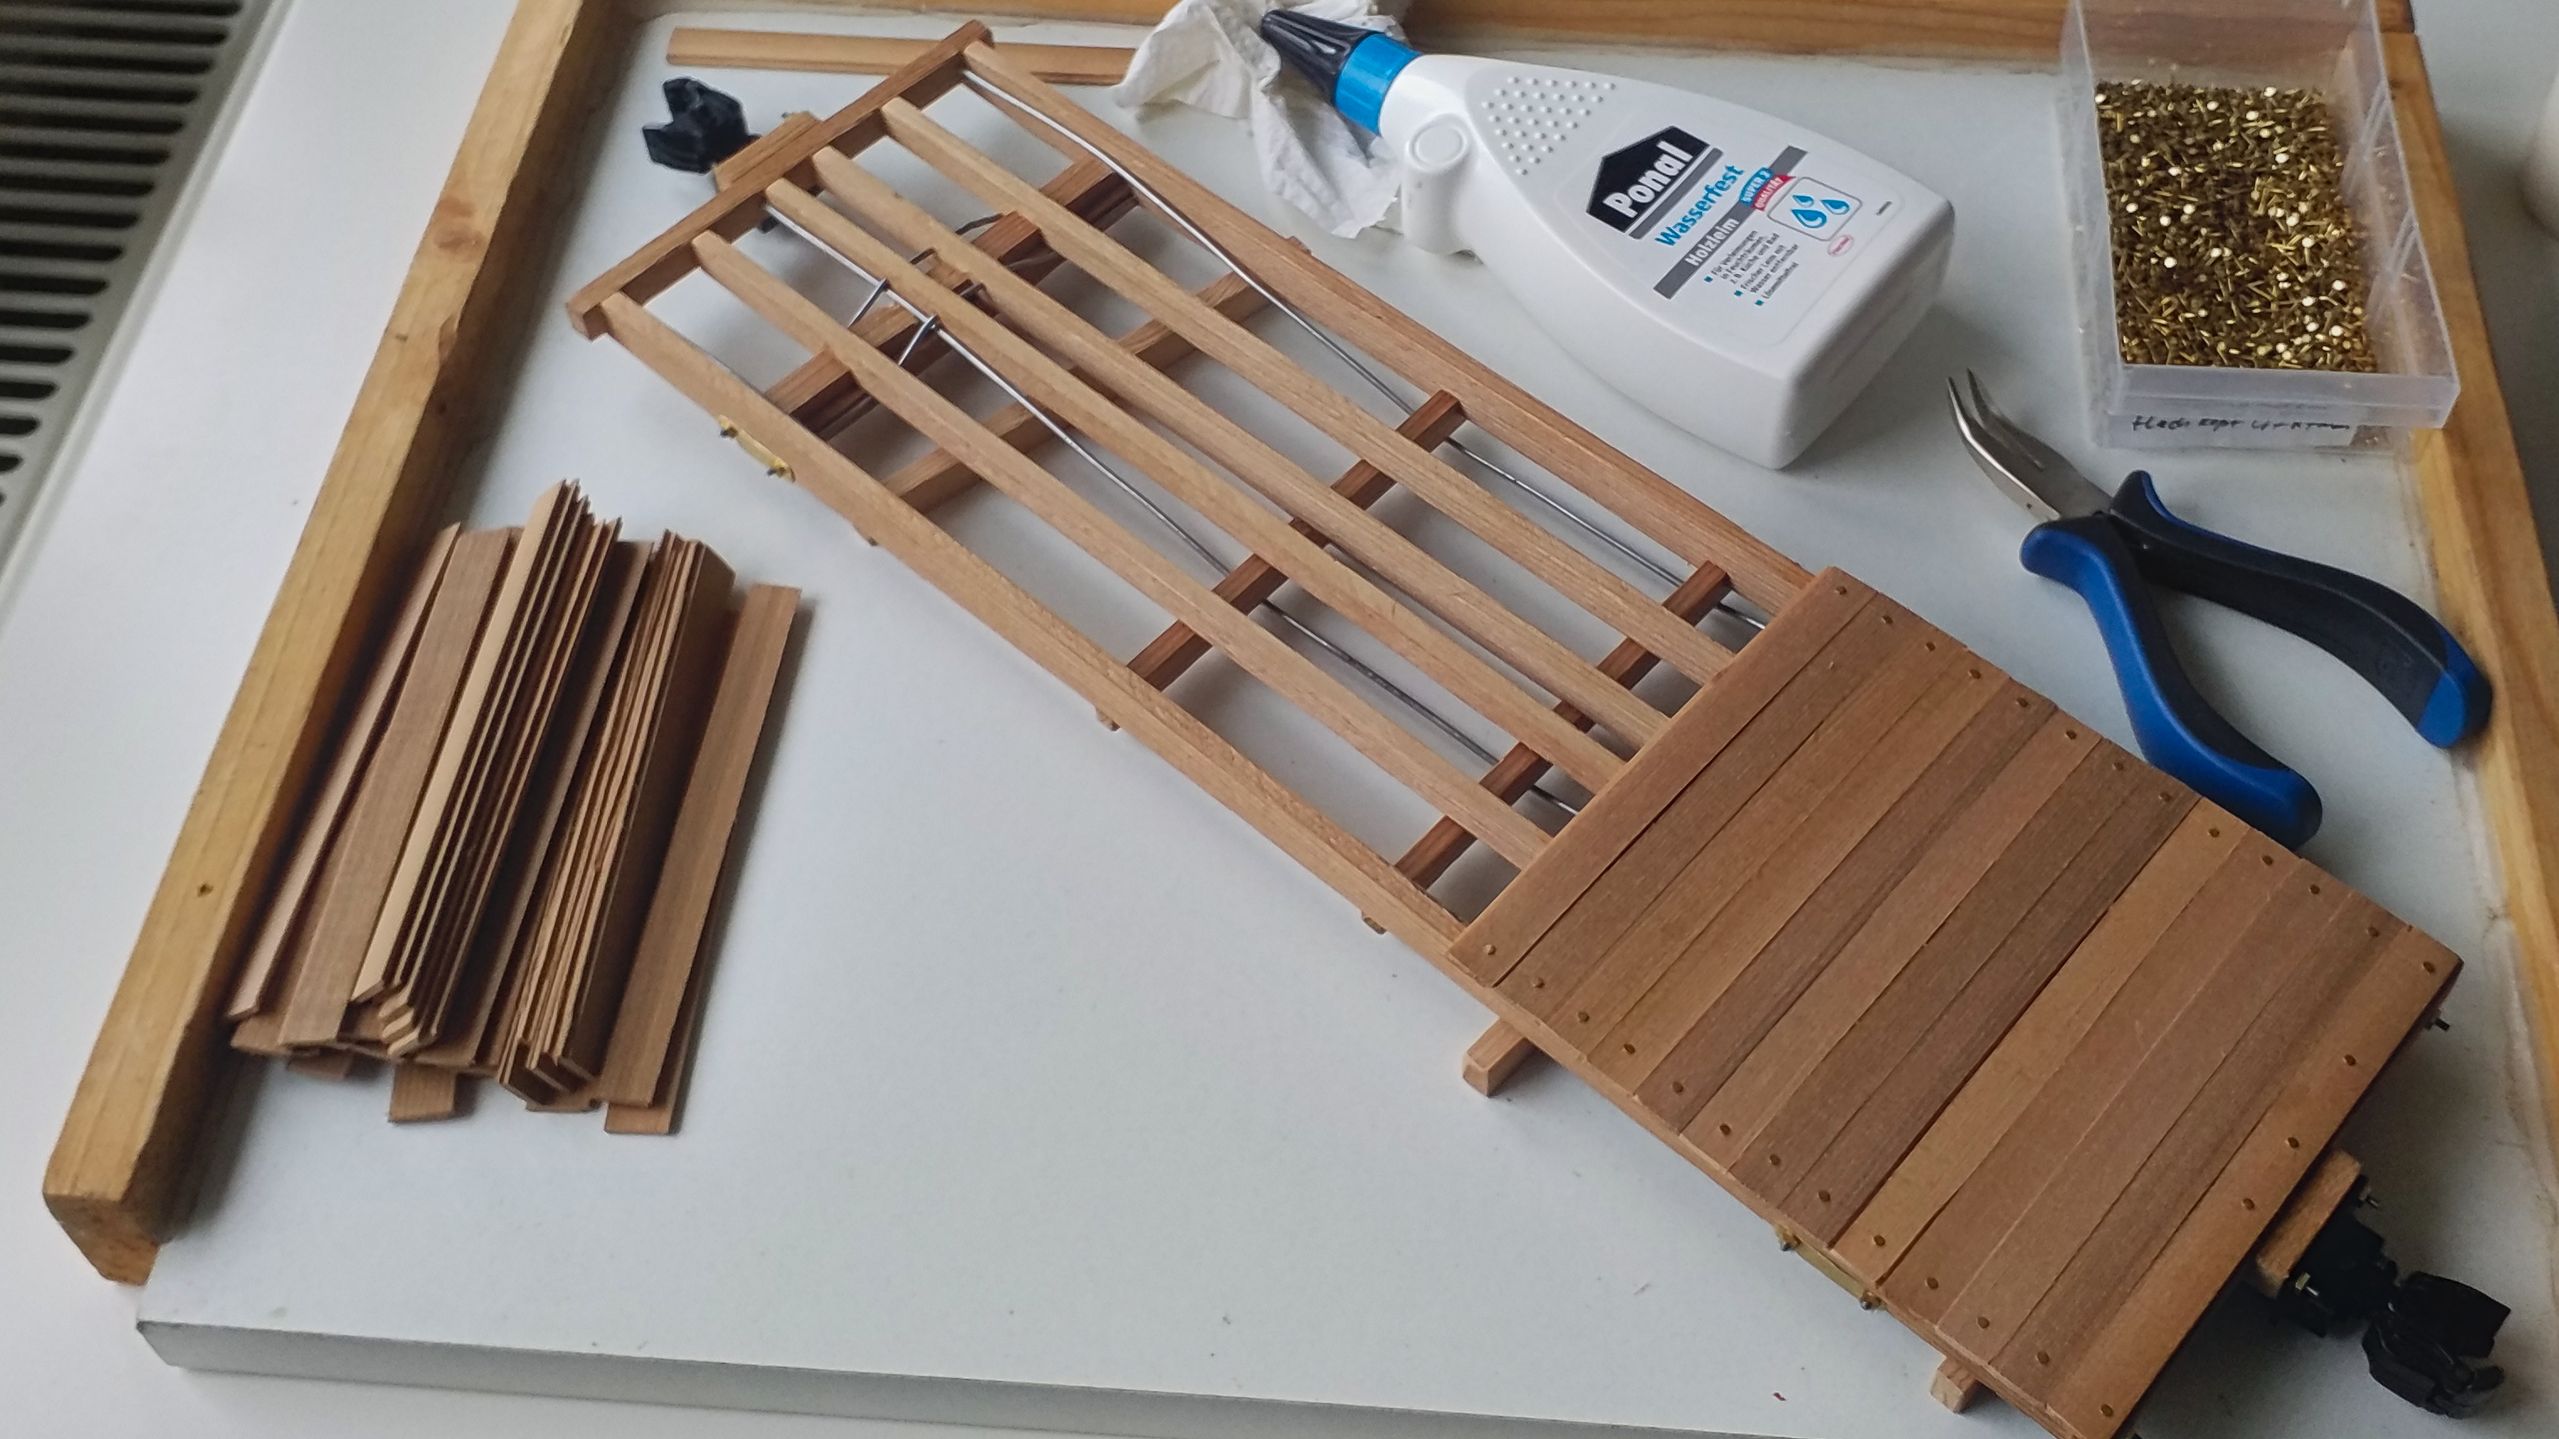
And that’s the completely trussed frame from below. Of course the queen’s posts are missing, there are some difficulties in delivery right now. So I’ve left some length of rod at the end sills in order to keep it in reserve for the queen’s posts’ assembly.

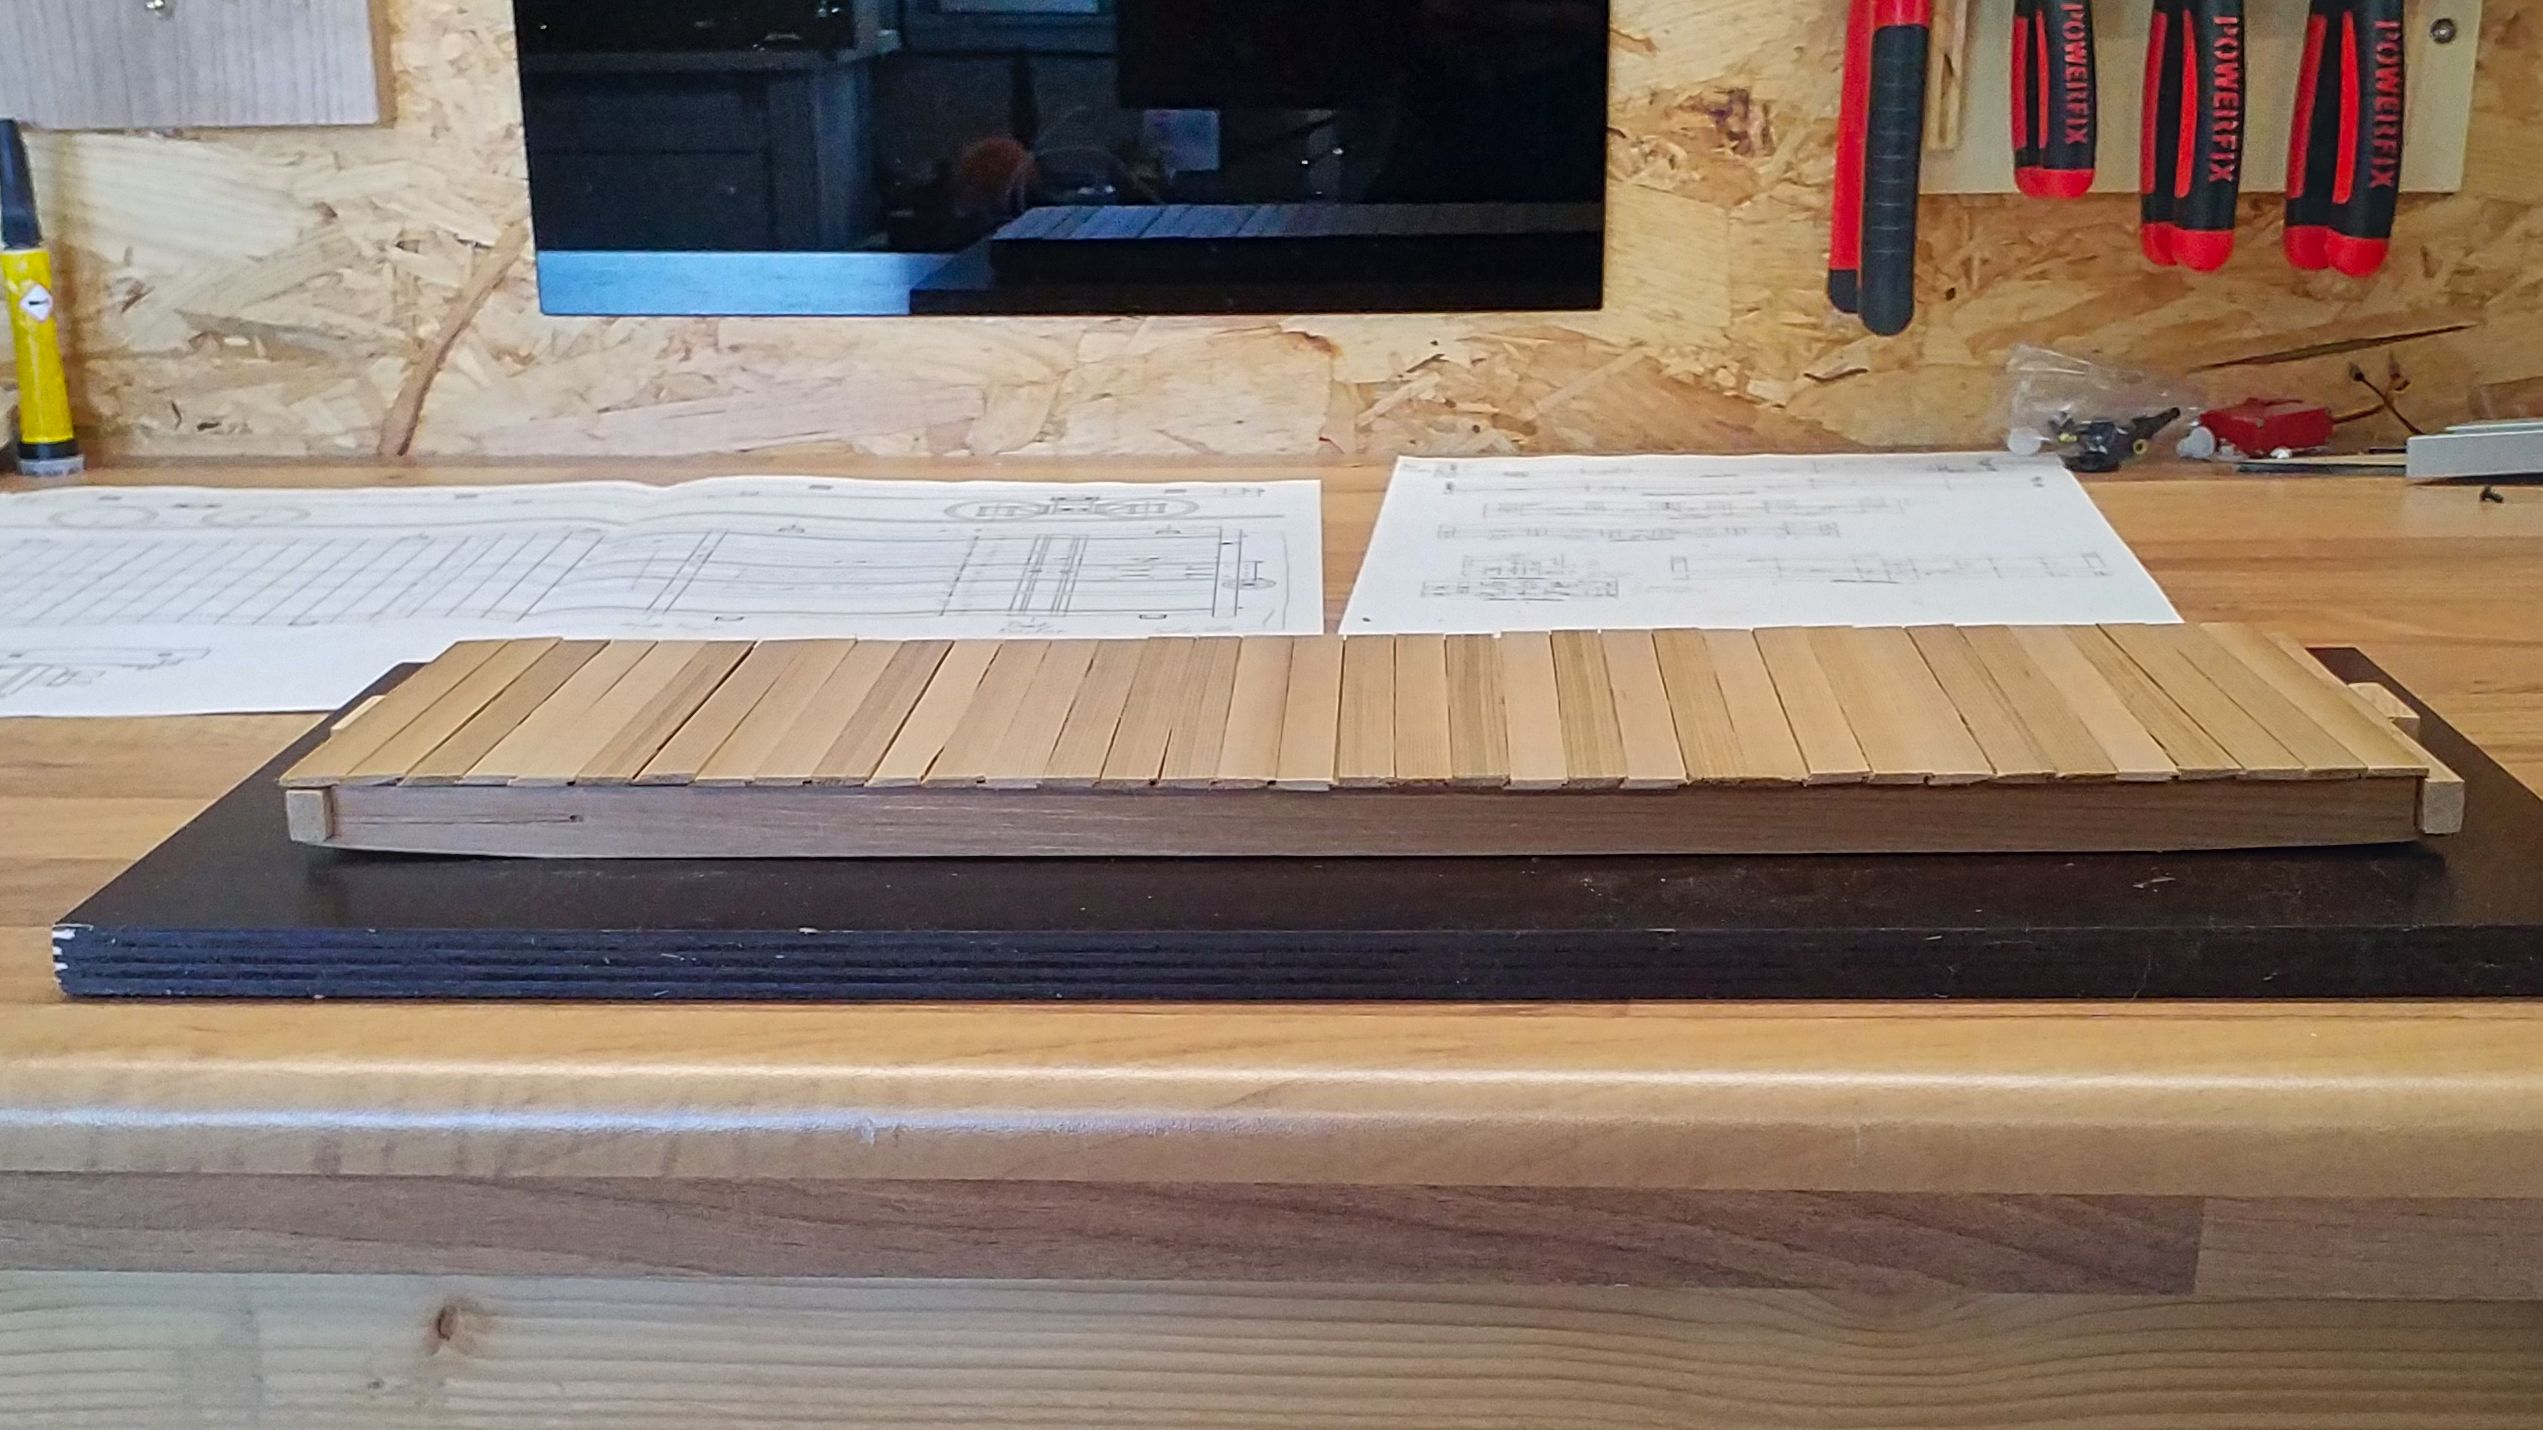
The floor is boarded in the usual fashion: A bit of white glue to lend the model some more endurance and the planks are nailed to the side sills. That’s child’s play with red cedar: One simply picks a nail with a pair of pliers right below its head and skewers it into the wood all the way to the stop. Then a quick shove with the now closed pliers from above: done and no bent nails!
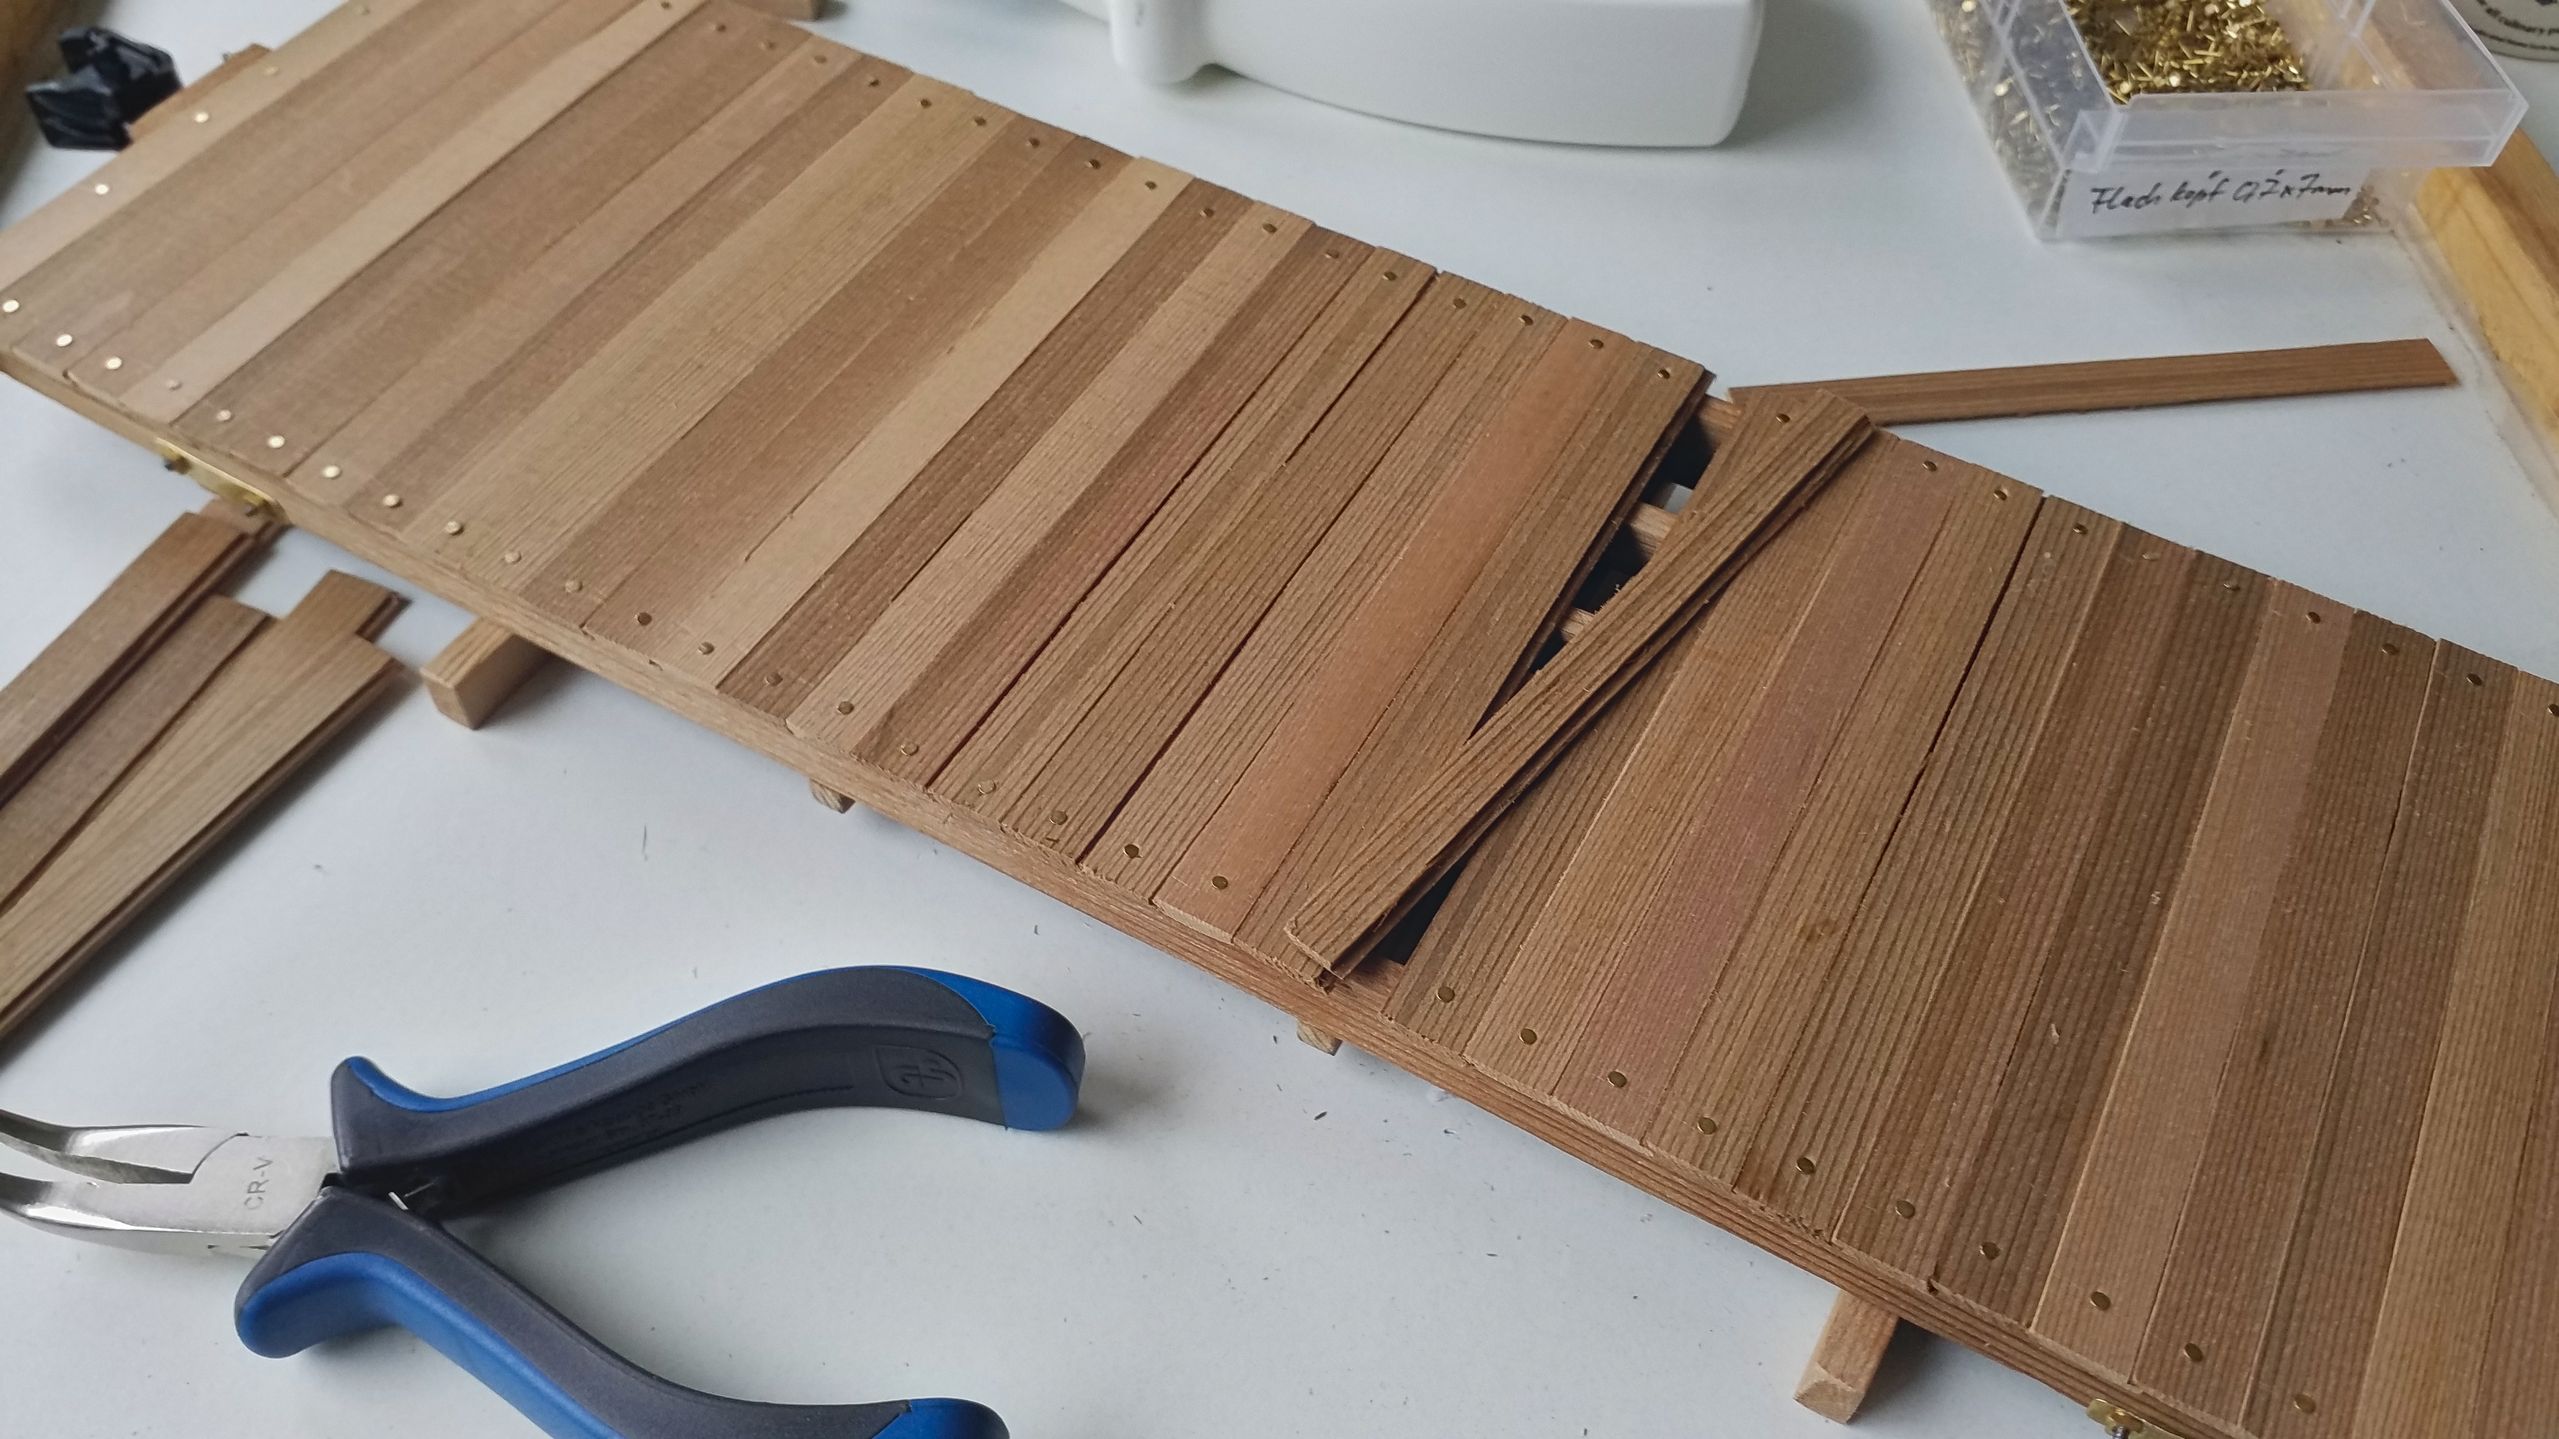
The last board often needs to be trimmed in width, as this one. I always rejoice on how the grooved boards form up a closed and very sturdy floor. By the way, one can easily spot several imperfections in the individual boards which I allowed quite deliberately to happen. They give the floor an irregular and gappy appearance and also contribute to the waggon’s character.
Now, quickly packing up and on to the operation session – about which I’m going to report next week.
Update: I learned a lot of lessons from the operation session, which immediately resulted in improvements.