
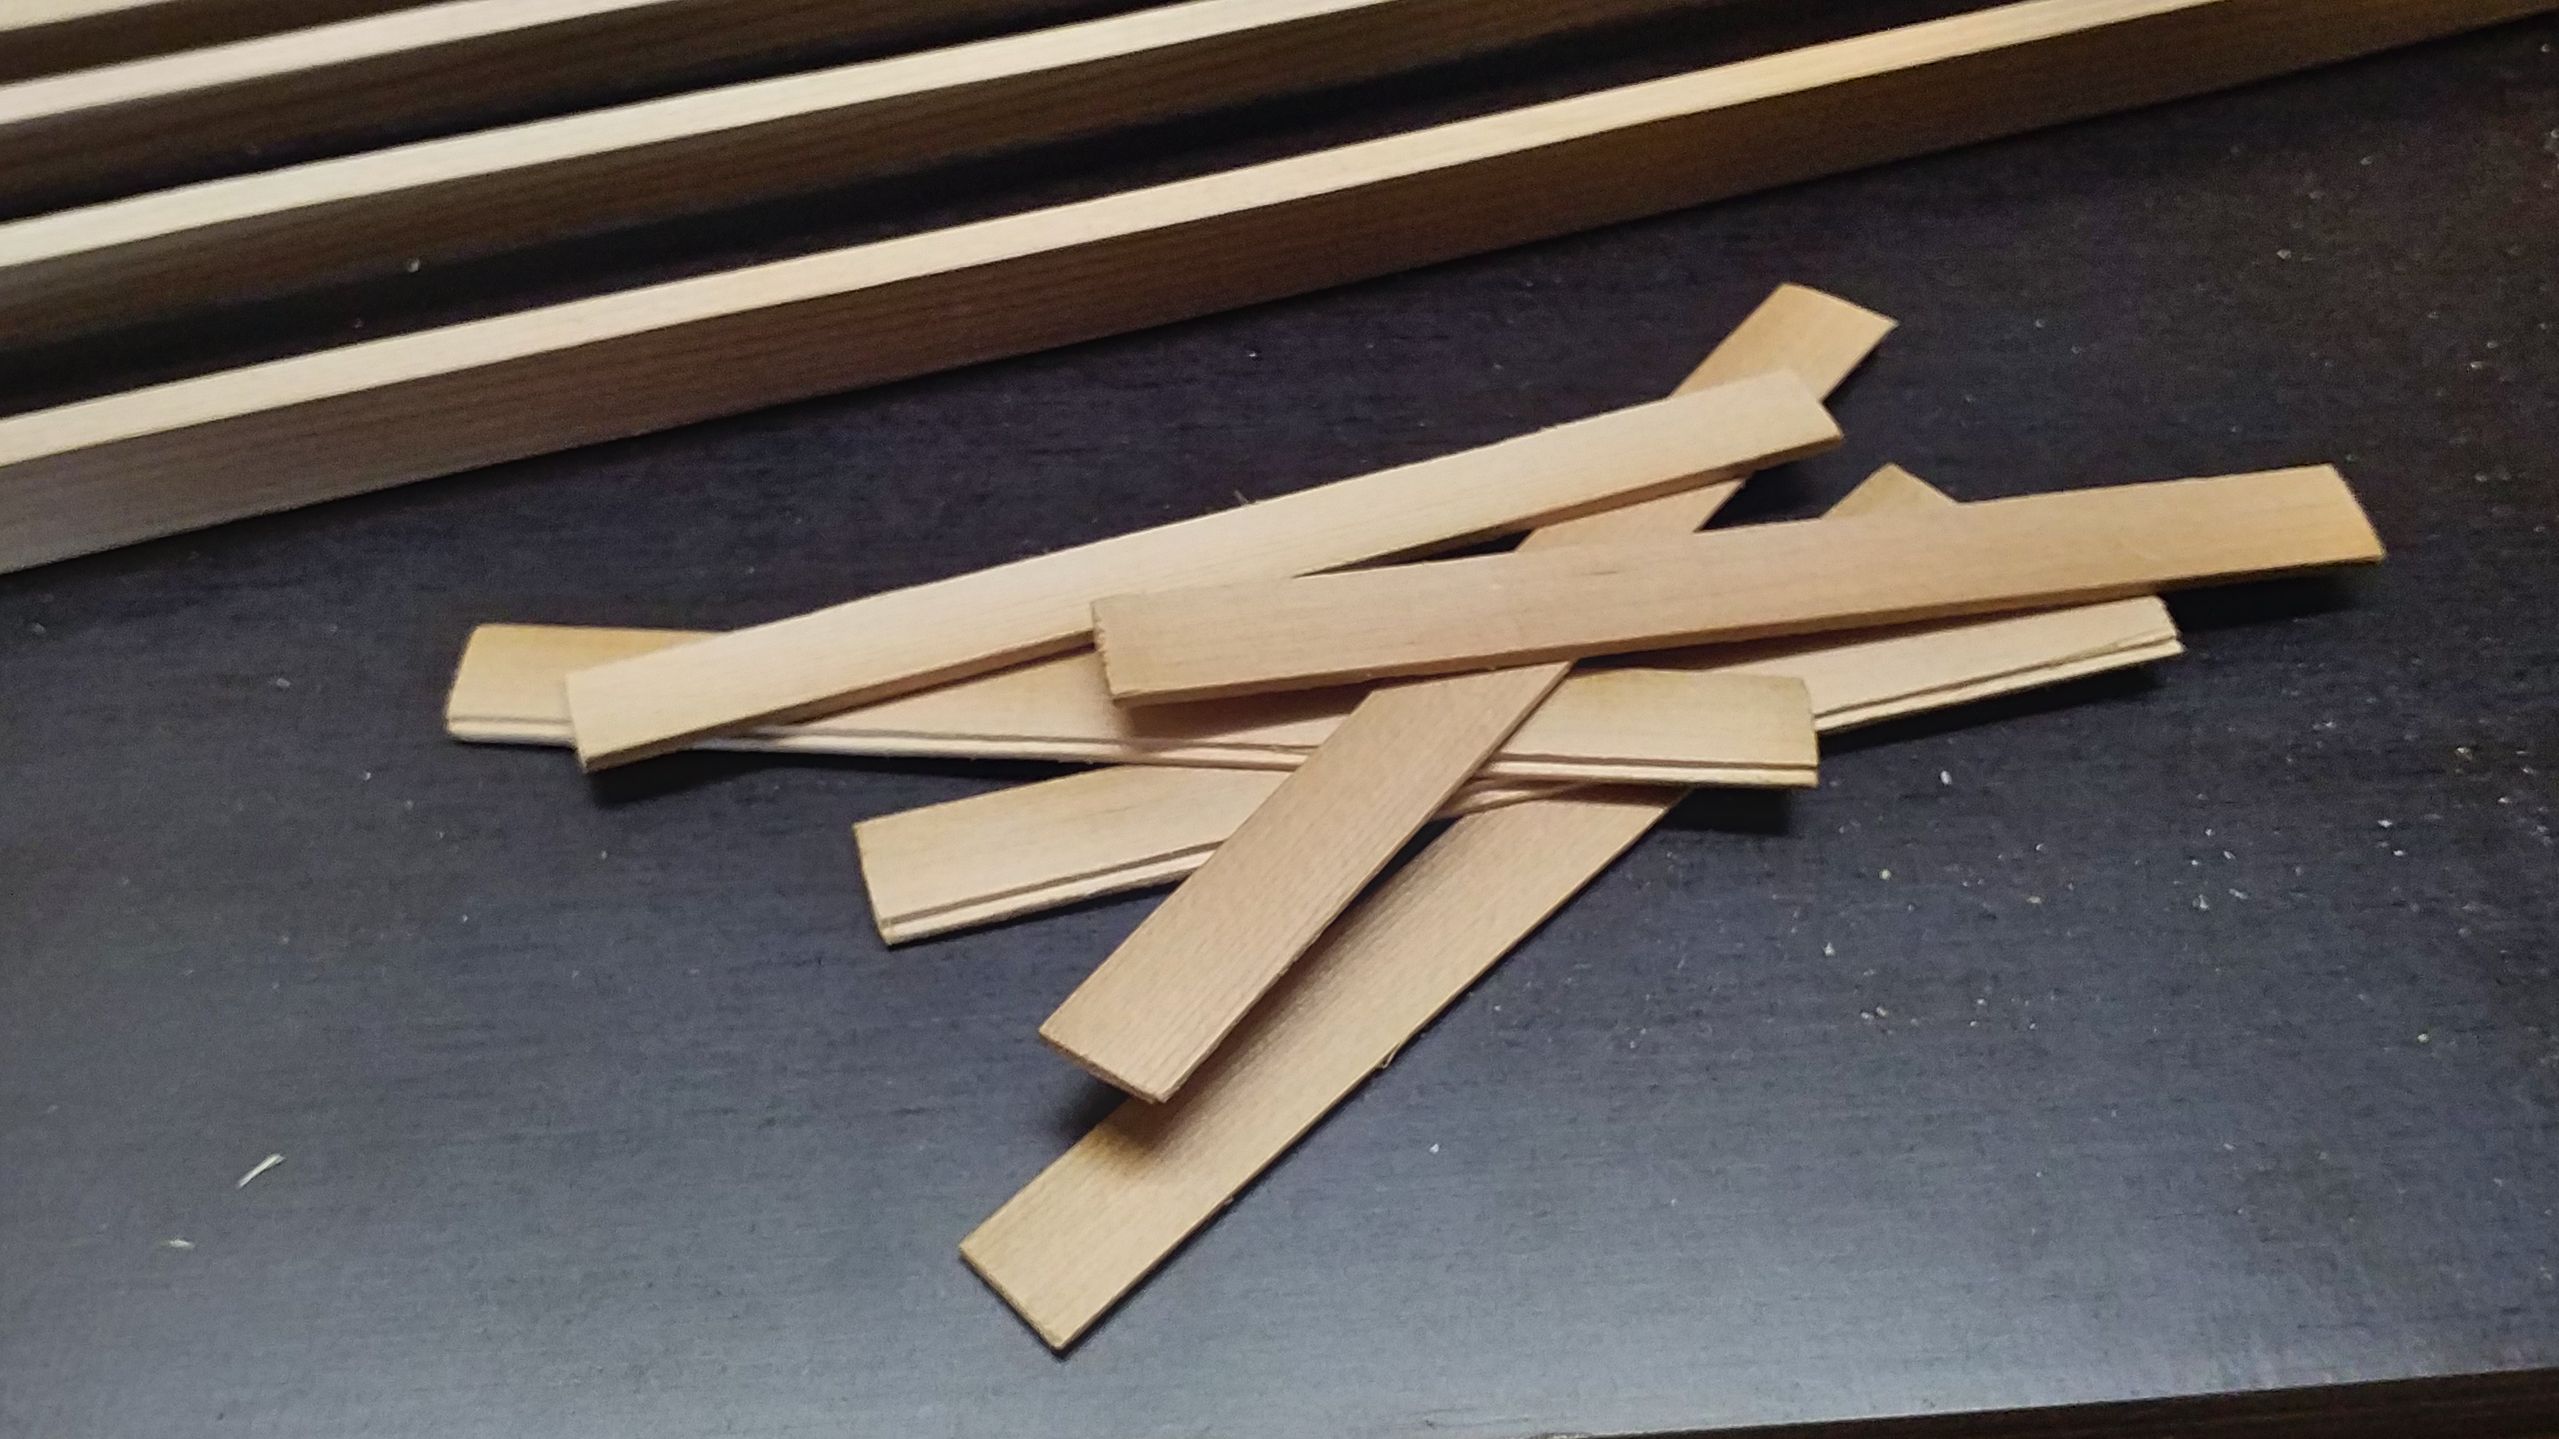
Based on my experiences from the flatcar experiments I’ve decided to construct a prototype for 26′ flatcars. The model is going to be built from red cedar and purchased Piko bogies.
At the beginning, slats are ripped from sheets of 5 mm thick red cedar, which are going to become the sills. The side sills are a bit higher, measuring 13.5 mm. The end, intermediary and center sills have only got 9.5 mm of height.

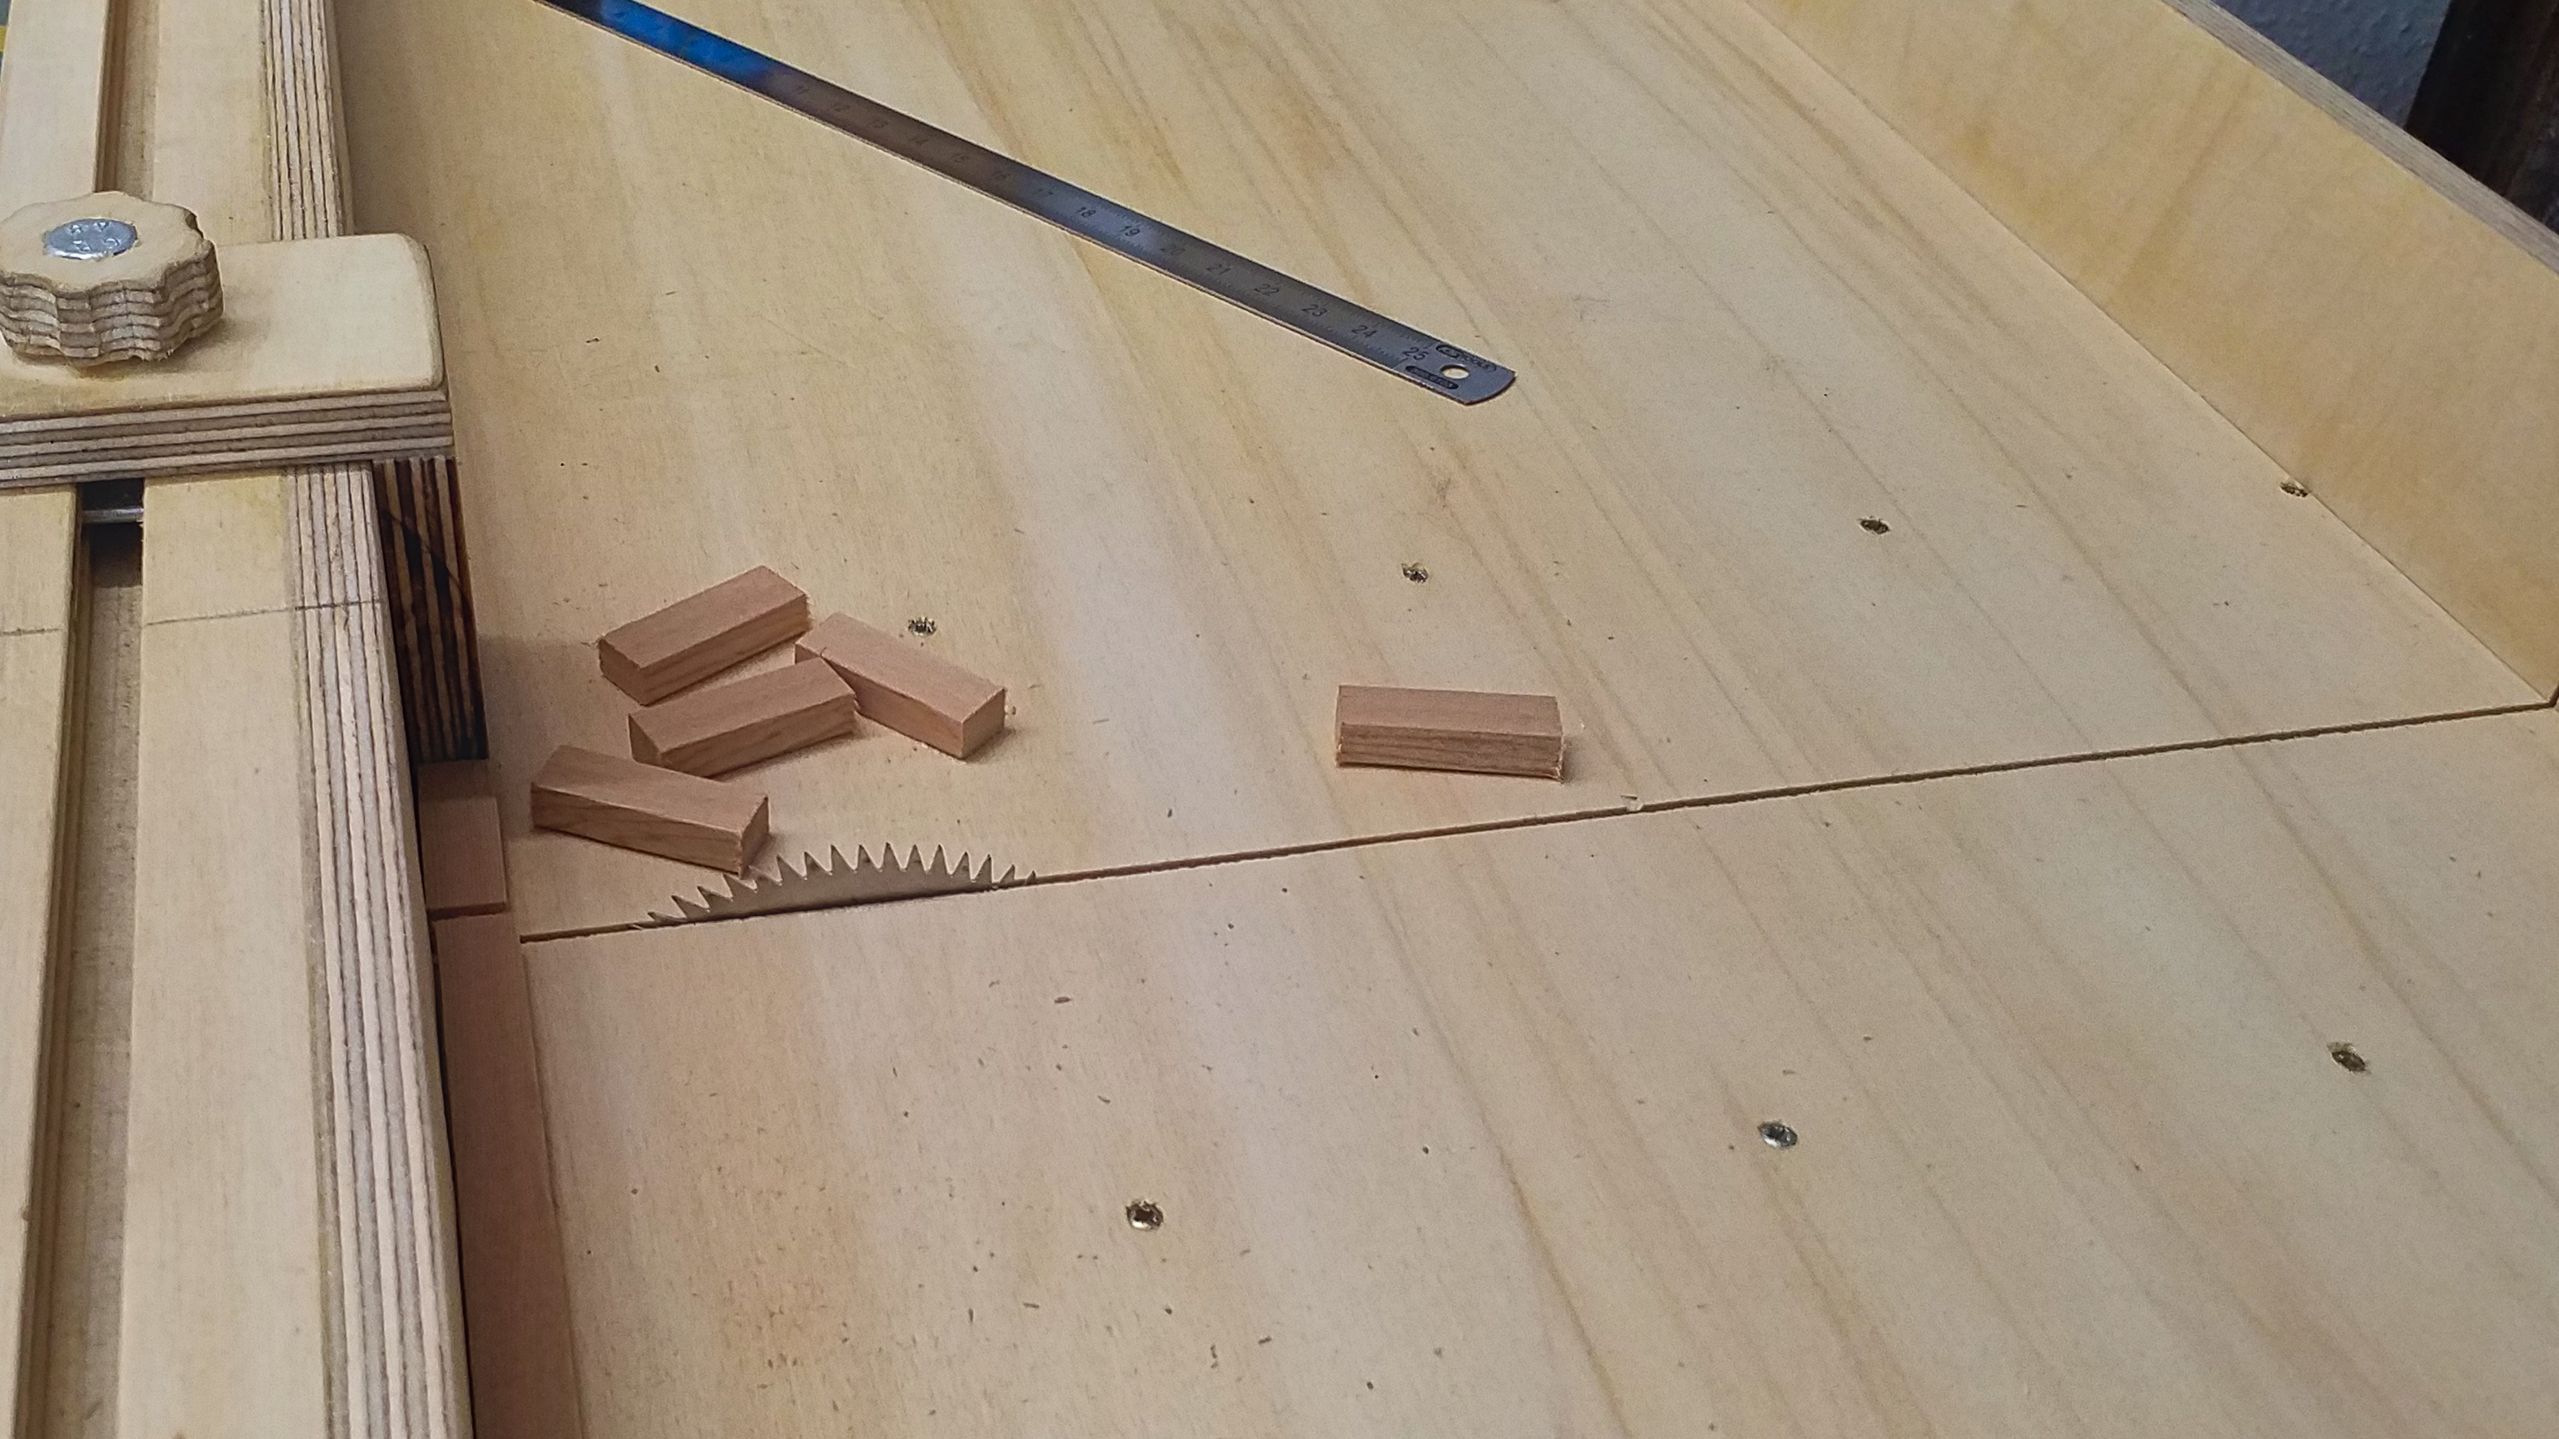
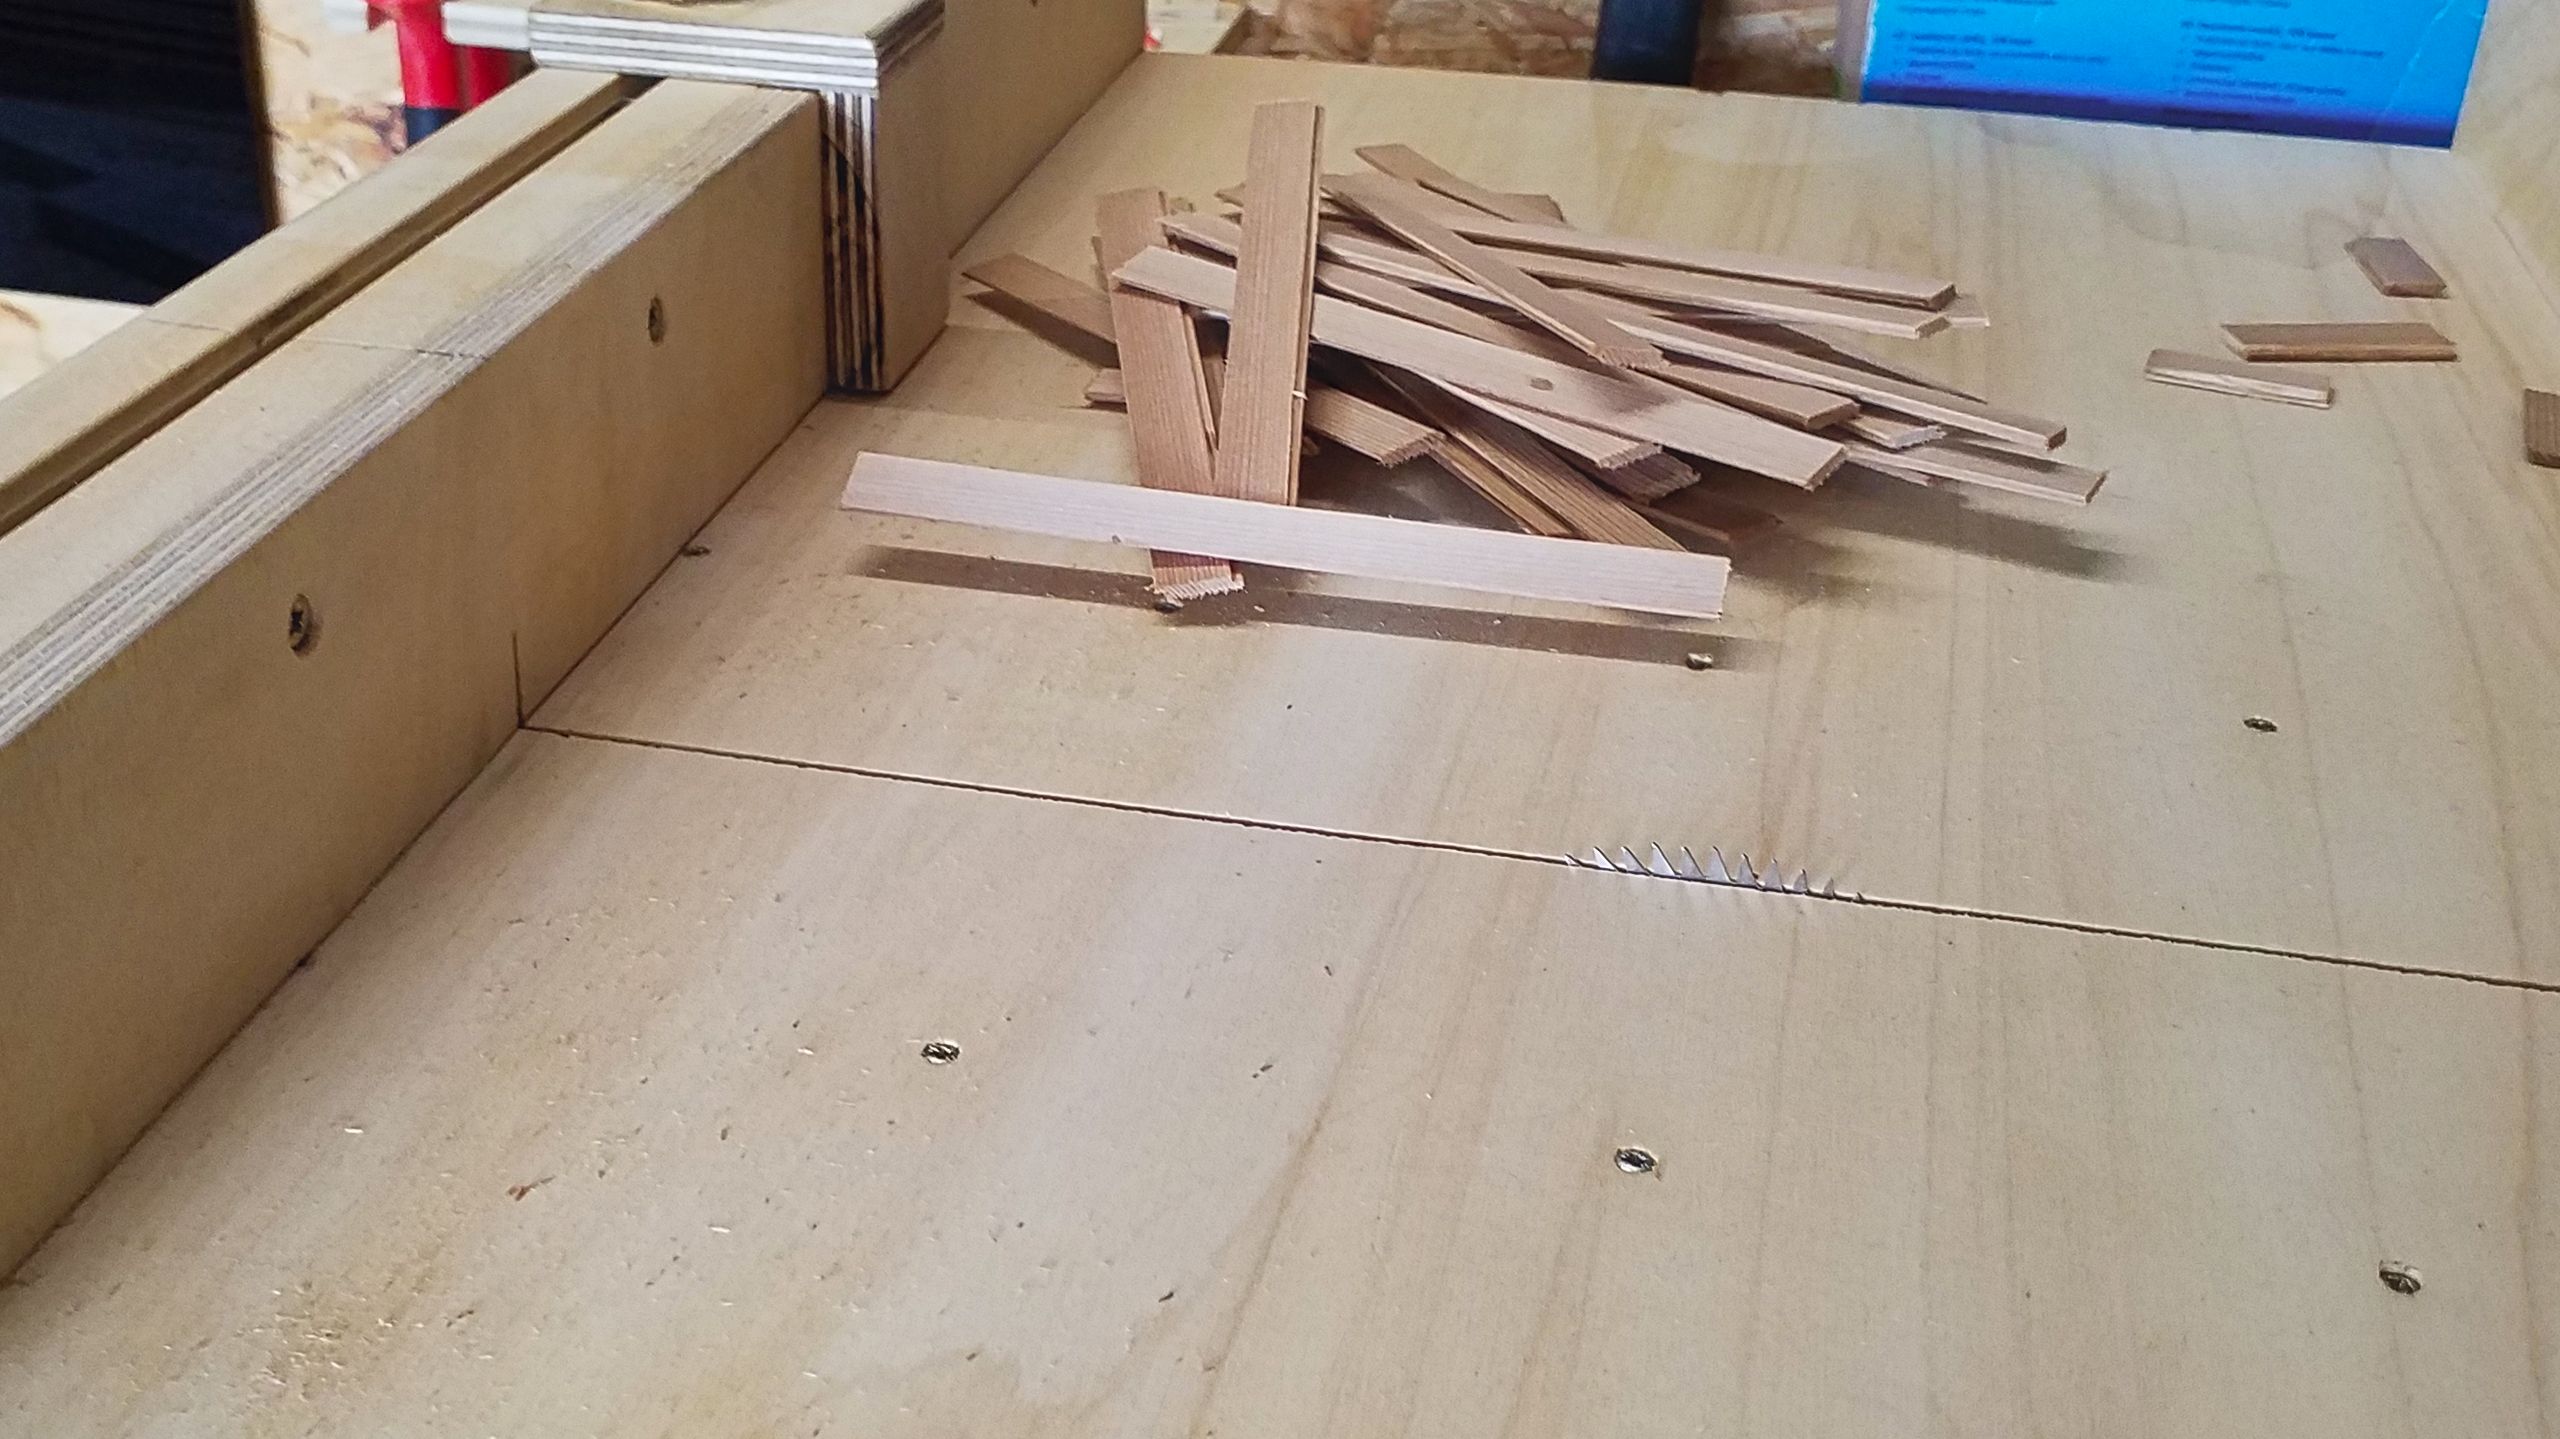
While cutting the end sills and dead blocks to length, I simply made a few more of both of them using my sled. It’s a matter of convenience and I do plan to build a whole fleet of waggons… or at least two, or three specimens.
After all the sills are cut to length, I’m switching to manual. The side sills are notched to accomodate the end sills.

In the prototype, the whole frame is assembled by hidden mortise and tenon joints. One can model that, it’s even not that difficult. But it’s very time consuming and afterwards it’s completely invisible. So I decide to use pegs made from 4 mm beech rods. In order to drill the needed holes repetitively, I construct a drilling template.

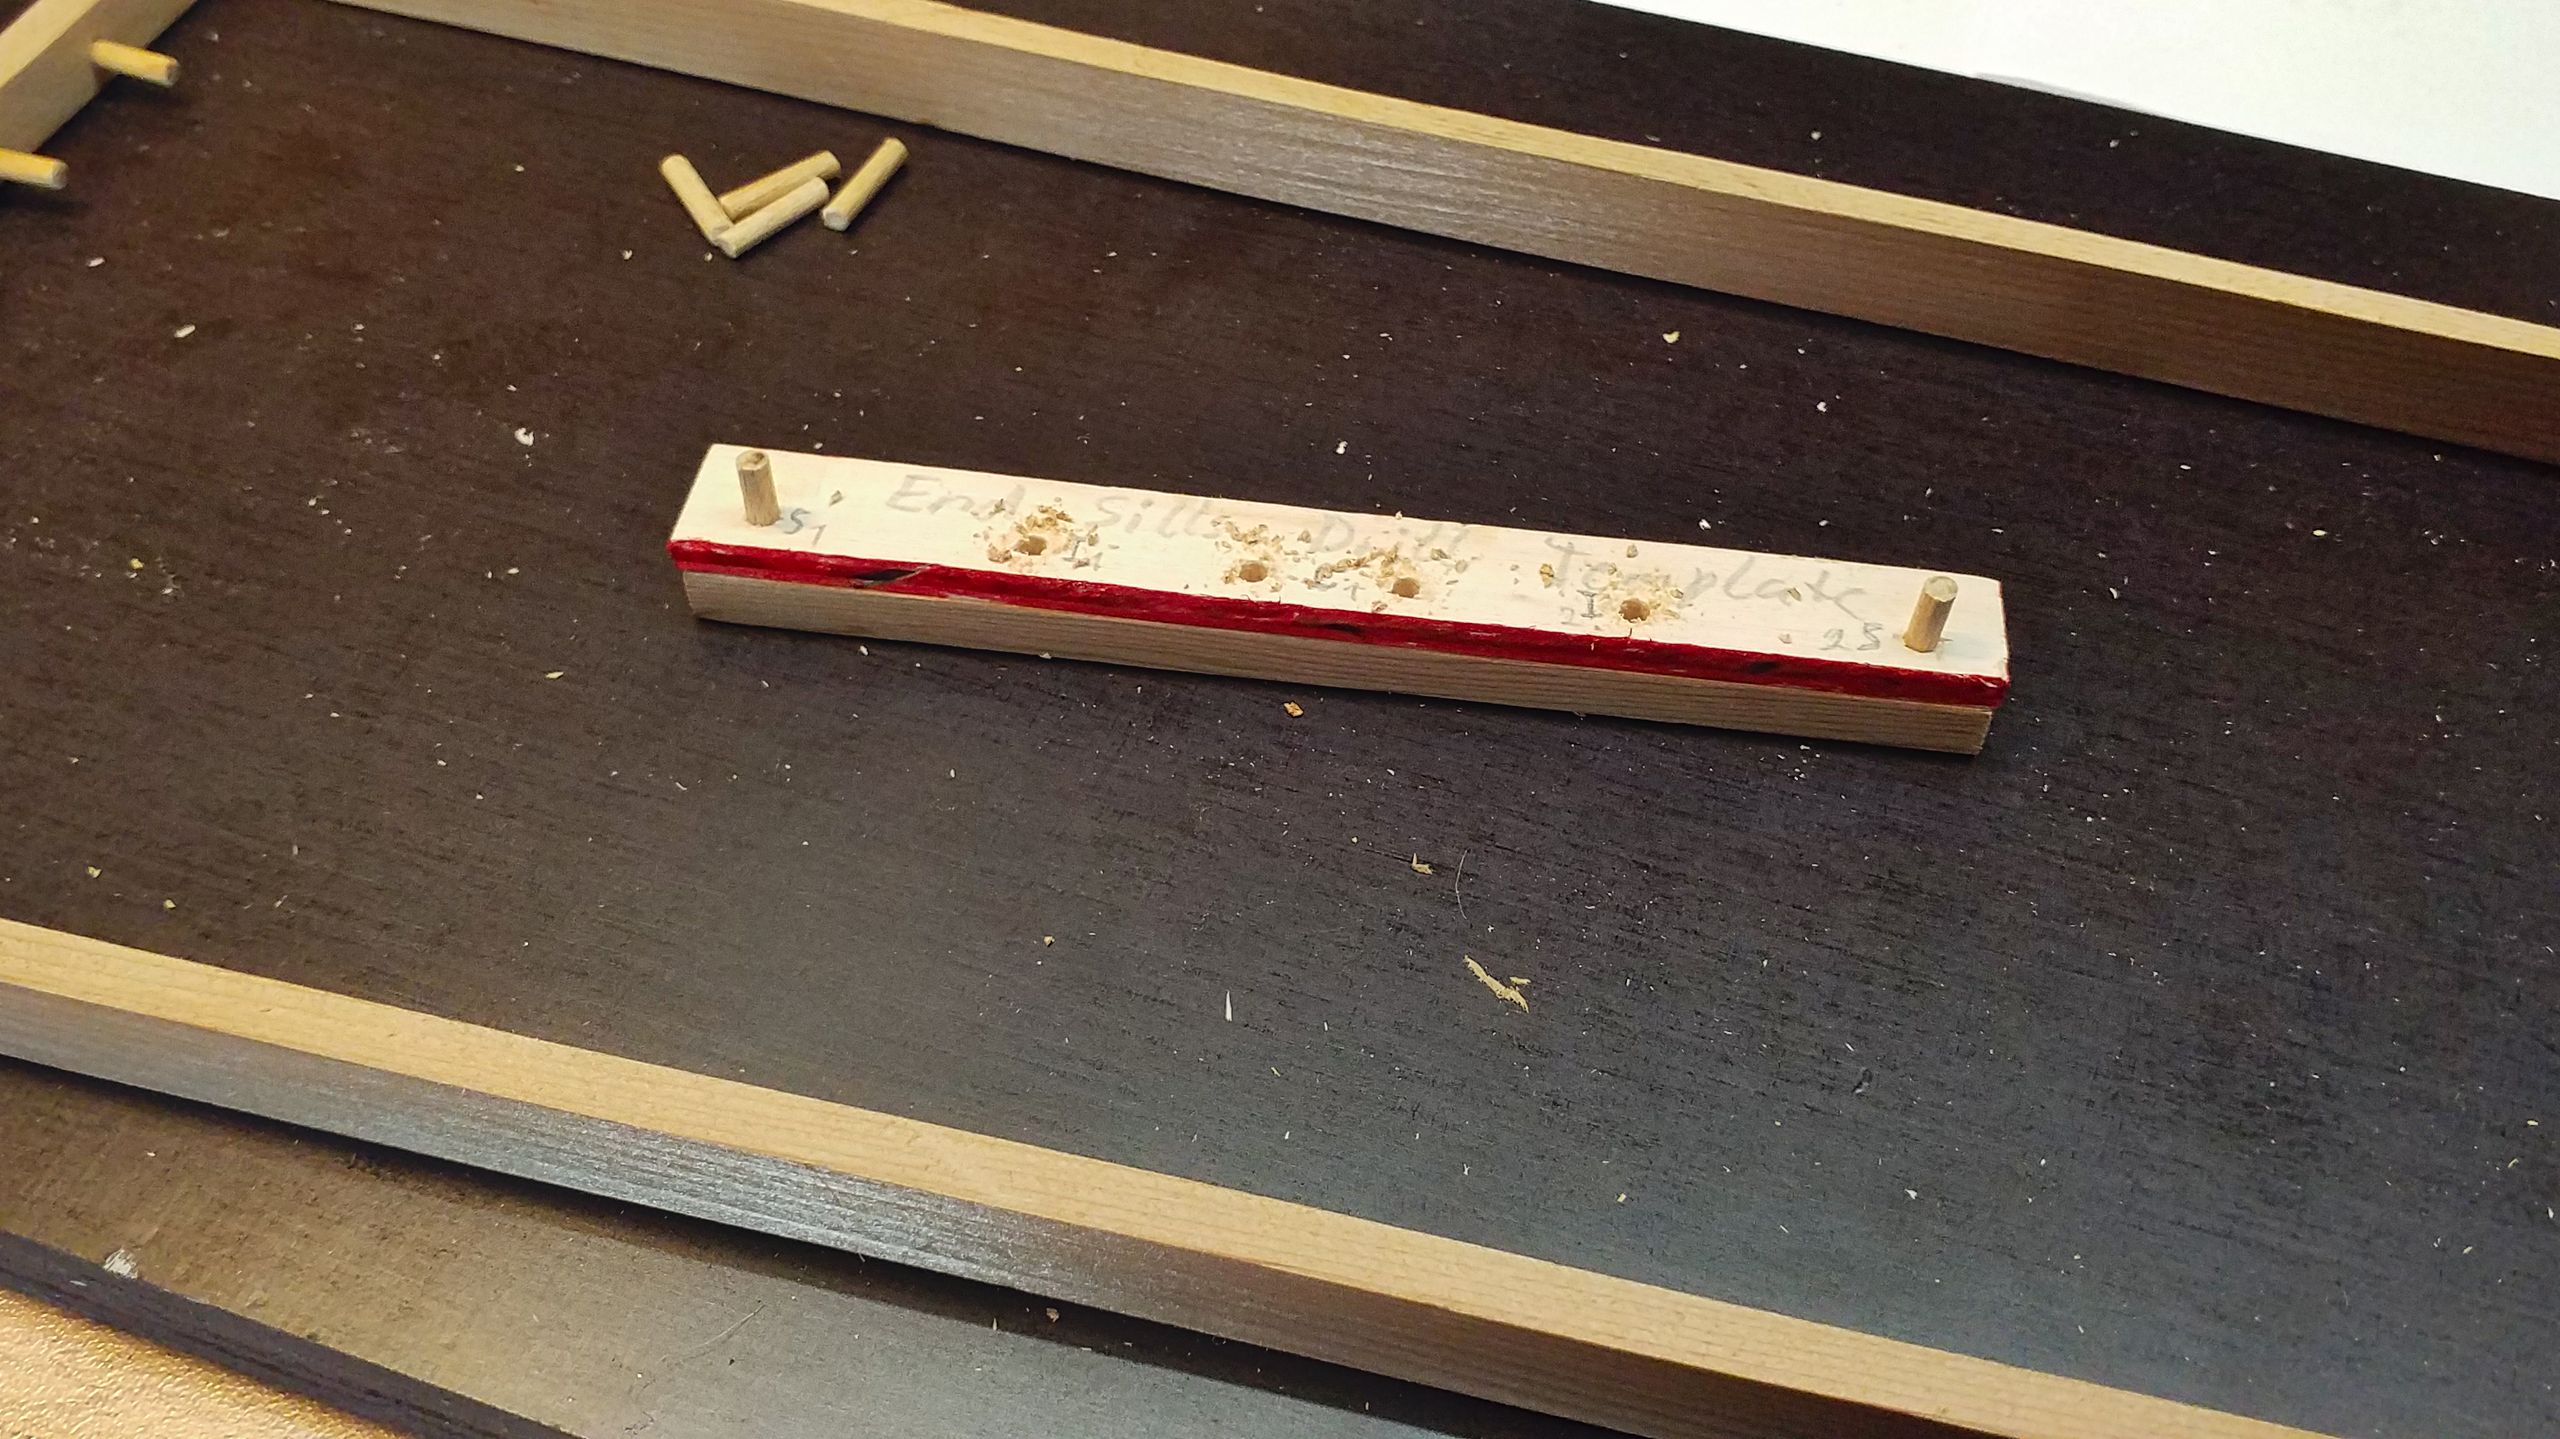
The template is placed under the first end sill while it’s being drilled. The next step is to white-glue a fence onto it. Again, no metal screws or pins are used in order to save the expensive drill bits.

The template is used at once to drill the second end sill. One can see clearly how I fix the template to the slat using pegs, so that drilling the inner four holes is child’s play.
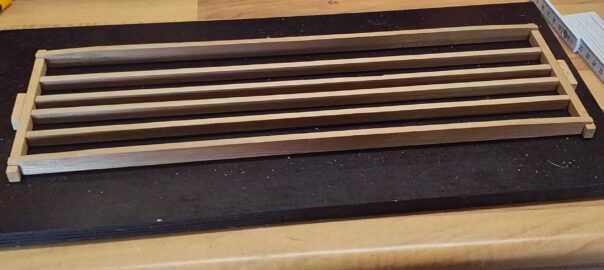
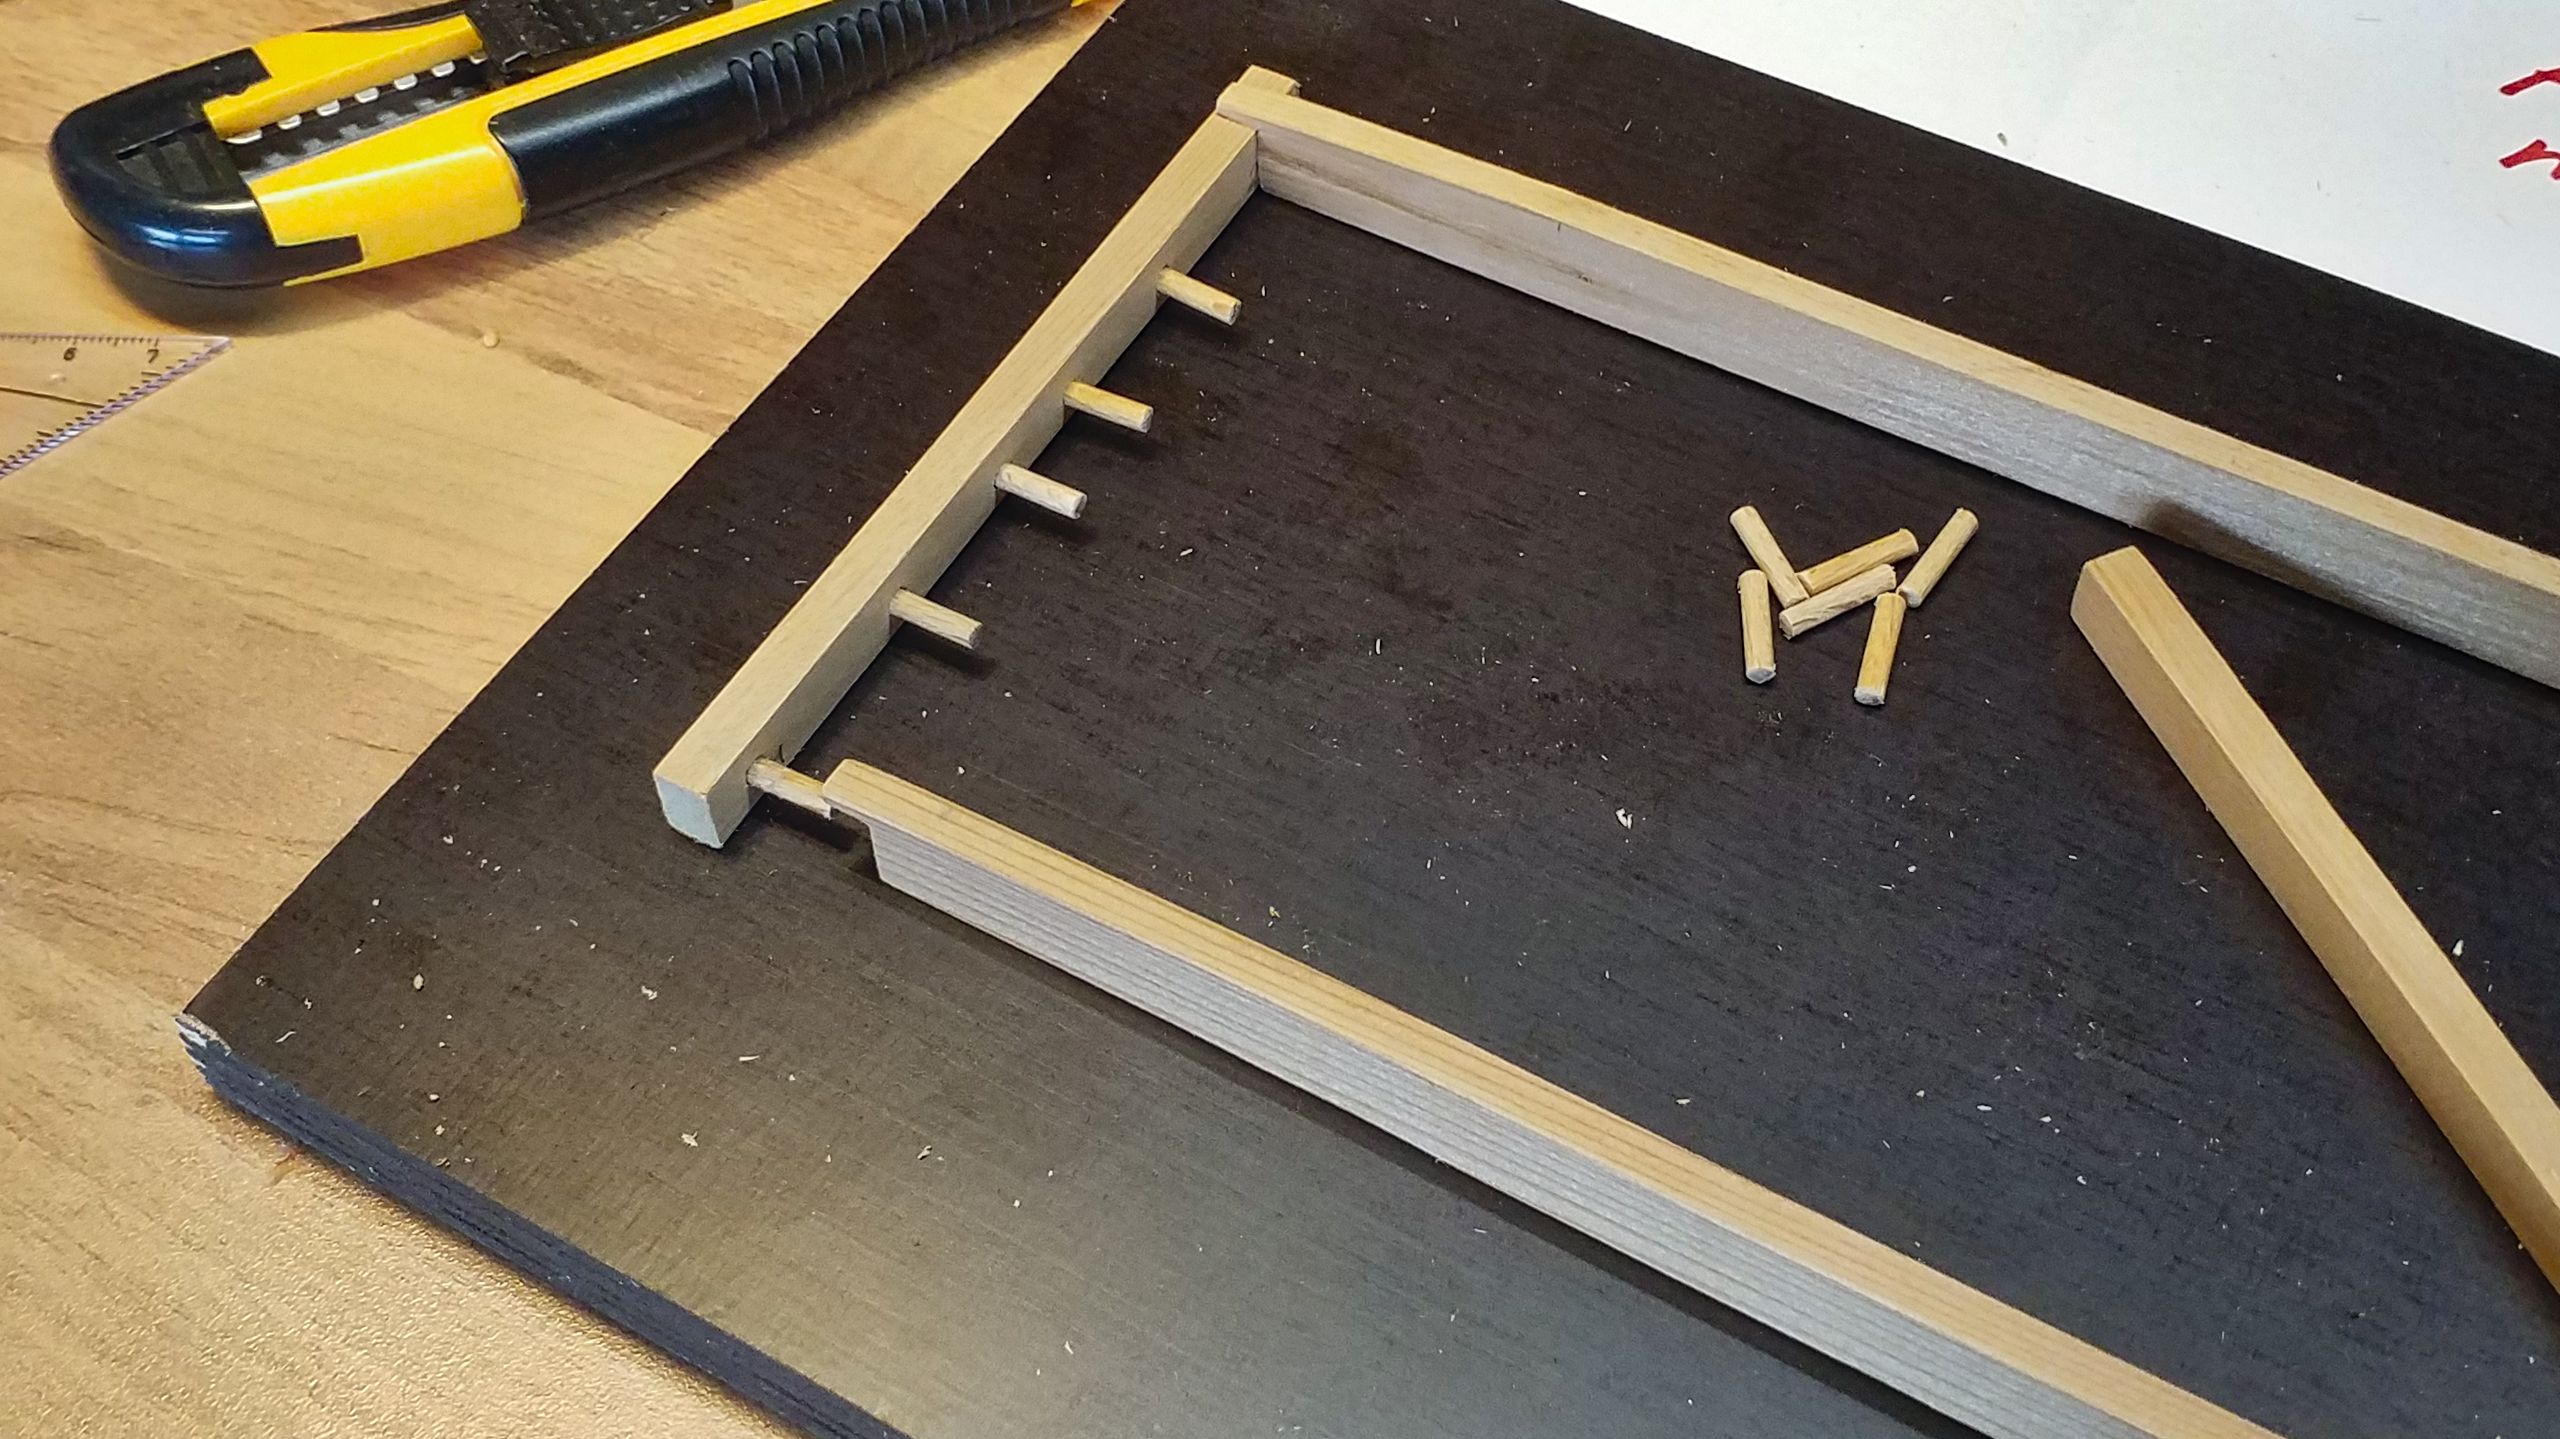
Fitted out with aptly sawed pegs, all the longitudinal sills are assembled to one end sill…
…and then the second end sill is put in place. The gentle reader will notice that even the dead blocks are held in place with pegs: The end sills’ holes for the center sills are drilled through and connected with longer pegs. Equally important: No glue at this time! One often has to disassemble the whole contraption in order to make small corrections or adjustments at this stage.

After roughly constructing the frame I’ve tackled the floor boards. First off, as a test-run so to speak, the edge boards are prepared, which are grooved only at one side. I create a small stack for additional waggons, again.
And then it’s sled-time: The grooved slats are cut to length in order to create floor boards.
These steps are all quite simple, but time-consuming. Especially while building a prototype, patience is of the essence. One rather measures four times and second-guesses three times than cutting or drilling too hastily once. Next week, floor and trusses are on.