
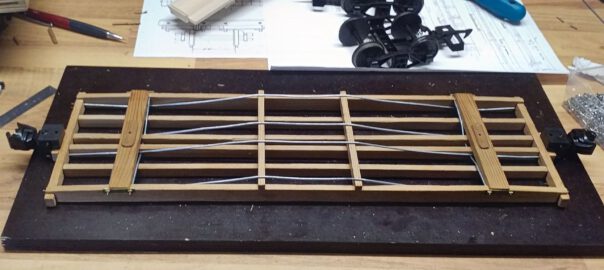
By mounting the queenposts the waggon’s substructre is now ready for the turnbuckles. The prototype is used to adjust the trusses’ tension in order to avoid the waggon’s floor to sag. I decided to go for a scratch-build again, since the cast pieces are currently very hard to come by and on top of that they would have been the weakest link in my current construction. However, as a matter of fact it’s very time-consuming to build them manually.
Tag: Trusses
Flatcars Prototype: Detailing the Underside
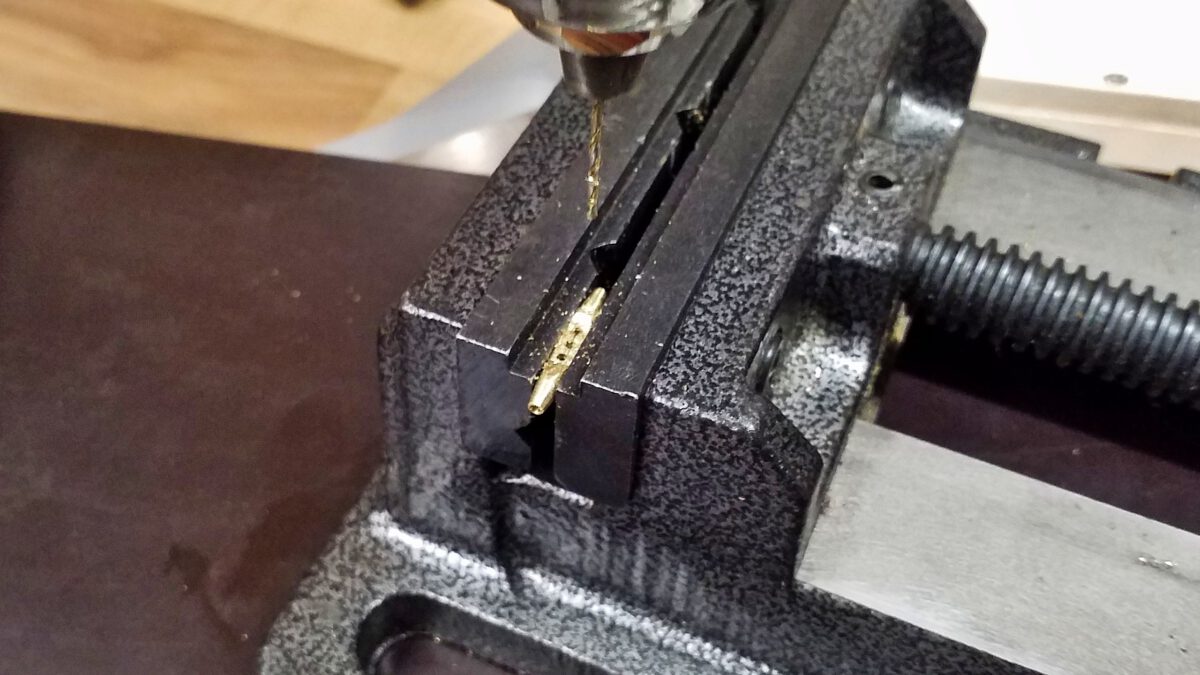
After busying myself for a while with the bogies and couplers, it’s time to start detailing the flatcar. Though they are not that striking at first glance, the details will significantly add up to the overall picture. And since they are the most visible parts, I’m starting with the trusses or more specifically the queenposts.
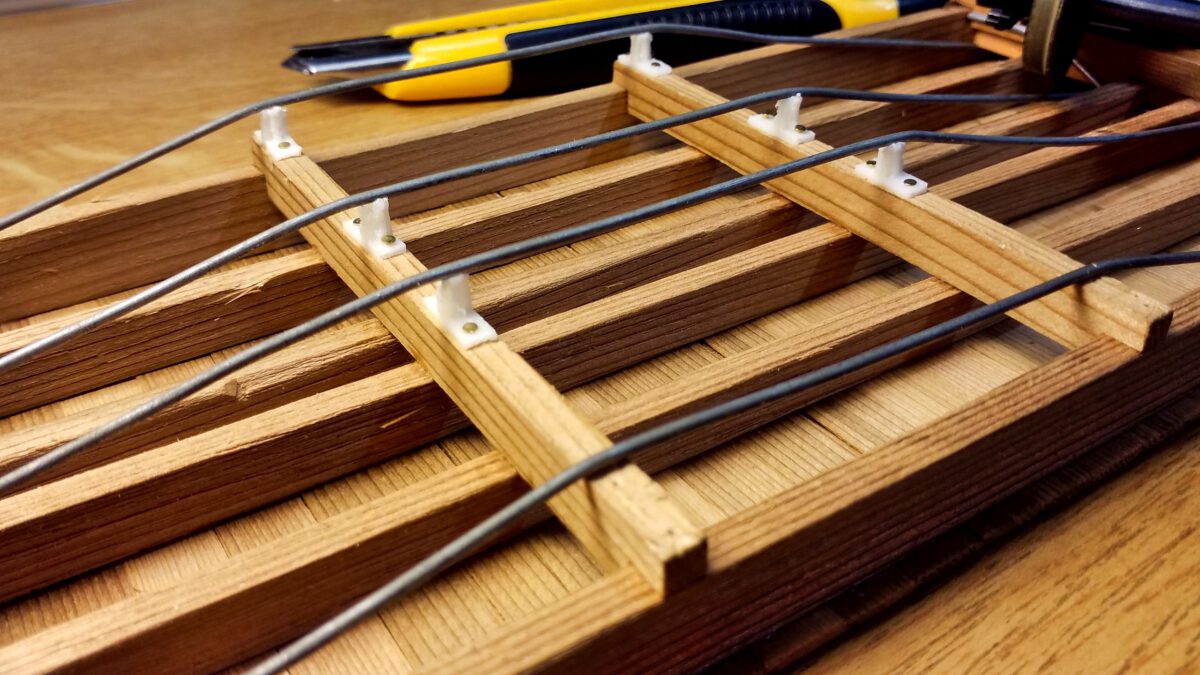
Flatcars Prototype: Floor and Trusses
After preparing the frame and floor boards, construction can continue with the underframe. The main components are the body bolsters, needle beams and trusses. Unfortunately, I don’t have got a complete set of diagrams, so I had to guesstimate concerning the longitudinal and cross trusses. However, it’s not rocket science.