
After busying myself for a while with the bogies and couplers, it’s time to start detailing the flatcar. Though they are not that striking at first glance, the details will significantly add up to the overall picture. And since they are the most visible parts, I’m starting with the trusses or more specifically the queenposts.
The queenposts create some distance between the body and the trusses, which facilitates to keep the body from bending. Initially I planned to purchase casted metal parts, alas such parts made for Fn3 are hard to come by in Europe and last year’s transatlantic shipments were somewhat less than reliable.
So I tried to draft my own queenposts using a 3D editor and print them with a 3D printer. Part 1? Easy! Those of you who’ve followed me for some time will know my planning for the Dewey Bros. loco, which sadly won’t be finished in the foreseeable future. So I came up with a first draft quickly.

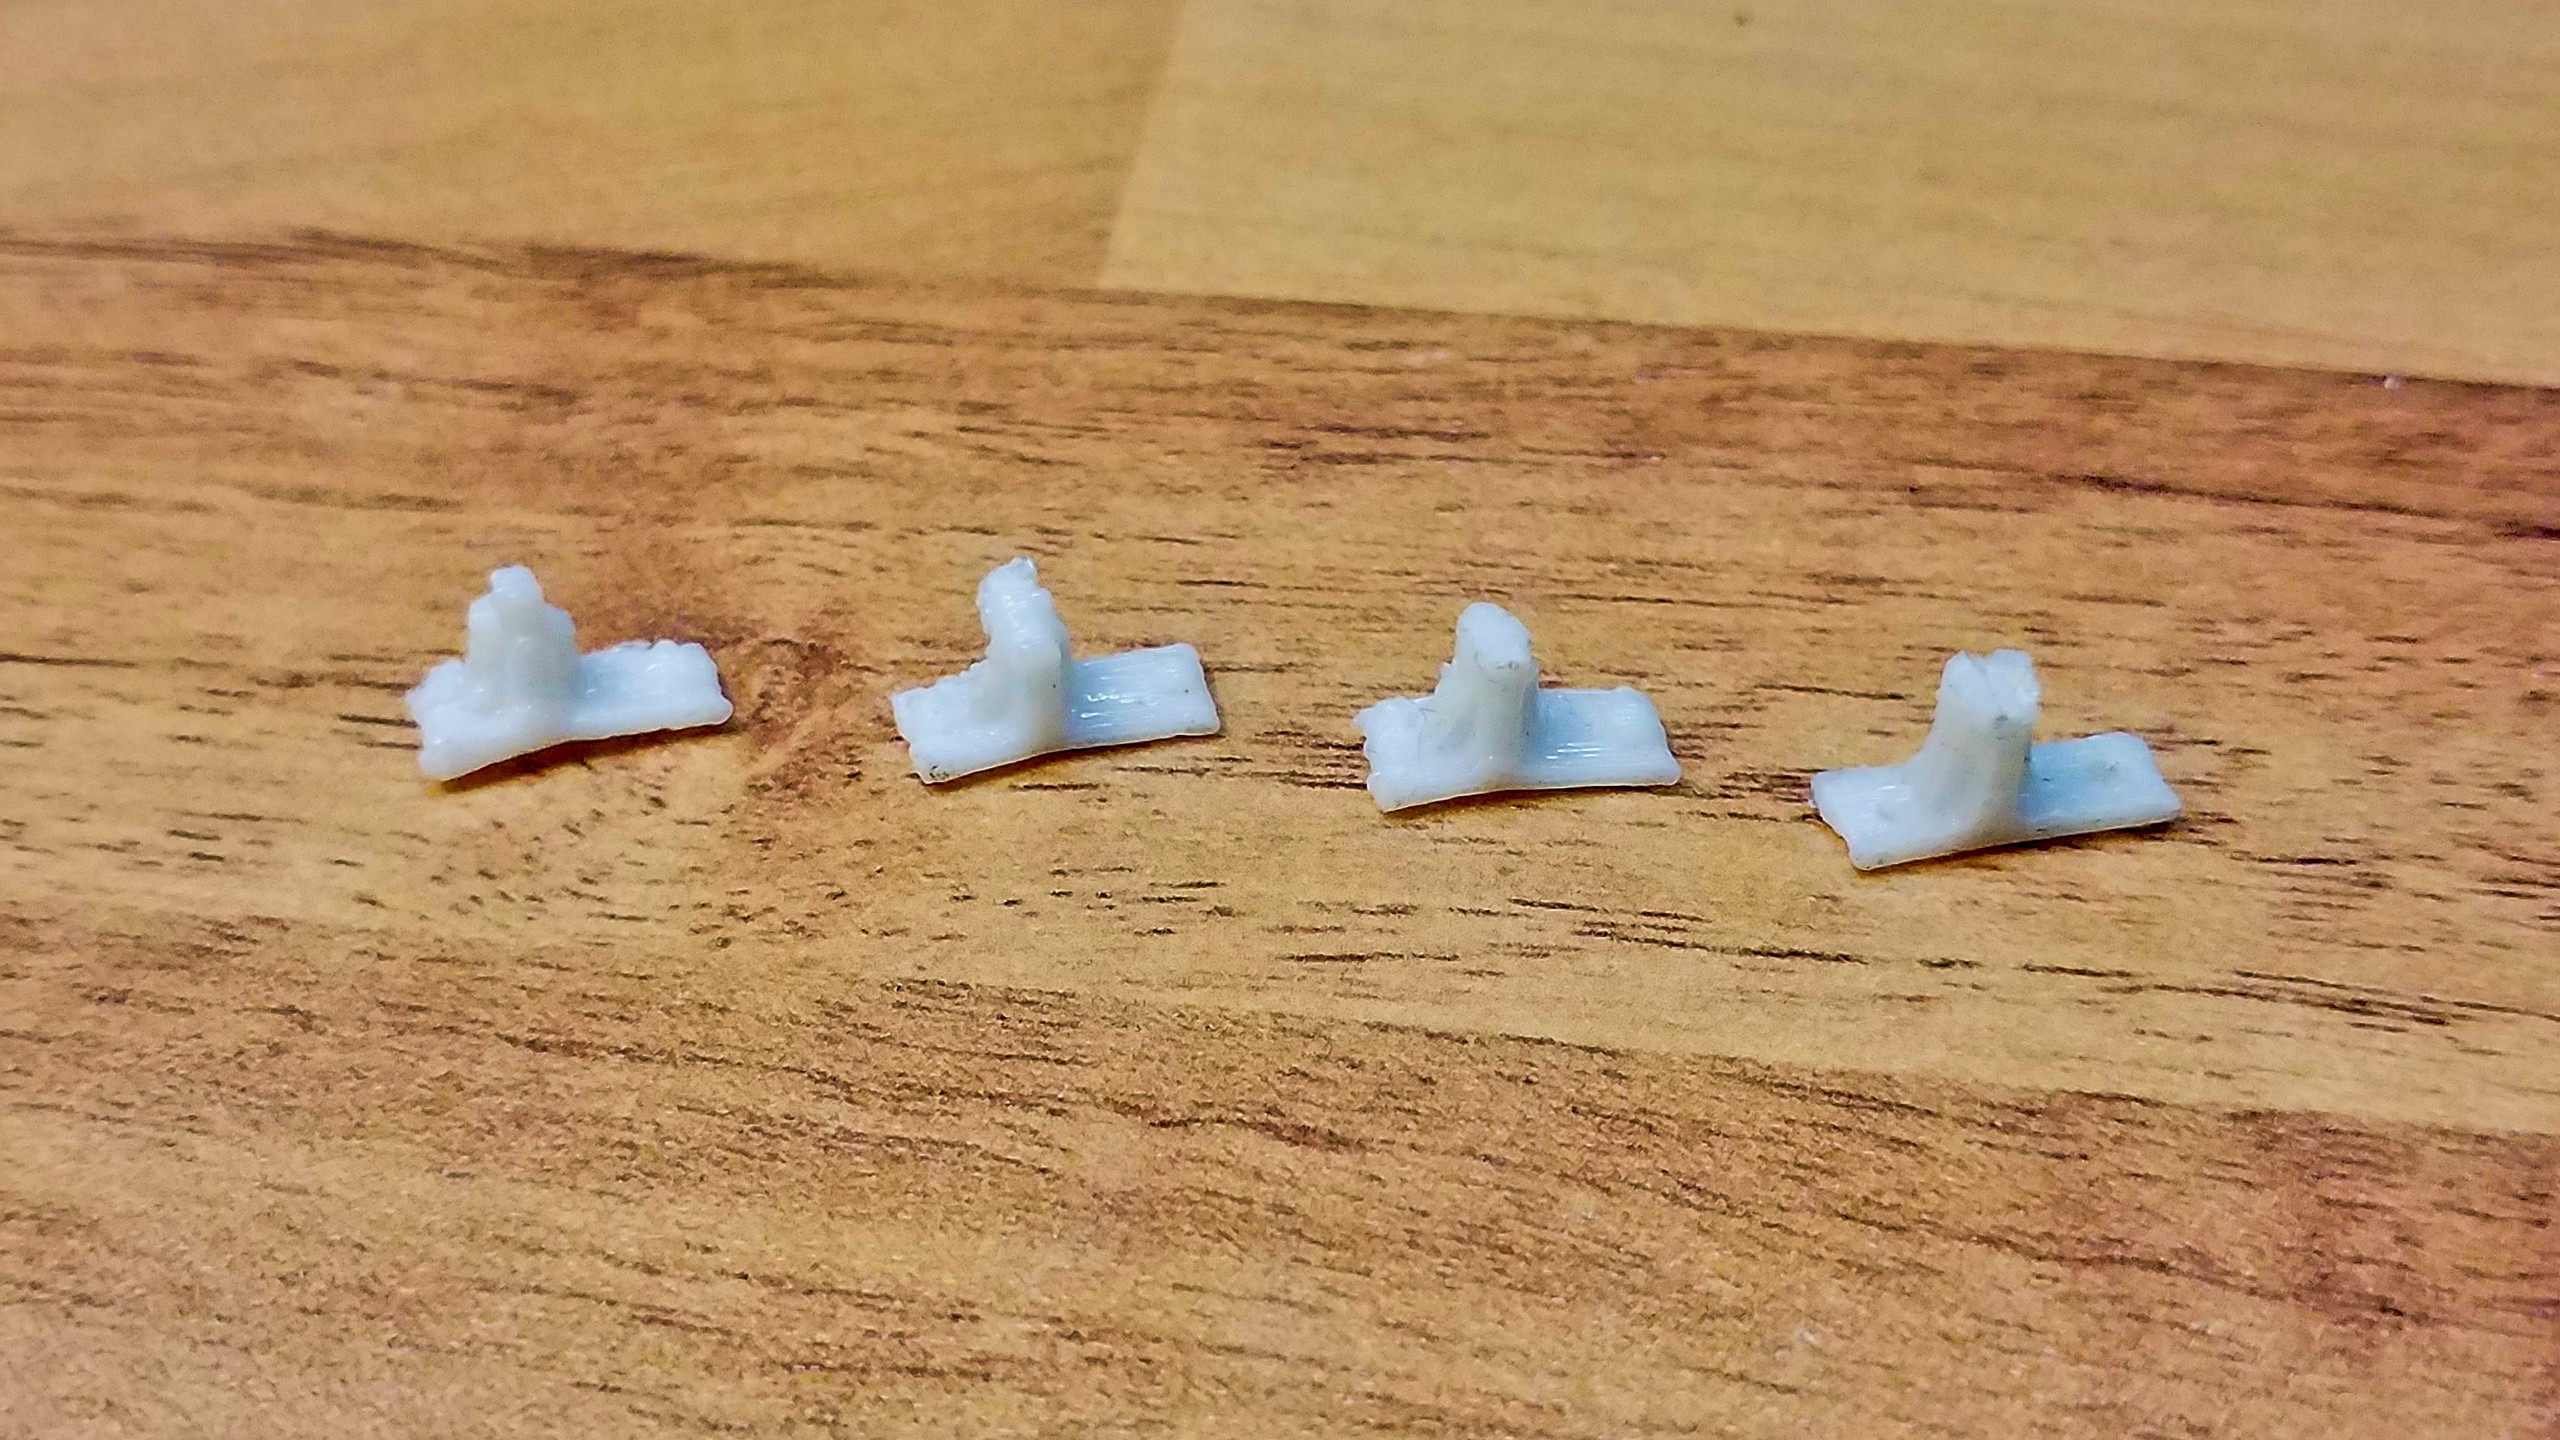
Part 2? Not so easy… I’ve never worked with a 3D printer before. Nozzle diameter, printing speed, layer height, supportive material… oh dear! Fortunately, at least I know that I’m clueless, so I’ve printed one test specimen at a time, tried to discern errors and problems and their cause and tried adjustments. After four attempts, I have a somewhat acceptable result, featuring no unplanned holes.
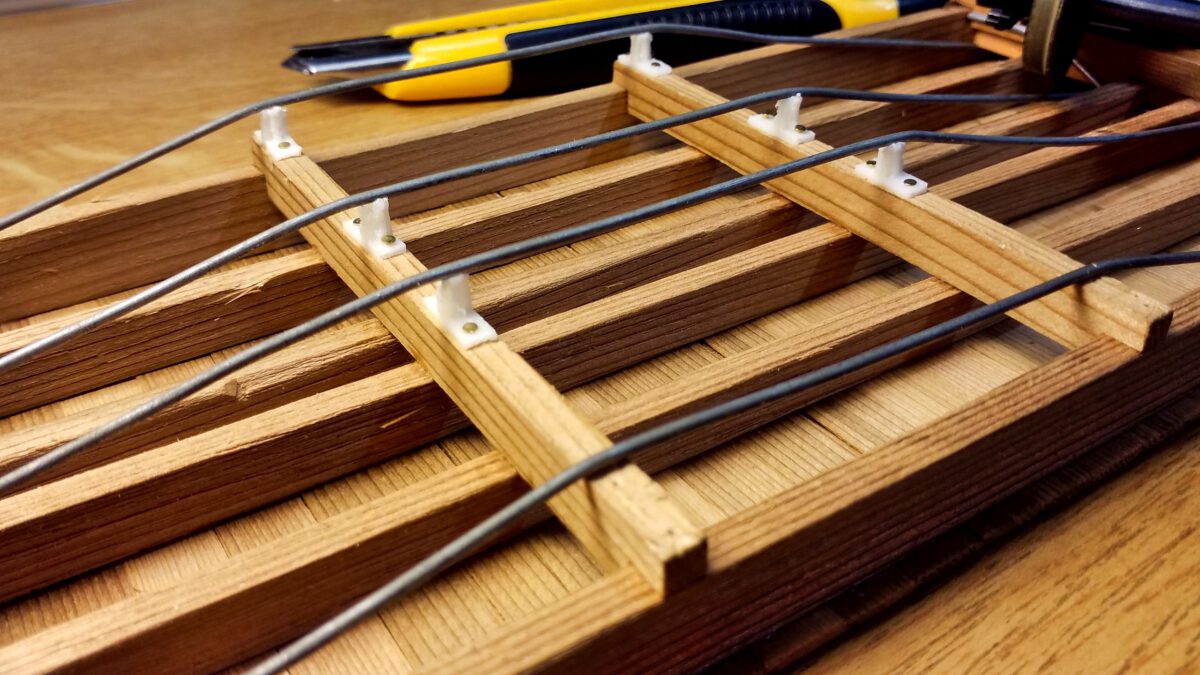
The last version is printed in eight copies and mounted to the needle beams for test purposes. The first impression is very good, although they seem a bit thick to me. What I really like is that the trusses can be tightened but good, using the nuts at the body’s ends and the queenposts won’t give. I even managed to arch the waggon’s body, such were the forces applied.

There’s only one disadvantage with this fourth version, they only just cup the trusses, the latter tend to easily side-slip, for example when the waggon is picked up by hand. So I adjusted the 3D draft one more time and added a (too massive) head. Once those are printed and primed with pins, they are given a coat of brown and red acrylic paint.
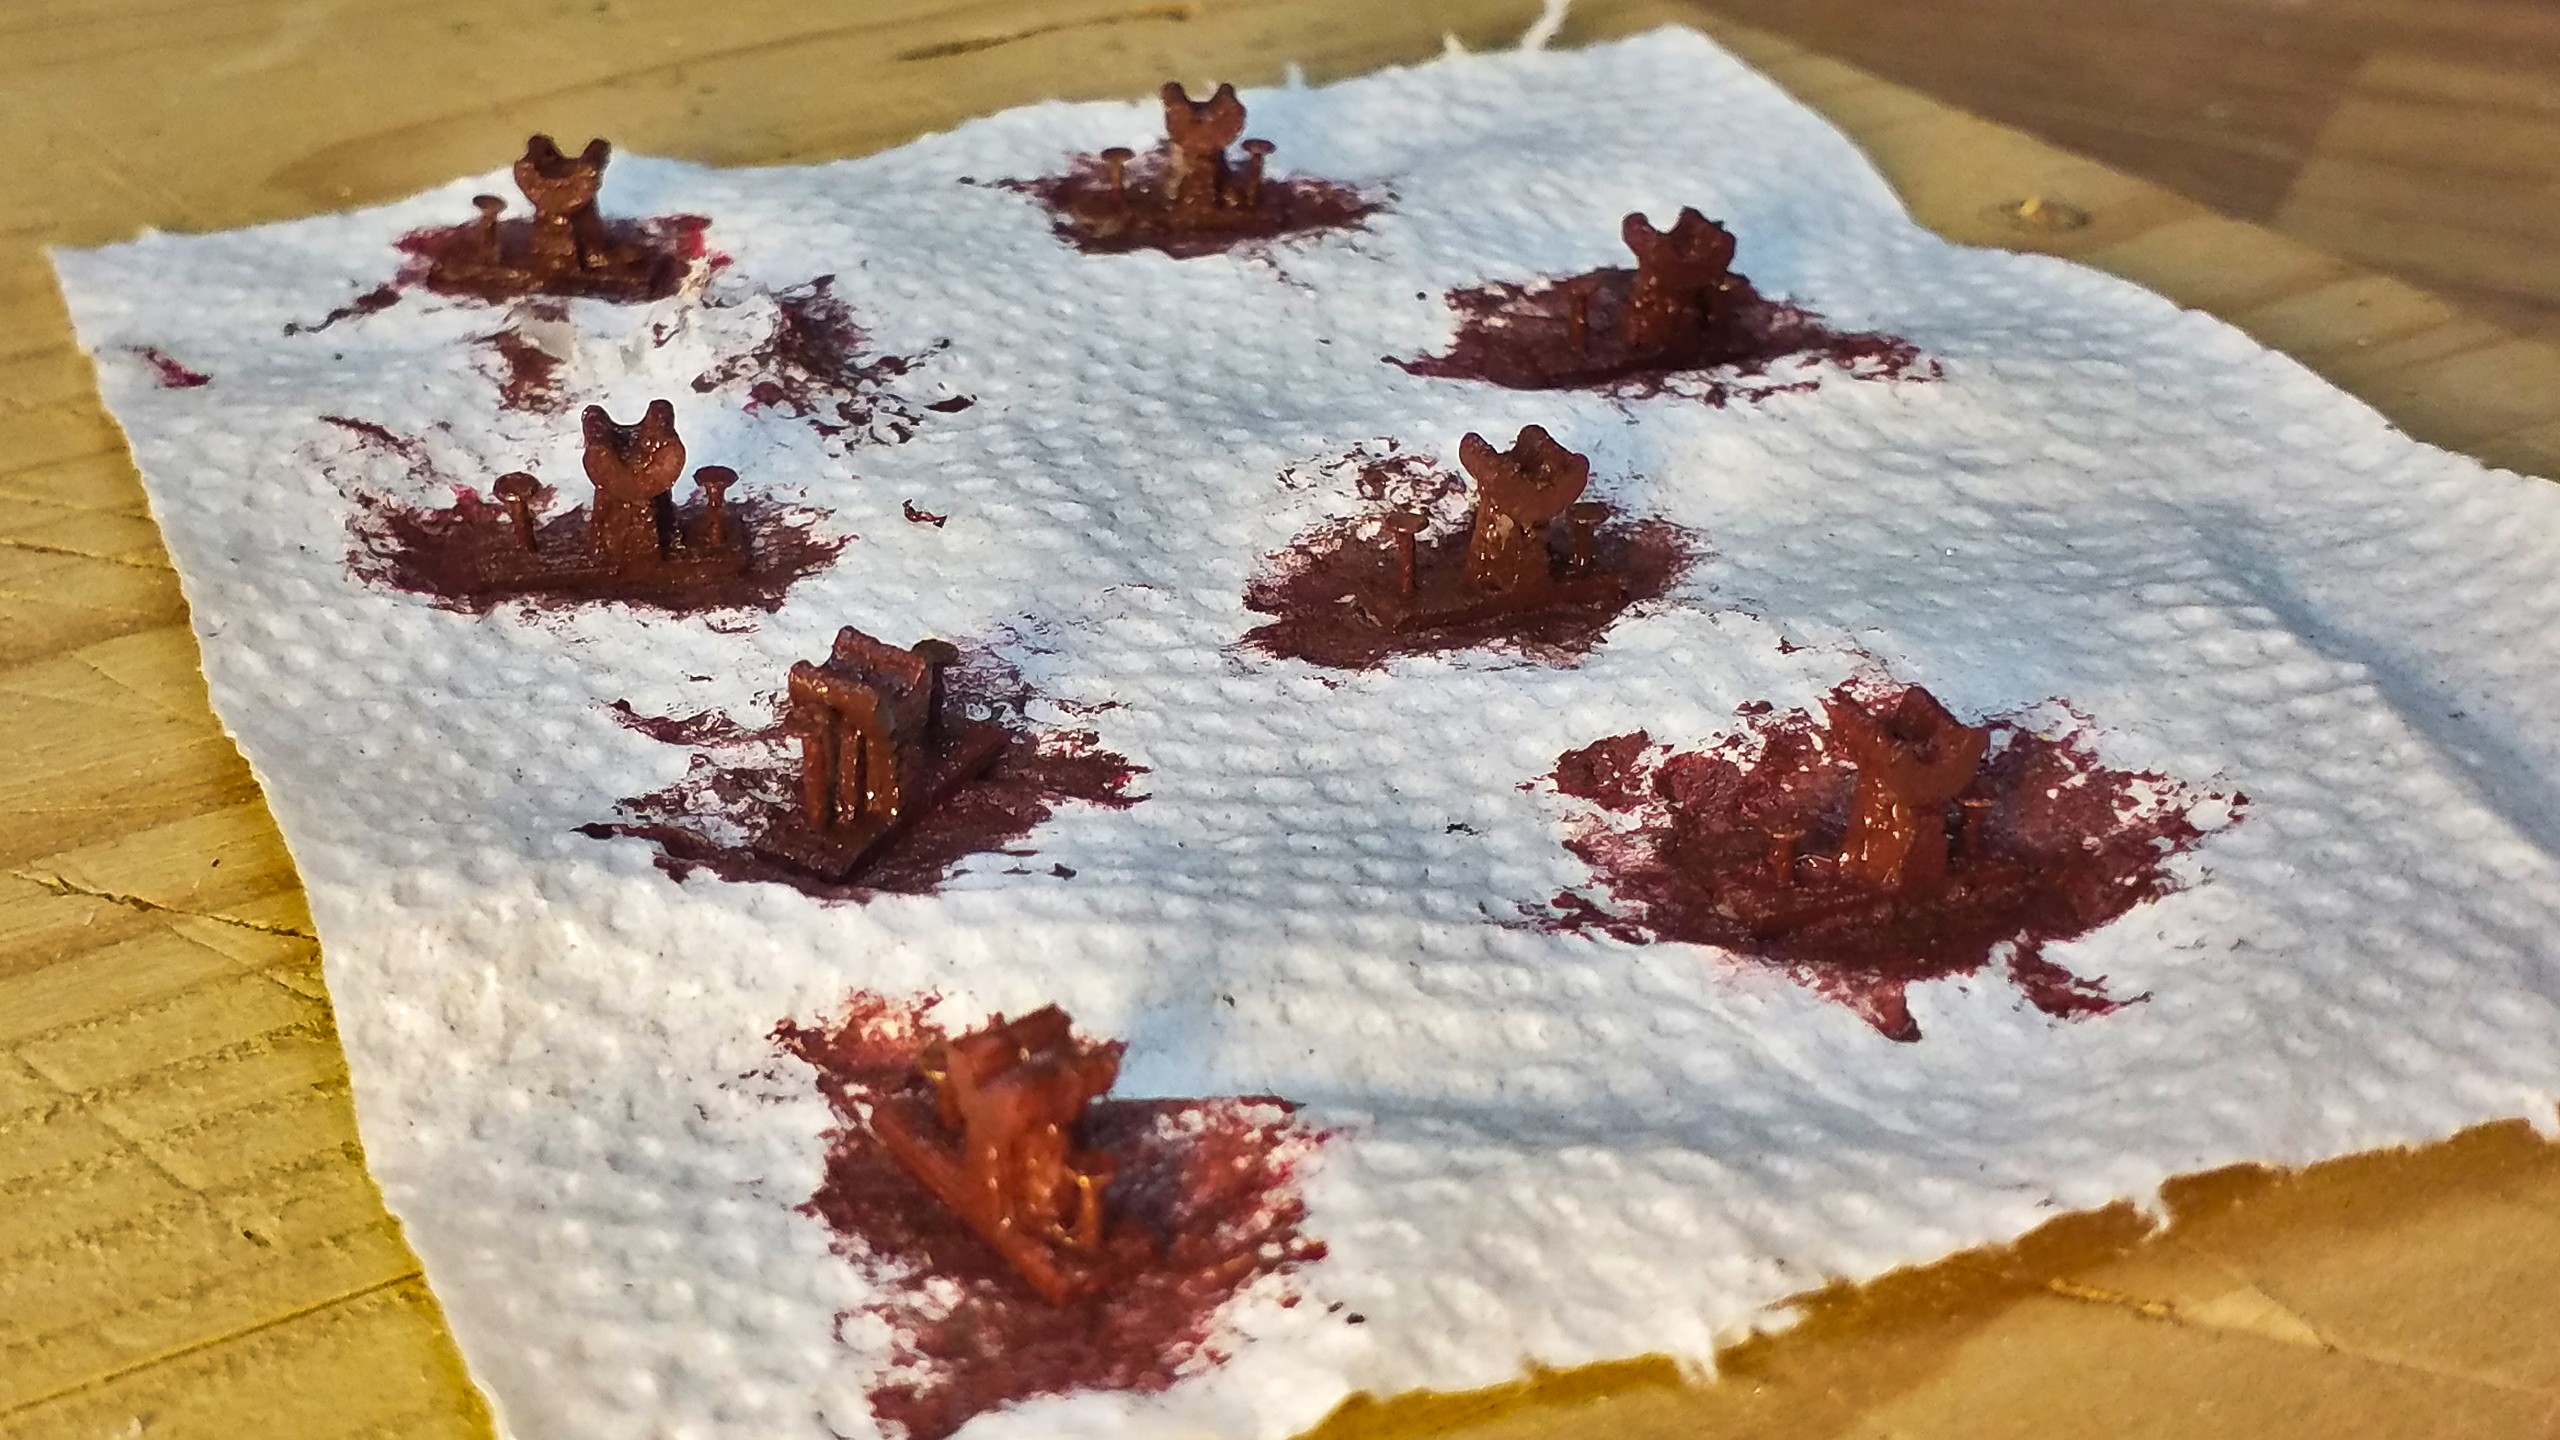
Once the paint has dried, they are mounted to the flatcar and this time not only is the tension easily adjustable, the trusses stay in place, too. The paint coat of course is supposed to imitate rusted metal, for the following reason: I will paint the whole waggon and thus the queenposts will get a second coat of paint. If I miss some spot, or the paint flakes off during operations, the first layer will become visible and add nicely to the look of a used flatcar.

And of course I had to put the waggon on a piece of Code 250 track in order to admire it.
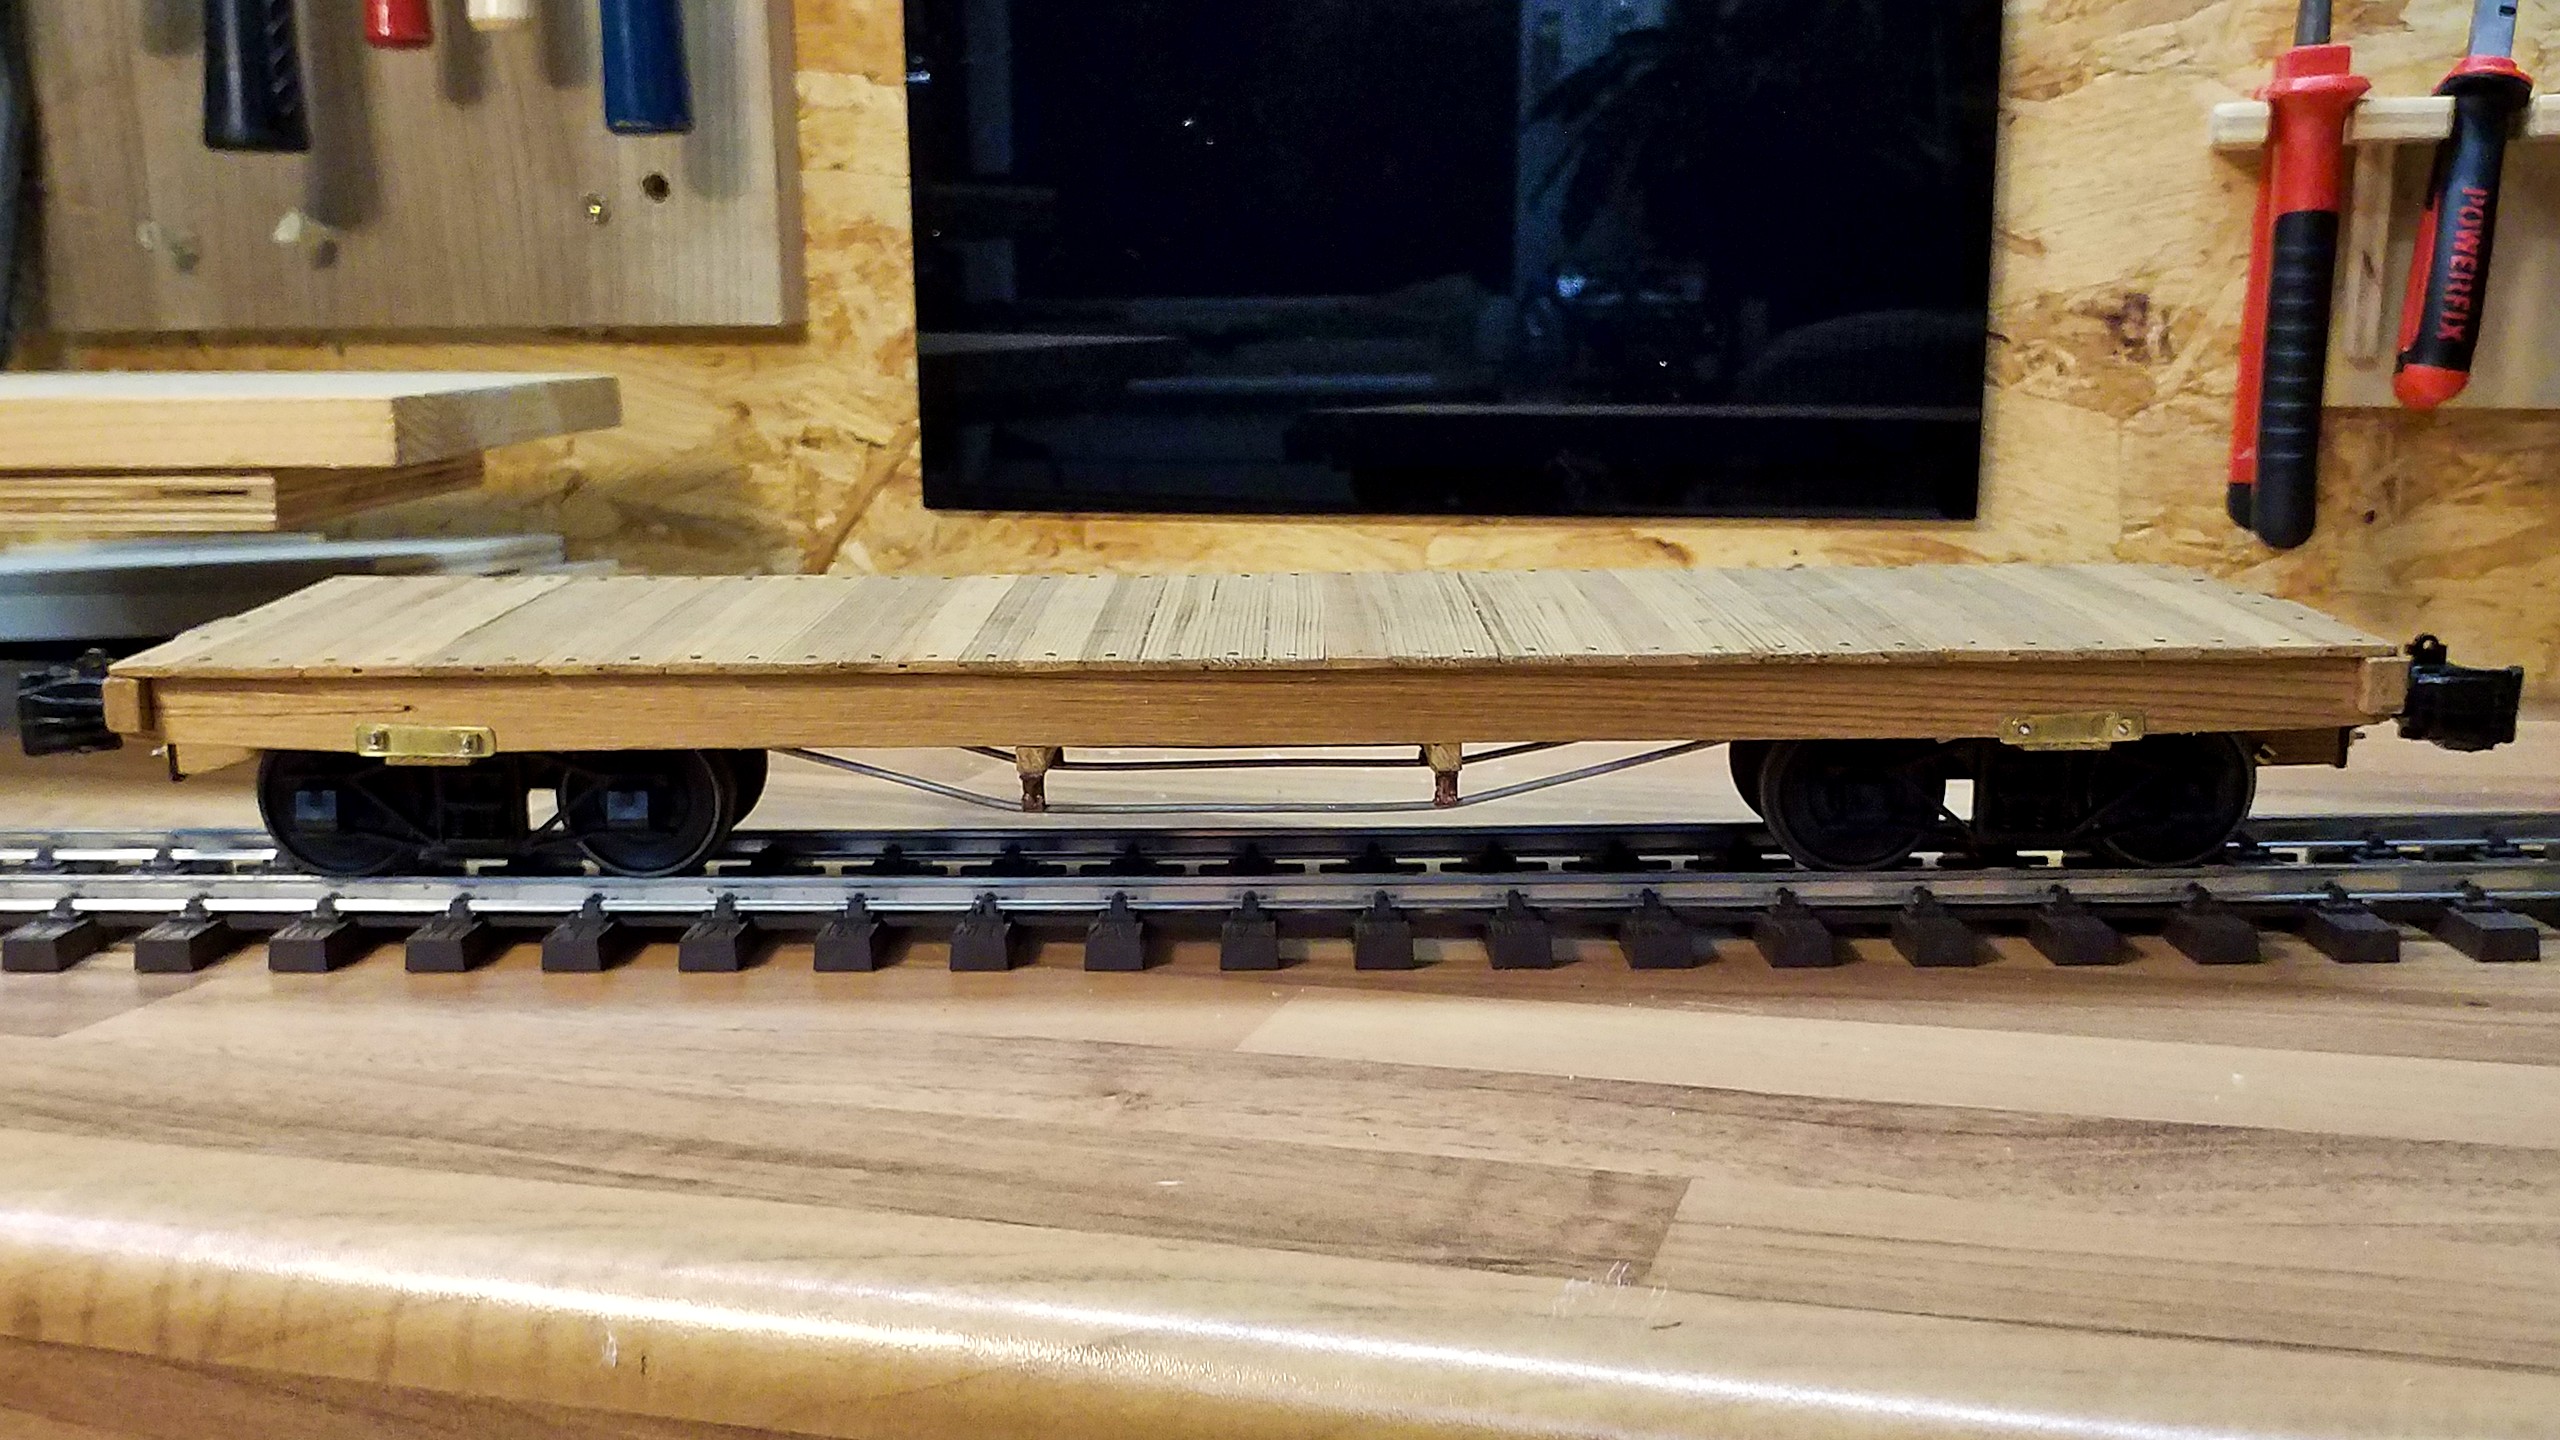
I’m very happy with the appearance, the queenposts aren’t too massive and the waggon looks a great deal more prototypical. Next time, it’s the turn buckles.