

Last week, after many years we finally had snowfall. I couldn’t miss out on that one, so out came the rolling stock and off we go!
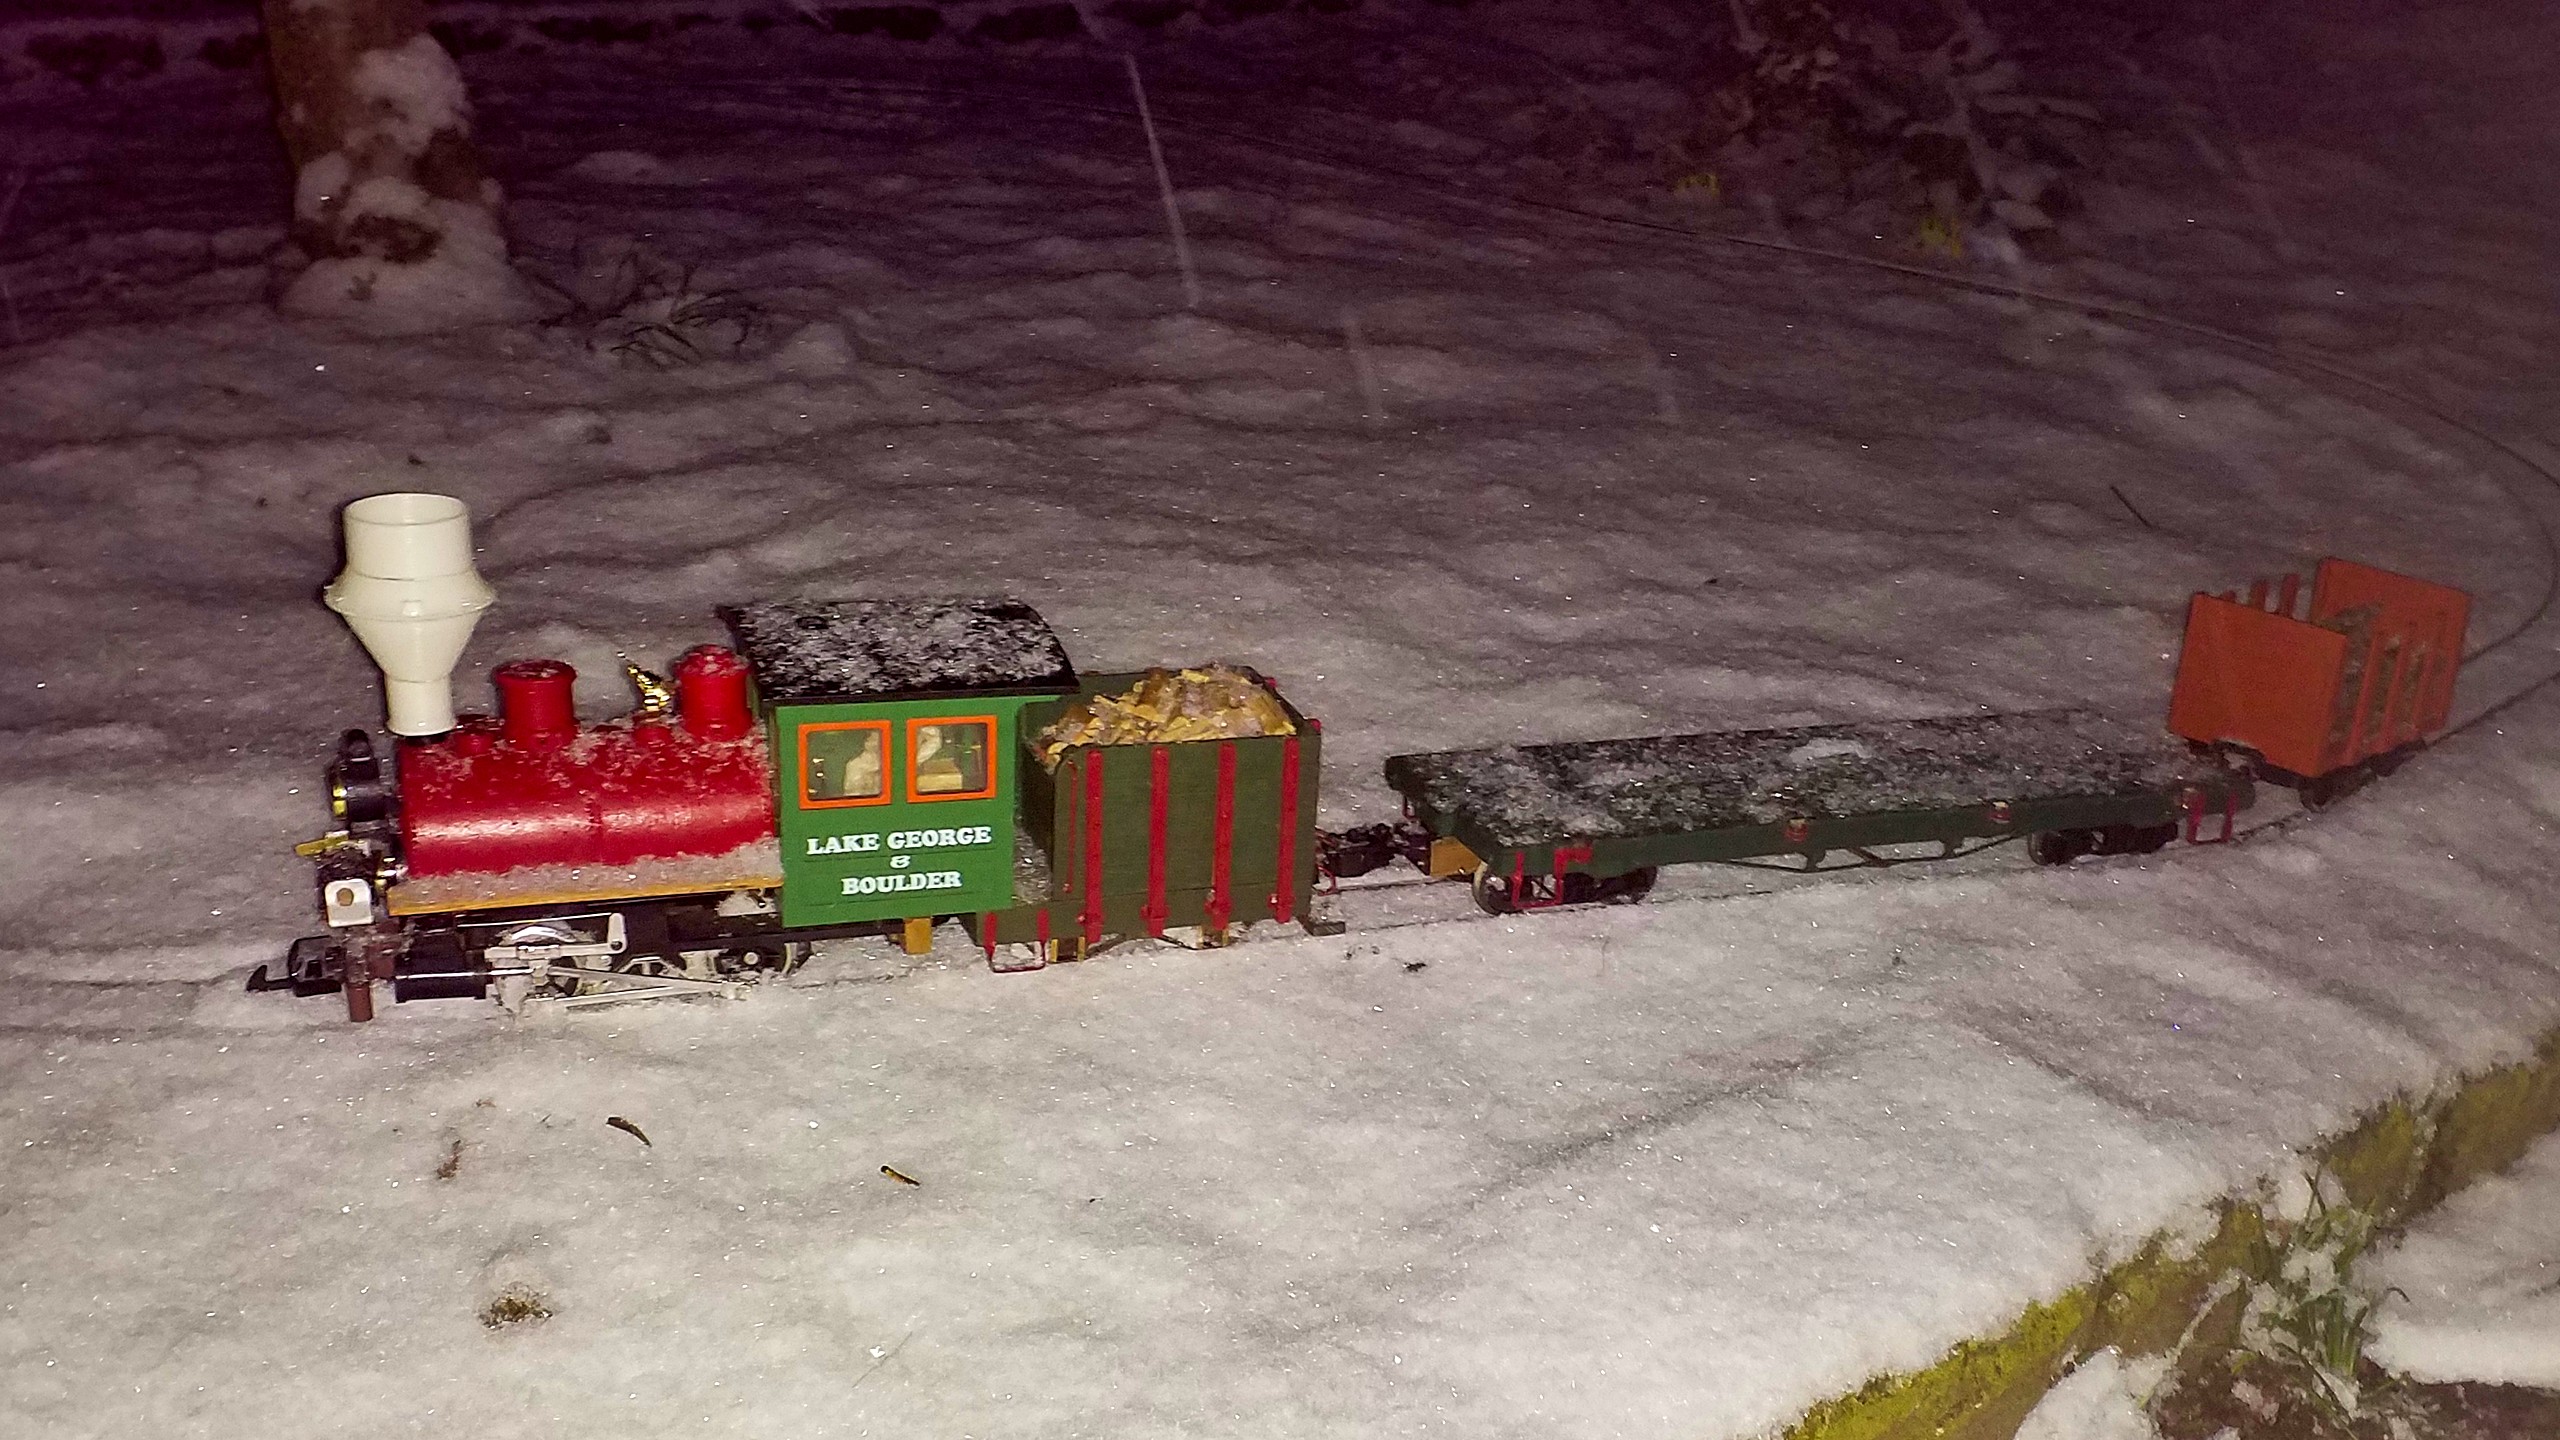
The joy got somewhat marred, though, since the falling snow caused all the wheels to build up ice and caused many derailments. However, the snow remained and when the snowfall finally stopped at 11 o’clock the next morning, the whole layout was covered in a white blanket. I just couldn’t miss out on that opportunity! So, off to the workshop.
Below, I’d like to show how one can improvise a working snow plough in less than one hour.
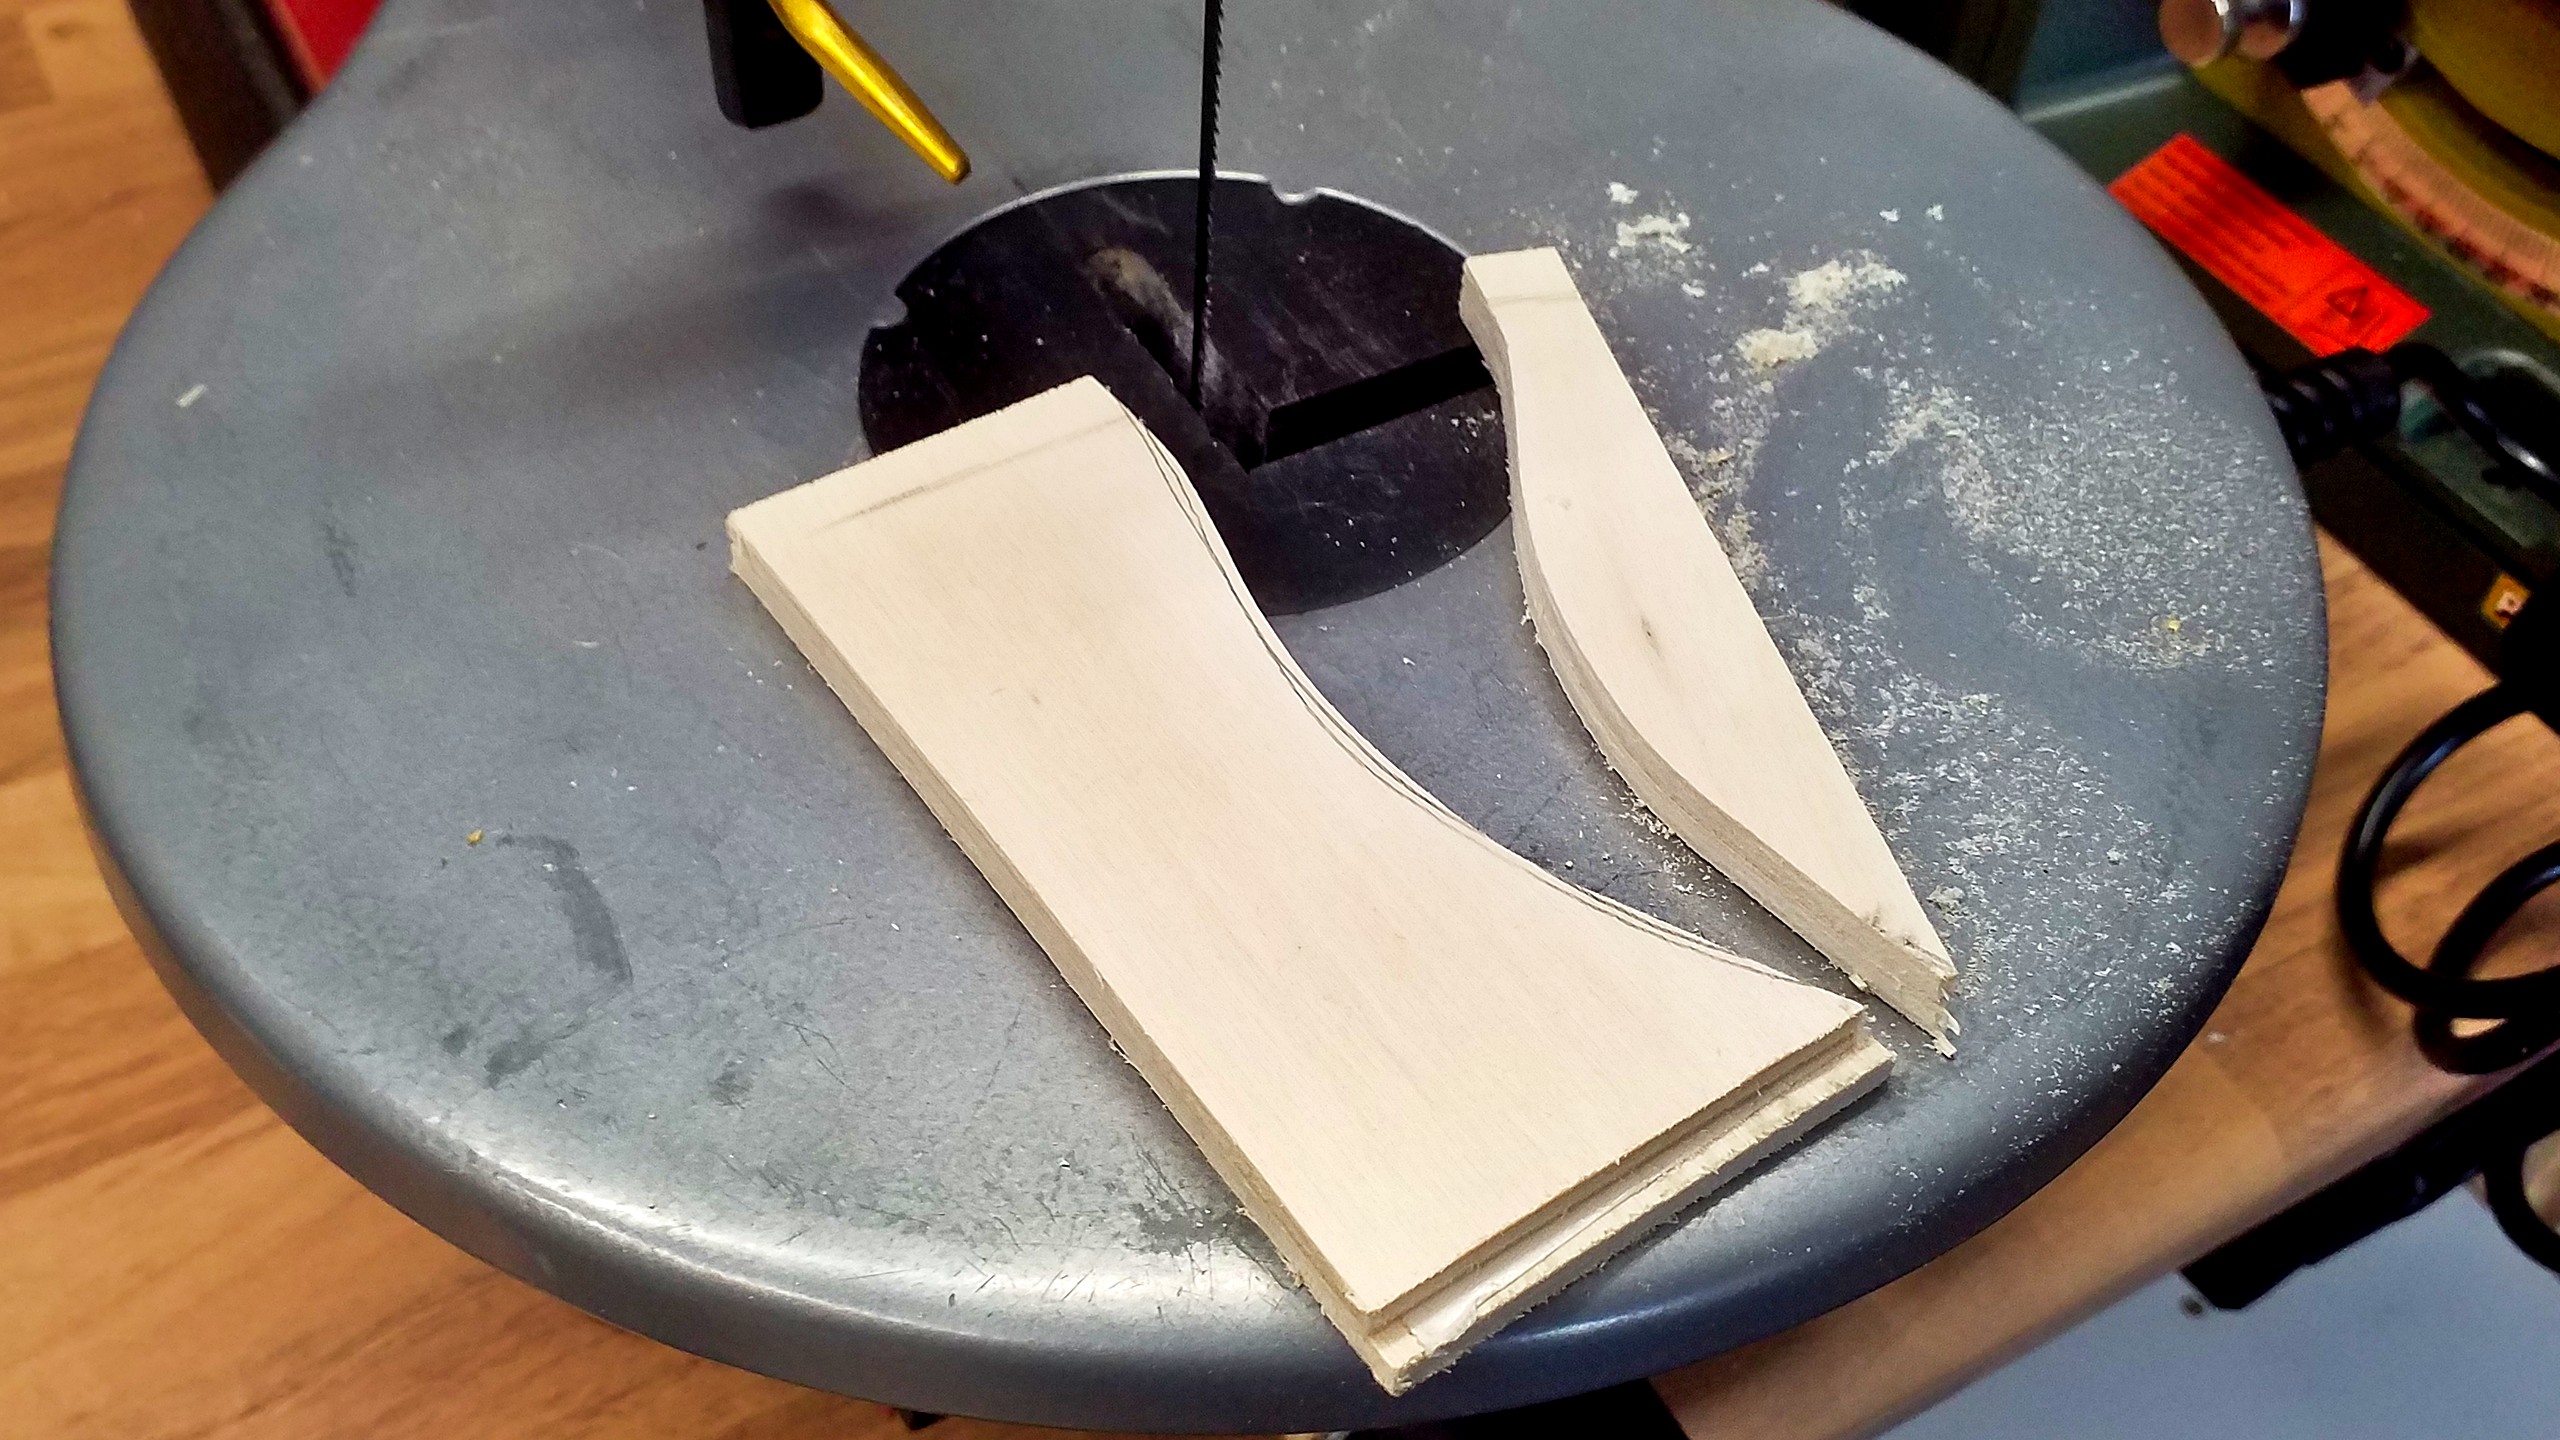
In fact, one only need a drill, a fretsaw and some sandpaper. However, some power tools will speed up the process, of course. First the approximate dimensions have to be guessed, then a fitting piece of plywood is picked from the leftovers box and cut in half.
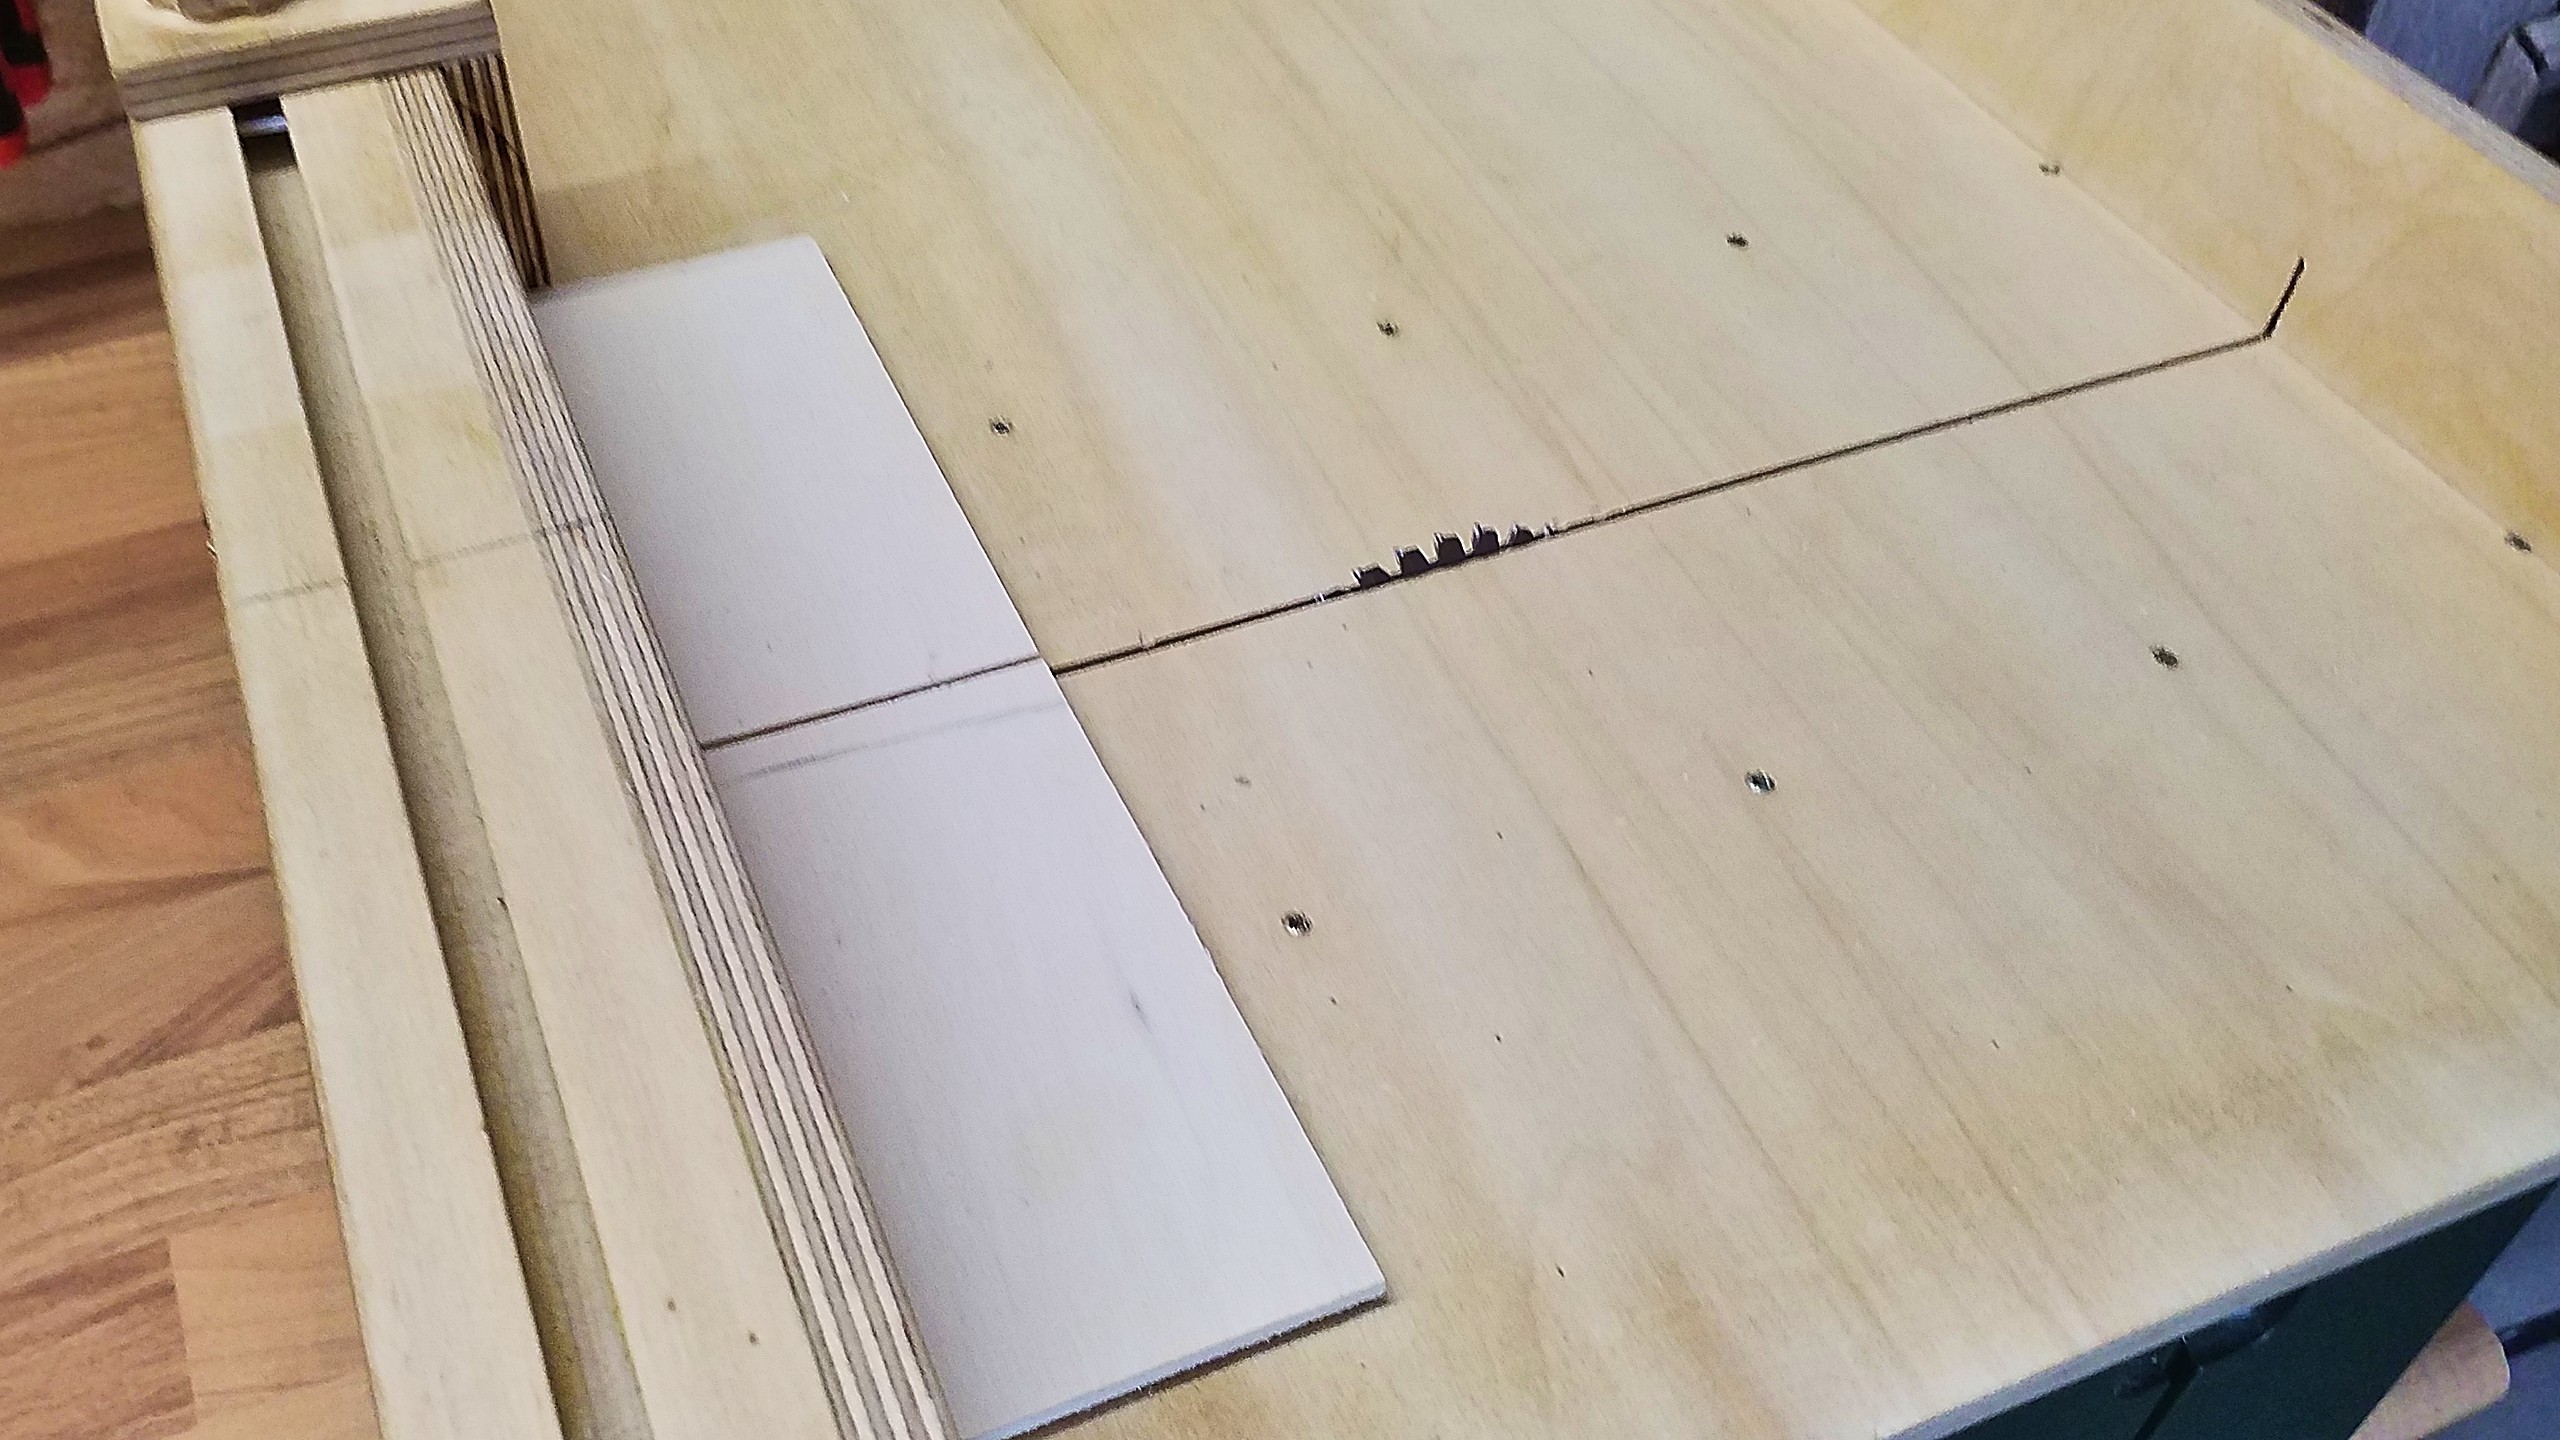
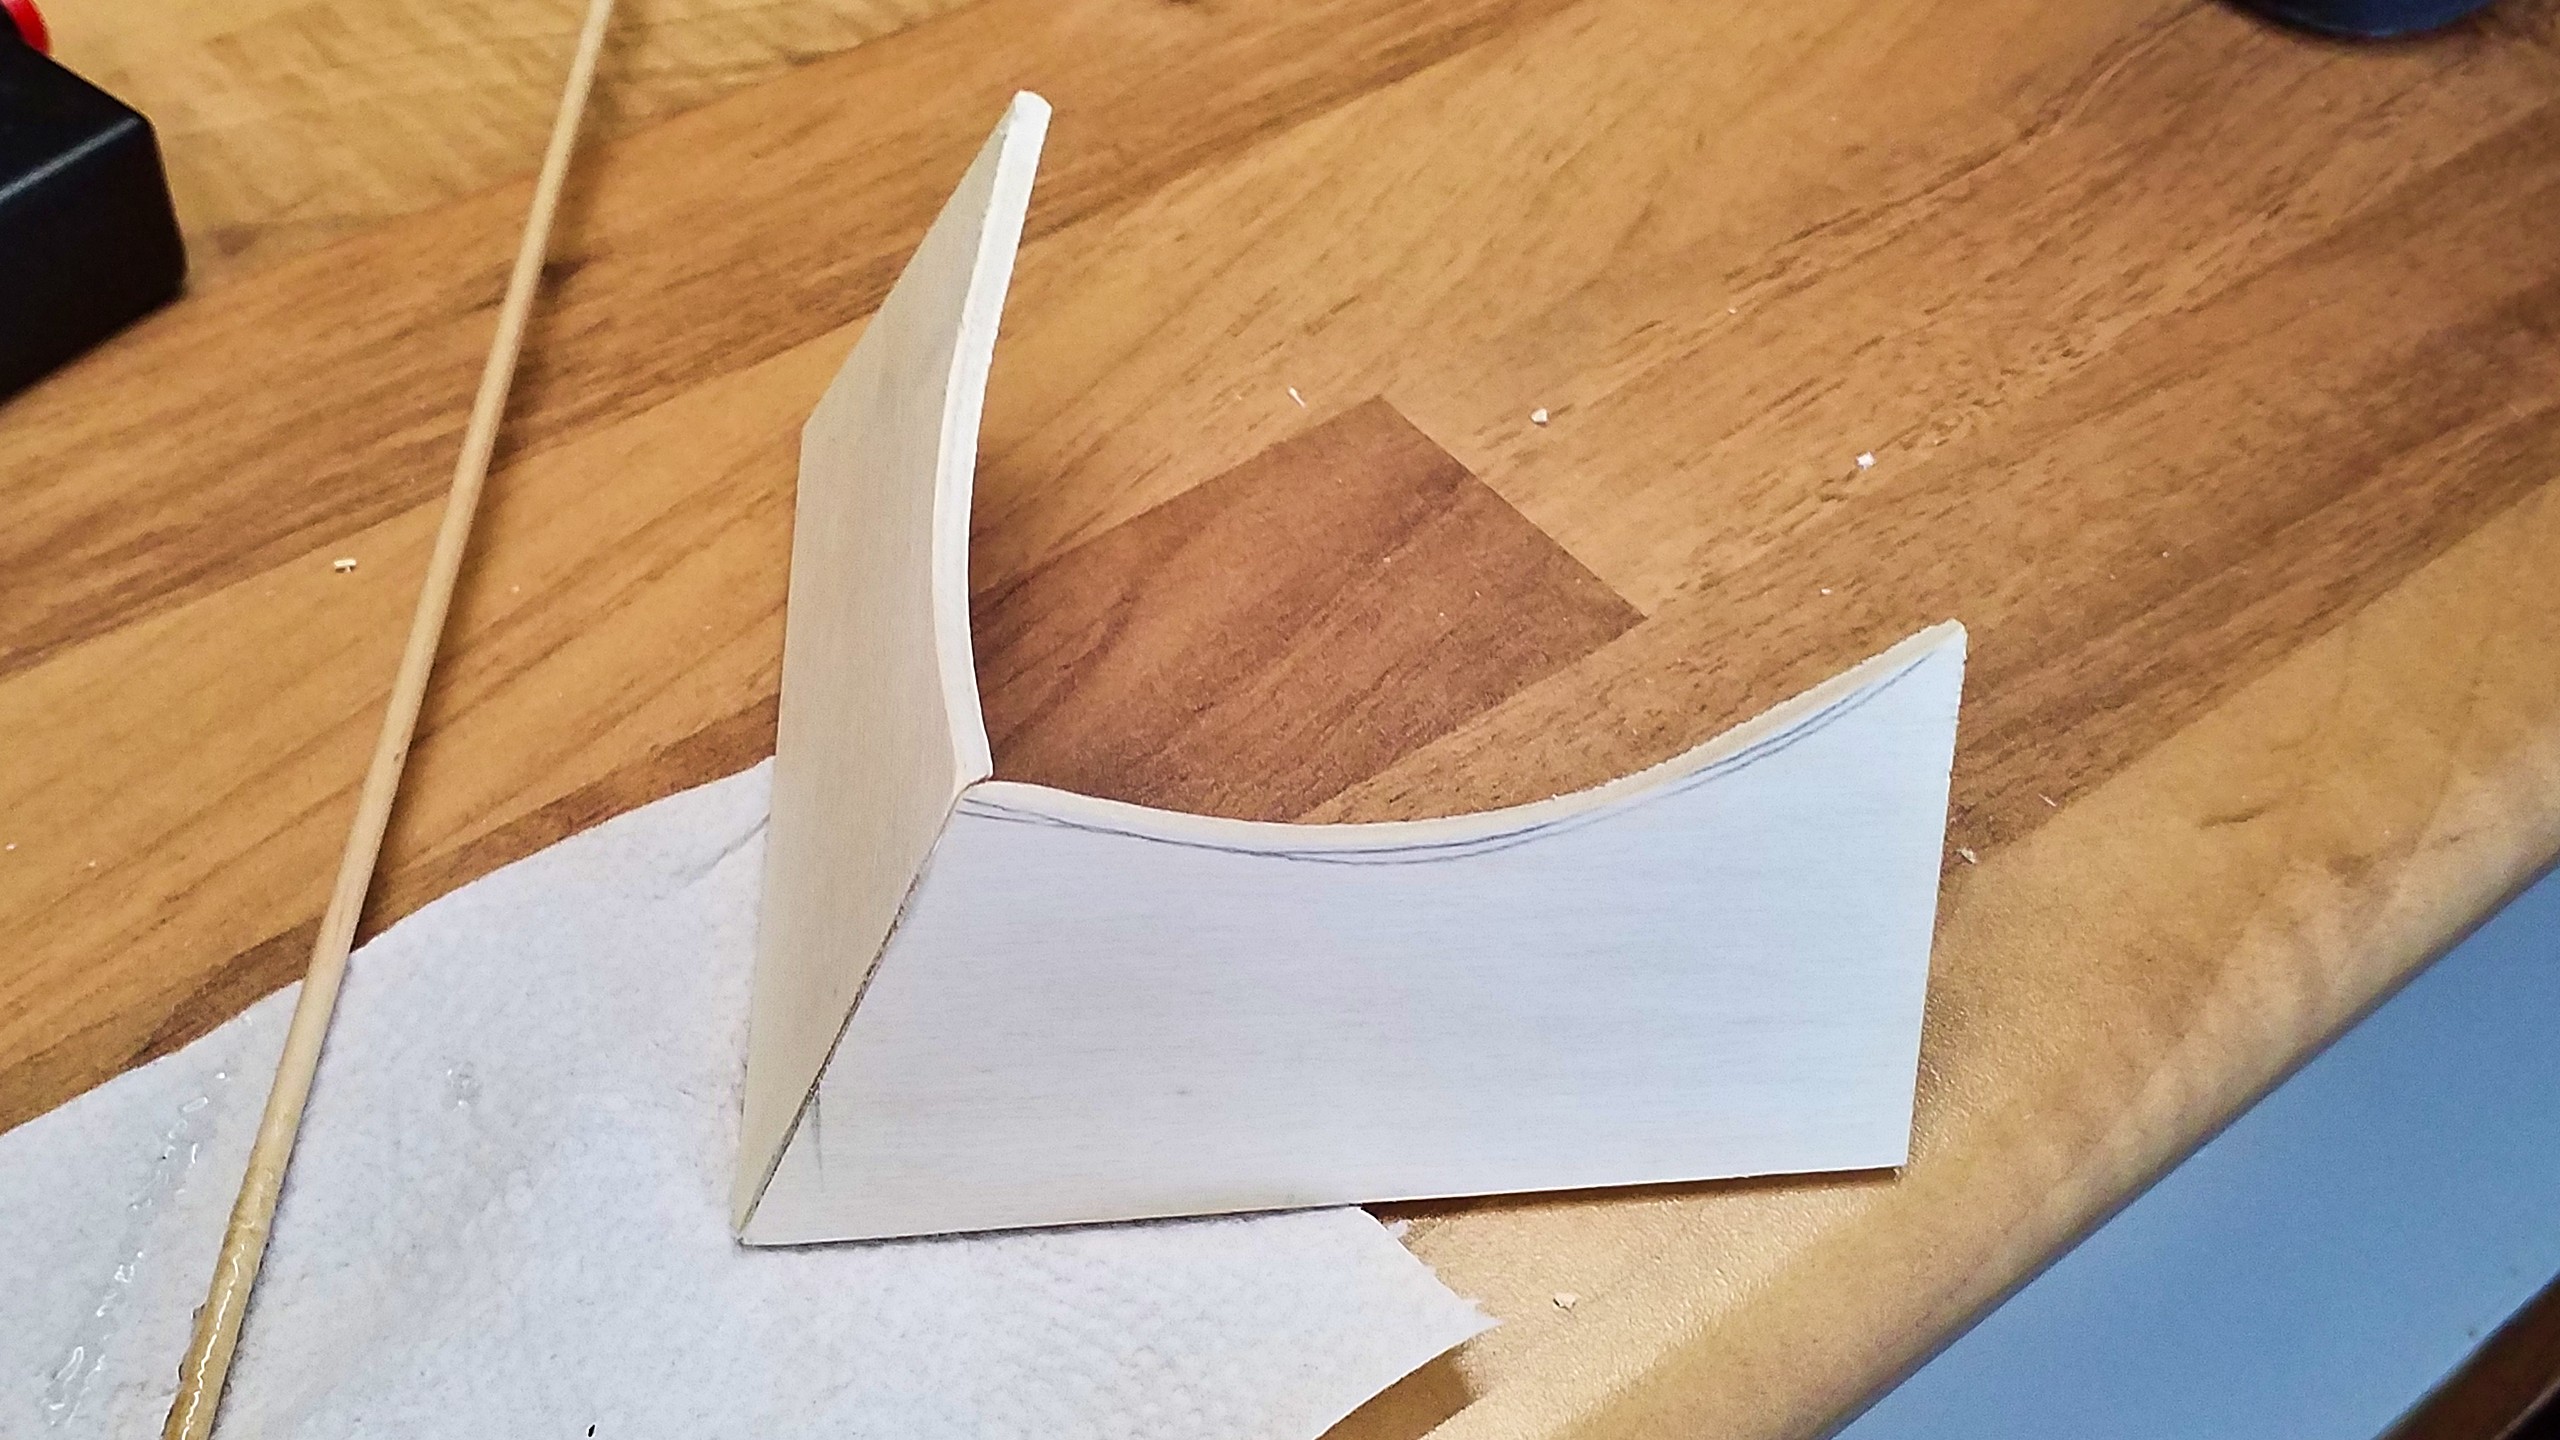
Both halves are glued together with slim(!) strips of double-sided adhesive tape. Onto those, the curved shape of the upper edge is drawn freehand and cut with the fretsaw.
The leading edge of the plough shares need to be cut at an angle and chamfered, so that they can form a sharp edge. If one wants to do this by hand, I’d recommend a Japanese saw and some sandpaper, in order to cut the angle and then chamfer it down with the sandpaper. For my part, I had my circular saw at hand.
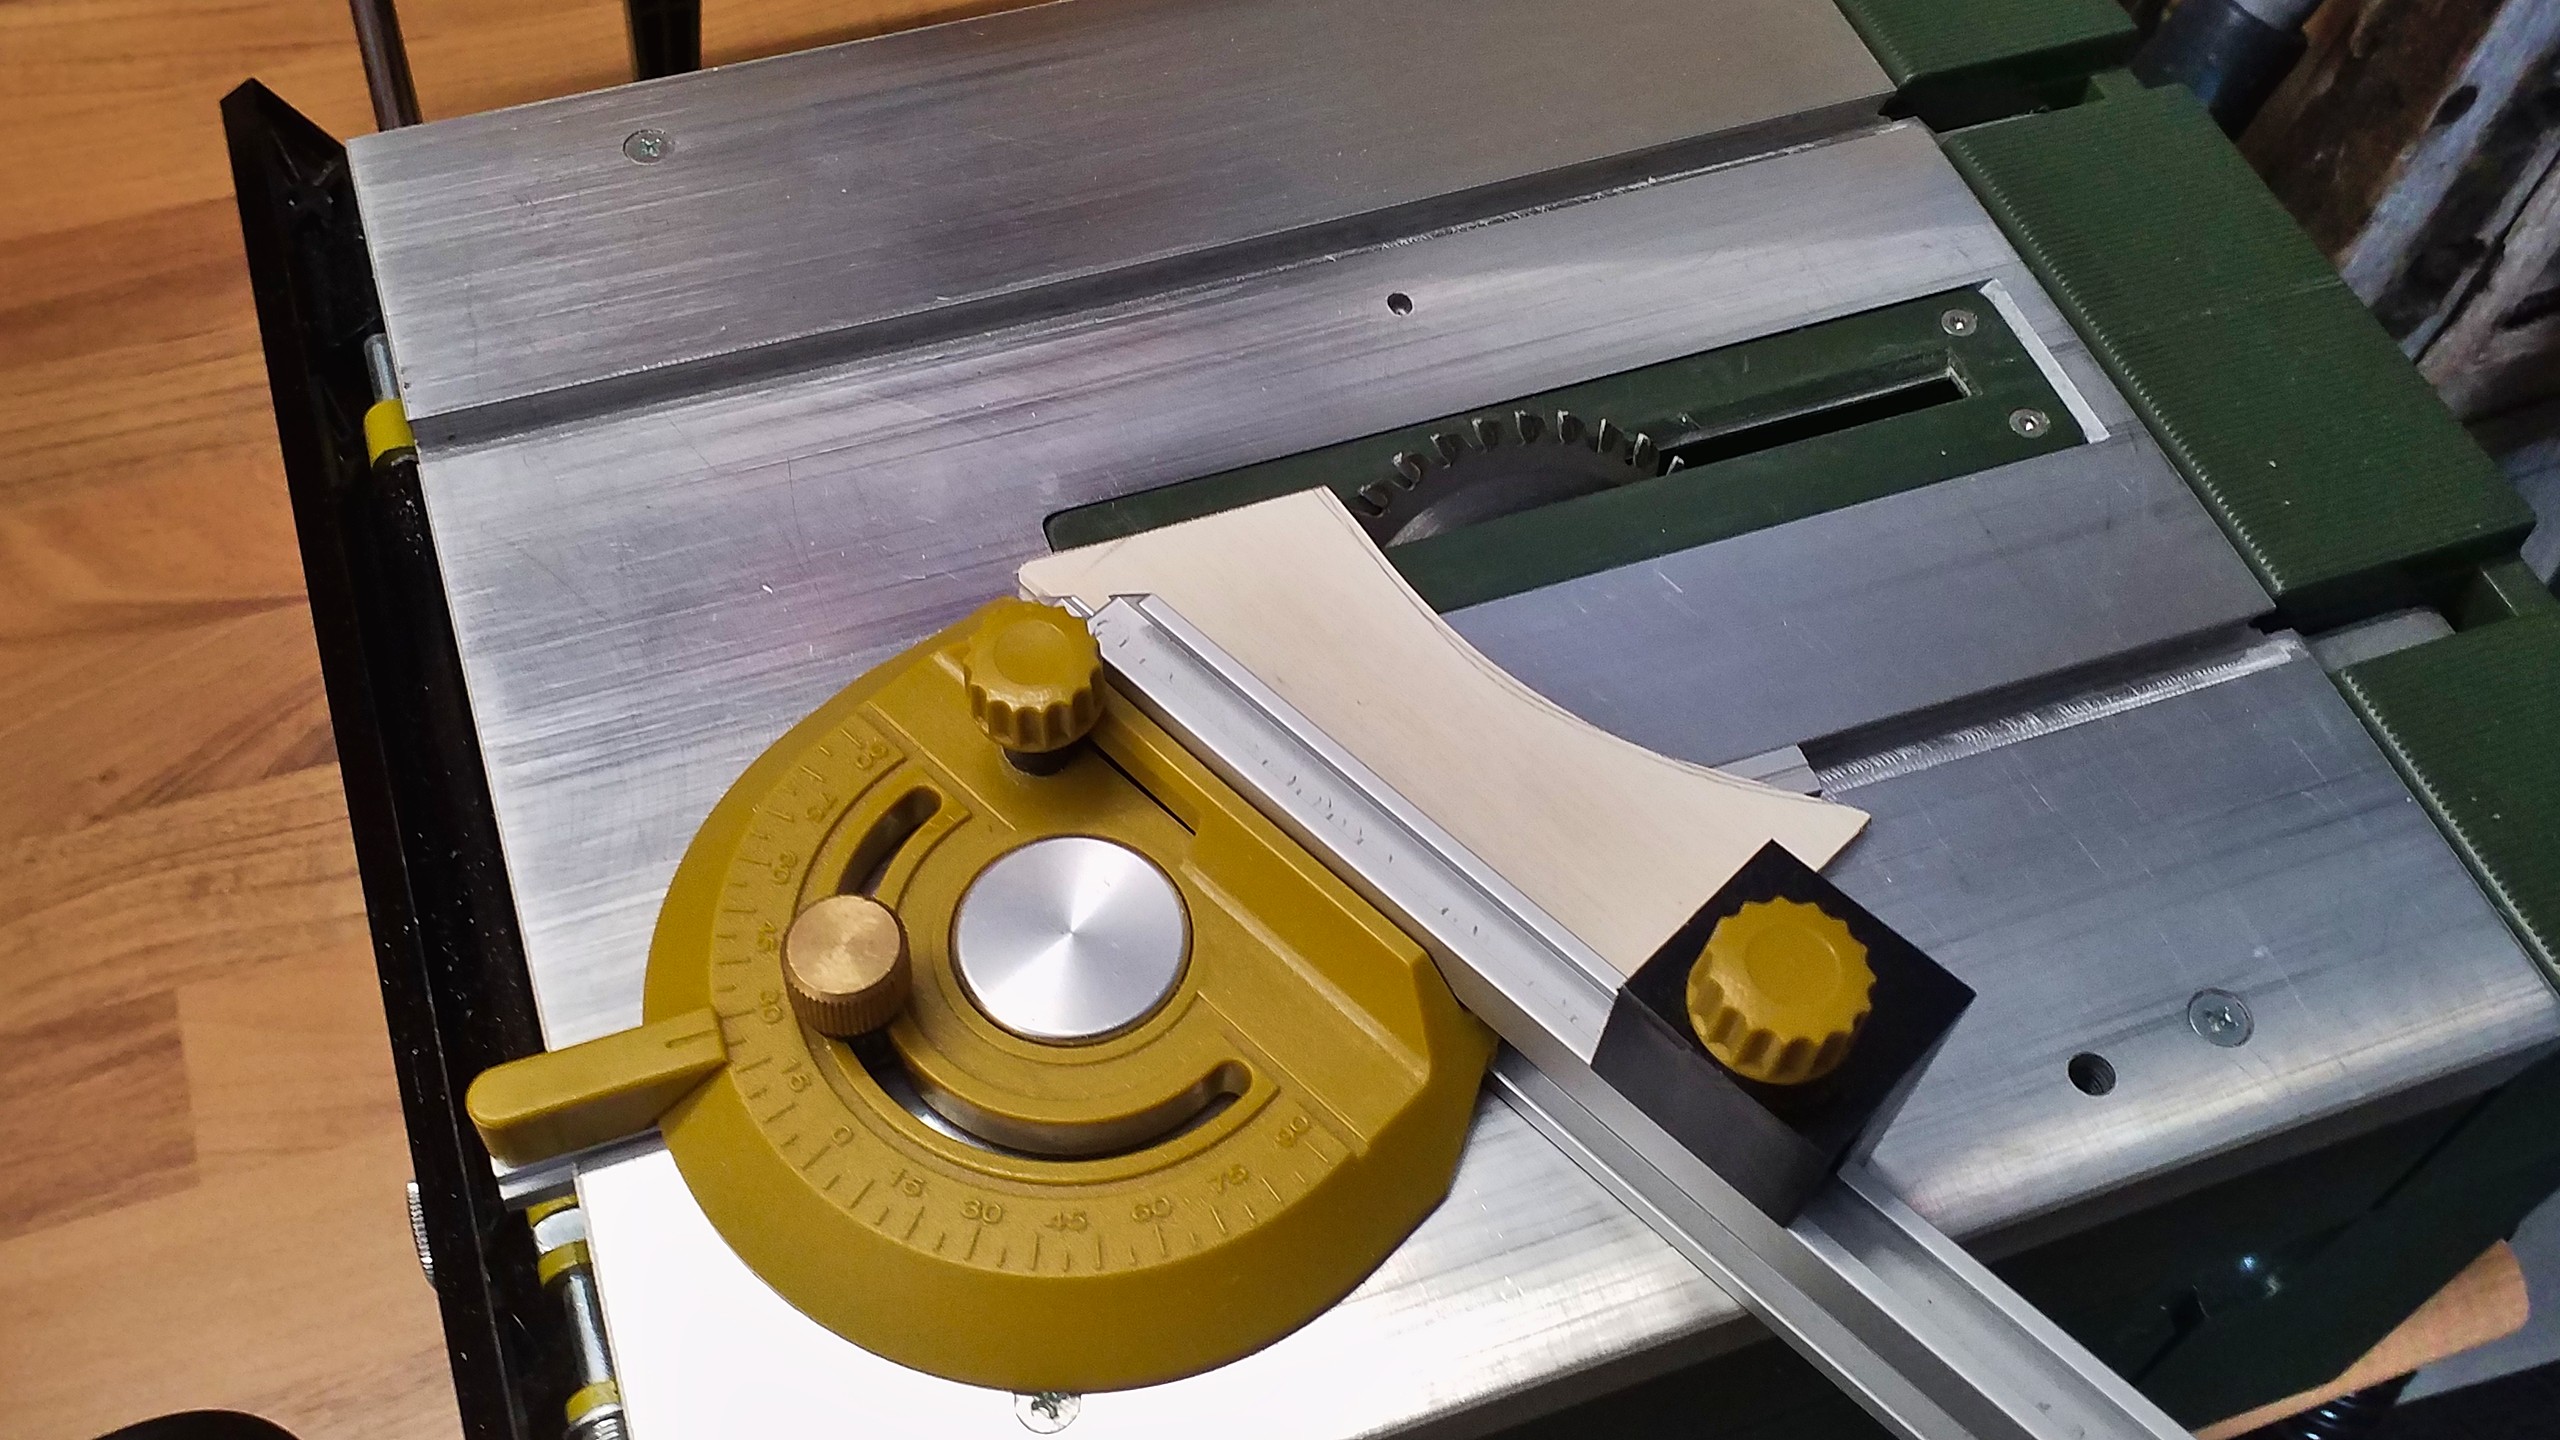
I had to guesstimate the actual angles, however I seem to have found a good compromise with 30° of angle and 45° chamfer.
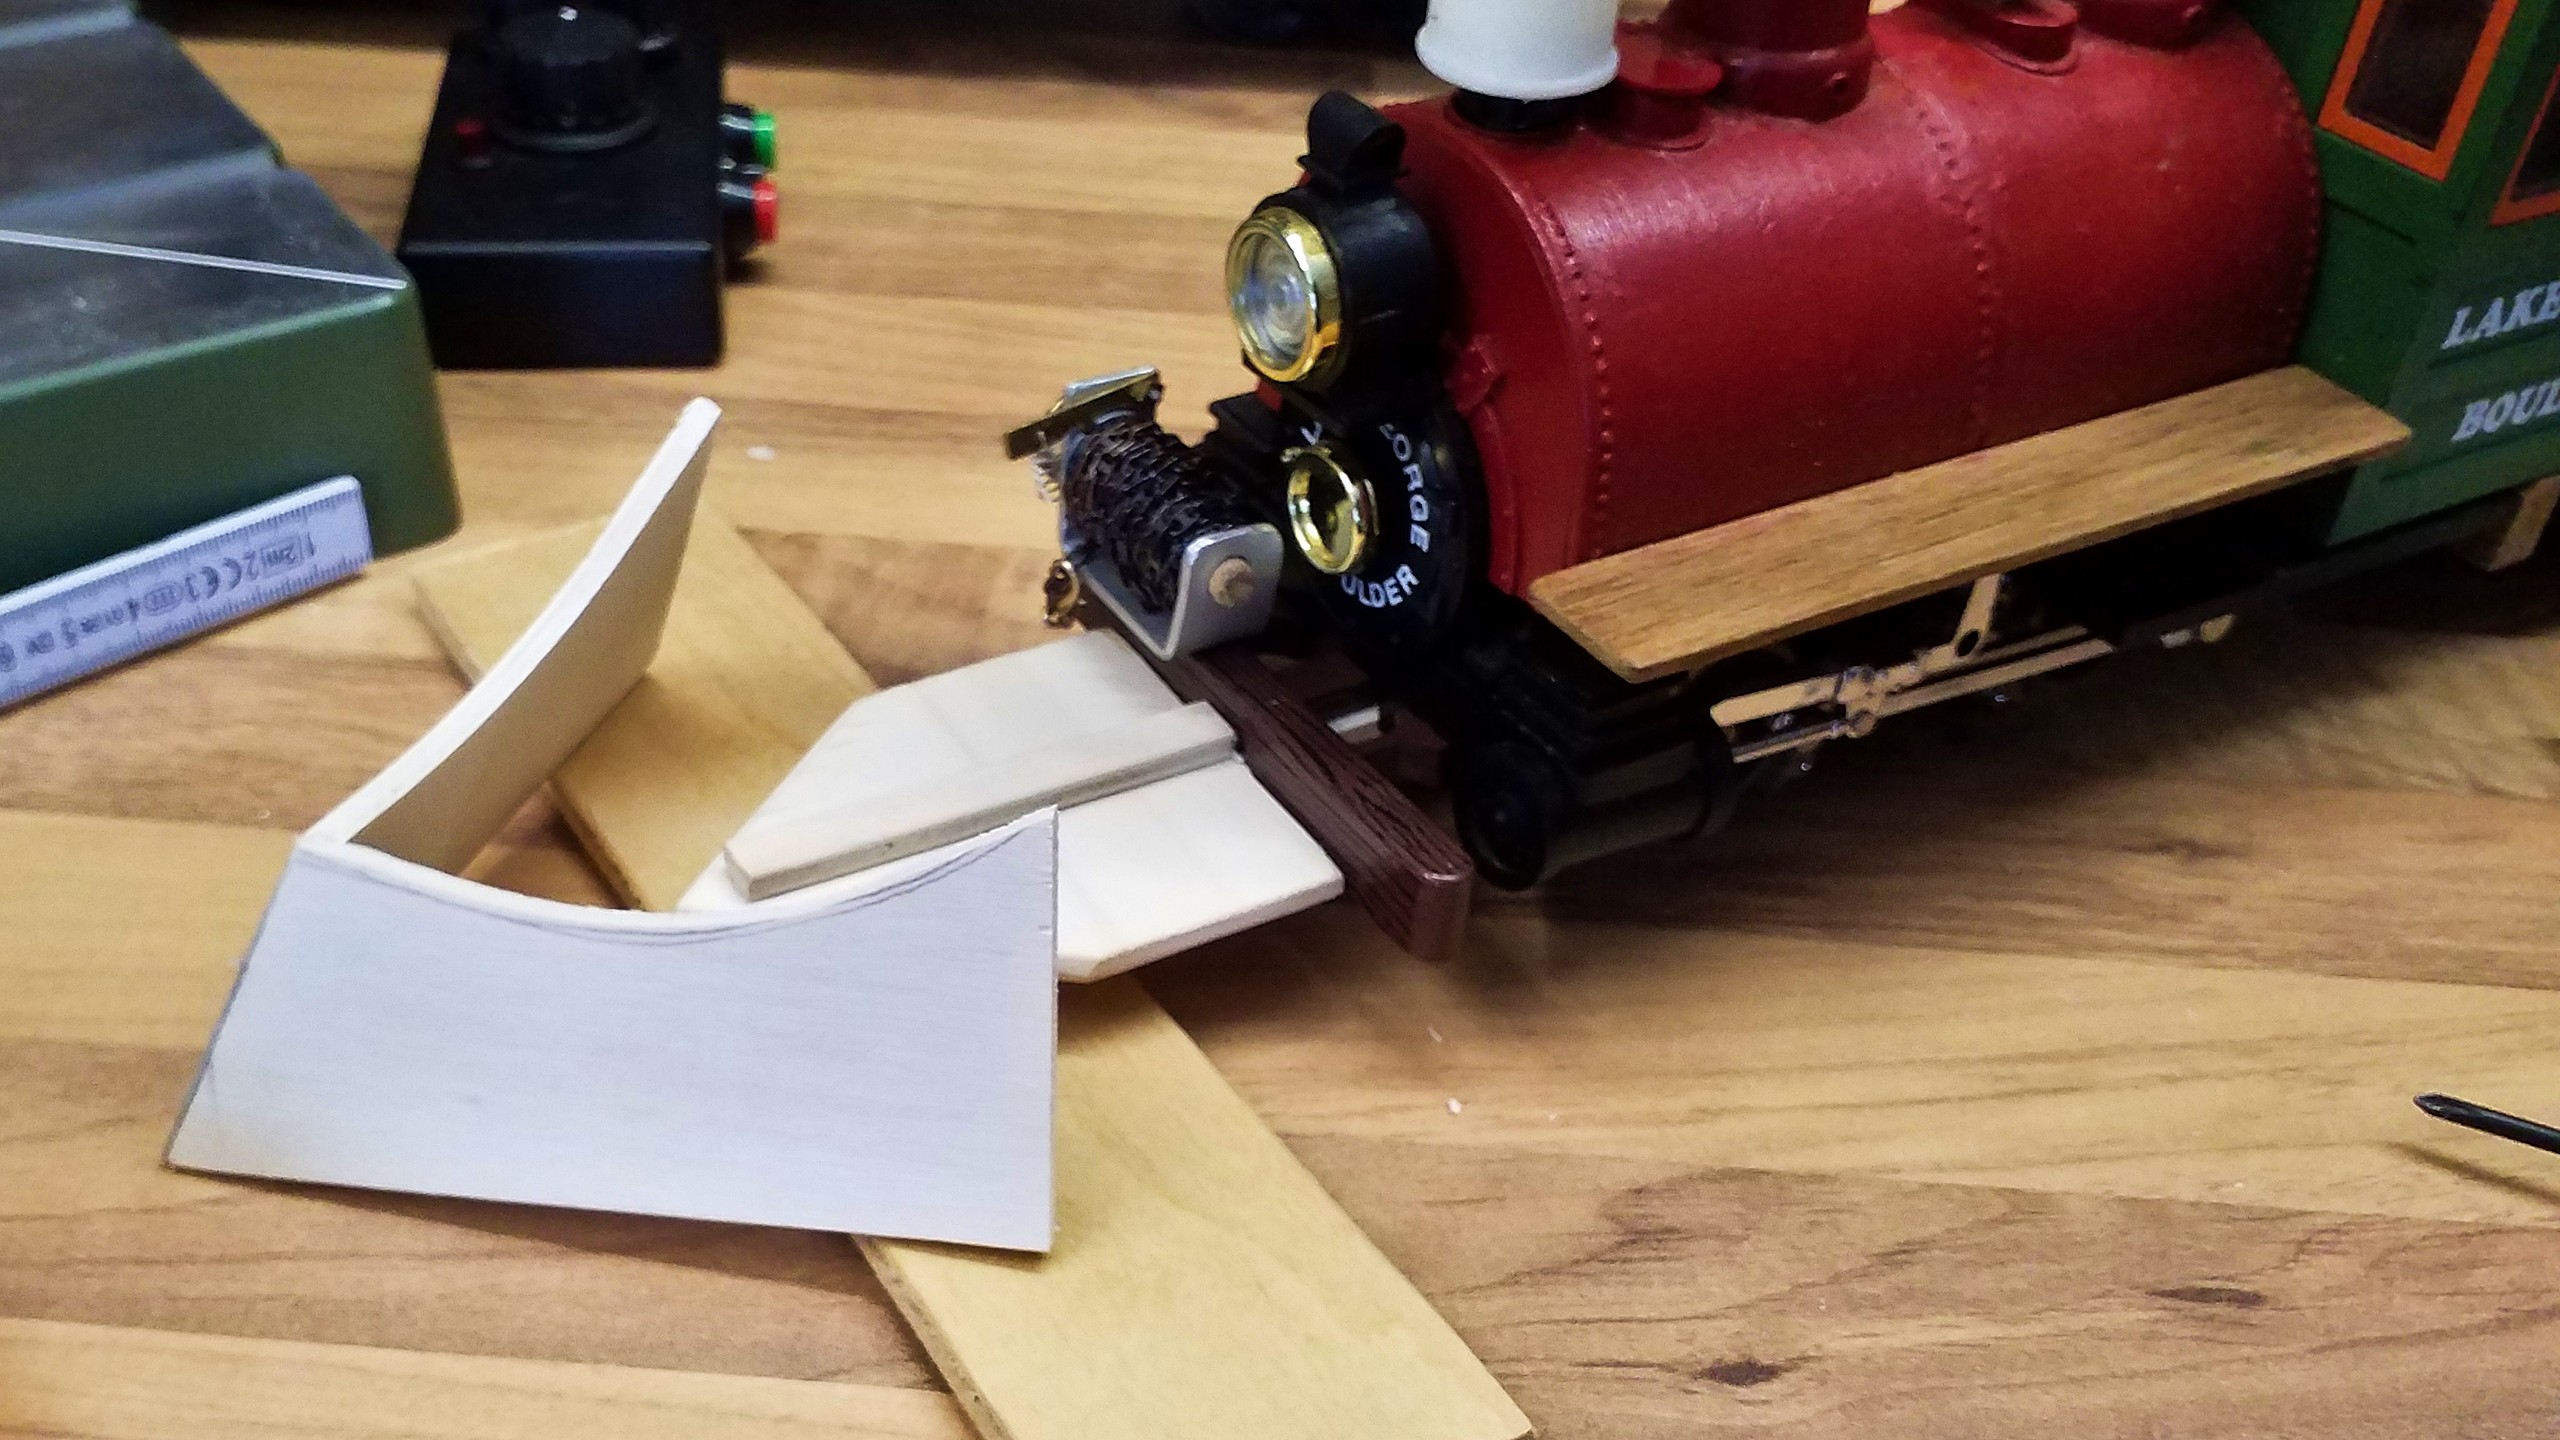
The plough will have to sustain some amount of force, so it’s equipped with a base plate. The forward angle is already chamfered with some sanding paper, until it fits snugly against the plough shares. In order to attach the plough to the loco, I’ve copied the contours of the loco’s frame so that the base plate can support itself against the frame.
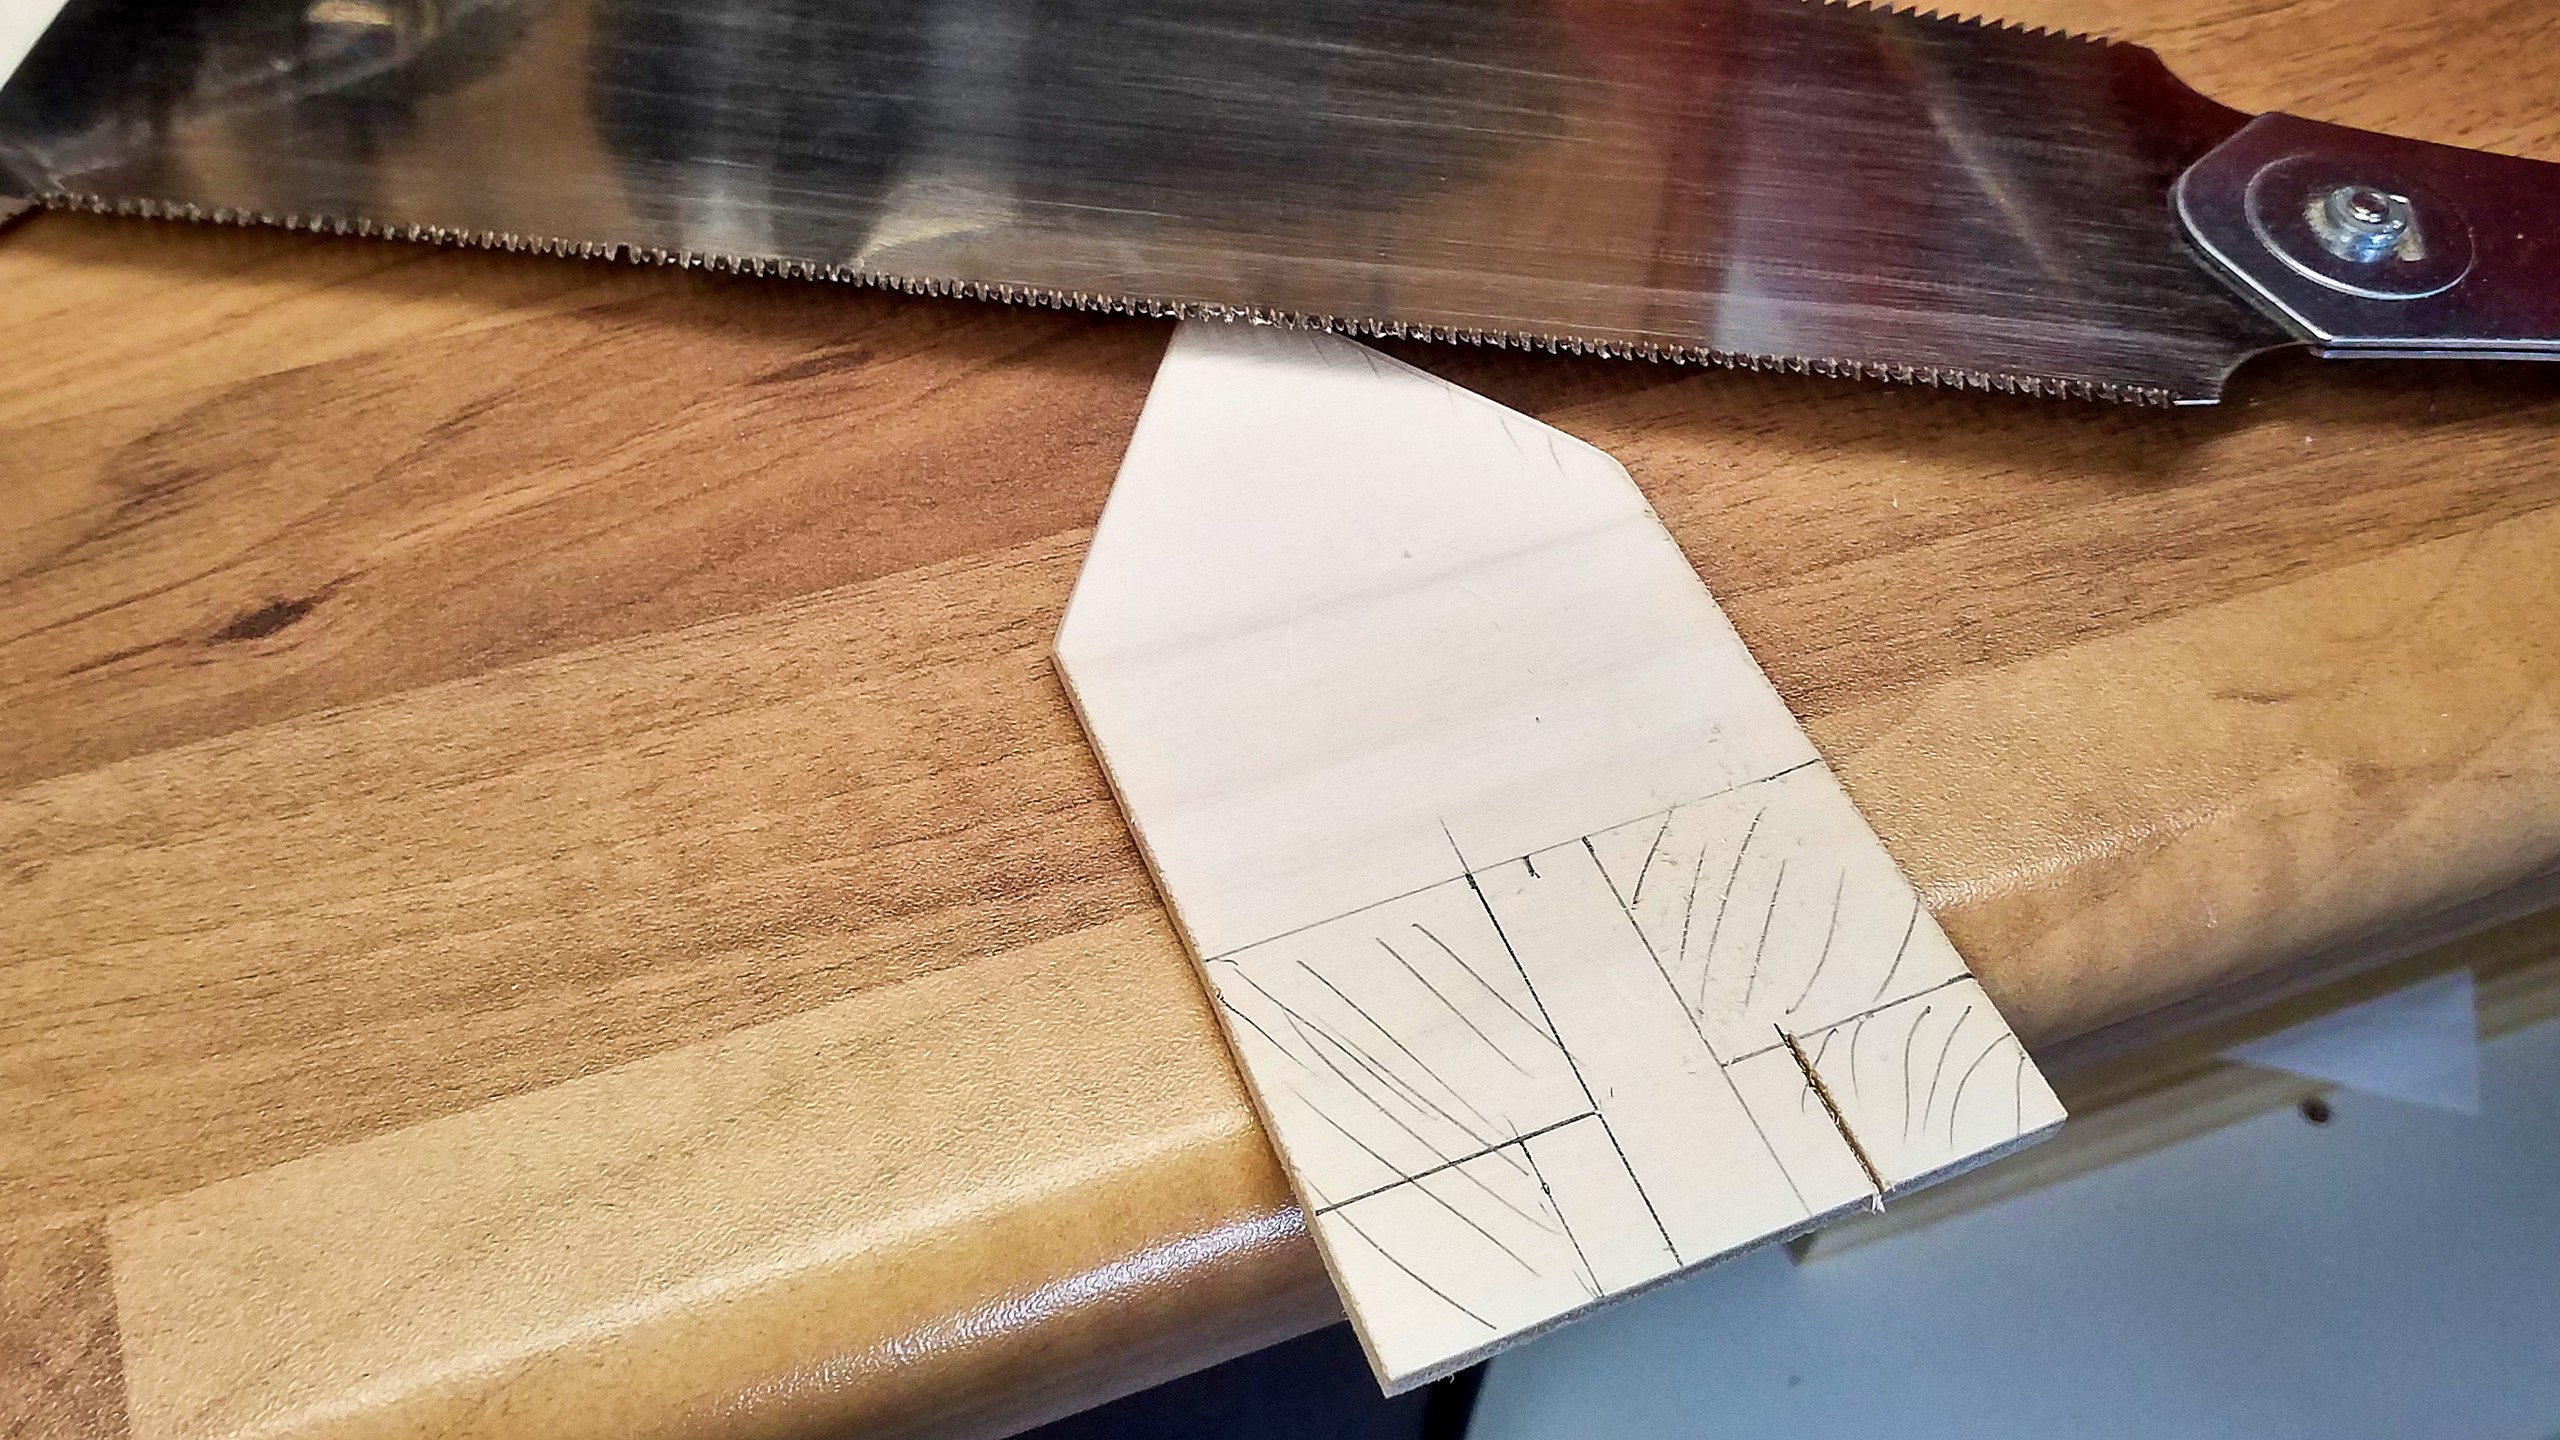
The plate is reinforced with some small slats, so it can’t break off. Into those a hole is drilled in order to attach the plough to the loco’s forward coupler mounting.

Now all the parts are finished, however the plough needs to be glued to the base plate at the right height. It needs to be set as deep as possible and as high as necessary. Six millimetres turned out to be a good compromise between clearing performance and operational reliability. I use a simple piece of plywood as my height gauge, on which the plough can rest while the glue cures.
And now, I’m finally ready to go. Since it’s just above freezing point, the snow is already quite sticky. On the one hand this leads to a nice effect when the snow is split and ploughed up, on the other hand the wet snow puts up quite a lot of resistance which the loco can only just cope with.
Please accept YouTube cookies to play this video. By accepting you will be accessing content from YouTube, a service provided by an external third party.
If you accept this notice, your choice will be saved and the page will refresh.
Fortunately the track is negotiable right away, no frogs have to be cleared from ice afterwards. And with the battery-powered loco, I don’t have to worry myself with dirty tracks. So the flatcar is quickly picked from the store and attached to the loco.

This day, I will keep in good memory for the rest of my days. For the first time in over 20 years I could operate my train in the snow. And for the very first time in my life, I could clear the tracks with a snow plough. A wonderful souvenir, which I fortunately perpetuated with pictures and videos. Such moments reward for week and months of tedious and frustrating work.