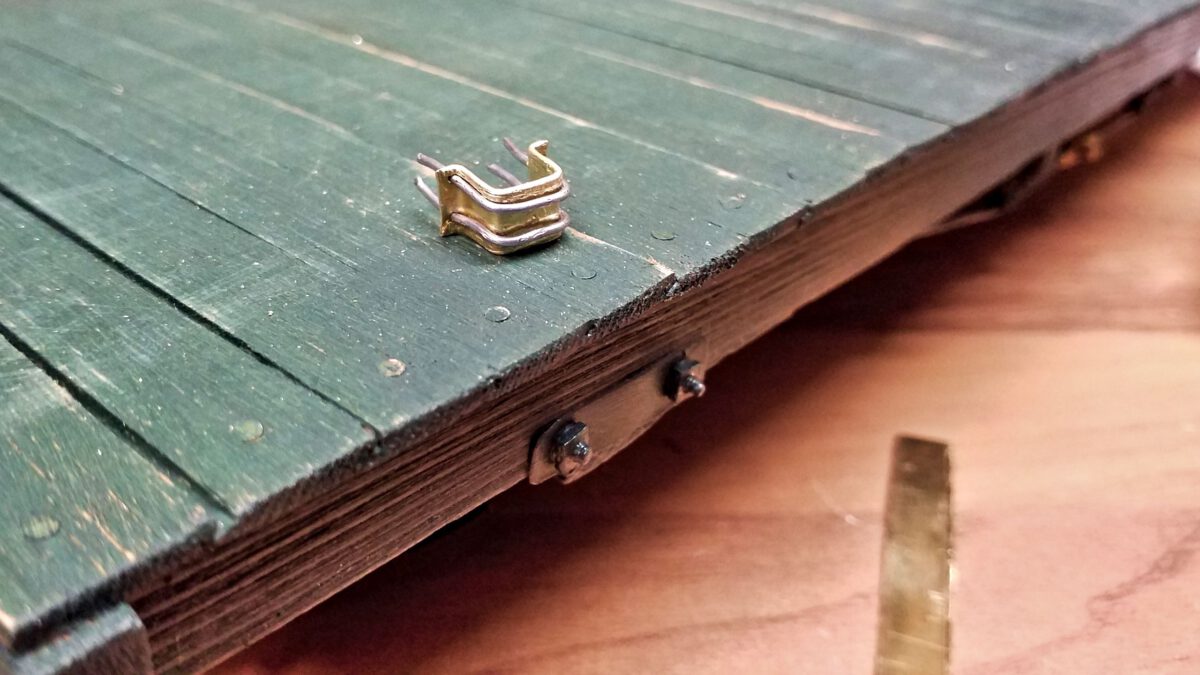
By constructing the steps the flatcar has gained some character, but of course this can only be the beginning. The next topic is to build the stake pockets. I’ve already constructed stake pockets for my porter’s tender and gained some valueable experience. I’ll profit from it while moving on.
Just like last time it all begins with cutting strips from a 0.3 mm thick brass sheet. For the tender I tried a fret saw. However that turned out to be noisy, elaborant and not even half as precise as I’d hoped for. So I’m going to use the tinsnips again, like I already did for the steps.
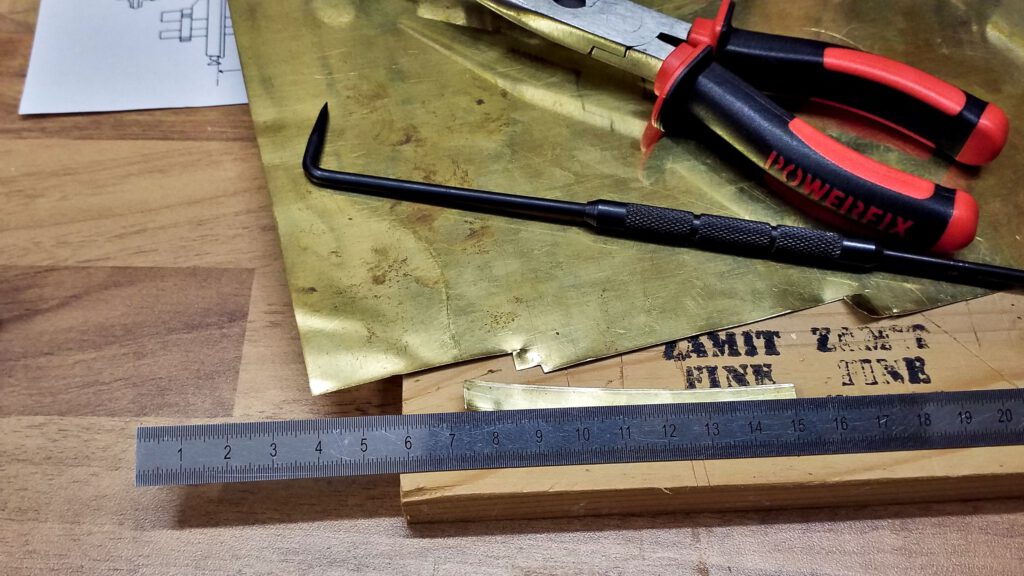
Before cutting the strips down to suitable pieces, a line is scribed at both of the long edges. What for? Time will tell.
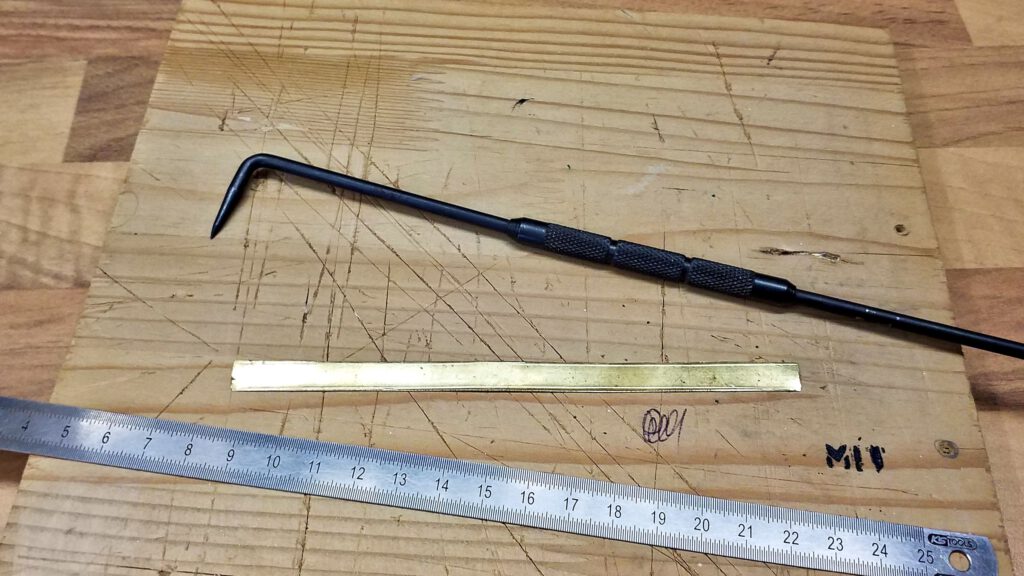
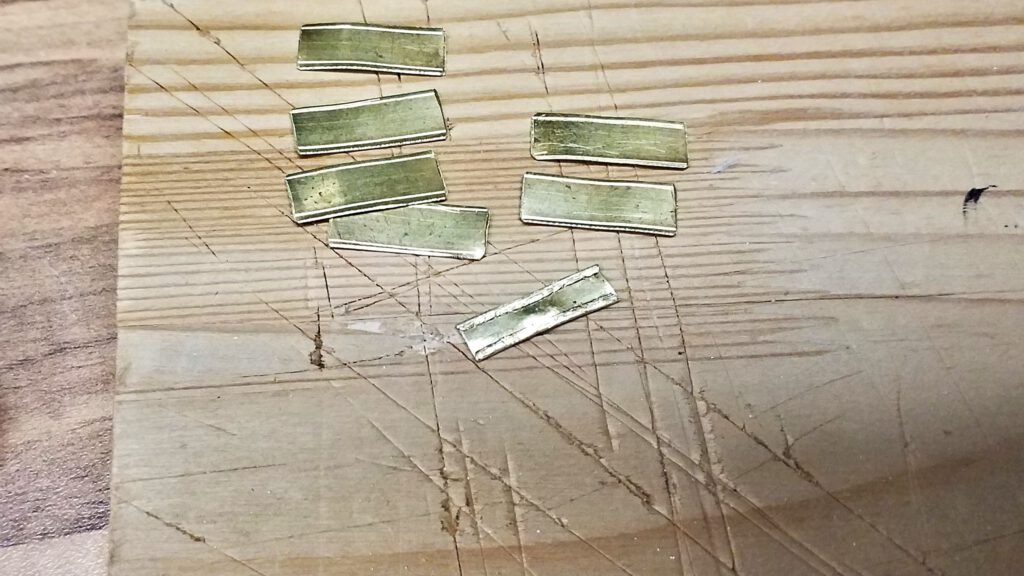
As soon as the pieces are cut to lentgh, they are deburred with a key file and the corners get rounded.
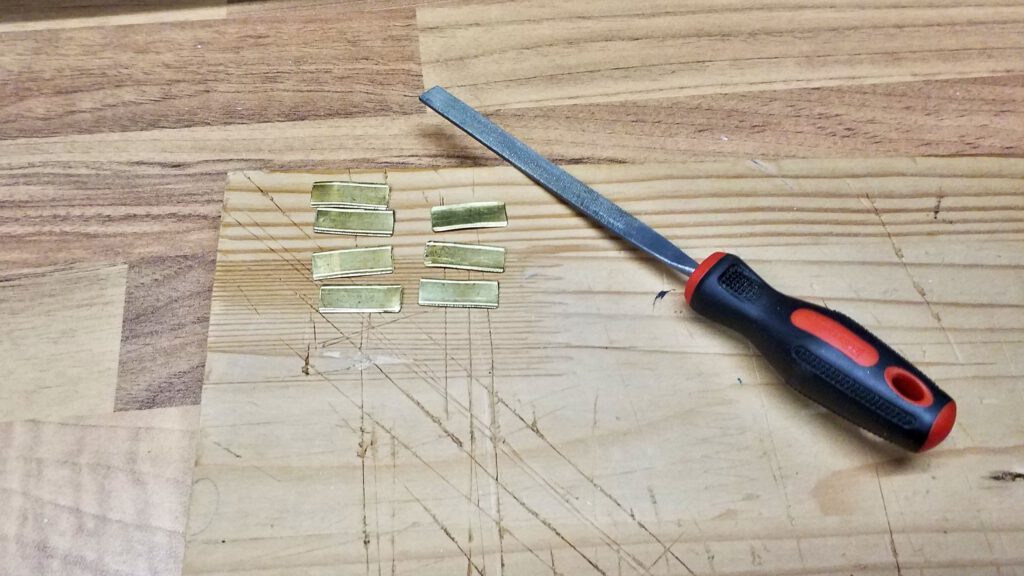
So, why those scribing lines? I didn’t quite like the looks of my tender’s stake pockets. When you look at the prototype, they sport reinforced edges. Whether they’re cast or bend from sheet material, the outer edges are thicker to make them more robust and to spare the stake poles. I’d like to model that. So the sheet cuts are folded along the long axes using a pair of pliers and a small hammer.
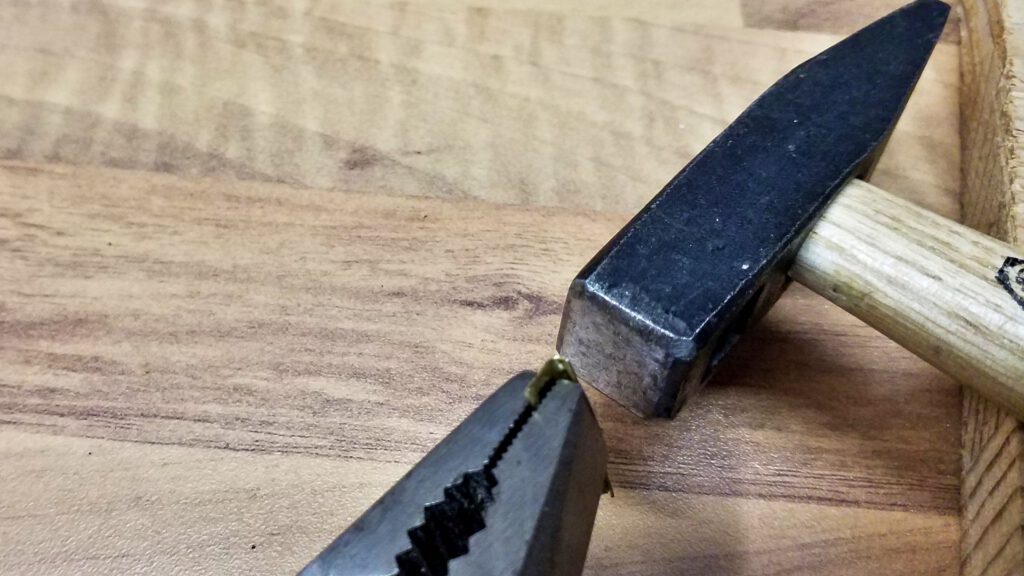
Folding them completely back on themselves is a fiddly affair and I’m still trying to find the best method. One can continue to use the hammer, try to pinch obliquely with a pair of pliers or use an anvil. At any rate, the quite short folds which only measure 1 mm in width are somewhat resistant to be bend through more than 90°. Once that is accomplished, they can easily be hammered flat or pinched with a pair of pliers.
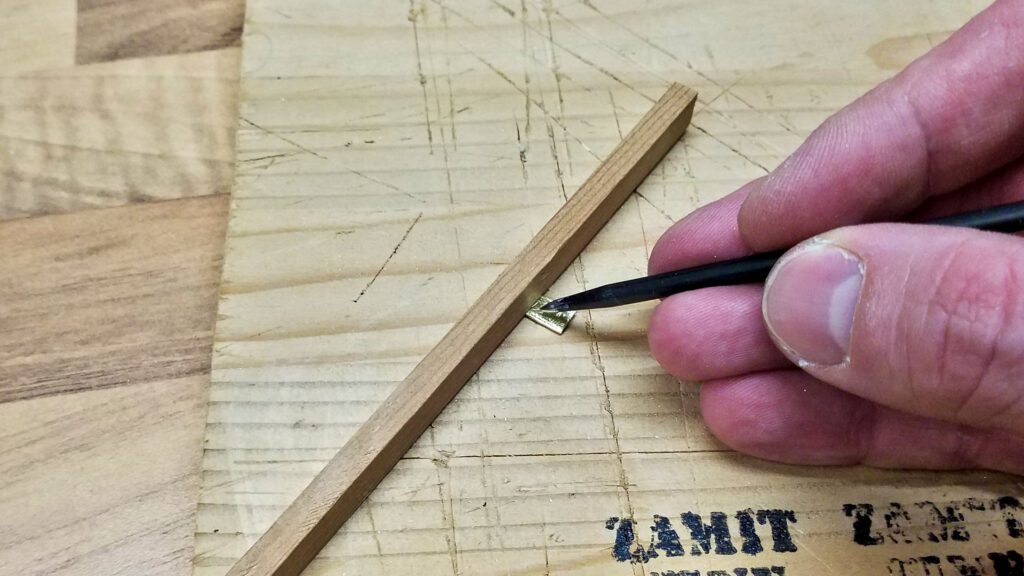
After that a pole beam is placed at right angles to the strip, the latter is centered and marked down with a scriber. That strip is then bent into a “U” shape.
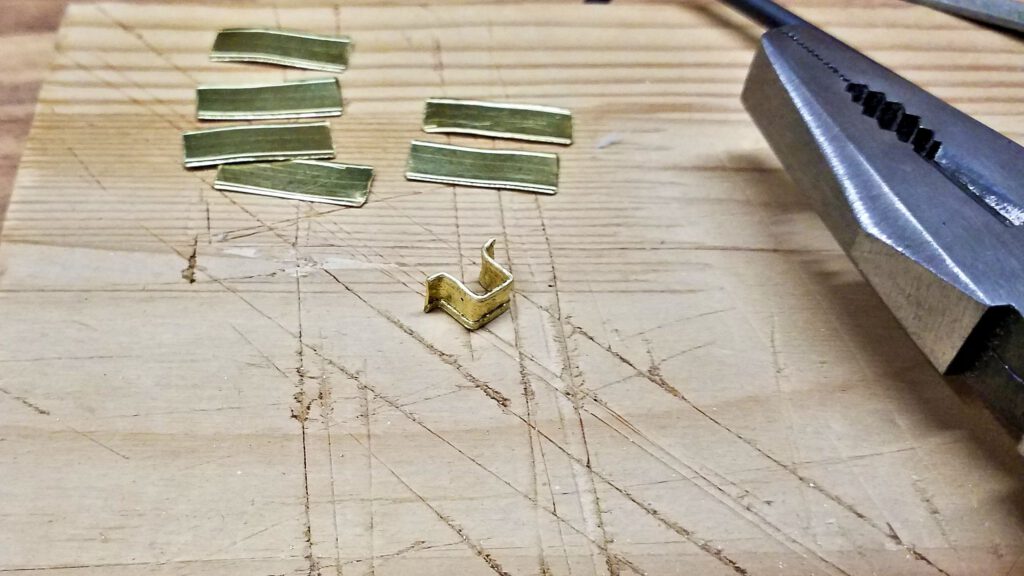
Both ends are bent into parallel in order to get the final shape of the stake pocket.
Next, holes are centre-punched drilled into the corners of the mounting lugs. Two suitable wires are bent into shape and pushed through the holes after they have been transferred to the side sills.
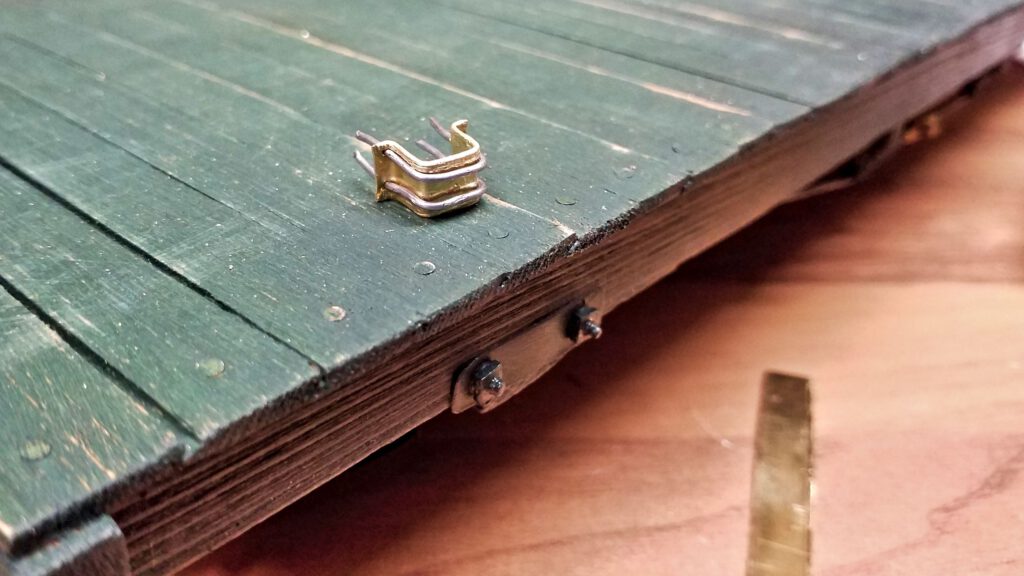
Now the stake pockets can be painted, according to Lead Road Railway’s livery in carmine red. After that the mounting wires are pushed through the side sills.
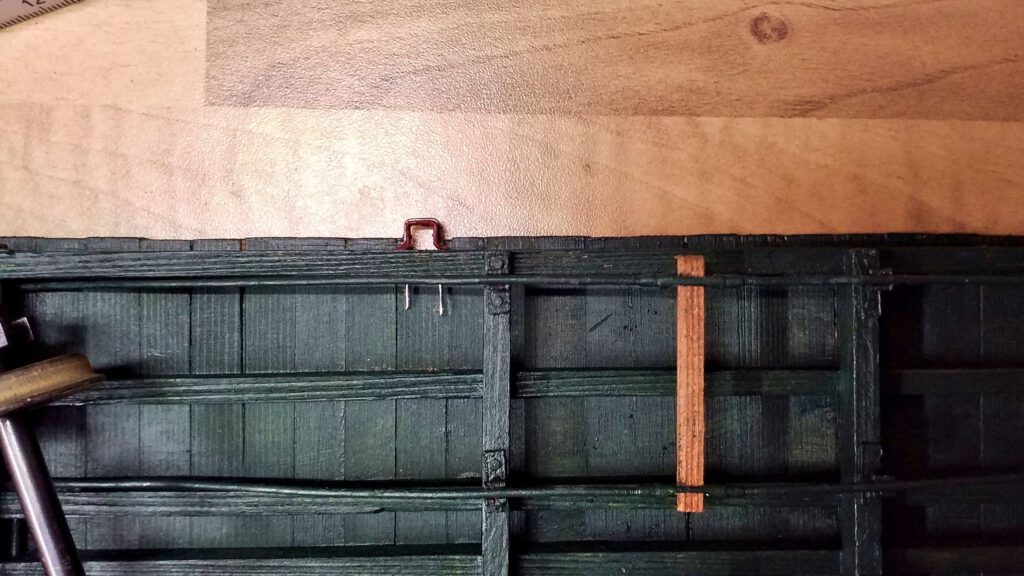
On the inside, the wires are bent inwards. The stake pockets are thus so securely mounted that the stakes can be put in place and really do some work. Finally, the wires and (somewhat battered) side sills get touched up with some paint.
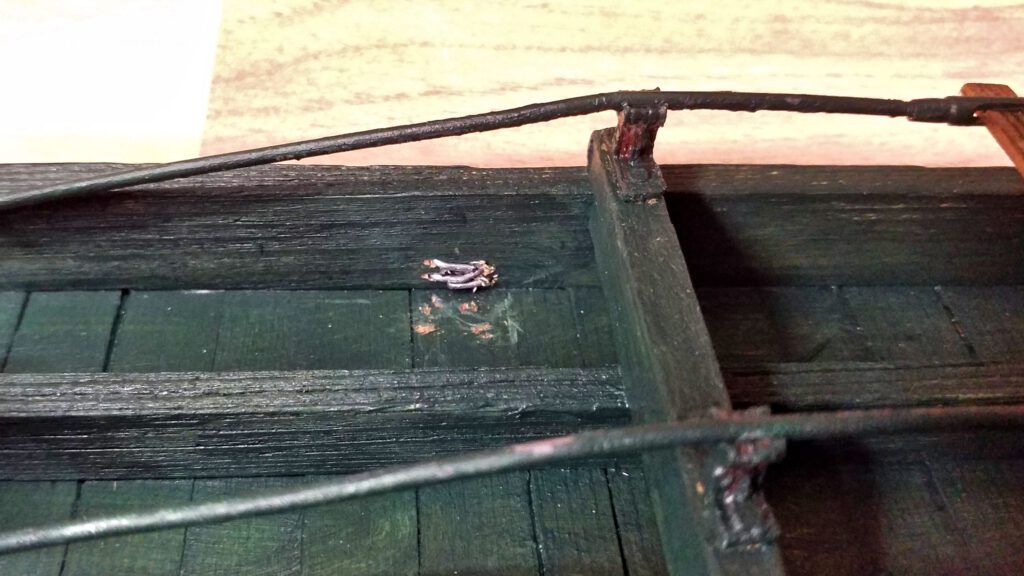
And this is how it looks like:
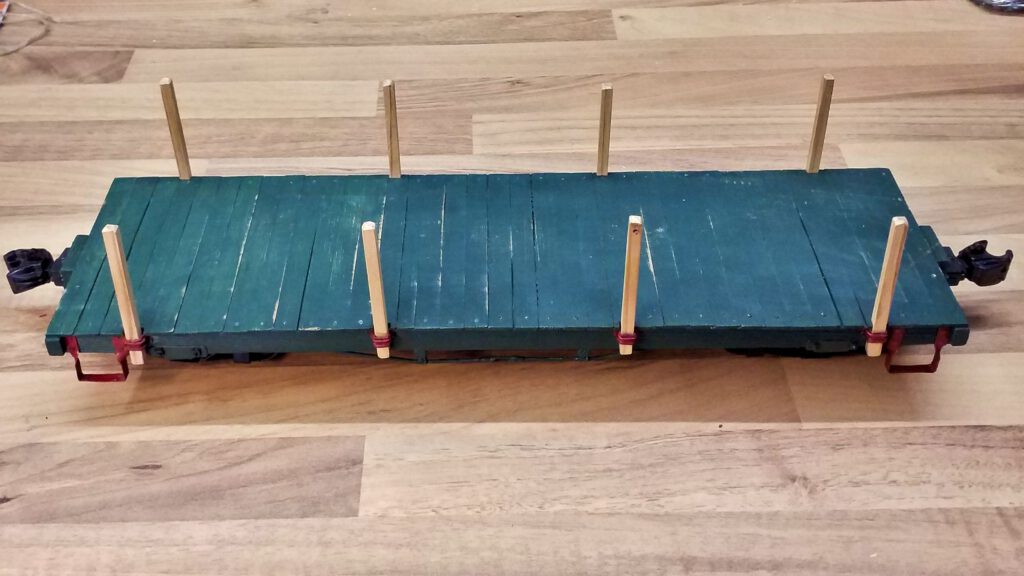
This detailing job has been quite work-heavy, too, however the pockets are really sturdy and so they will ensure smooth operations. Add the fun I’ve had building them and the saving of money as opposed to buying stake pockets and one can truely say I’m very happy right now.
And next time I’m going to focus on the lettering.

