

By finishing the tender’s frame (german version, translation pending) it’s about time to focus on the side walls. Quite an important part is to build the stake pockets, with the prototype they form the link between the side walls and the frame, with the models most of the time it’s just cosmetics. Since I’d like to build as many parts as possibly by myself and some prototypical pictures revealed that sometimes simple solutions prevail in the 1 : 1 scale, I chose the most primitive approach.
As a test run I cut a short strip of 0.3 mm thick brass, bend a copper wire with 1 mm diameter and drilled holes into the stake pocket after it’s bent into a U shape with two pairs of pliers. On a scrap piece of wood I predrilled 0.8 mm holes and drove the pocket home with a small hammer. The result really looked good and even without any glue it’s capable of securely fastening a stake pole.
Encouraged by this trial the small batch production could commence. During the last months I discovered that it’s not quite that difficult to cut strips out of a brass sheet, with some preparations. However, I’ve never cut 0.3 mm thick brass sheet and learned a common lesson: brass wants to hug. The sheet got caught in the saw’s teeth, bent upwards and almost broke the saw blade before I could stop the fret saw.
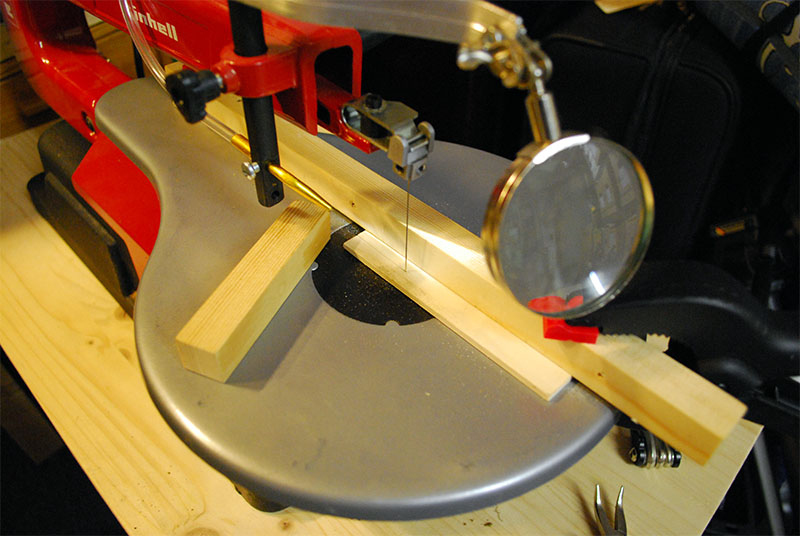
The warning sufficed, so I prepared the saw for precise, repetitive cuts. Fortunately that’s easy to do: Take a not too thin scrap piece of plywood (5 mm in my case) and cut about halfway into it. Presto, one zero tolerance table. Then, a fence is placed as parallel to the sawblade as possible. “As possible” because my fret saw’s got its very own idea about the direction the cut will go. Experience with the saw is the only help one can get there. The fence is clamped to the table’s saw and helps to pin down the zero tolerance sheet. Last, a piece of wood is used to hold down the sheet while the saw is cutting. Careful with the fingers, only try this at your own risk! The safest way is to keep the hand behind the blade, but don’t get too close with the fingers, a broken sawblade can lash out at quite some distance. A compromise between lever and working safety is in order.
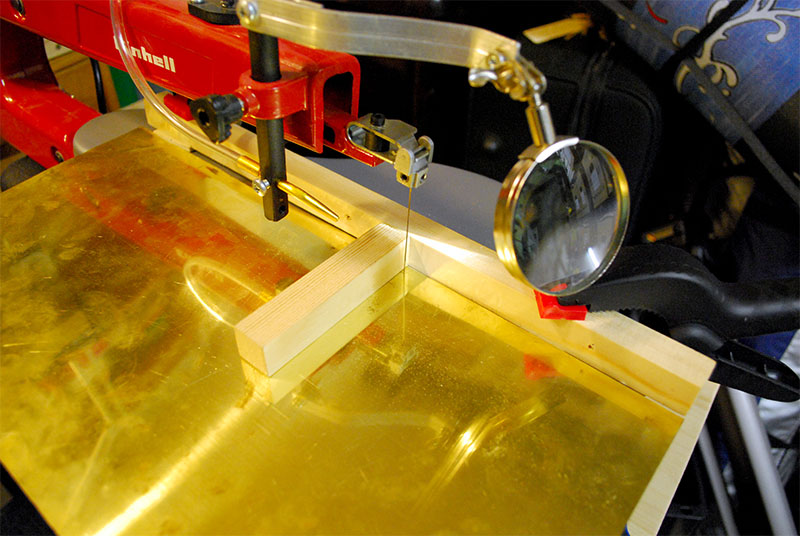
With these preparations done, the brass sheet can be cut. As one can see, I placed the hold-down wood at an angle to keep my fingers away from the blade.
The edges need to be deburred carefully since these edges almost qualify as surgical tools.
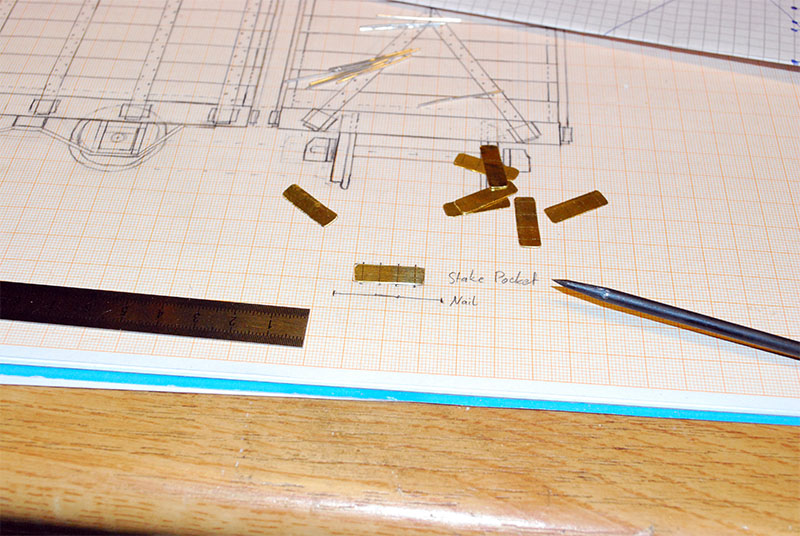
The deburred strips are cut to length and then they are prepared for bending using the diagram. With the help of a steel ruler and a scriber the strips are marked on the inside. They are needed for orientation. If one doesn’t have a metal bender, two pairs of plyers will suffice.
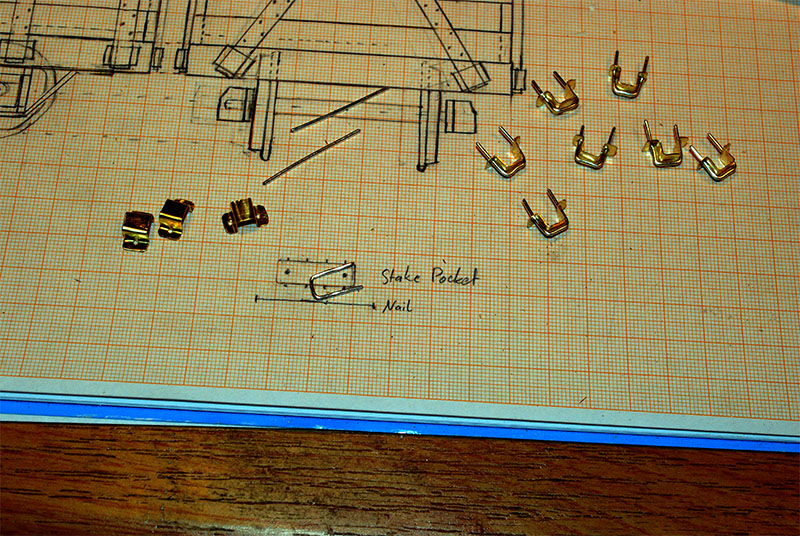
The last step is to prepare the nail wires. They are cut to length and bend into shape using a small diagram in order to make them all the same way. To the left of the picture the predrilled and bent strips wait for the wires, to the right one can see the finished stake pockets.
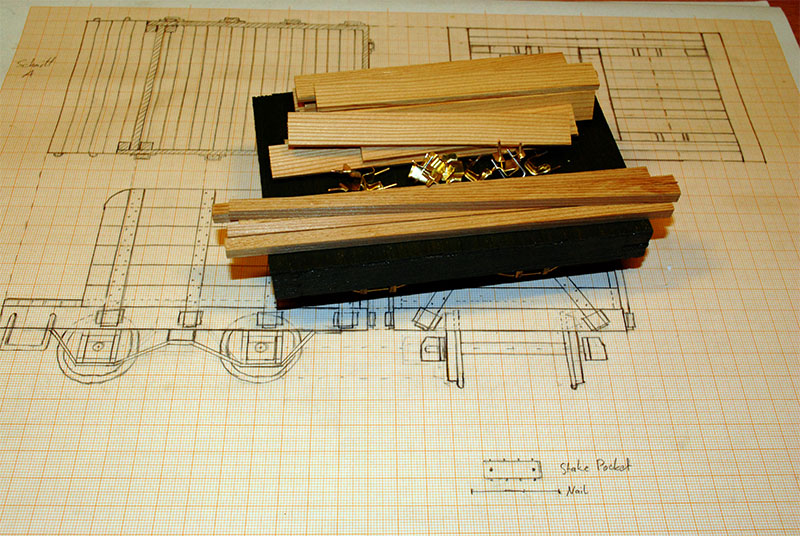
Altogether this cost me a bit more than two hours, with the major part of it being trial and error. I find that one can produce quite cheaply adequate accessories which will certainly fit to short lines.
Next week it’s finally going to be assembling the side walls (german version, translation pending), as a small sneak peak I’ve assembled all parts in the final picture.