
After assembling the transmitter, I proceeded with soldering the parts. This turned out to be a fiddly affair, which kept me from taking pictures. In return, there’s a video of the final testing! 🙂
Overall one can say that the manufacturer’s documentation works very well. Once you’ve found your way around the diagrams and schemas, the assembly is easily done in a few hours’ worth of time.
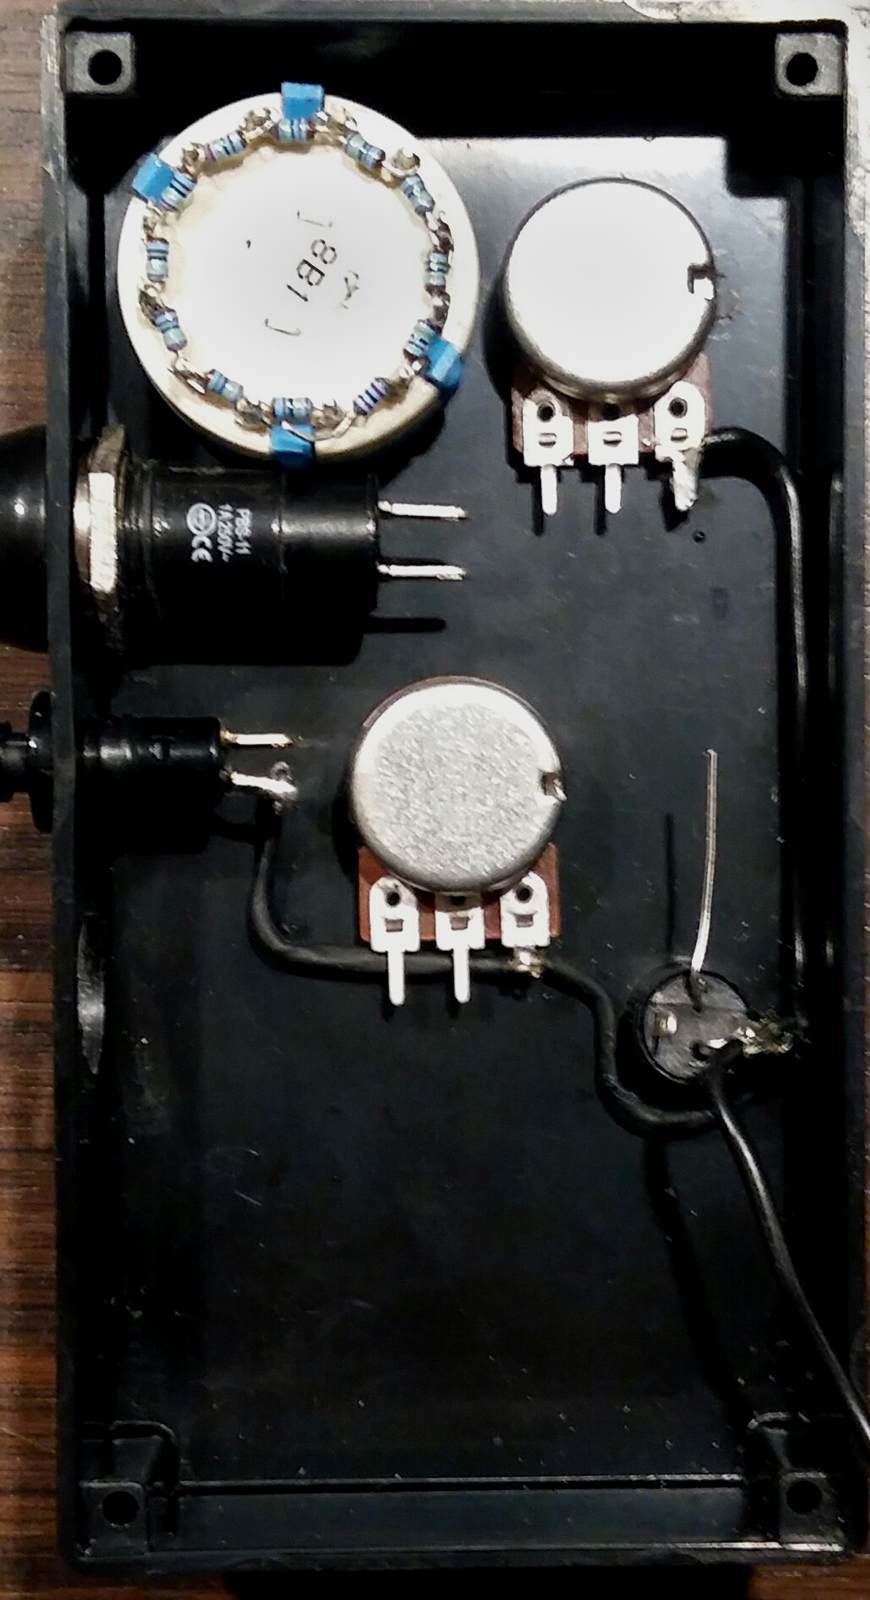
It is really helpful to plan the wiring in levels or layers. At the bottom, I placed the ground connectors. There I connected the potentionmeters, the main switch, its LED and the bind switch. The two function switches remain untouched for the moment because after soldering they will partly block access to the potentiometer.