The landing gear’s completion left only one step to finish the structural work: the tailplane. I copped out for a while to face this step because the tail plane ultimately makes or breaks the aircrafts stearability:
If it’s too small, you can’t control the model aircraft. If it’s too big, the bird responds like a proper boulder. This effect is additionally influenced by the fuselage’s length, as I’ve already mentioned while building the fuselage. That’s why I’m really glad to have found Christian Forrer’s web site, including an excel sheet for calculating model dimensions, before I started constructing my biplane in earnest. Based on the finished parts, I was able to determine the minimum size for the tail plane and get on with it.

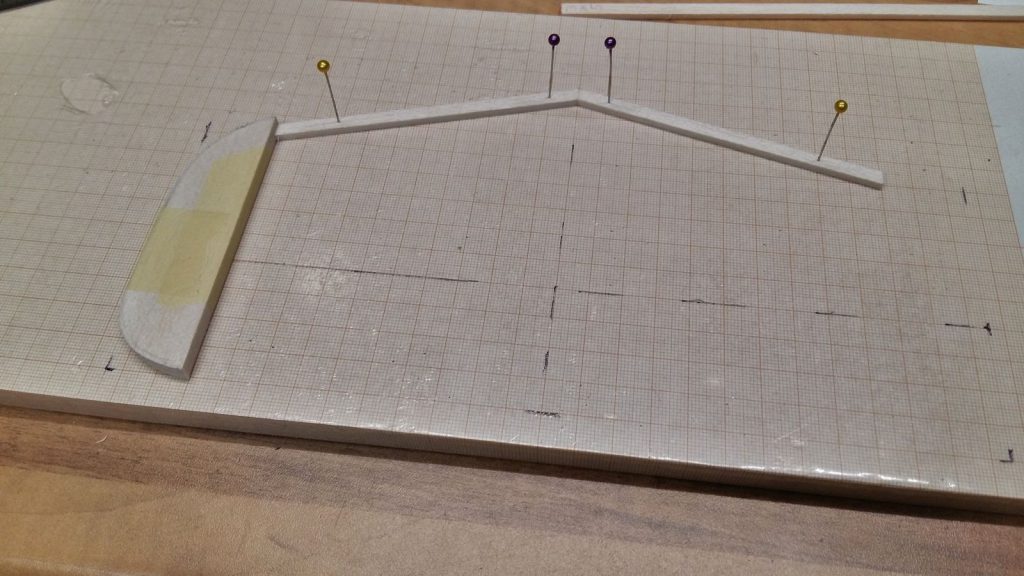
According to the calculation, the horizontal stabilizer has to span an area of at least 25cm by 11cm. Since I didn’t want to overcomplicate my first try, I chose the famous “shelf profile” for the stabilizers. The leading edges are swept. I’d have liked to bend the tips into shape, but I wasn’t happy with the result. So I taped two pieces of balsa wood with masking tape and ground them into the proper shape.

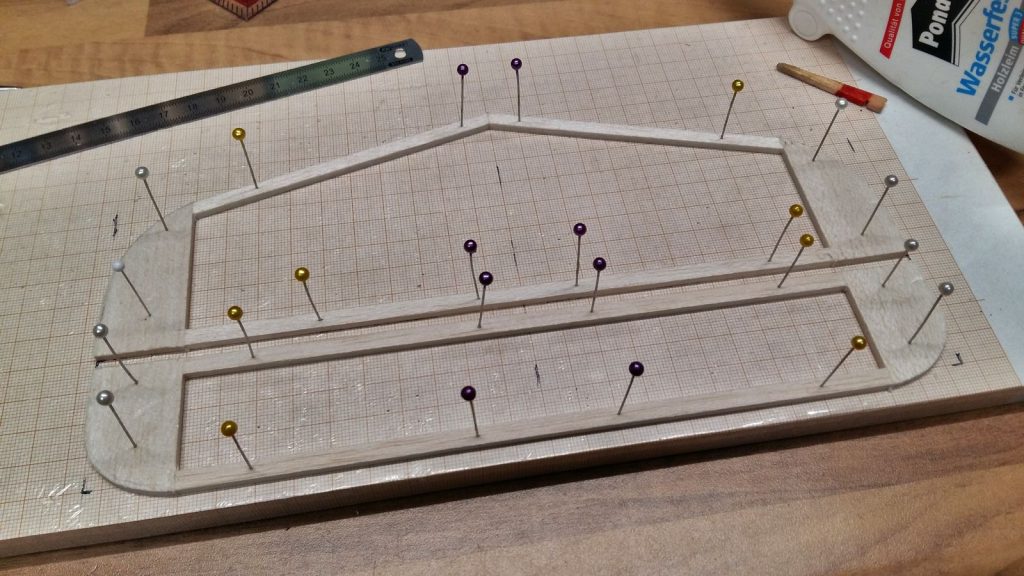
As soon as I was satisfied with the tips, they are placed on the table saw. The last third is sawn off and fixed to the construction board, together with additional slats.

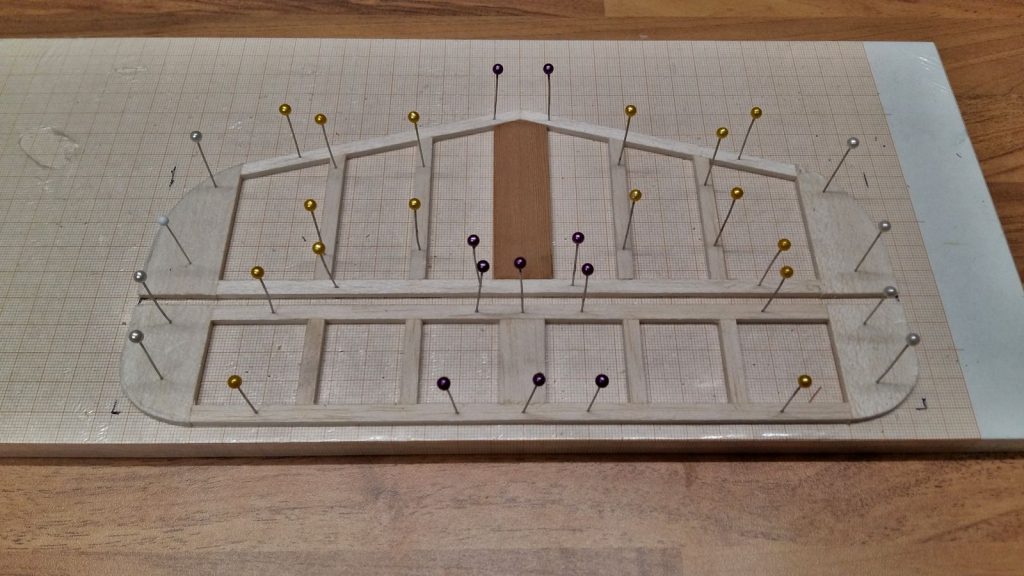
It is important to me that I’ll be able to adjust or if need be replace the tailplane at a later time. Because of that, it needs to contain a robust foundation for the fixture, which I cut from red cedar. That’s followed by the ribs for the stabilizer and the elevator.
Here the circular saw really pays off: I can precisely repeat cuts and thus build an absolutely symmetrical tailplane. The purchase is already worthwhile, just because of the saved time and effort!
Next time, the vertical stabilizer is up.
