
After finishing the upper wing quite fast, I chose to continue with the fuselage. On the one hand, because I didn’t have enought material left to build the lower wing, but on the other hand, because I never had scratch-built a wooden fuselage before. Hence, this should become my next test of my endurance.
When building from scratch one has to be aware, that the fuselage’s length has a critical influence on the flying qualities of a model. The shorter it is, the bigger the tail has to be in order to stabilize the model. At the same time, the nose can’t be too long and on top of that the structure has to be robust, but light-weighted to the tail end in order to avoid the aircraft to become tail-heavy.
To keep things simple, I borrowed from prototypical diagrams, especially the Tiger Moth. The tail can’t be simply copied, though, I will have to calculate its proper dimensions.
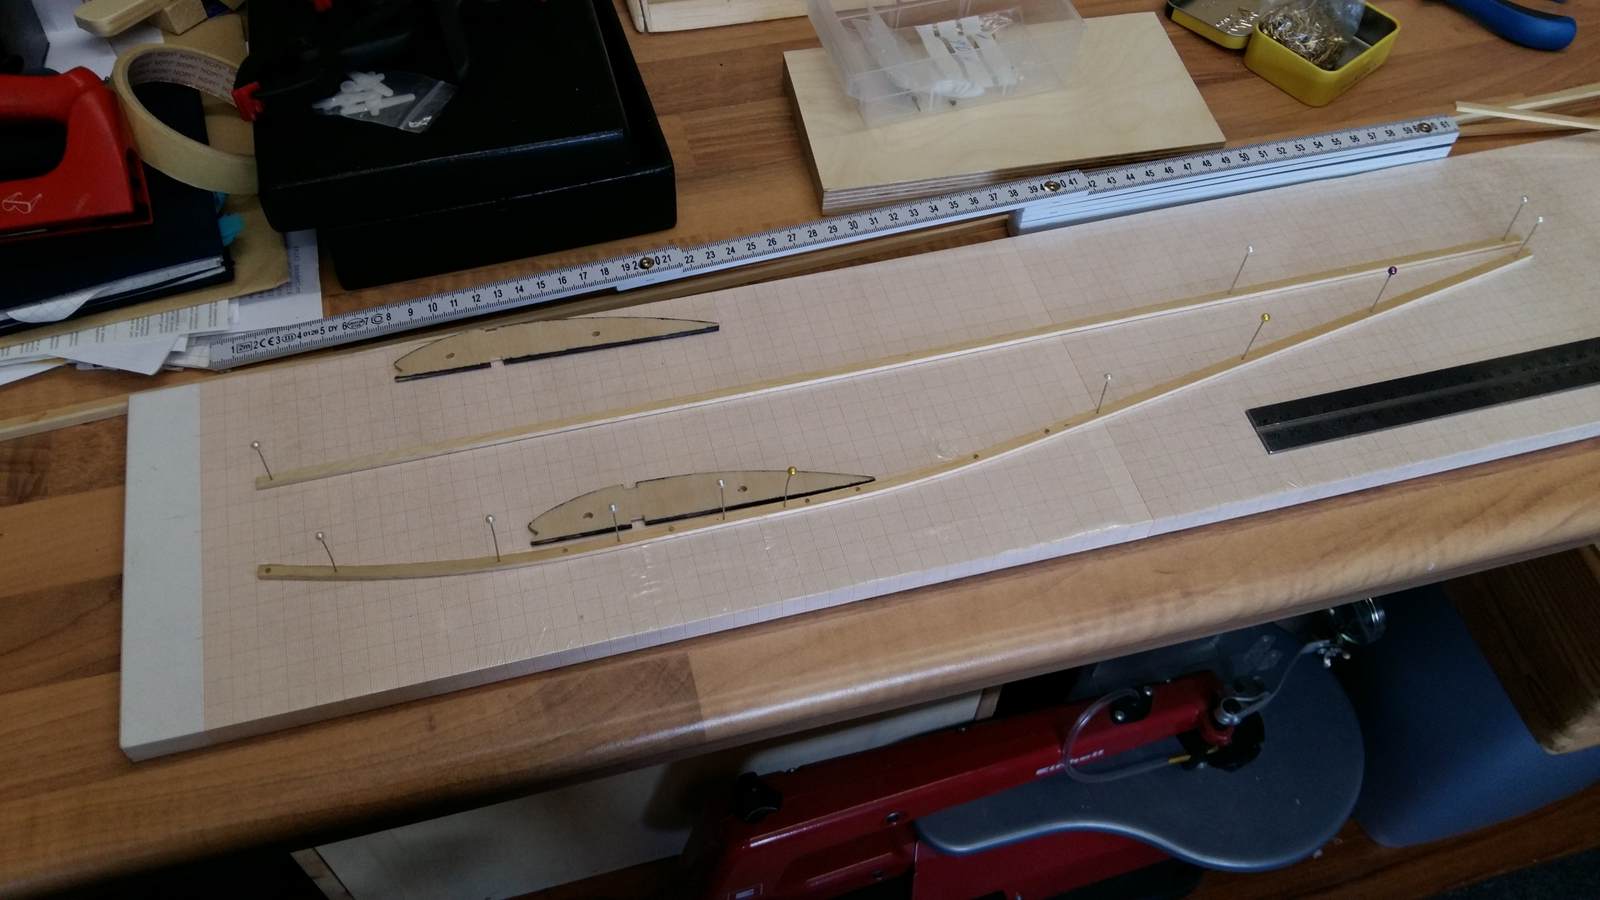
And these are the pictures of the fuselage construction:
At this point I realized, that I hadn’t factored in stall behaviour. My wing has got no wing twist, a stall couldn’t be countered with the ailerons and instead of stalling out I would risk a spin. After some head-scratching I came up with a solution, by simply raising the angle of incidence on the lower wing. Thus it should stall first and the aircraft would drop its nose, while the ailerons on the upper wing would still be in the airflow.
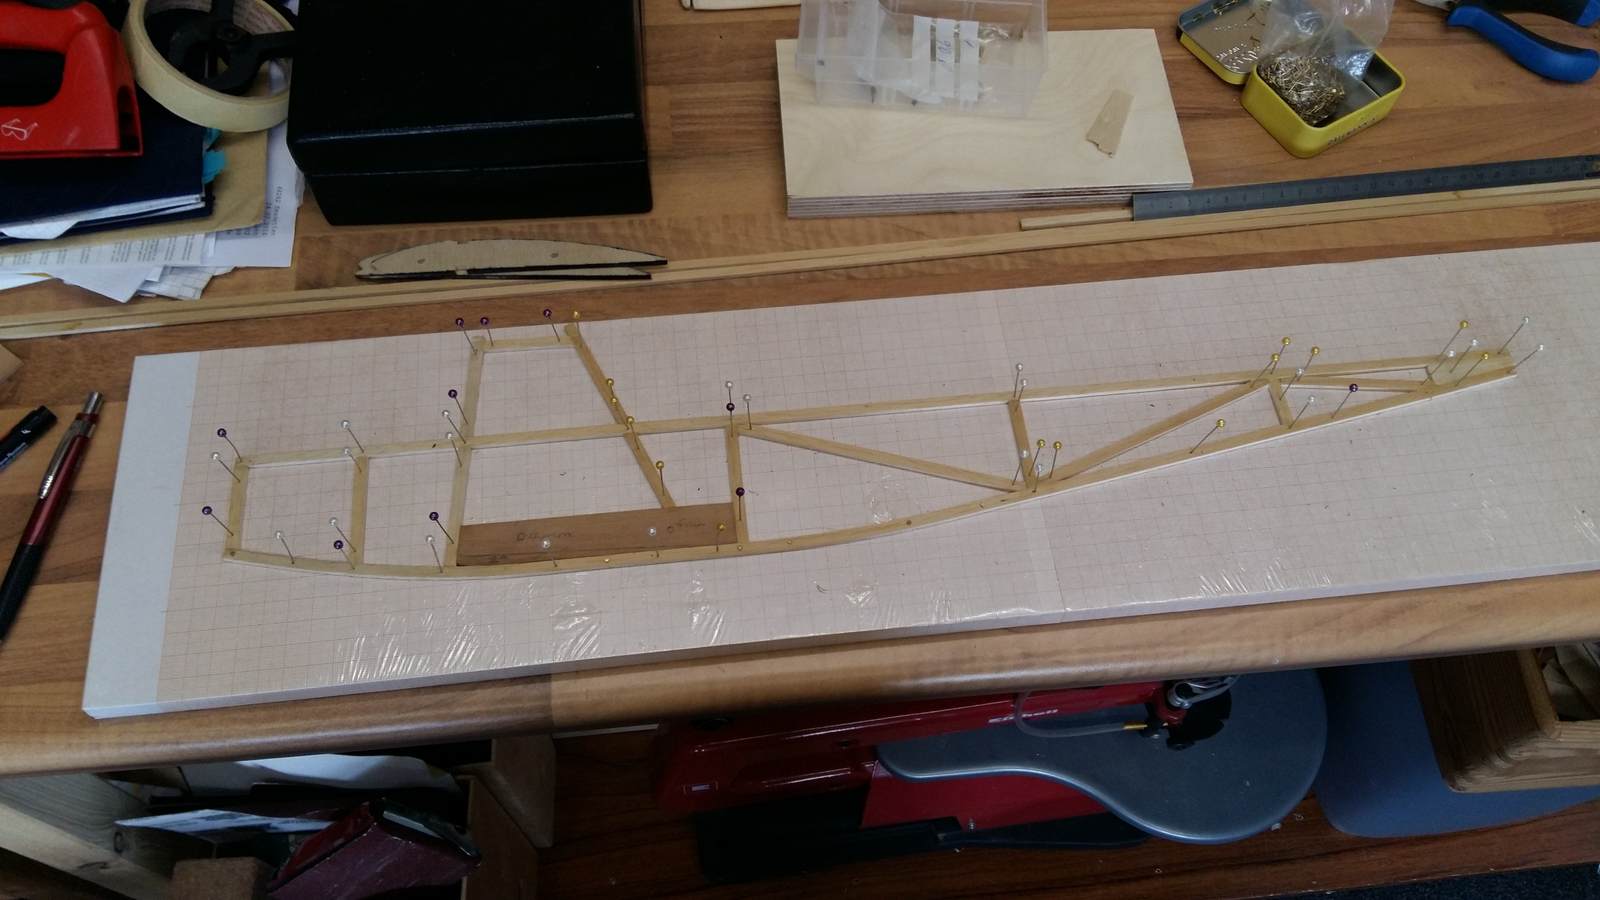


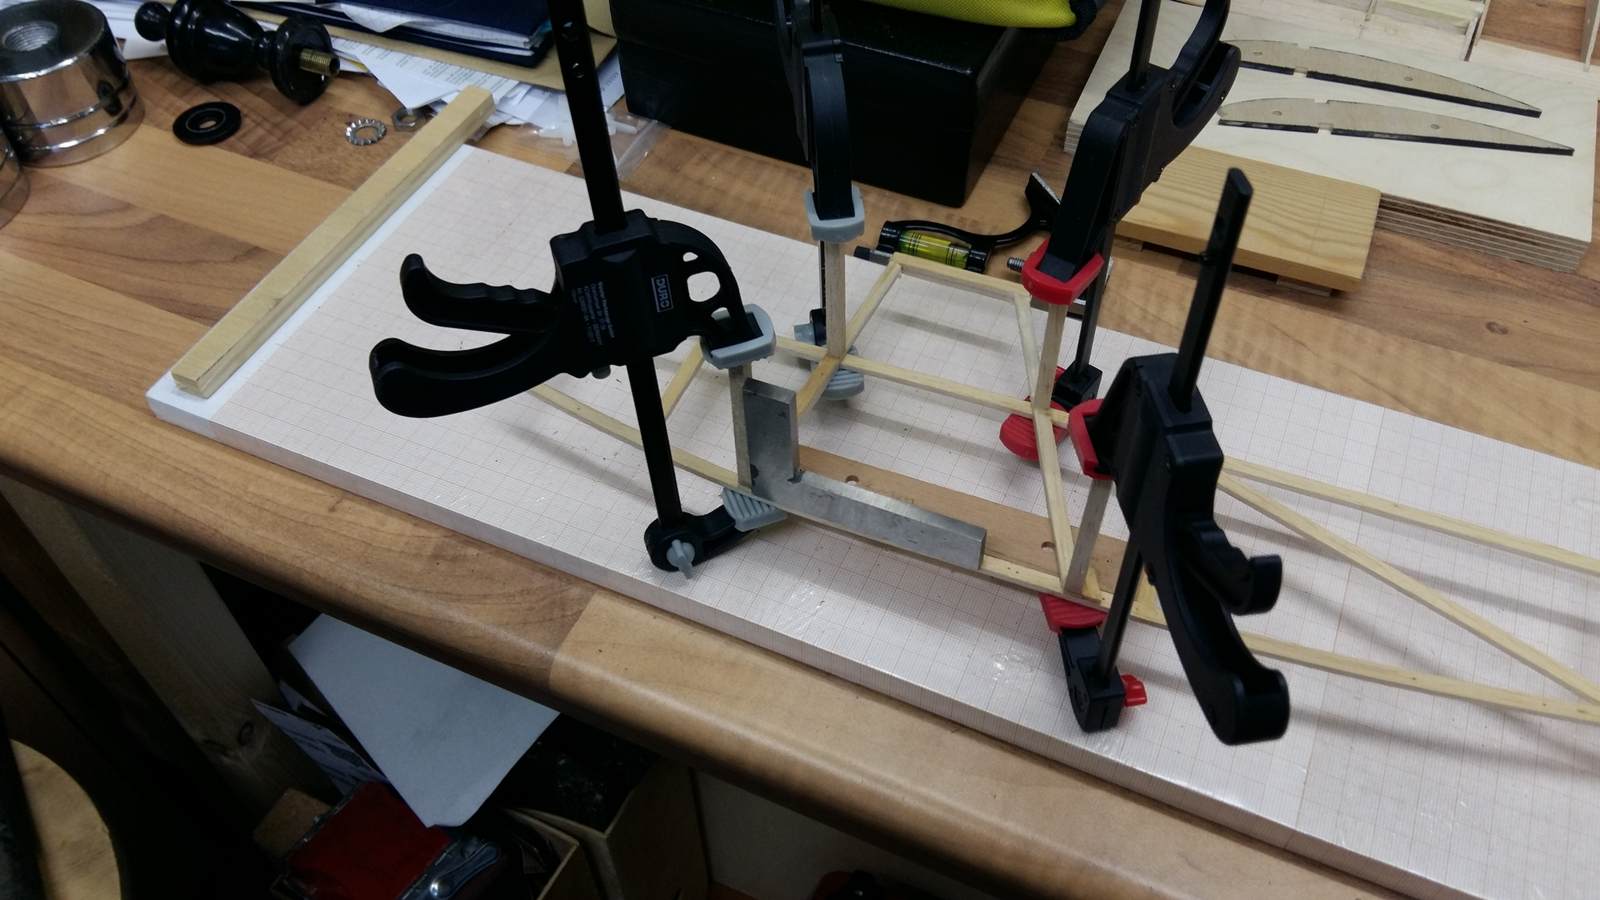
While fixating the cross frames I quickly realized that cramping them directly had a bad influence on the right angle. So, on the second try I cramped them directly between both halves of the fuselage.

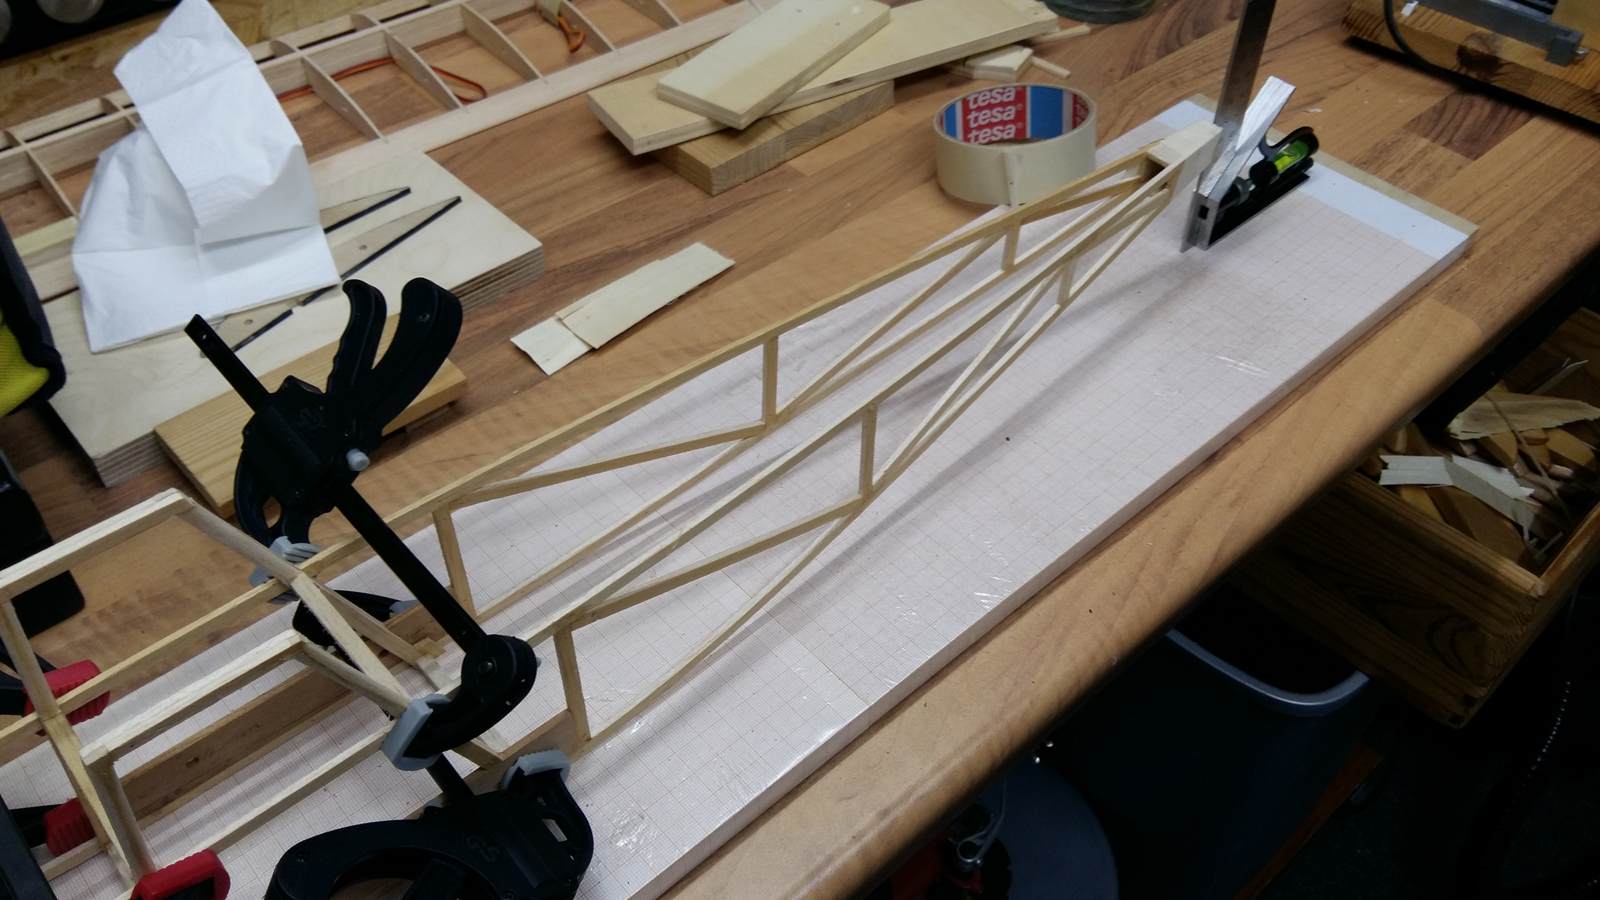
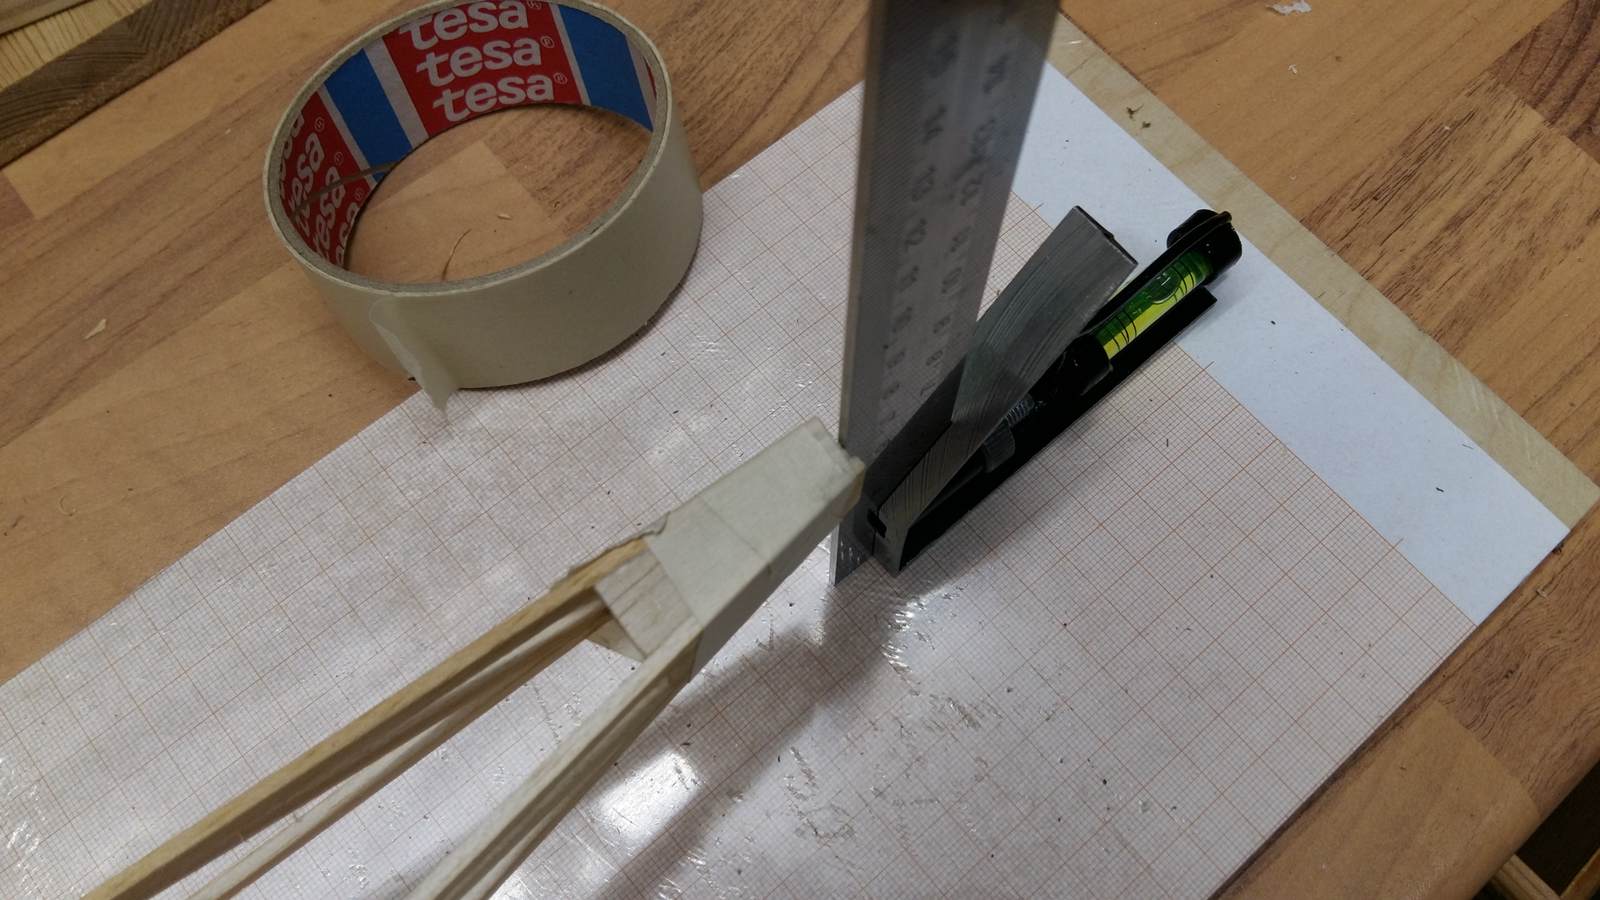
As you can see I’m using masking tape to cramp the tail. The advantage being that more than two windings eliminate any slack and yet there’s no strong adhesion to the balsa wood. More adhesive tapes tend to damage the balsa wood on removal.
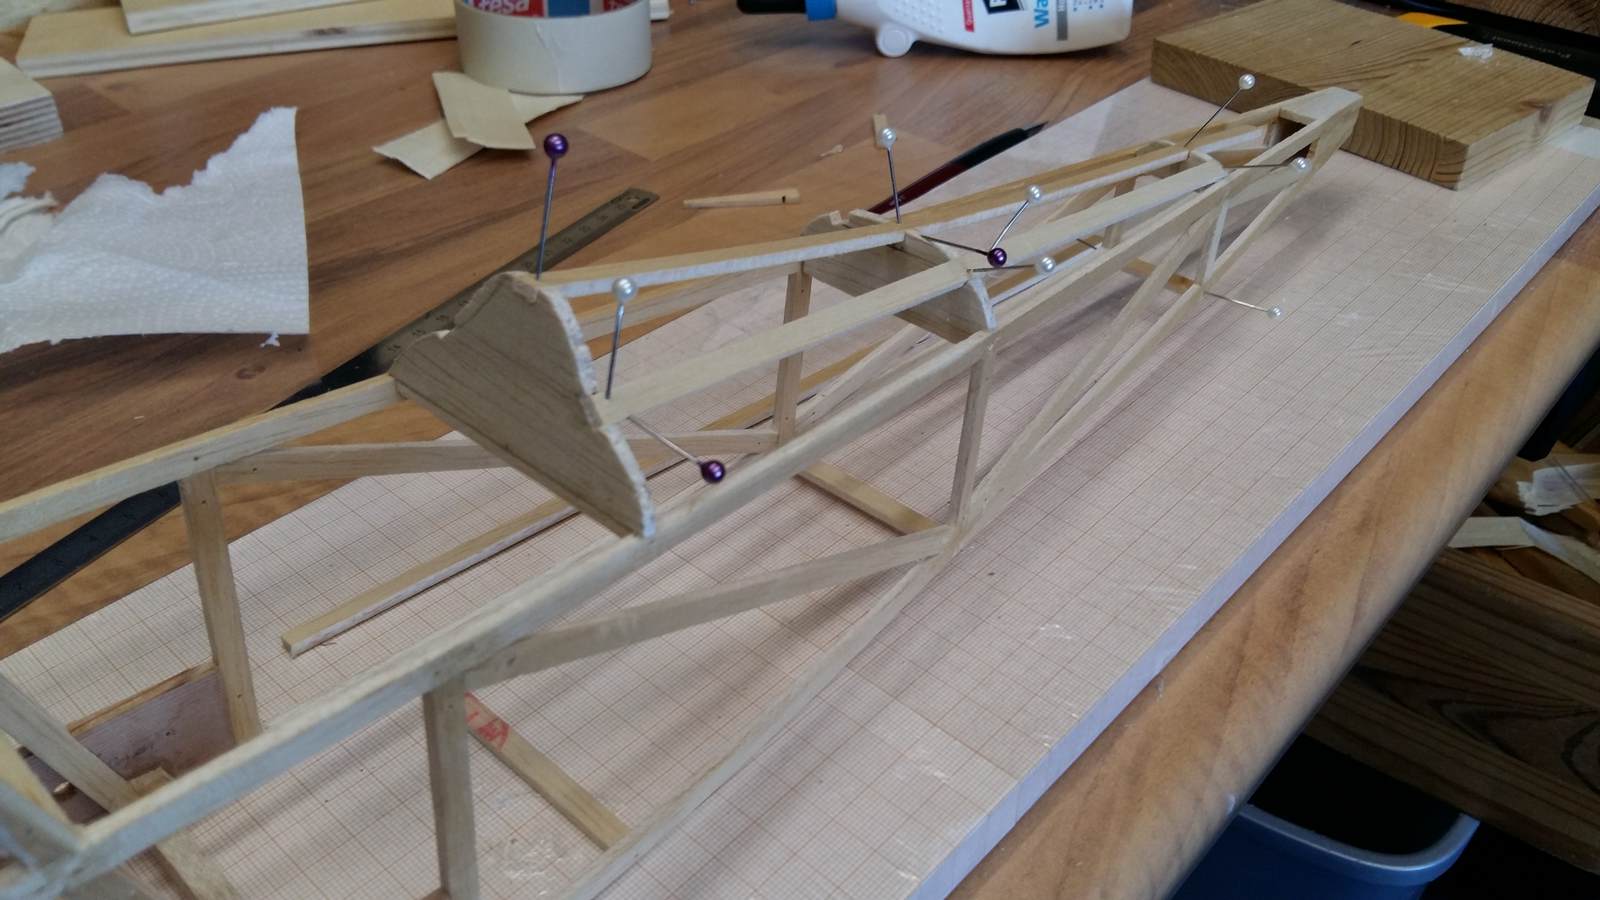
There was no technical necessity for the ridgeback. I simply wanted to experiment with complex geometric forms. I may say, I’m satisfied with the result.
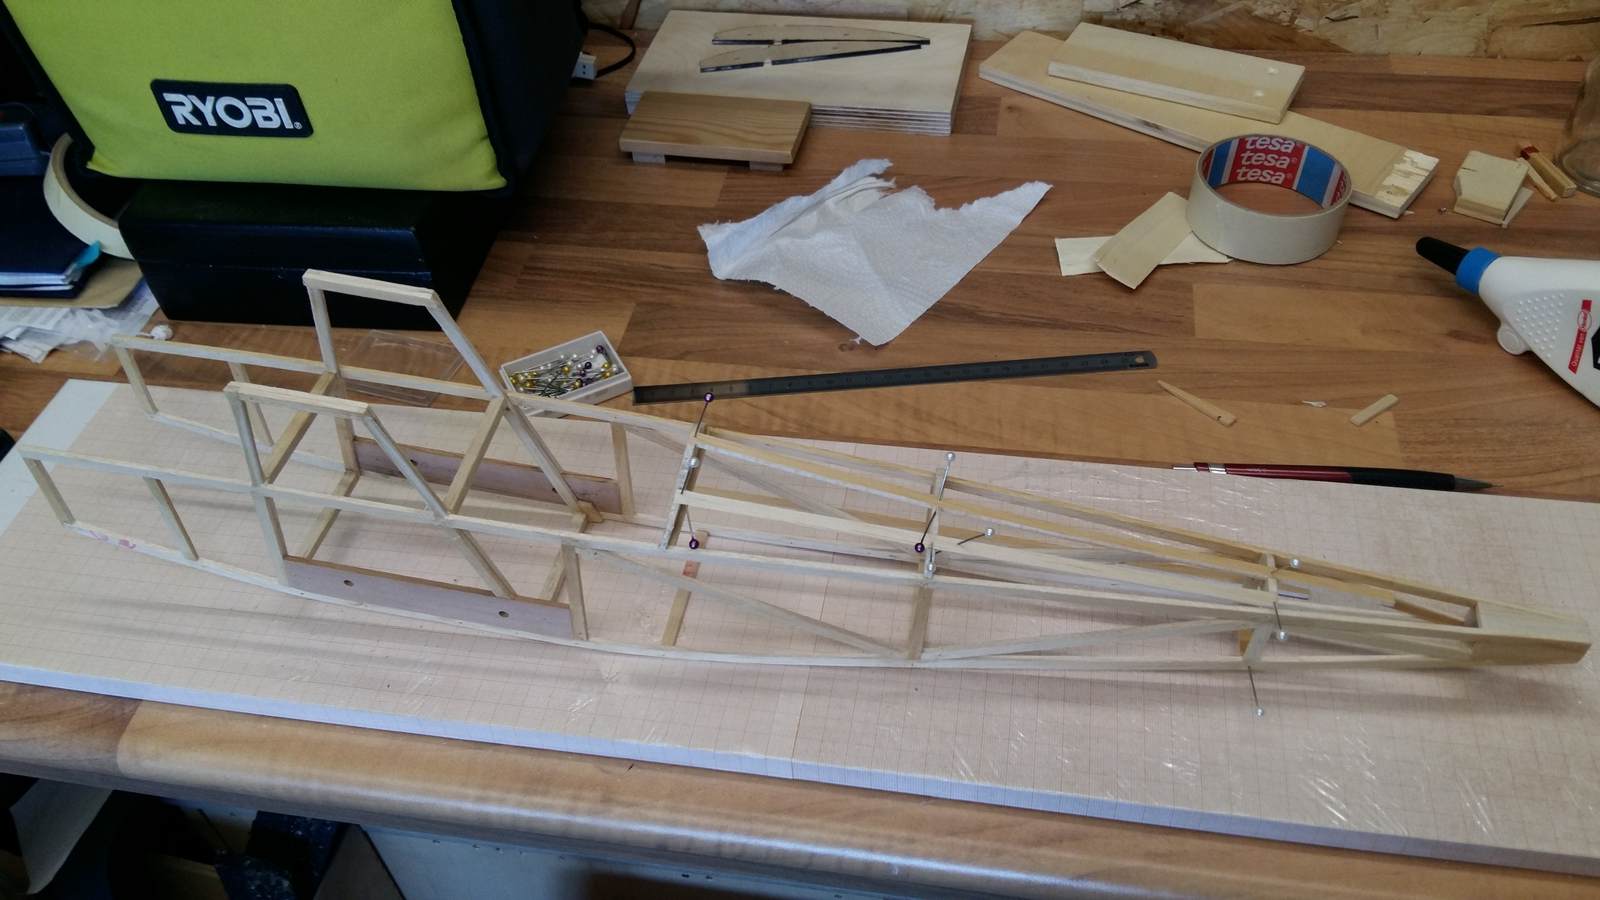
Next time, it’s the nose.