
About half a year after I started flying with my EasyGlider the desire for another model aircraft grew stronger.
I soon realized that I’d have to build my own models rather than buy premade ones. Especially larger models would quickly overtax my financial abilities. However, scratch building can consume a lot of money, too. So I decided to test my will: Do I really want to build a model aircraft from scratch?
Thus an old cardboard filled with balsa wood was ravaged, following the old saying: it only costs time. Taking stock, I realized that the materials wouldn’t quite suffice to build a whole plane. However, it would suffice to put my endurance under proper scrutiny.
It’s been a while since I built an aircraft… ca. late 1990s. Without any diagram and help the project might prove a tad difficult. Luckily, I found an outstanding construction report on scratch building an aircraft at Christian Forrer’s Web site. He also provides an excel sheet for calculating model dimensions. I borrowed the wing geometry from “Kepsi“, a trainer model designed by Jochen Zimmermann. Equipped with these materials, I threw myself at the construction without even thinking about any sketches.
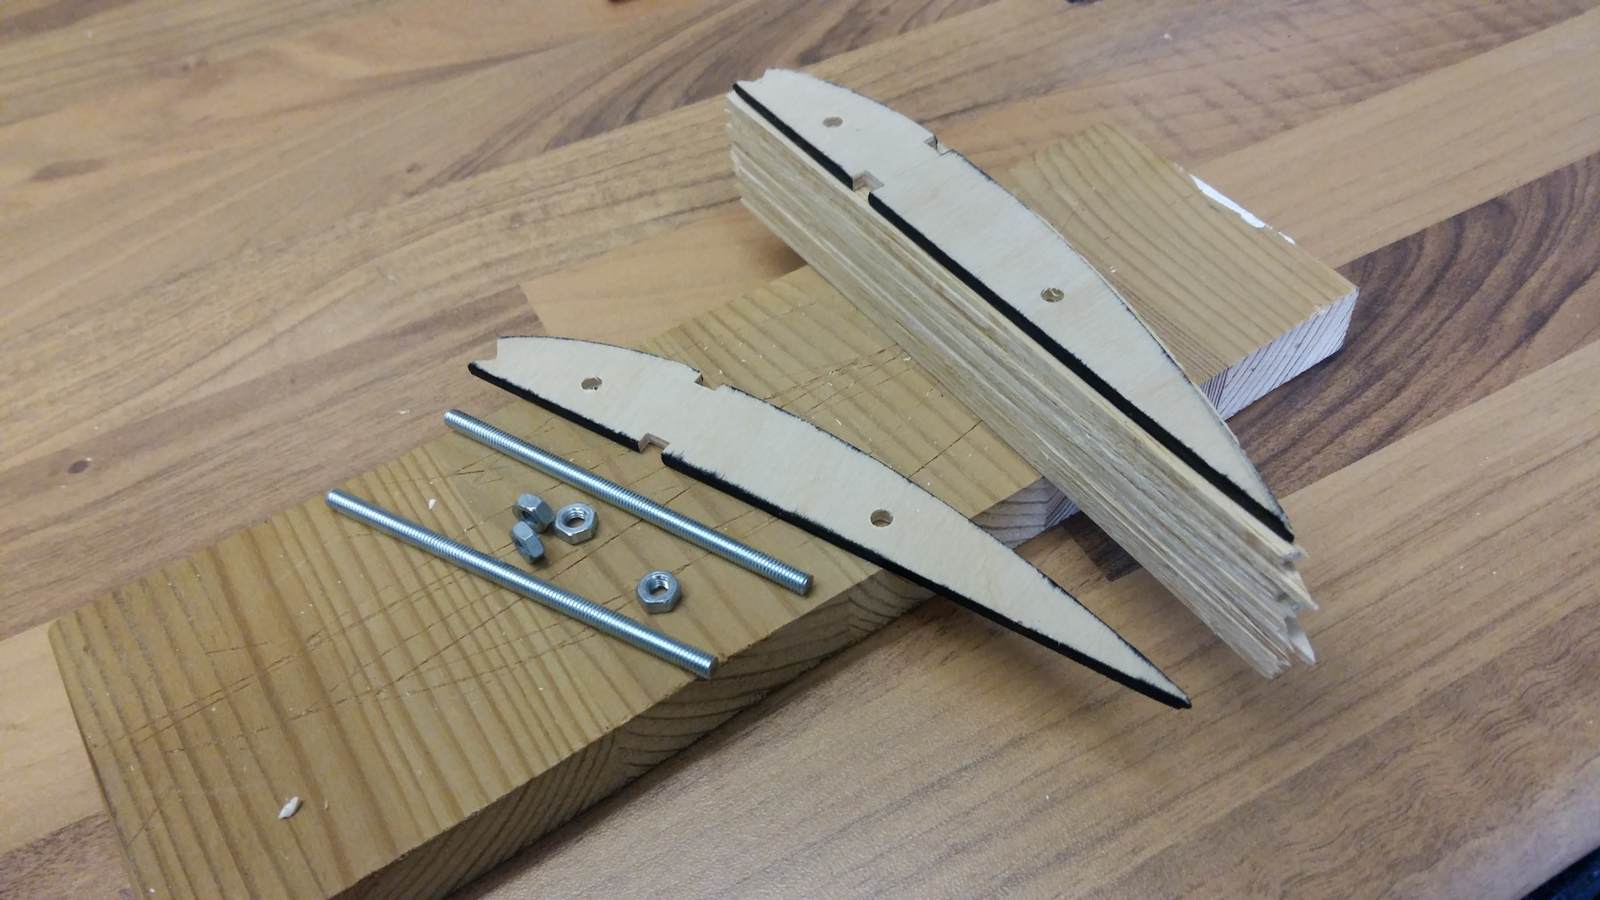
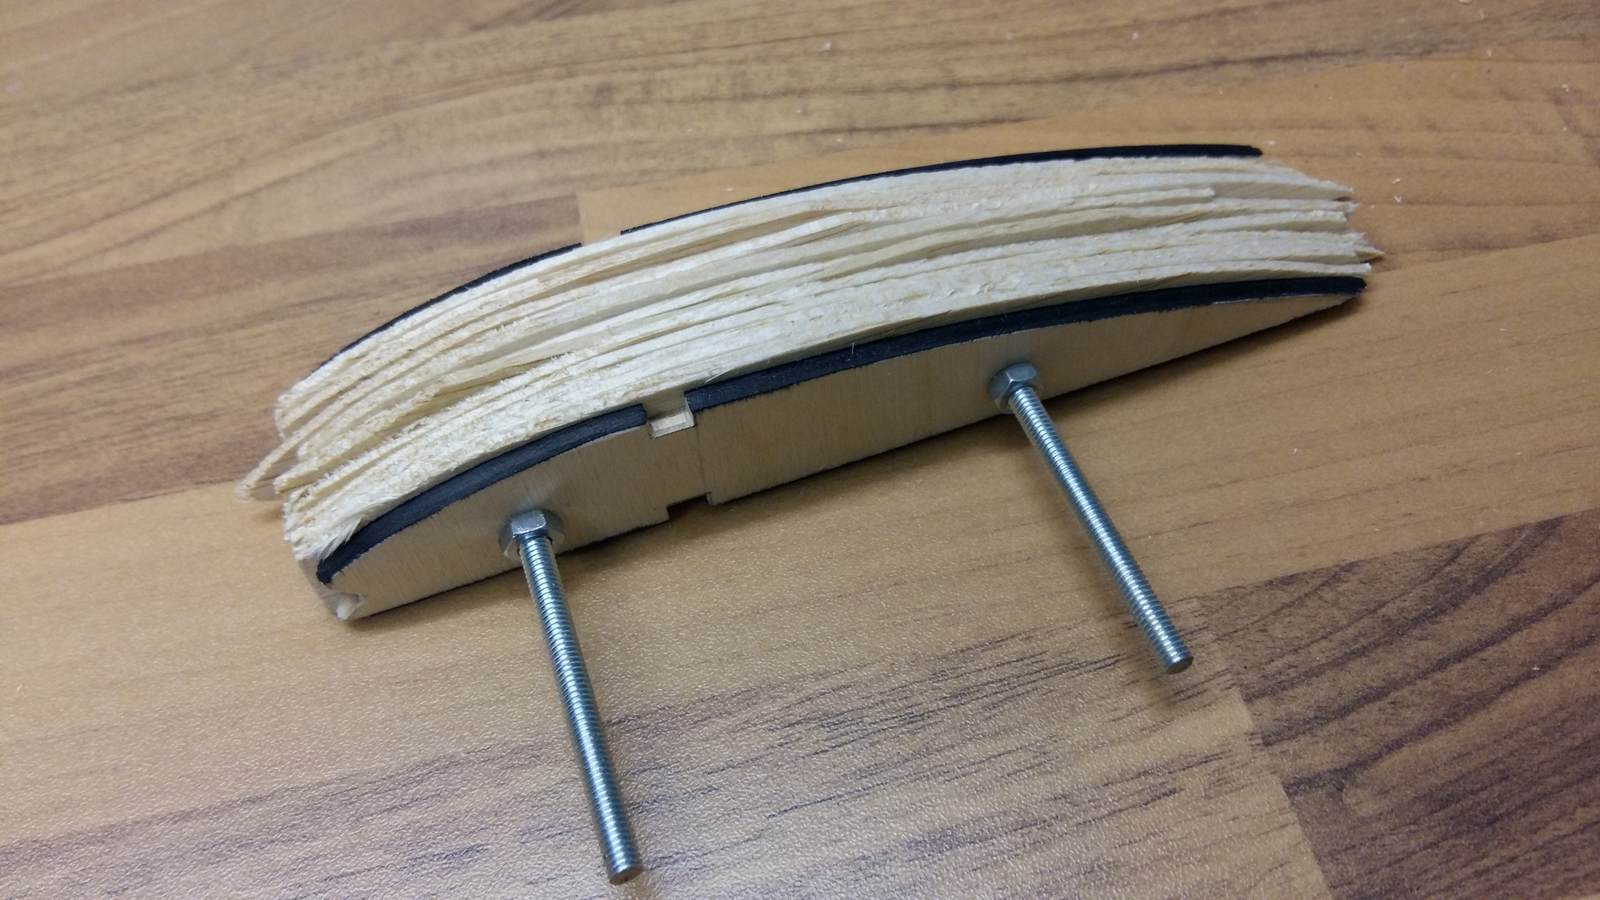
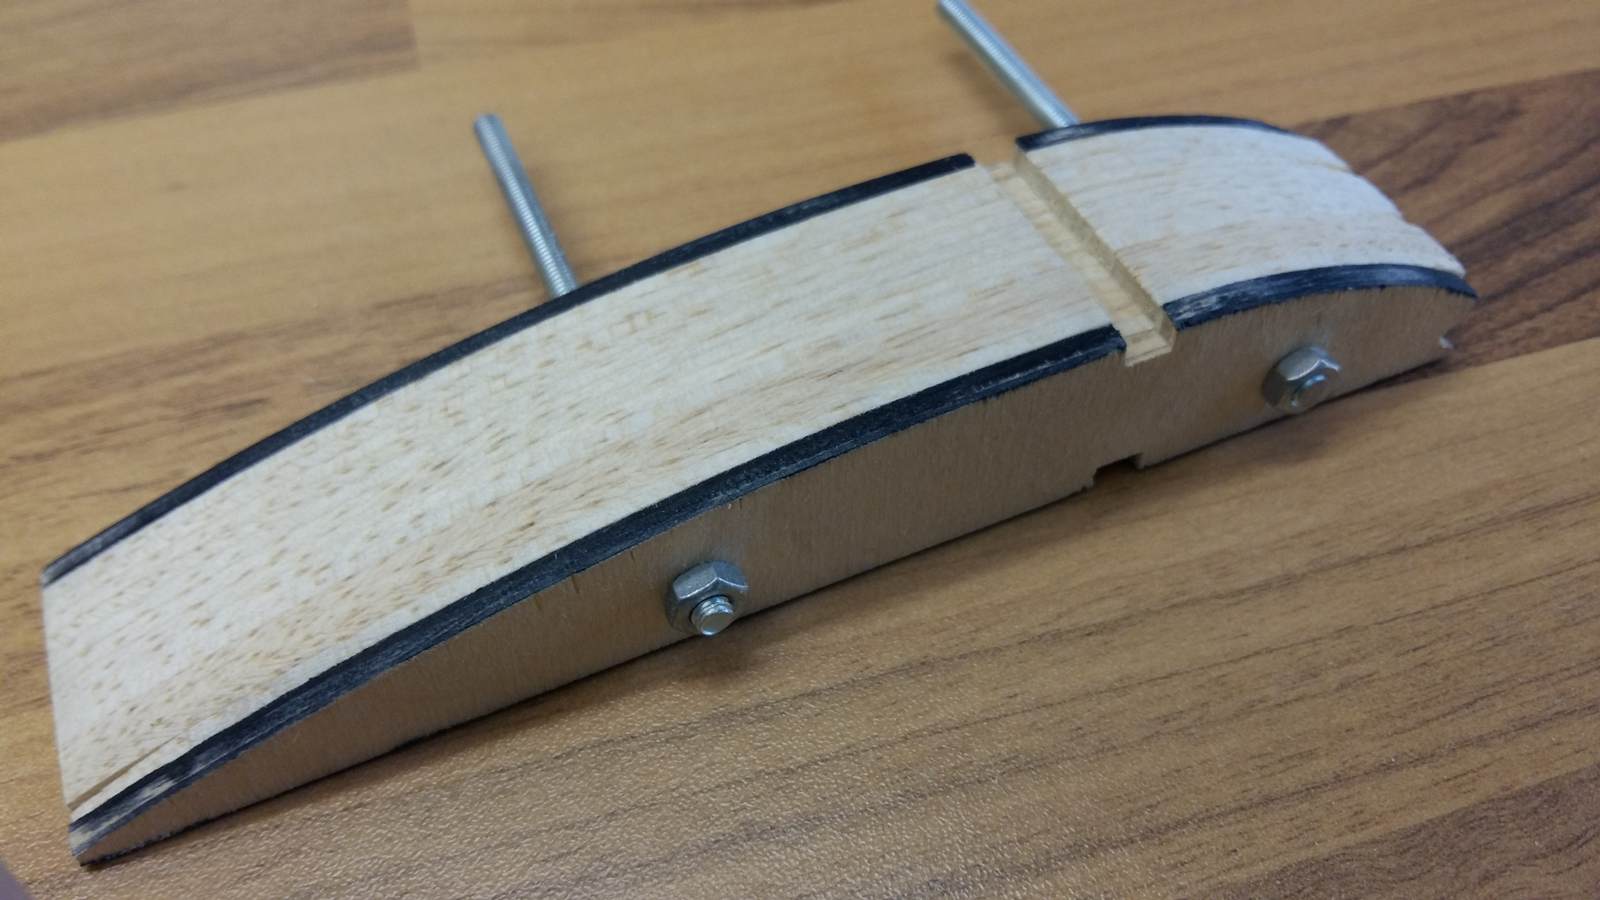
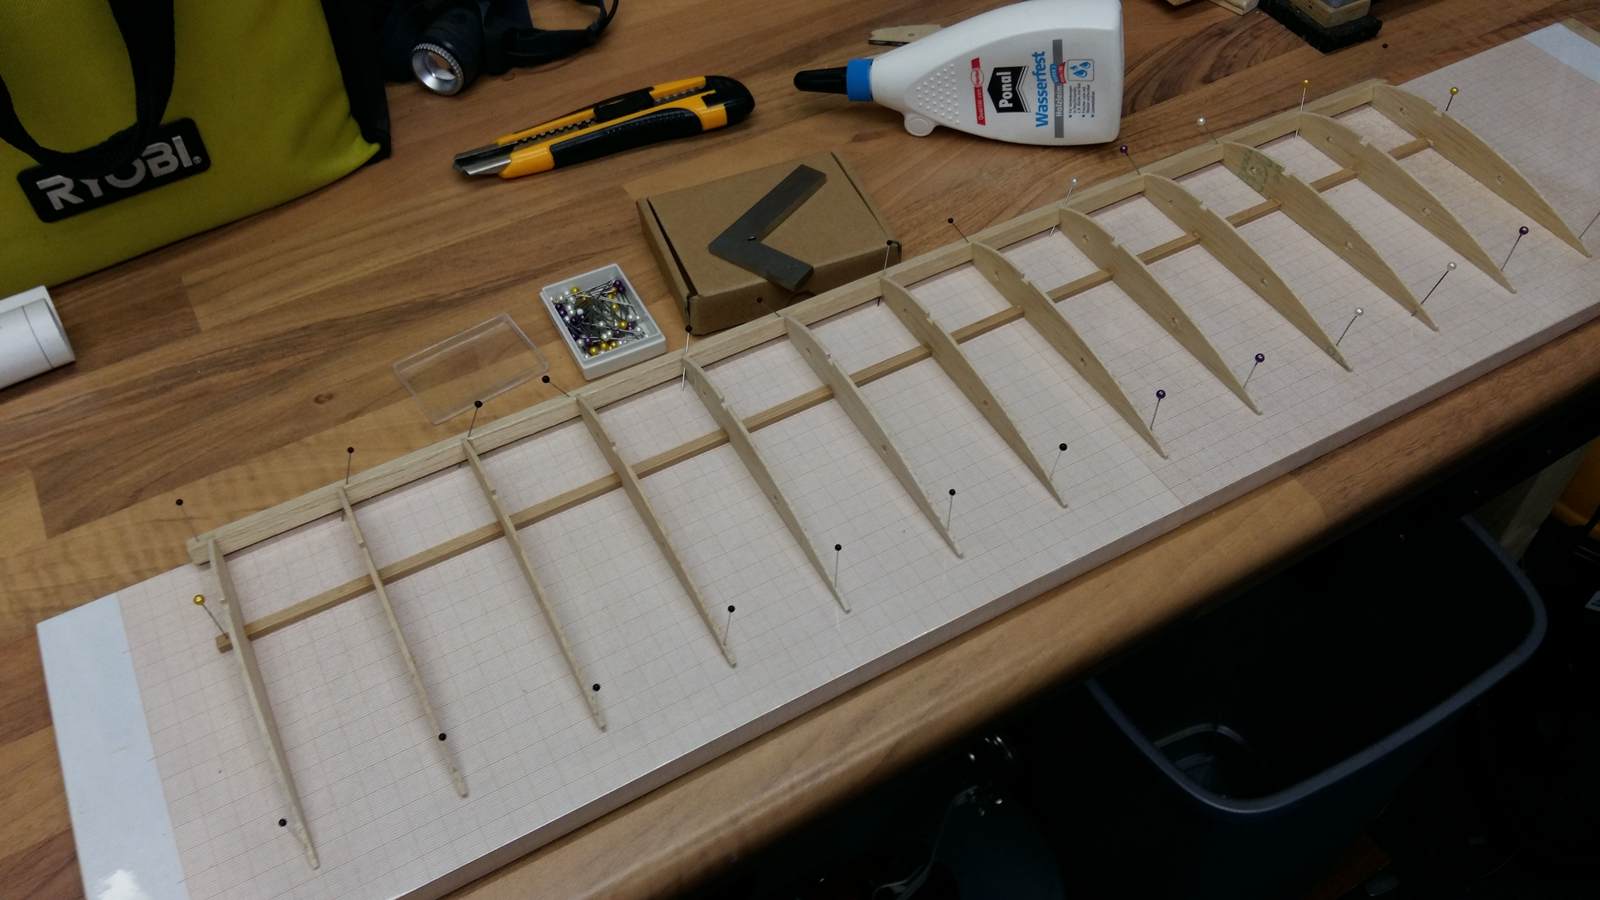
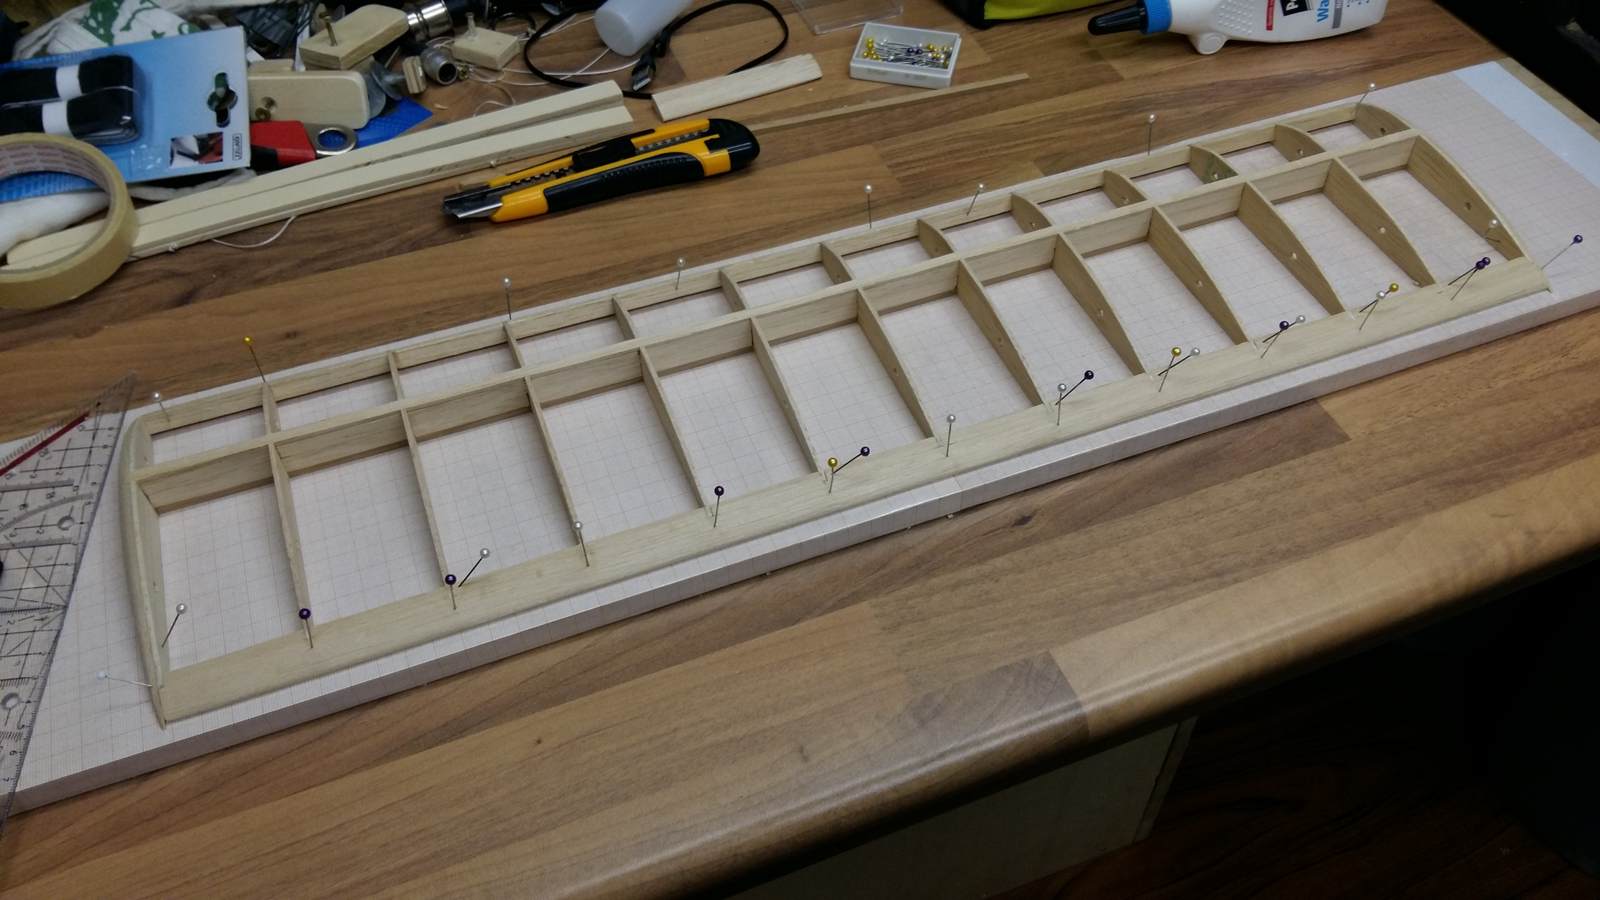
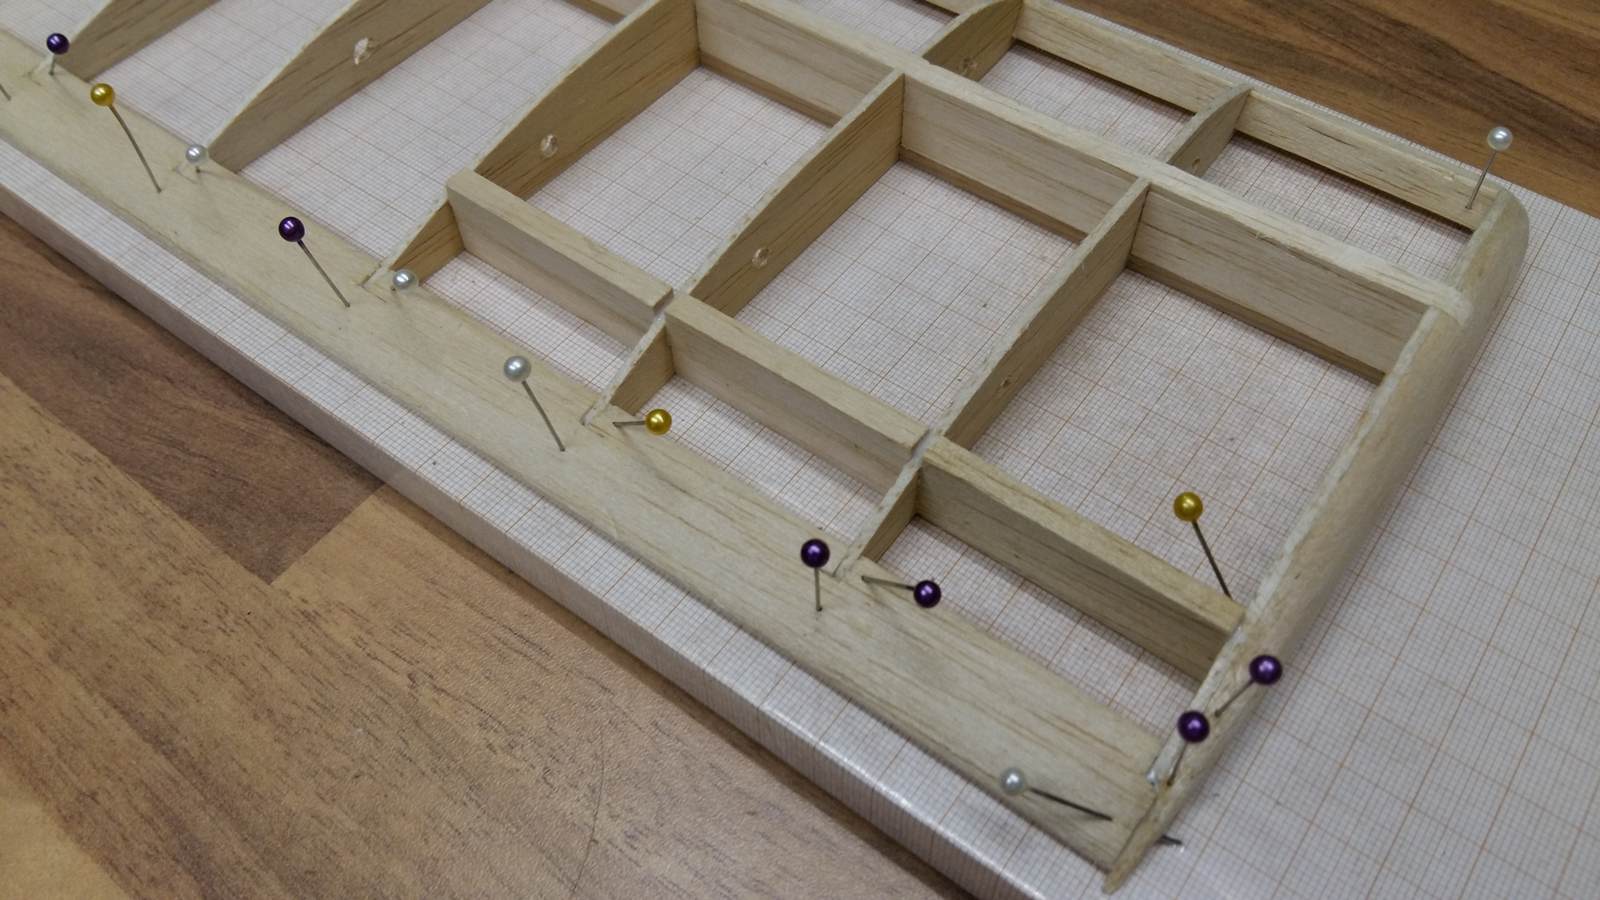
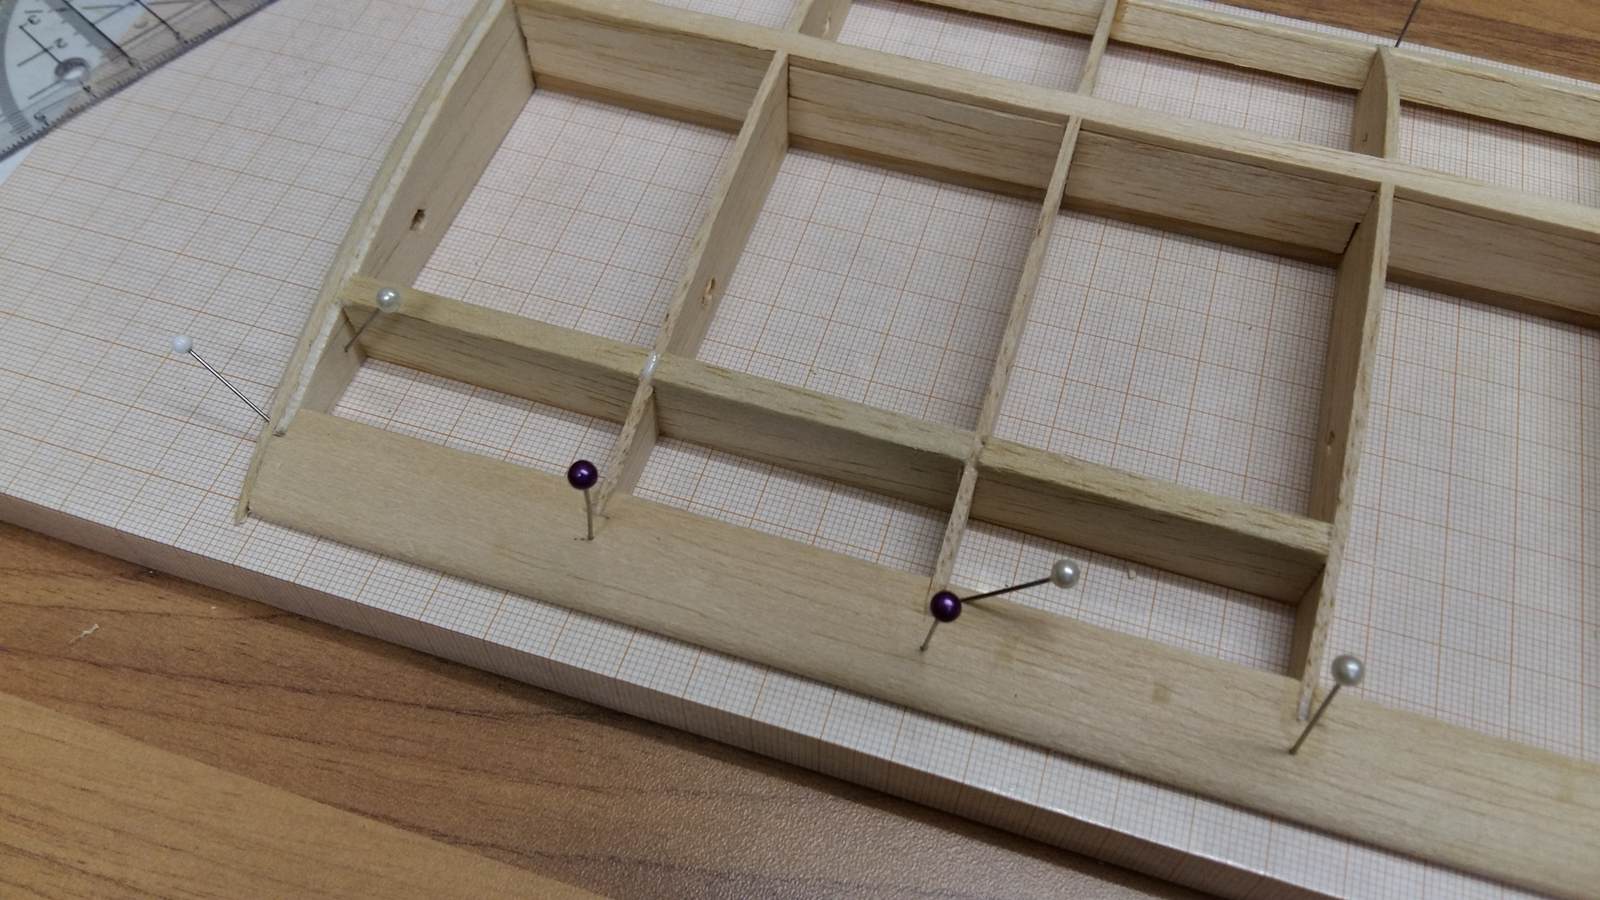
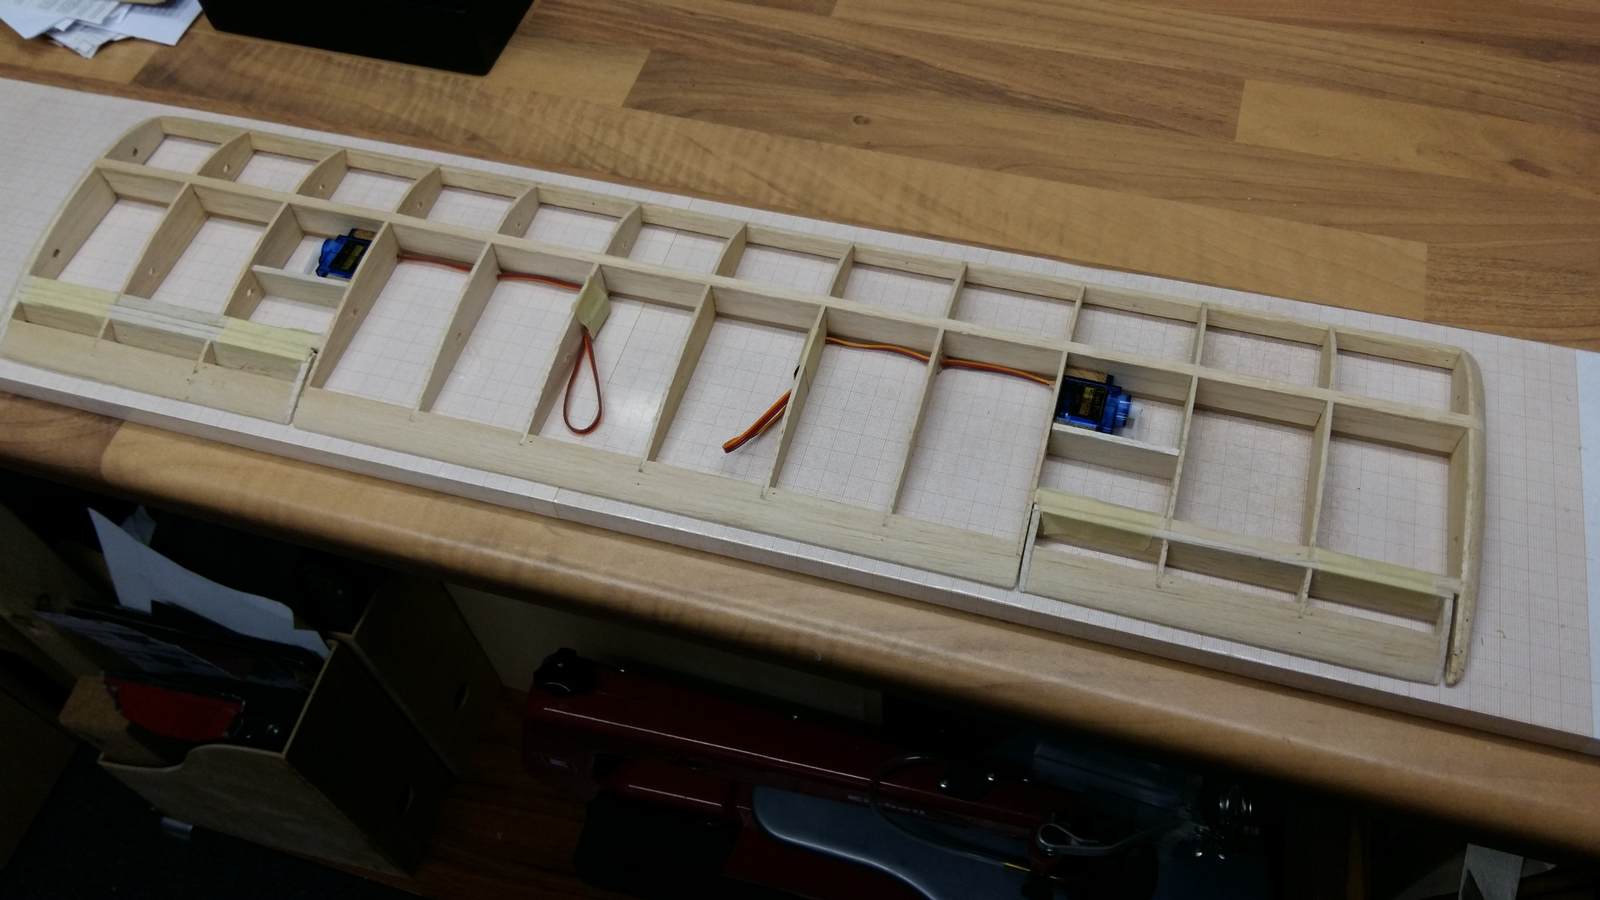
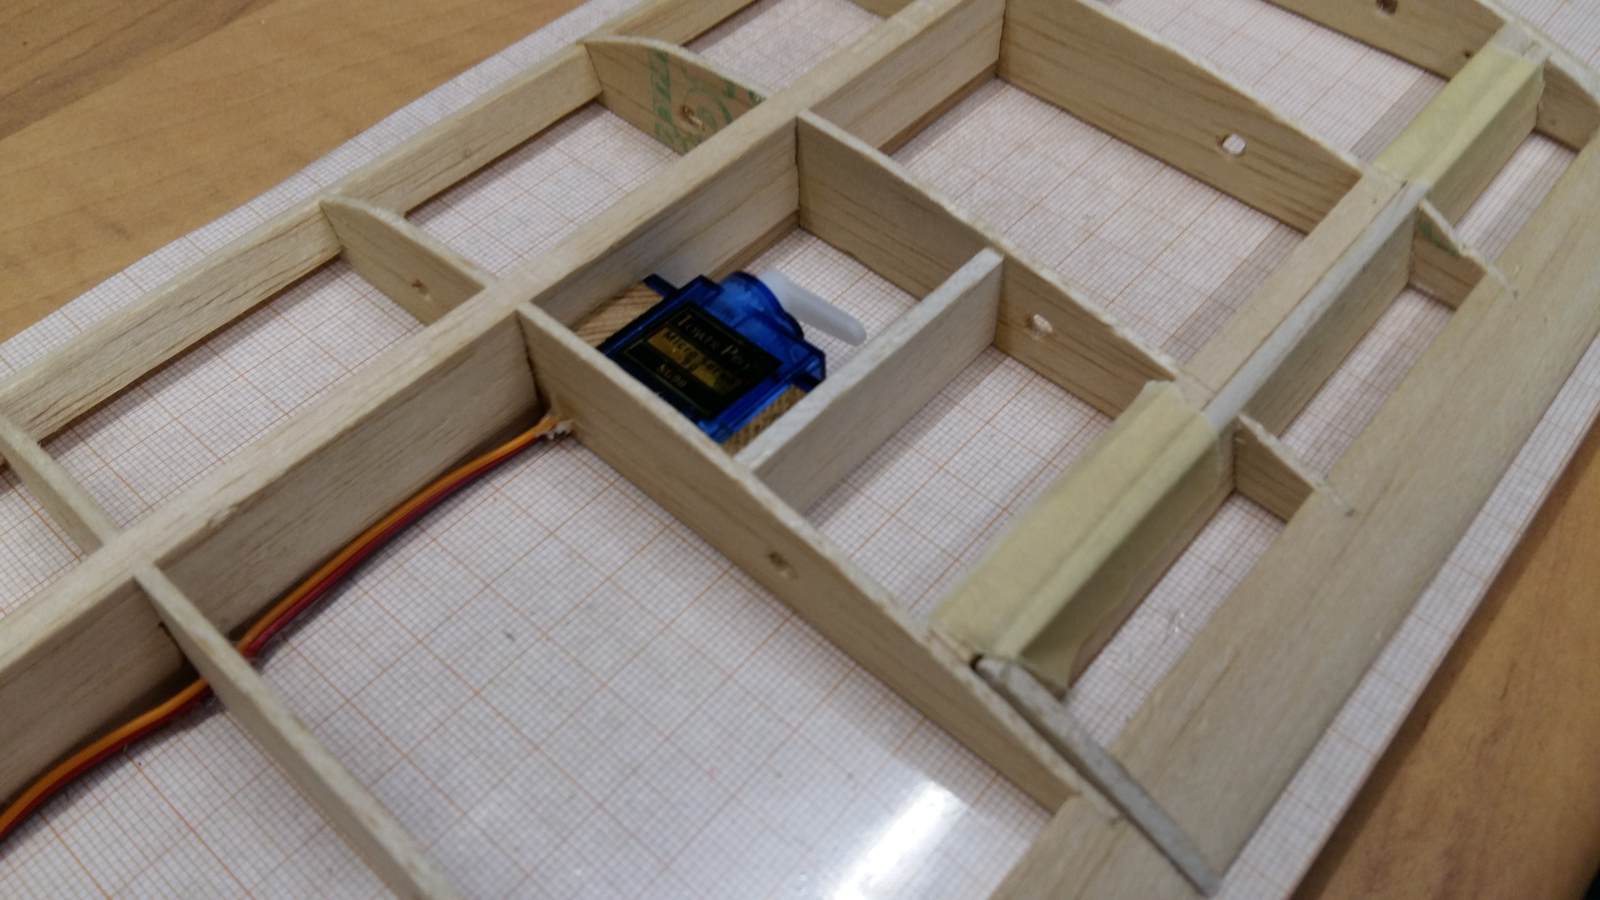
These are the pictures of the first few construction steps:

Next time we move on to the fuselage.