
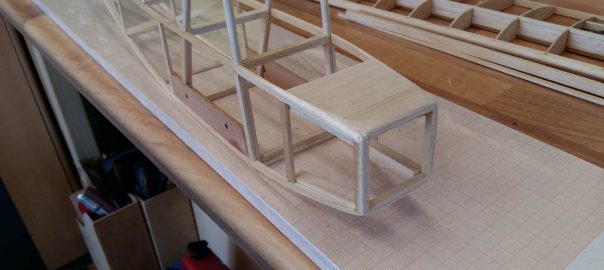
After framing the fuselage, the nose had to be tackled. This was the first time my skills got stretched to their limits and I had to rebuild repeatedly.
The main challenge was the quite accentuated curve that I expected the stringers to follow. I did manage to bend them accordingly on the fuselage’s halves while they were fixed to the construction board and the fixtures seemed to be stable. However, while trying to join the two halves I overtaxed the wood glue.
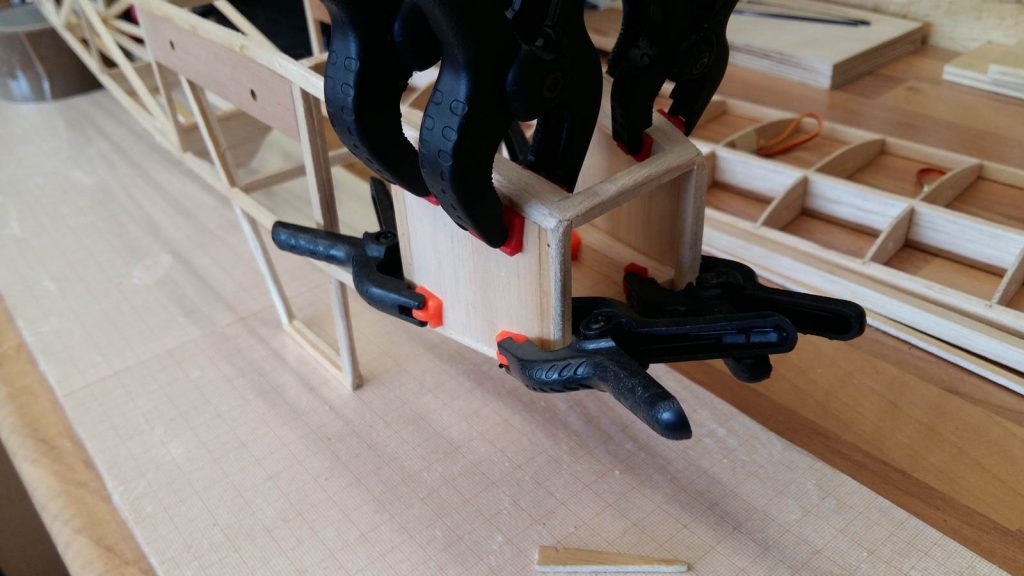
In the end I could solve the problem with quantity: first the framing sticks were redoubled. The stringers got bolstered with square lengths of balsa wood and then I covered the gaps with small sheets of 2mm balsa wood.
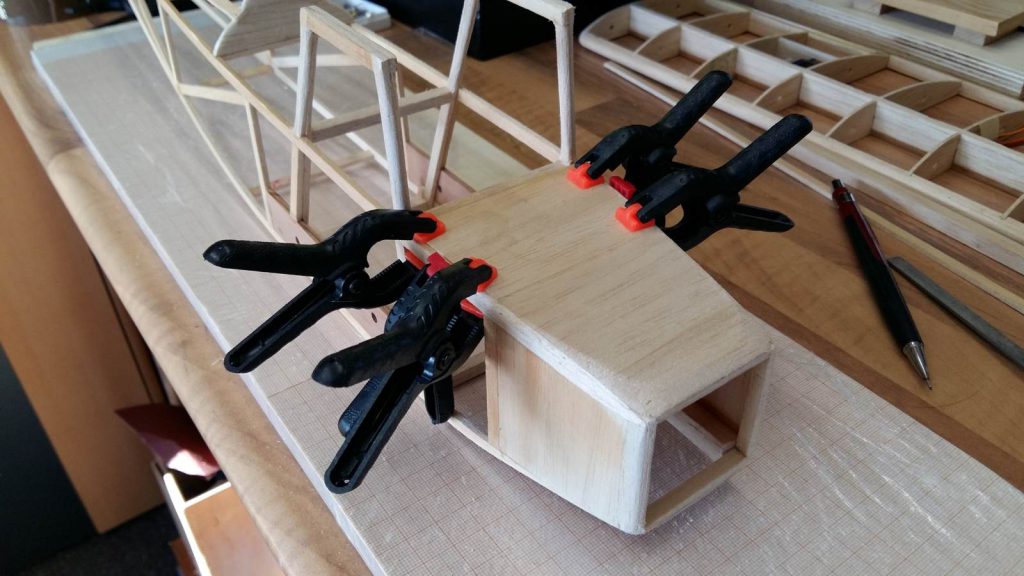
In the end the whole construction got so massive that I was able to file down the edges. Thus I got a somewhat aerodynamic front.
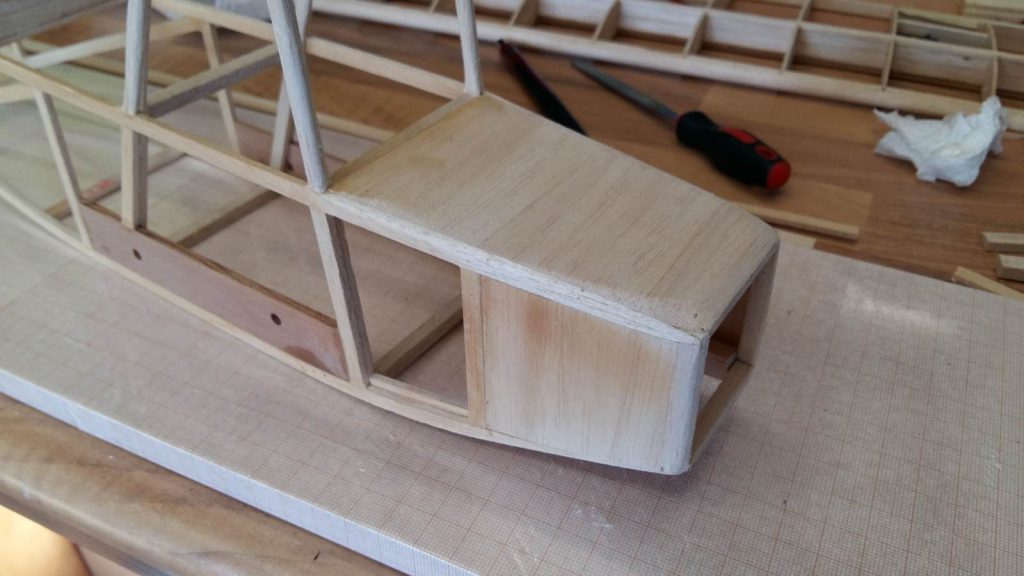
By planking the nose, it gained a lot of stability. Since this part of the fuselage will receive all the forces, propulsion from the engine, bumps from the carriage, forces from the wings, I will close up the nose completely. However, I will wait until I’ve finished installing the motor and other R/C components because I’m not quite sure yet how I will proceed in detail.
The lower nose (or chin) will later provide an opening for swapping the accus, so it will either stay open permanently or I will install a hatch. Time will tell.
Next time, it’s going to be the undercarriage.