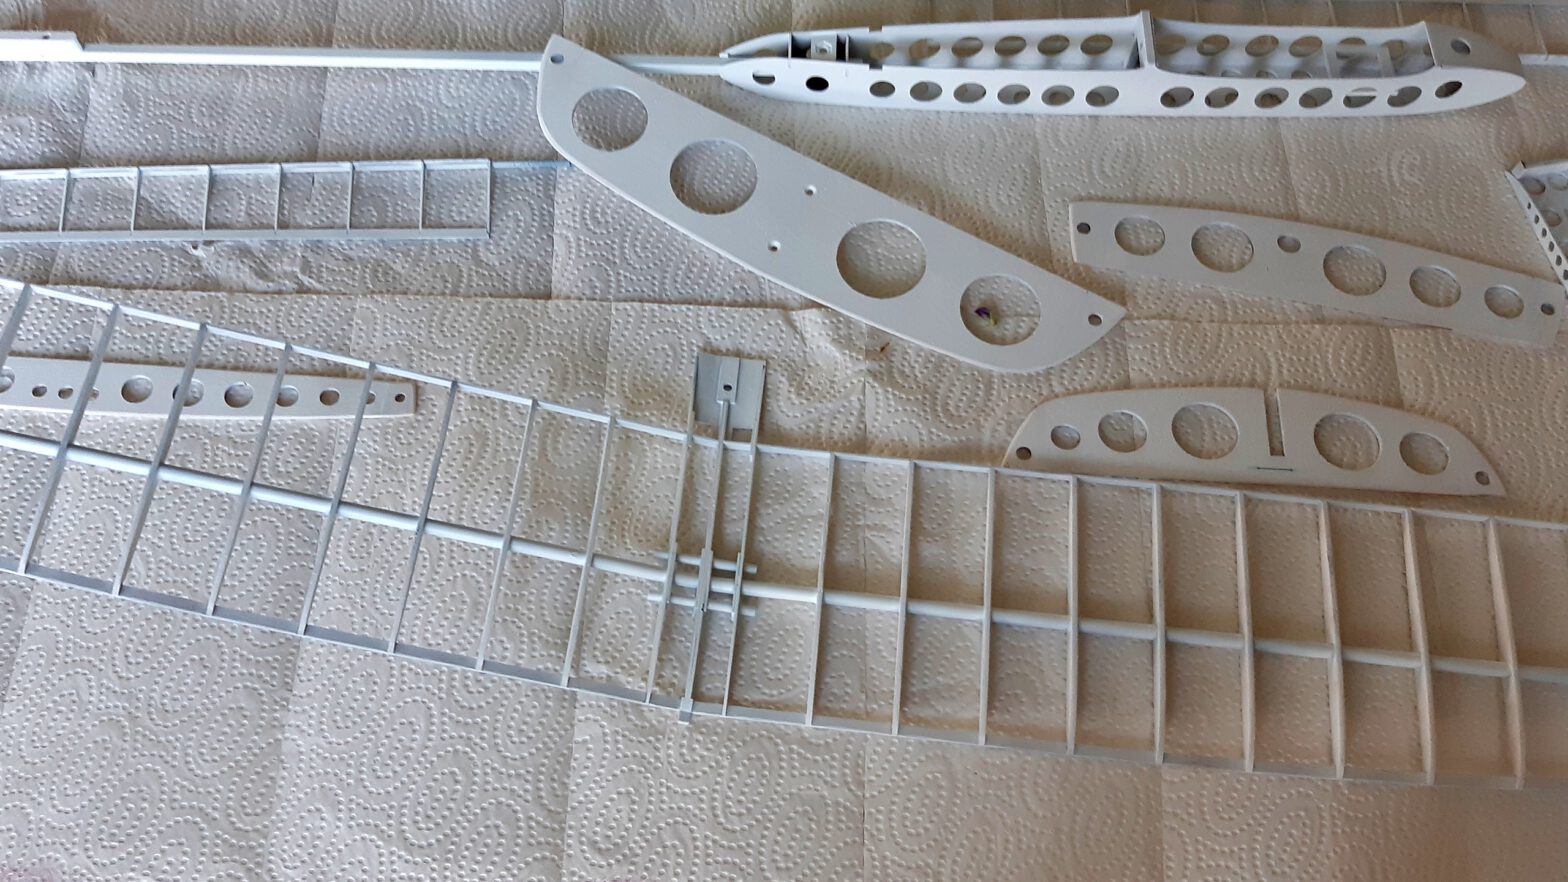
Say what? Why prime an aircraft that is going to be covered in foil?
Yes, I can’t help it: I have to try my own ideas again. The Spin is going to be covered in transparent white and red, so the interior is going to be visible. And I’m not too happy with the colour contrasts of the different parts made from carbon fibre and wood, the scorch marks left from the laser cutting are hard to completely remove, too.
And that’s why I tasked myself with priming the construction before applying the covering with film.
If you ever covered a model with heat-shrinking foil, you’ll know that peerless feeling of sticky, hot fingers when you touch the foil at the wrong moment. And that’s the main issue here: the construction has to withstand temperatures of up to 250°C while most lacquers are only rated for up to 80°C.
A phone call with a very friendly employee of Oracover confirmed my concerns and so it was clear that some testing was in order. Some of the kit’s scrap wood was swiftly turned into two test wings. These test pieces recieve a partial paint job with a spray-on radiator lacquer, which the producer rates for temperatures up to 130°C.
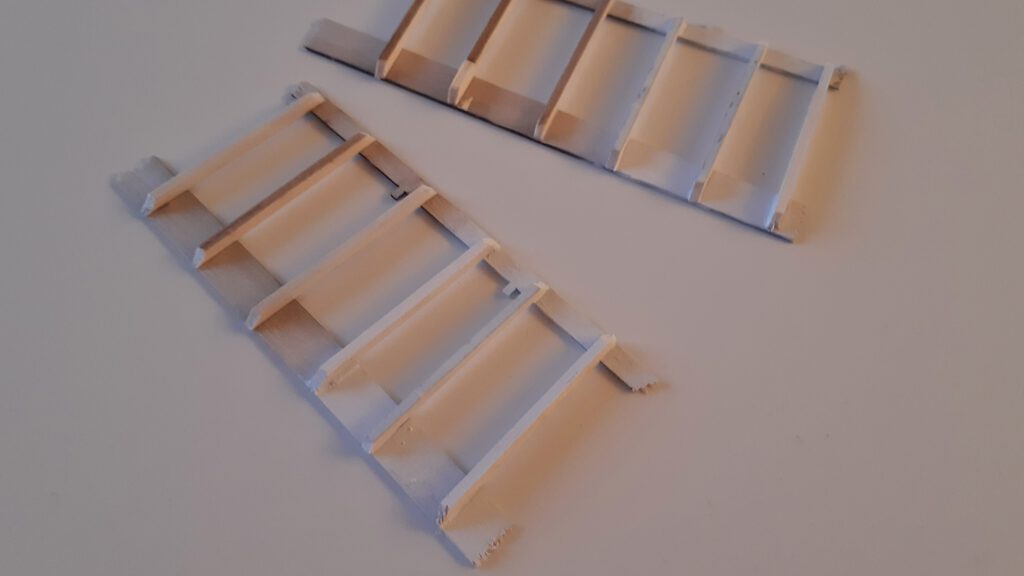
Both pieces are covered in foil and shrinked at the highest recommended temperature. It already shows that the primer comes into it’s own under the foil.
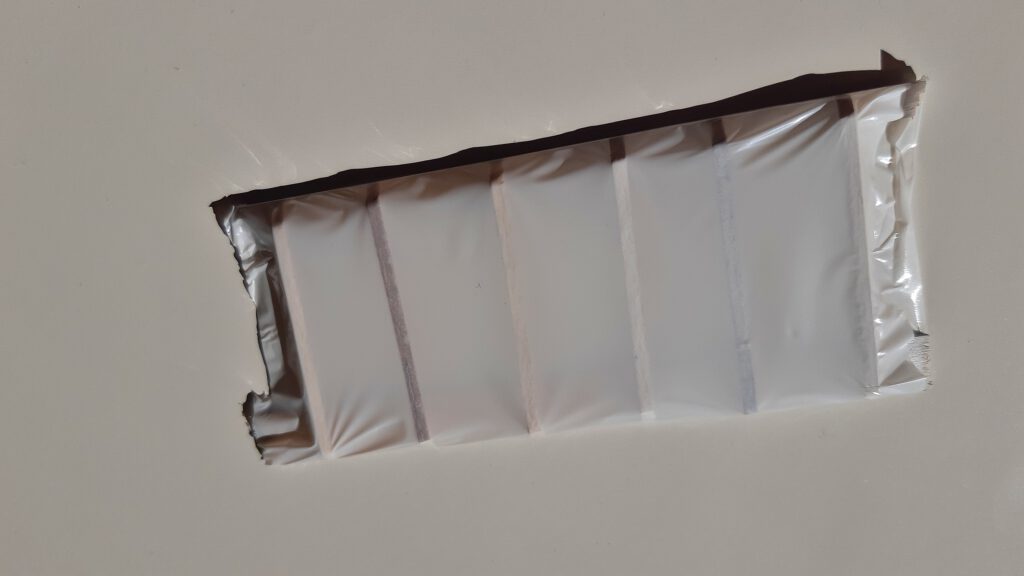
One piece is allowed to cool down overnight, I do want to know about possible longterm effects from the ironing and shrinking. The other piece is inspected right after it’s cool enough to the touch to see whether the foil will perform better or worse on the lacquer.
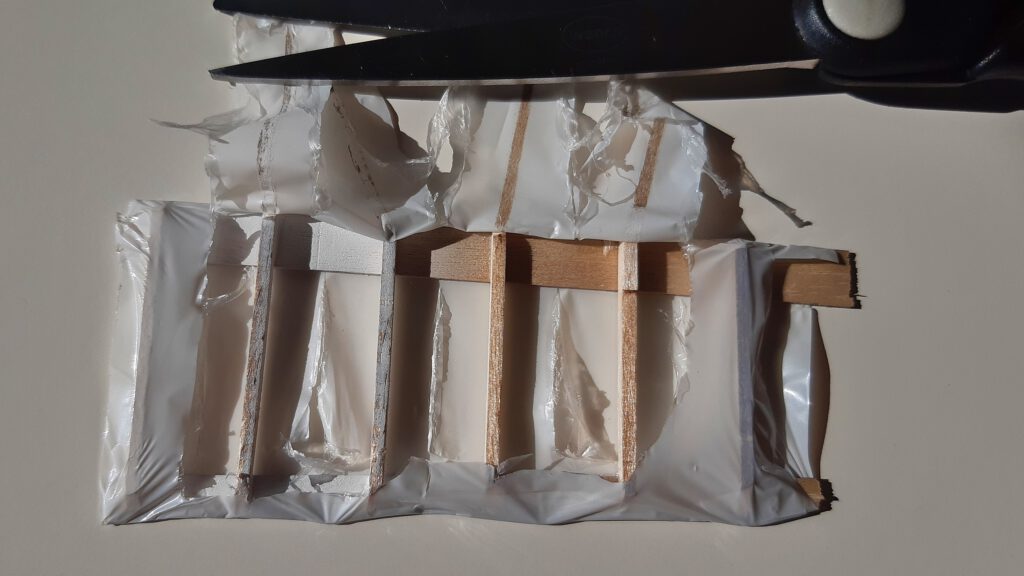
The result is clear and encouraging. The foil’s glue is strong enough to rip off the uppermost layer of material, be it wood or lacquer. Both sides require the same amount of force, the lacquer is that sturdy. And the second test piece shows the same results the morning after.
Meanwhile I’ve got time to assemble the empennage. Nothing much to it, all pieces are made from balsa wood sheets with no profile. Warping is prevented by glueing tips onto the parts where the grain lies at right angles to the main piece. A fast sanding, and done.
However, I’ve added one other deviation from the construction plan: The horizontal stabilizer is detachable. For that I’ve built two nylon nuts into the stabilizer mount and two nylon screws will hold the stabilizer in place instead of glueing it onto the mount. That’s simply necesarry because I will transport the plane in a bag. And then I’ll sooner rather than later damage the empennage since I mostly ride my bicycle to my flying grounds.
And thus all parts are ready for priming.
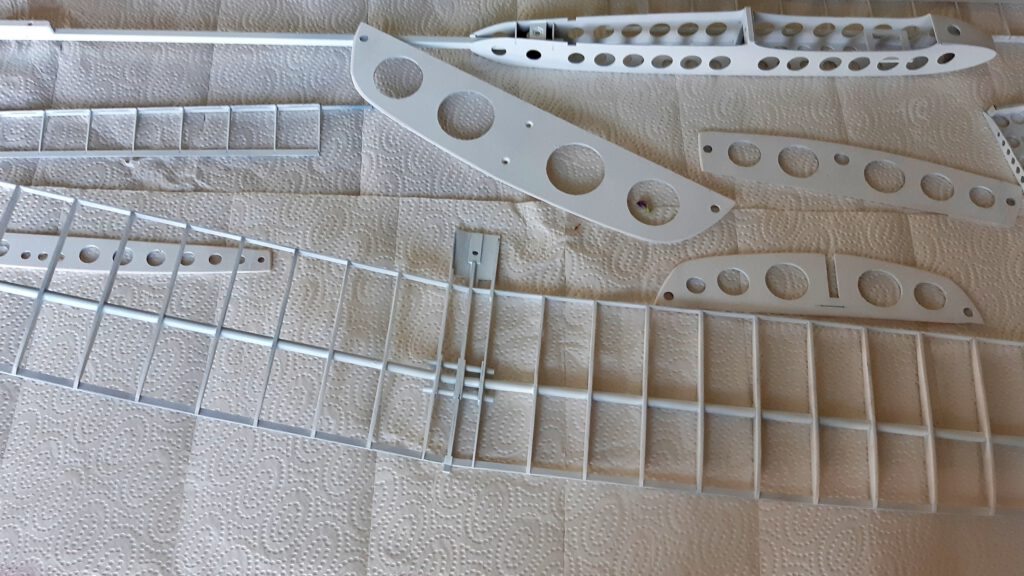
Of course, the question has to be allowed: What’s the point? Certainly there’s none from the point of take-off mass because the Spin is advertised with being 10% lighter than it’s previous version. And those scant 20 grams are quickly lost to a coat of primer.
However, I’m no DLG expert and I don’t intend to participate in competitions. So I accept the additional weight because it allows me to reduce the colour scheme down to two colours: white for the basis and transparent red for making the wings visible while airborne and to place accents. Then again, one could argue that the additional weight will come in handy on windy days, but honestly for me this was an experiment on asthetics.
Next time, covering and installing the R/C components is in order.

