Spin: Covering and R/C Fitting

With the finished priming the covering can commence. I like to use Oracover because it’s really easy to work with and yields very good results. I always start with the easiest parts in order to get re-used to the task. So first up is the rudder.
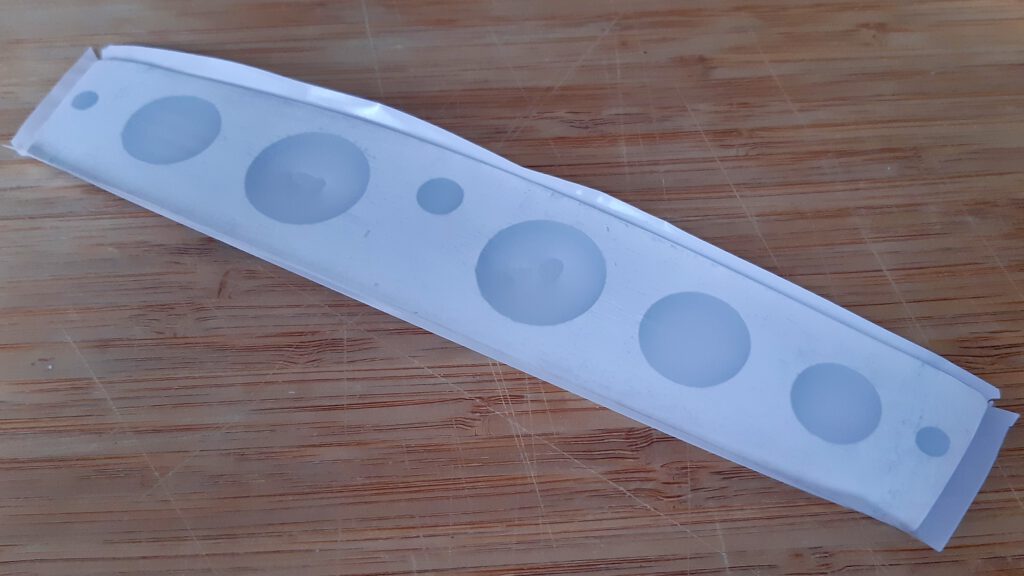
The rudder is covered.

…and one can easily spot that I managed to fuse the foil in the recesses. In this case I was lucky and could get them apart with some additional heat, but often enough one has to start over. With due warning received, the ailerons come up next. On the left side of the pictures some creases are still visible, which will disappear in the last step which is heating up the whole area.

Spin: Priming

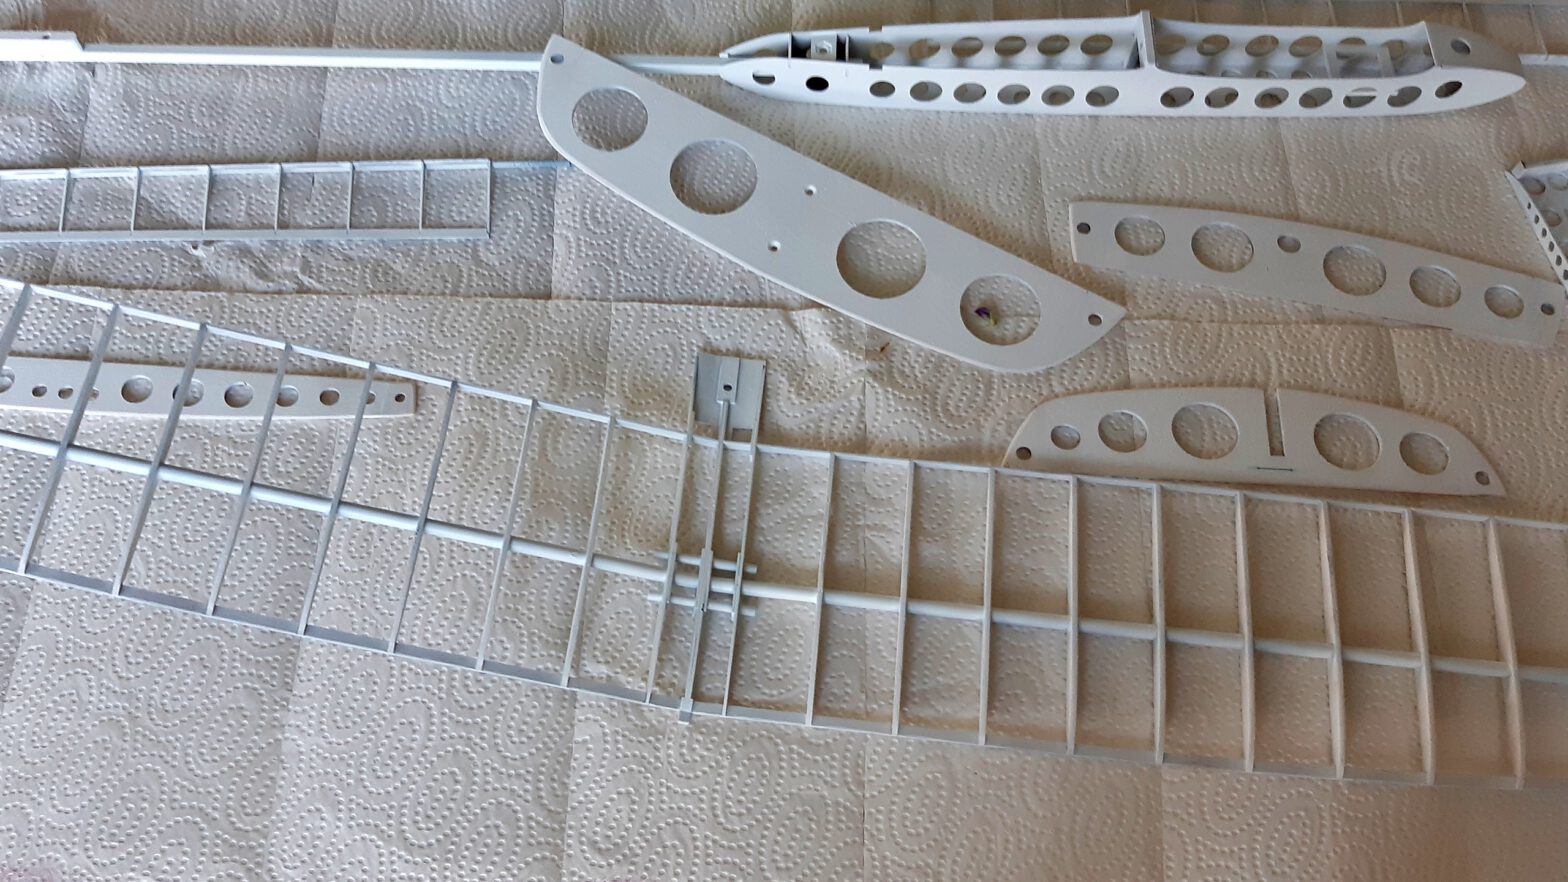
All the parts of the Spin are primed with white radiator lacquer.

Say what? Why prime an aircraft that is going to be covered in foil?

Yes, I can’t help it: I have to try my own ideas again. The Spin is going to be covered in transparent white and red, so the interior is going to be visible. And I’m not too happy with the colour contrasts of the different parts made from carbon fibre and wood, the scorch marks left from the laser cutting are hard to completely remove, too.

And that’s why I tasked myself with priming the construction before applying the covering with film.

Joyrider: Covering

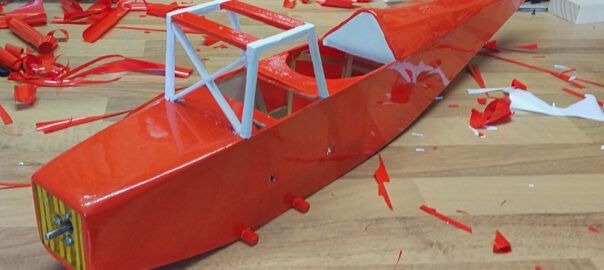
The upper wing's mounting, the undercarriage's mounting and the seatback are finished.

After the details are finished I can finally focus on the covering. Some model builders seem to regard covering as an irksome work and necesarry evil, but I actually enjoy it. To me it’s like a metamorphosis: the bare framing of the aicraft, as pretty as it is, equals a caterpillar, which is yet to become a butterfly.

Nonetheless it’s a lot of work all the more if one wants to get a creases-free result. In the process, I didn’t manage to take a lot of pictures, but I’d like to give an example and point out some crucial points.