
Since the Maiden Flight during Summer last year, the Joyrider has spent about one and a half hours in the air, while spending up to eight hours in the workshop and the rest of the time on shelf. It has been a rough ride, with many setbacks. However there’s a happy ending. Today, I’d like to take stock of what happened since the first flight tests.
As described in the maiden flight post, the Joyrider had a tendency to rear whenever I applied power. The reason is that the motor isn’t tilted downwards, so its thrust vector points below the (imagined) centre of drag and centre of gravity, so when power is applied, it creates positive pitch and the nose goes up. So first topic on the workshop list was to insert small discs between the motor and its frame, tilting the motor and air screw downwards. At the same the motor is set to yaw a bit to the right, in order to counter the propulsions’ tendency to induce a left roll and turn.
With these modifications, a further test flight showed good behaviour. However, now the lacking power really got to show. The aircraft has to be tossed into the air forcefully and even with full power it barely manages to keep altitude. Since the very same motor is capable of hauling my Easy Glider to altitudes of 200 m in less than two minutes, the propeller is to blame. So I’m taking a shortcut and simply mount the Easy Glider’s prop and spinner onto the Joyrider’s motor shaft.
What a difference – both in optics and result! During launch the Joyrider yanks itself free of my hand and flies for up to 15 minutes on half power… and it’s fast! All of a sudden, I have to concentrate perfectly from the first to the last second. The controls are OKish, not perfect but quite responsive and snappy. The centre of gravity has to be realigned, my first attempt was short-lived, a tail-heavy aircraft rearing up and plummeting down in a field, fortunately without breaking anything. However, the necessary adjustments are made and now there’s really joy in the ride!
Unfortunately, at this point my original design has been turned upside down. The very delicate, light-weighted airframe can’t stand the forces which now apply and three short flights later, the upper wing simply snaps off the wing mounting. Fortunately, the outer struts hold fast and keep the whole thing together, so it’s a controlled crash-landing on the field once again. Back to the workshop. The wing mounting is reinforced once again and that does the job.
Now the joyrider actually qualifies as an aerobatic aircraft. It rolls and turns swiftly and it’s able to perform fast and slow loops. Several flights follow which really emphasize the new nature of the sturdy little biplane. However, the nose is overstressed by the bigger propeller and on the last flight, strong vibrations force an early landing. A close examination reveals that the motor frame has come loose.
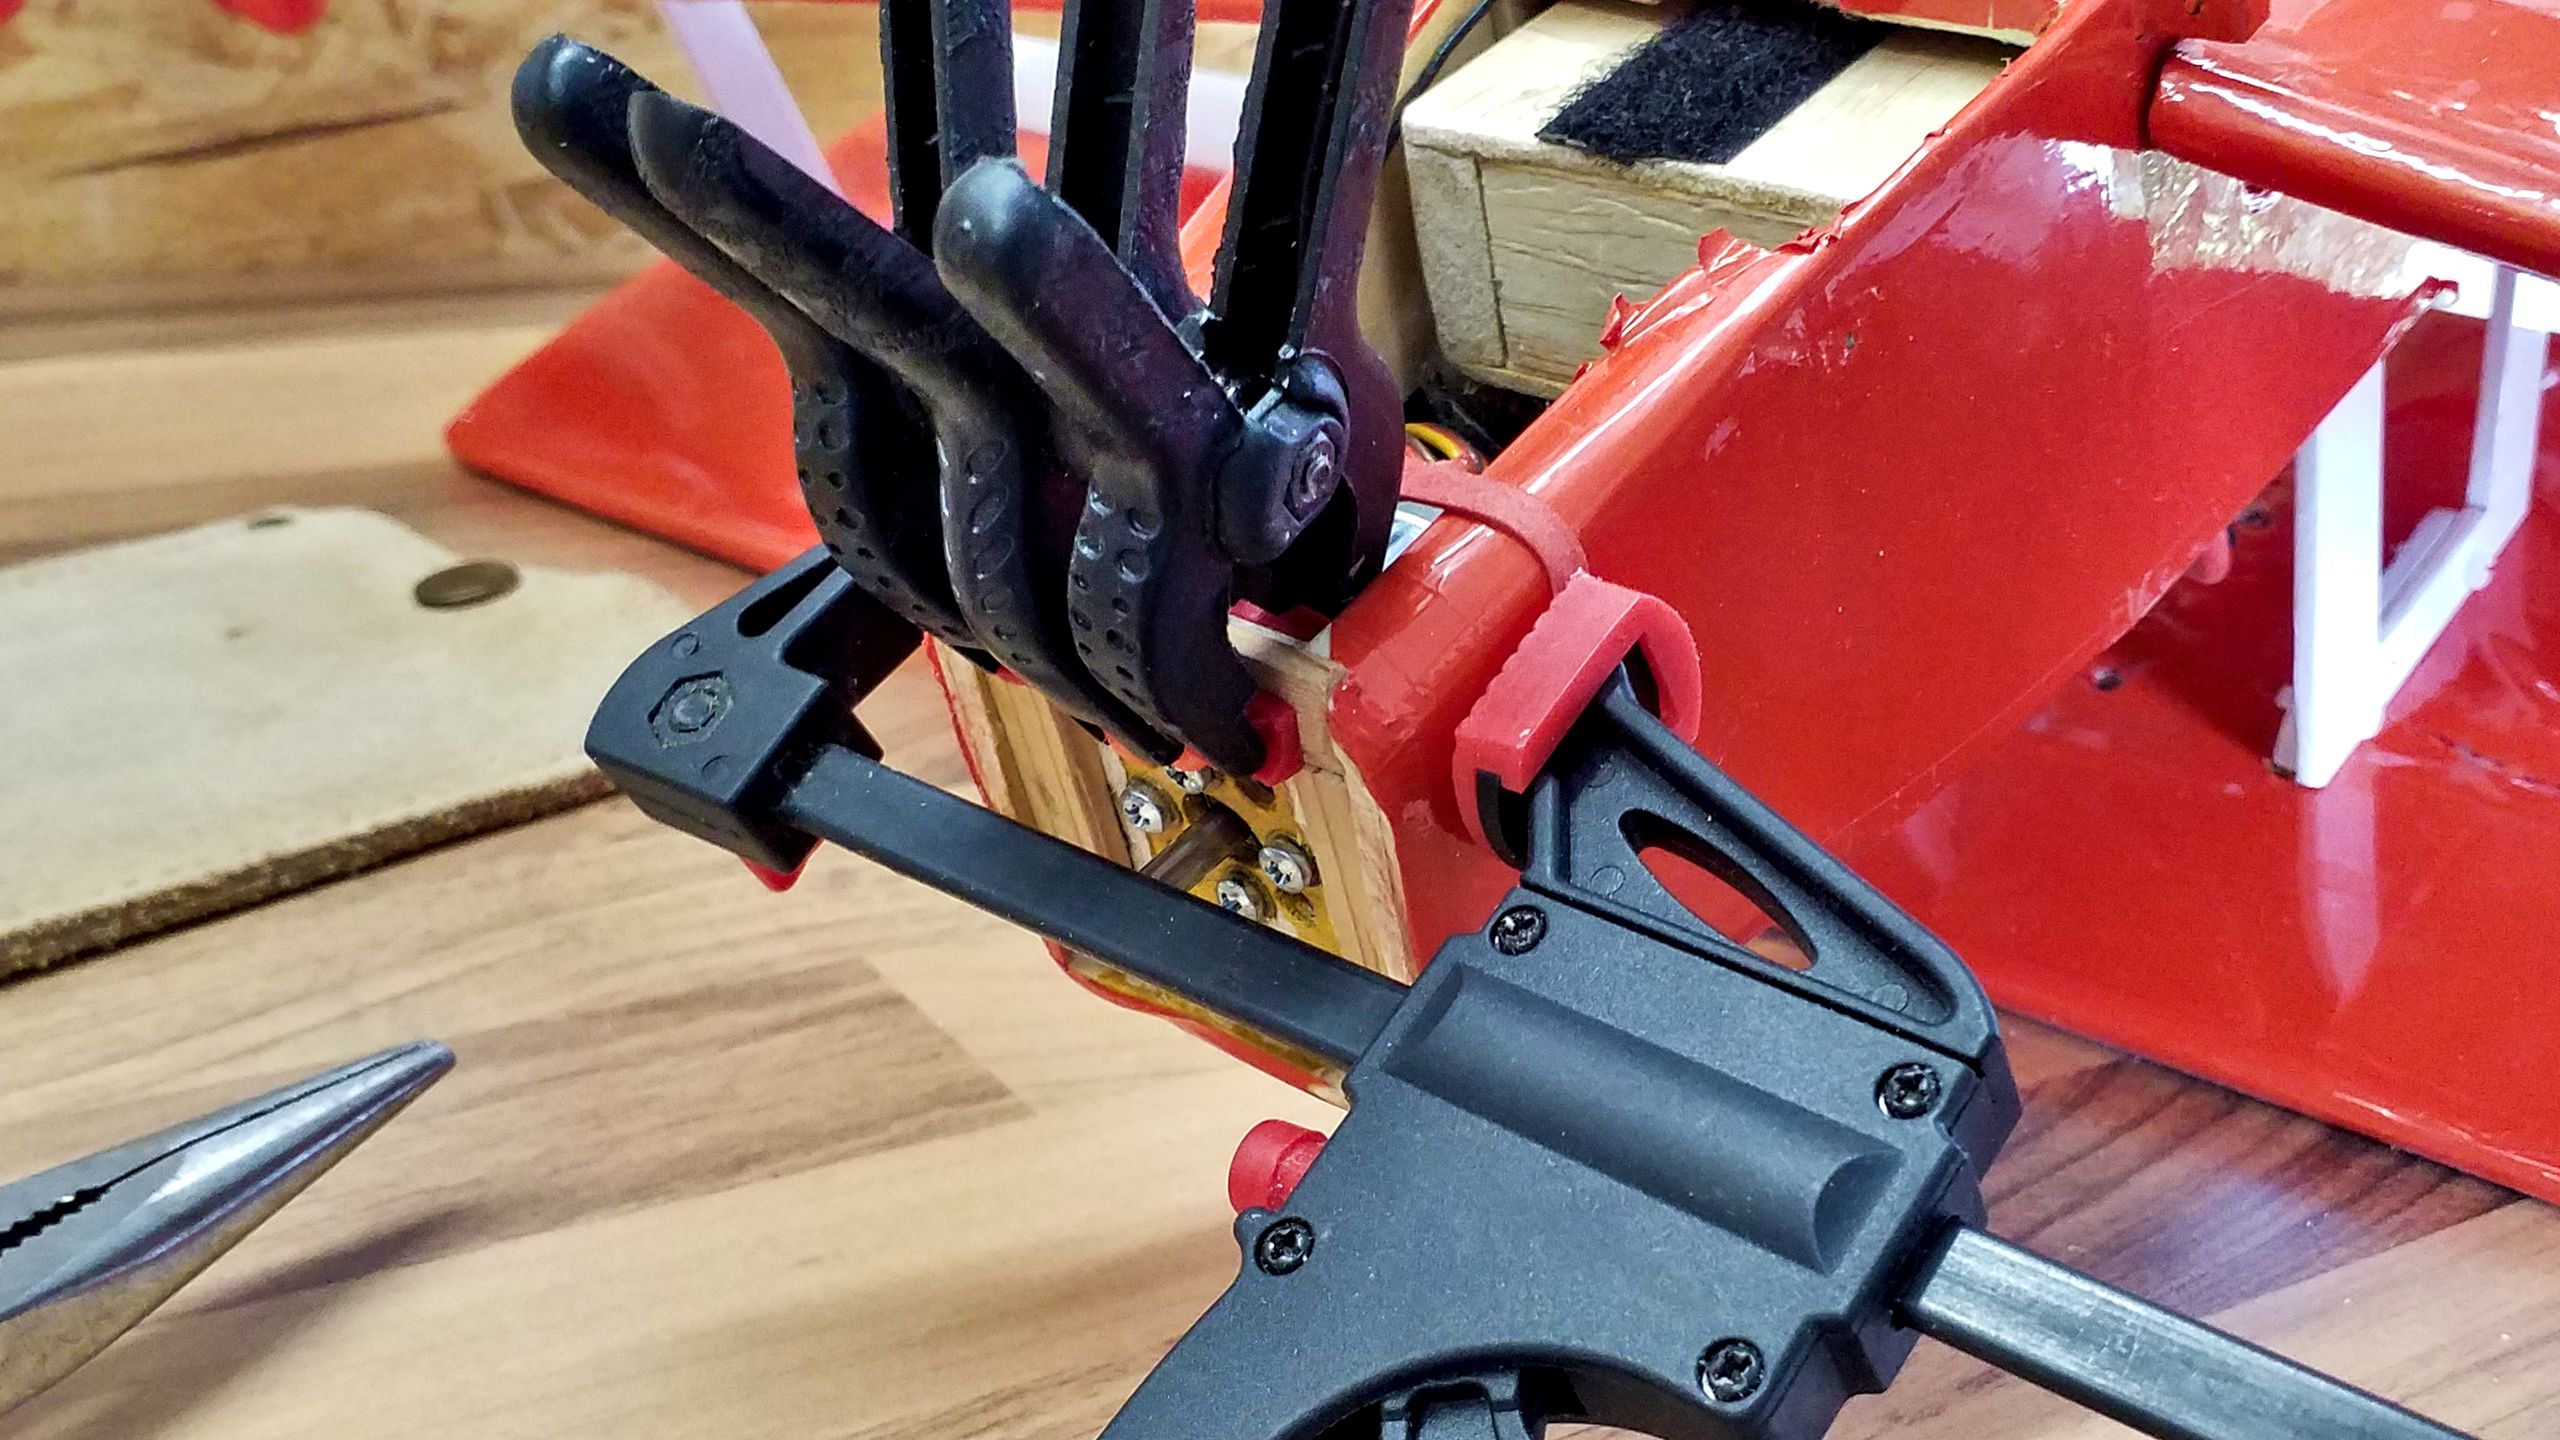
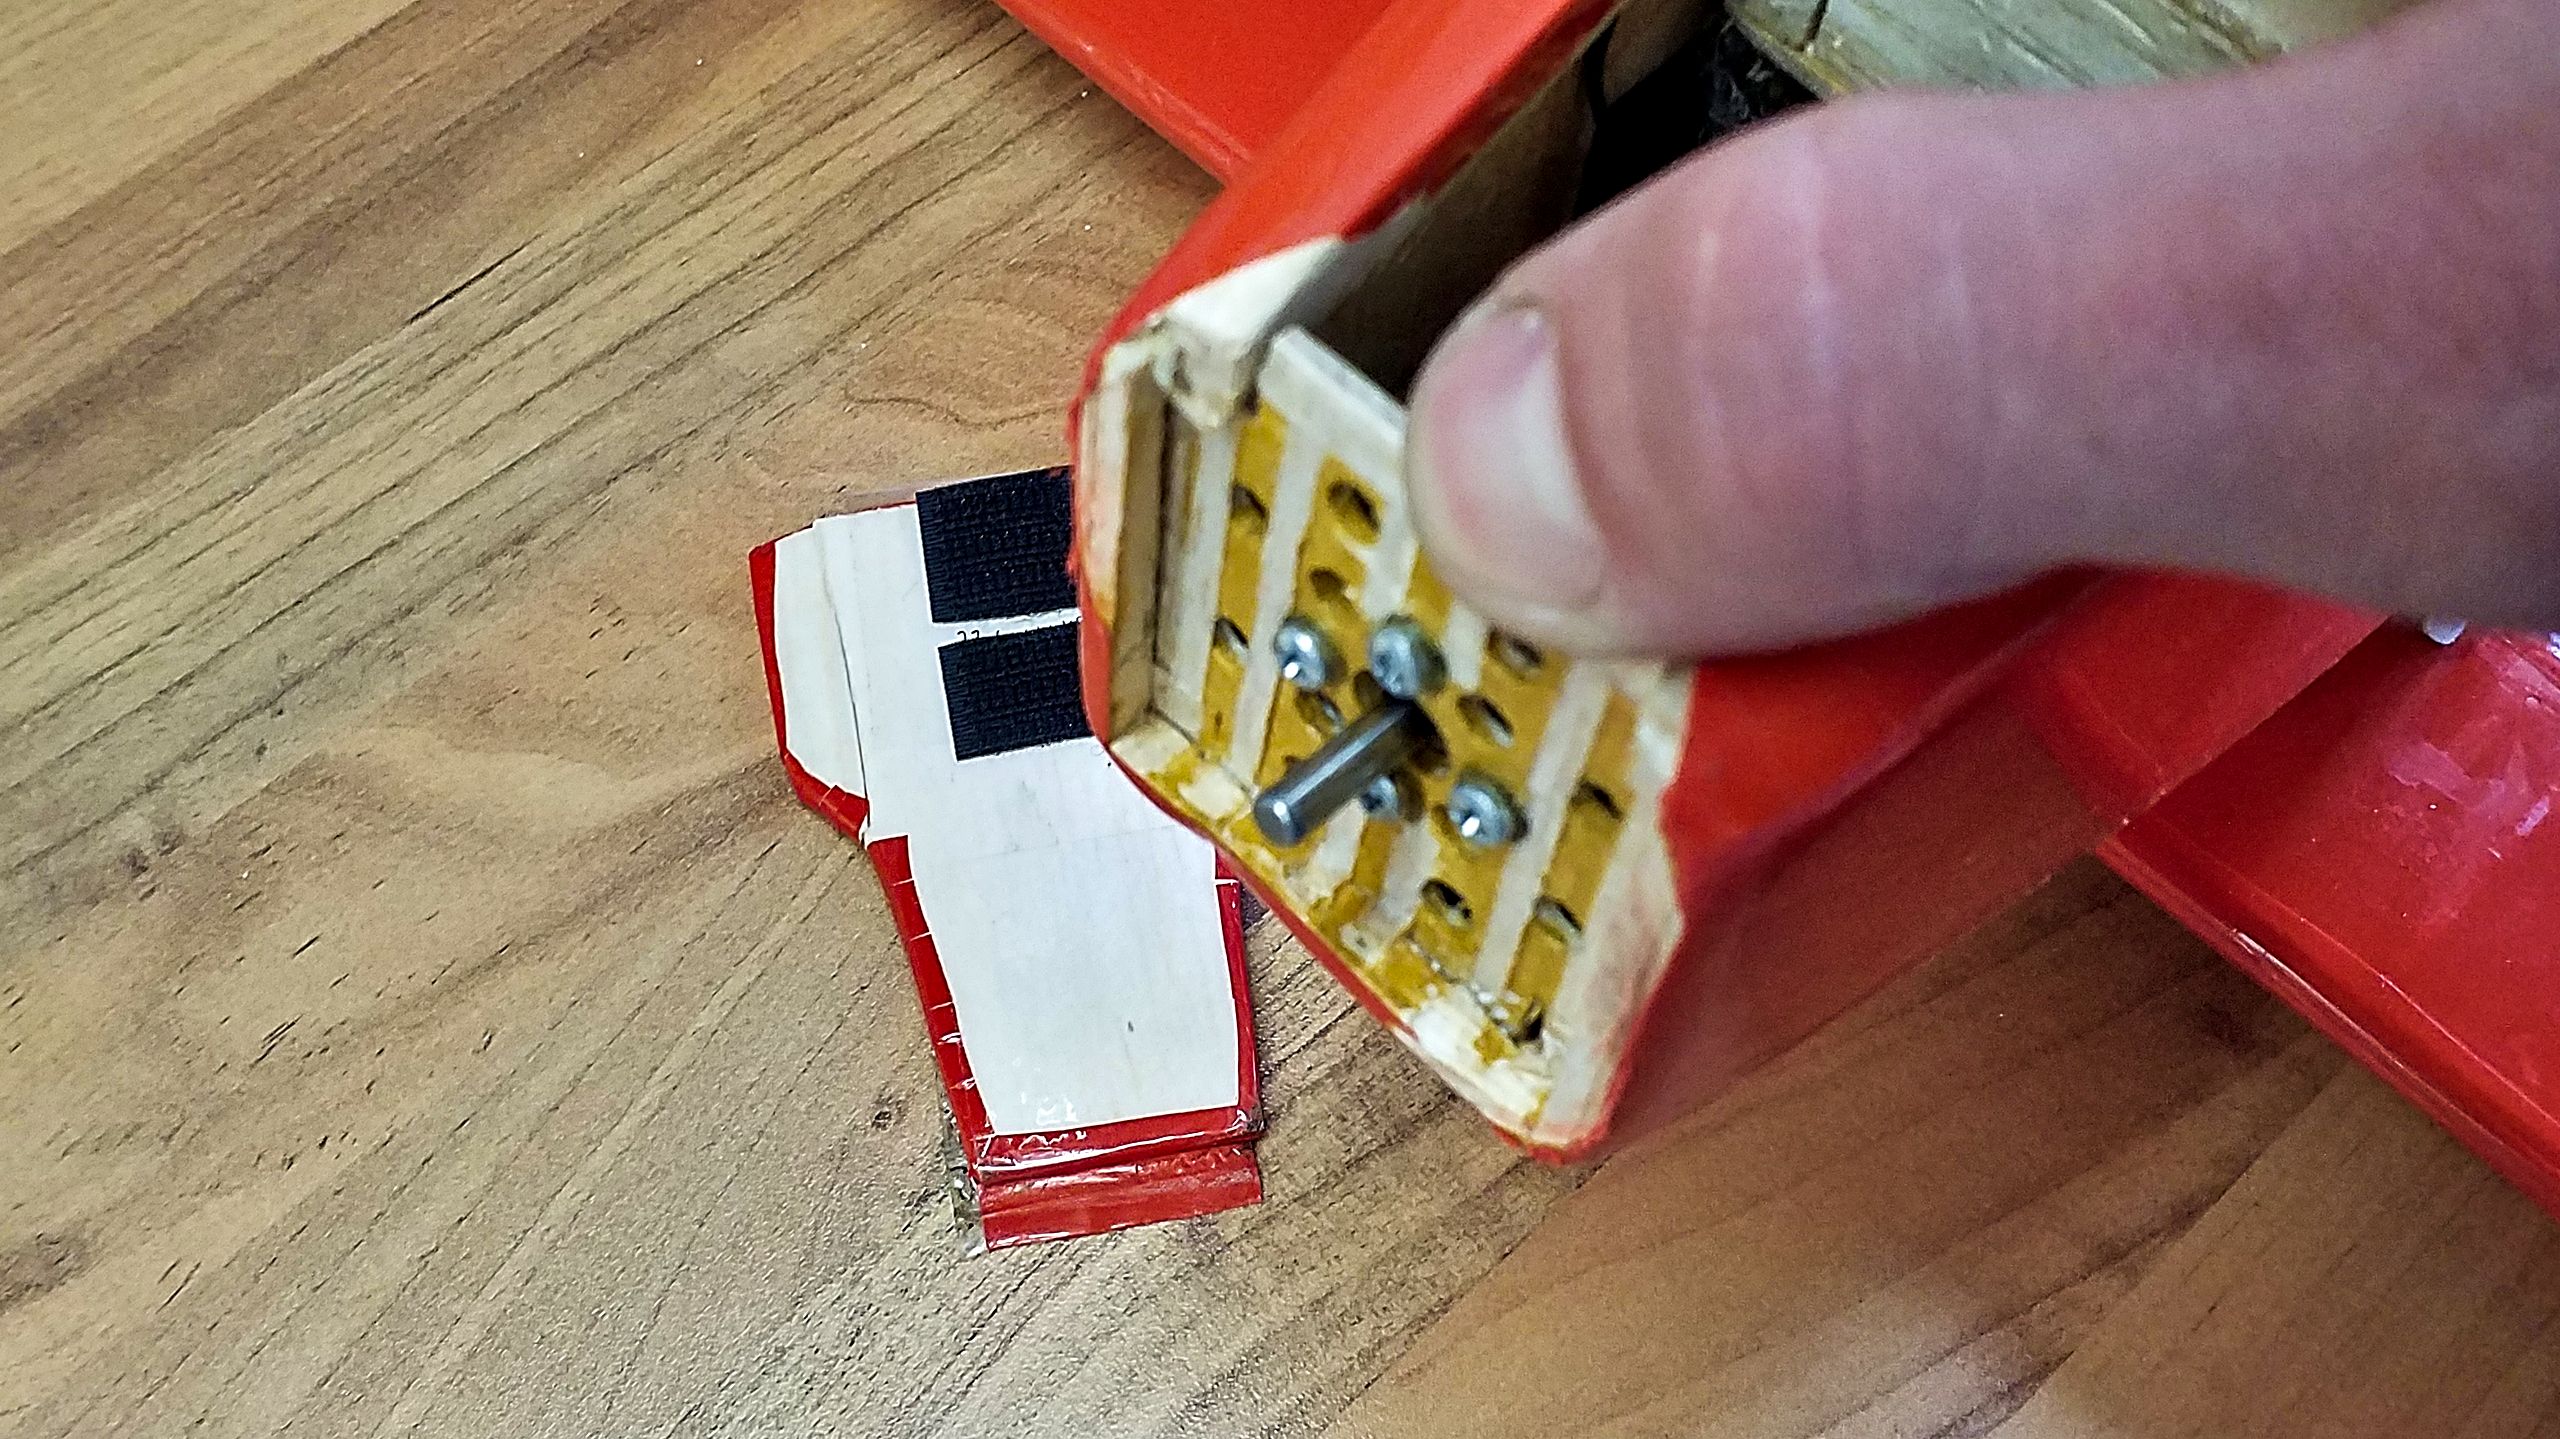
That is remedied with two layers of reinforcements: The outer layer, made from red cedar, broaden the edges of the motor frame, so there’s a wider area which is glued to the nose.
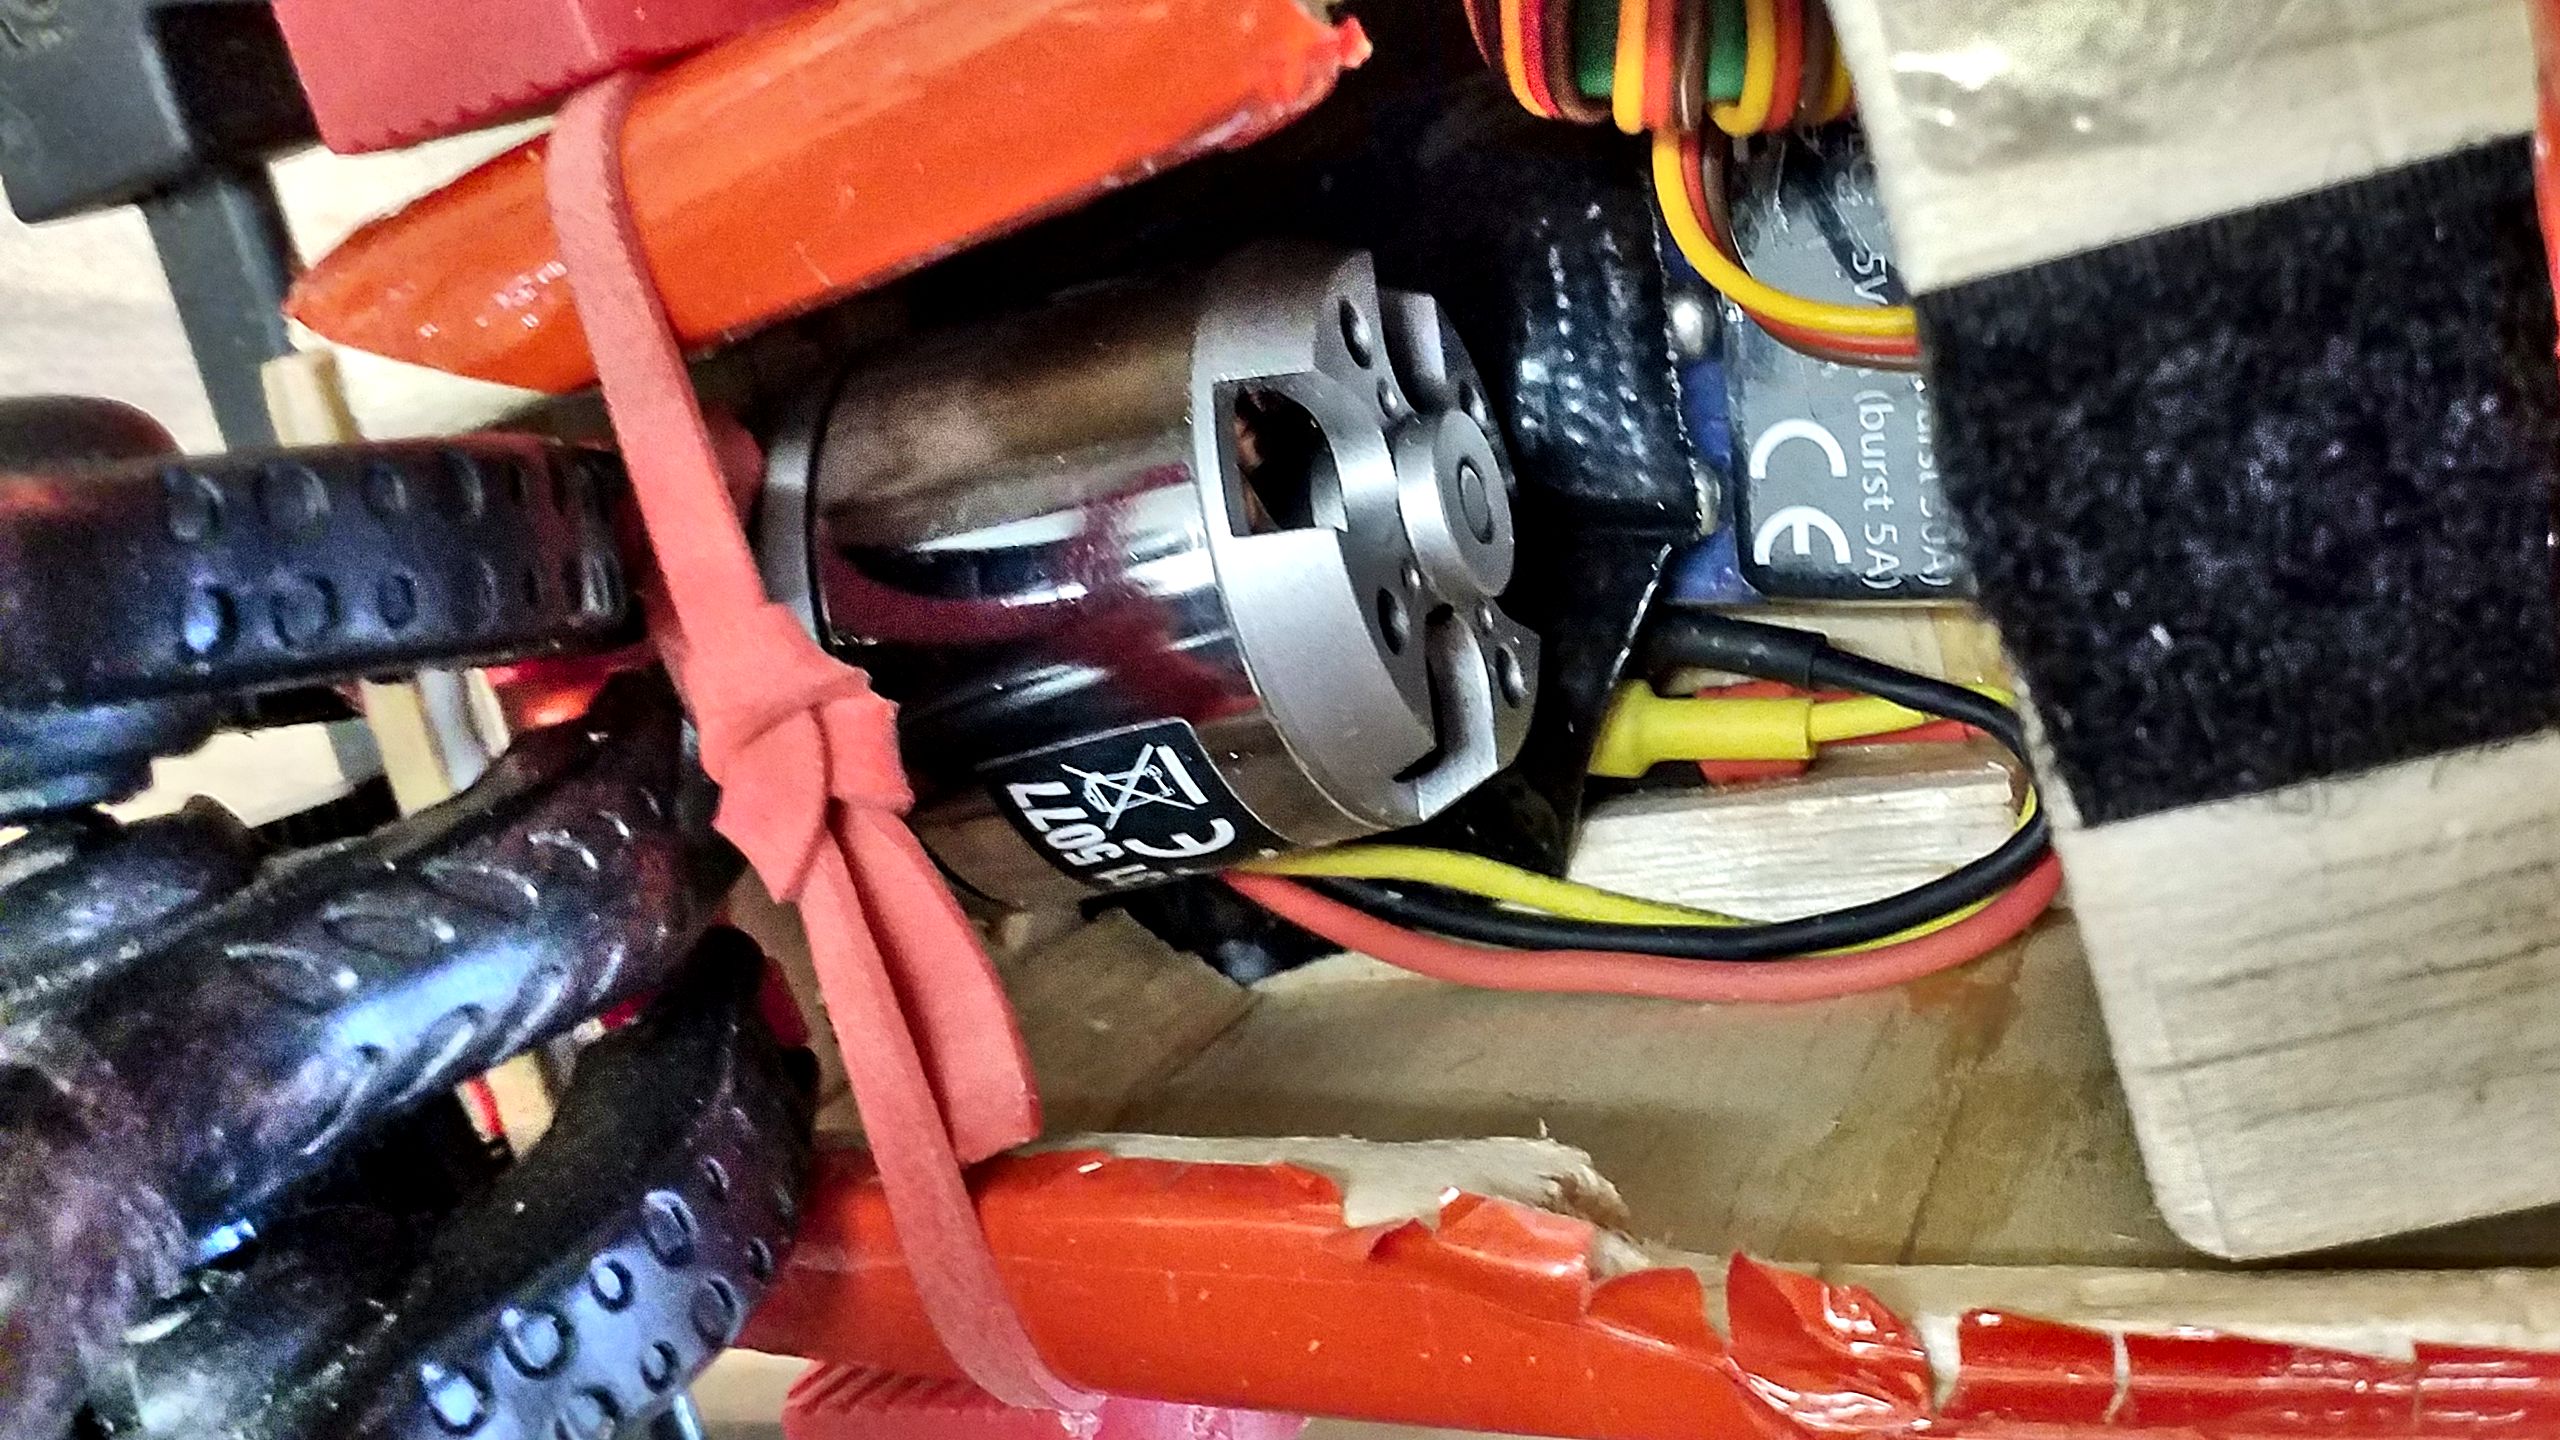
The inner layer is made from two strips of triangular balsa wood, wedged in the corners of the nose. They further increase the area and help to dissipate torque which is caused by heavy manoeuvering.
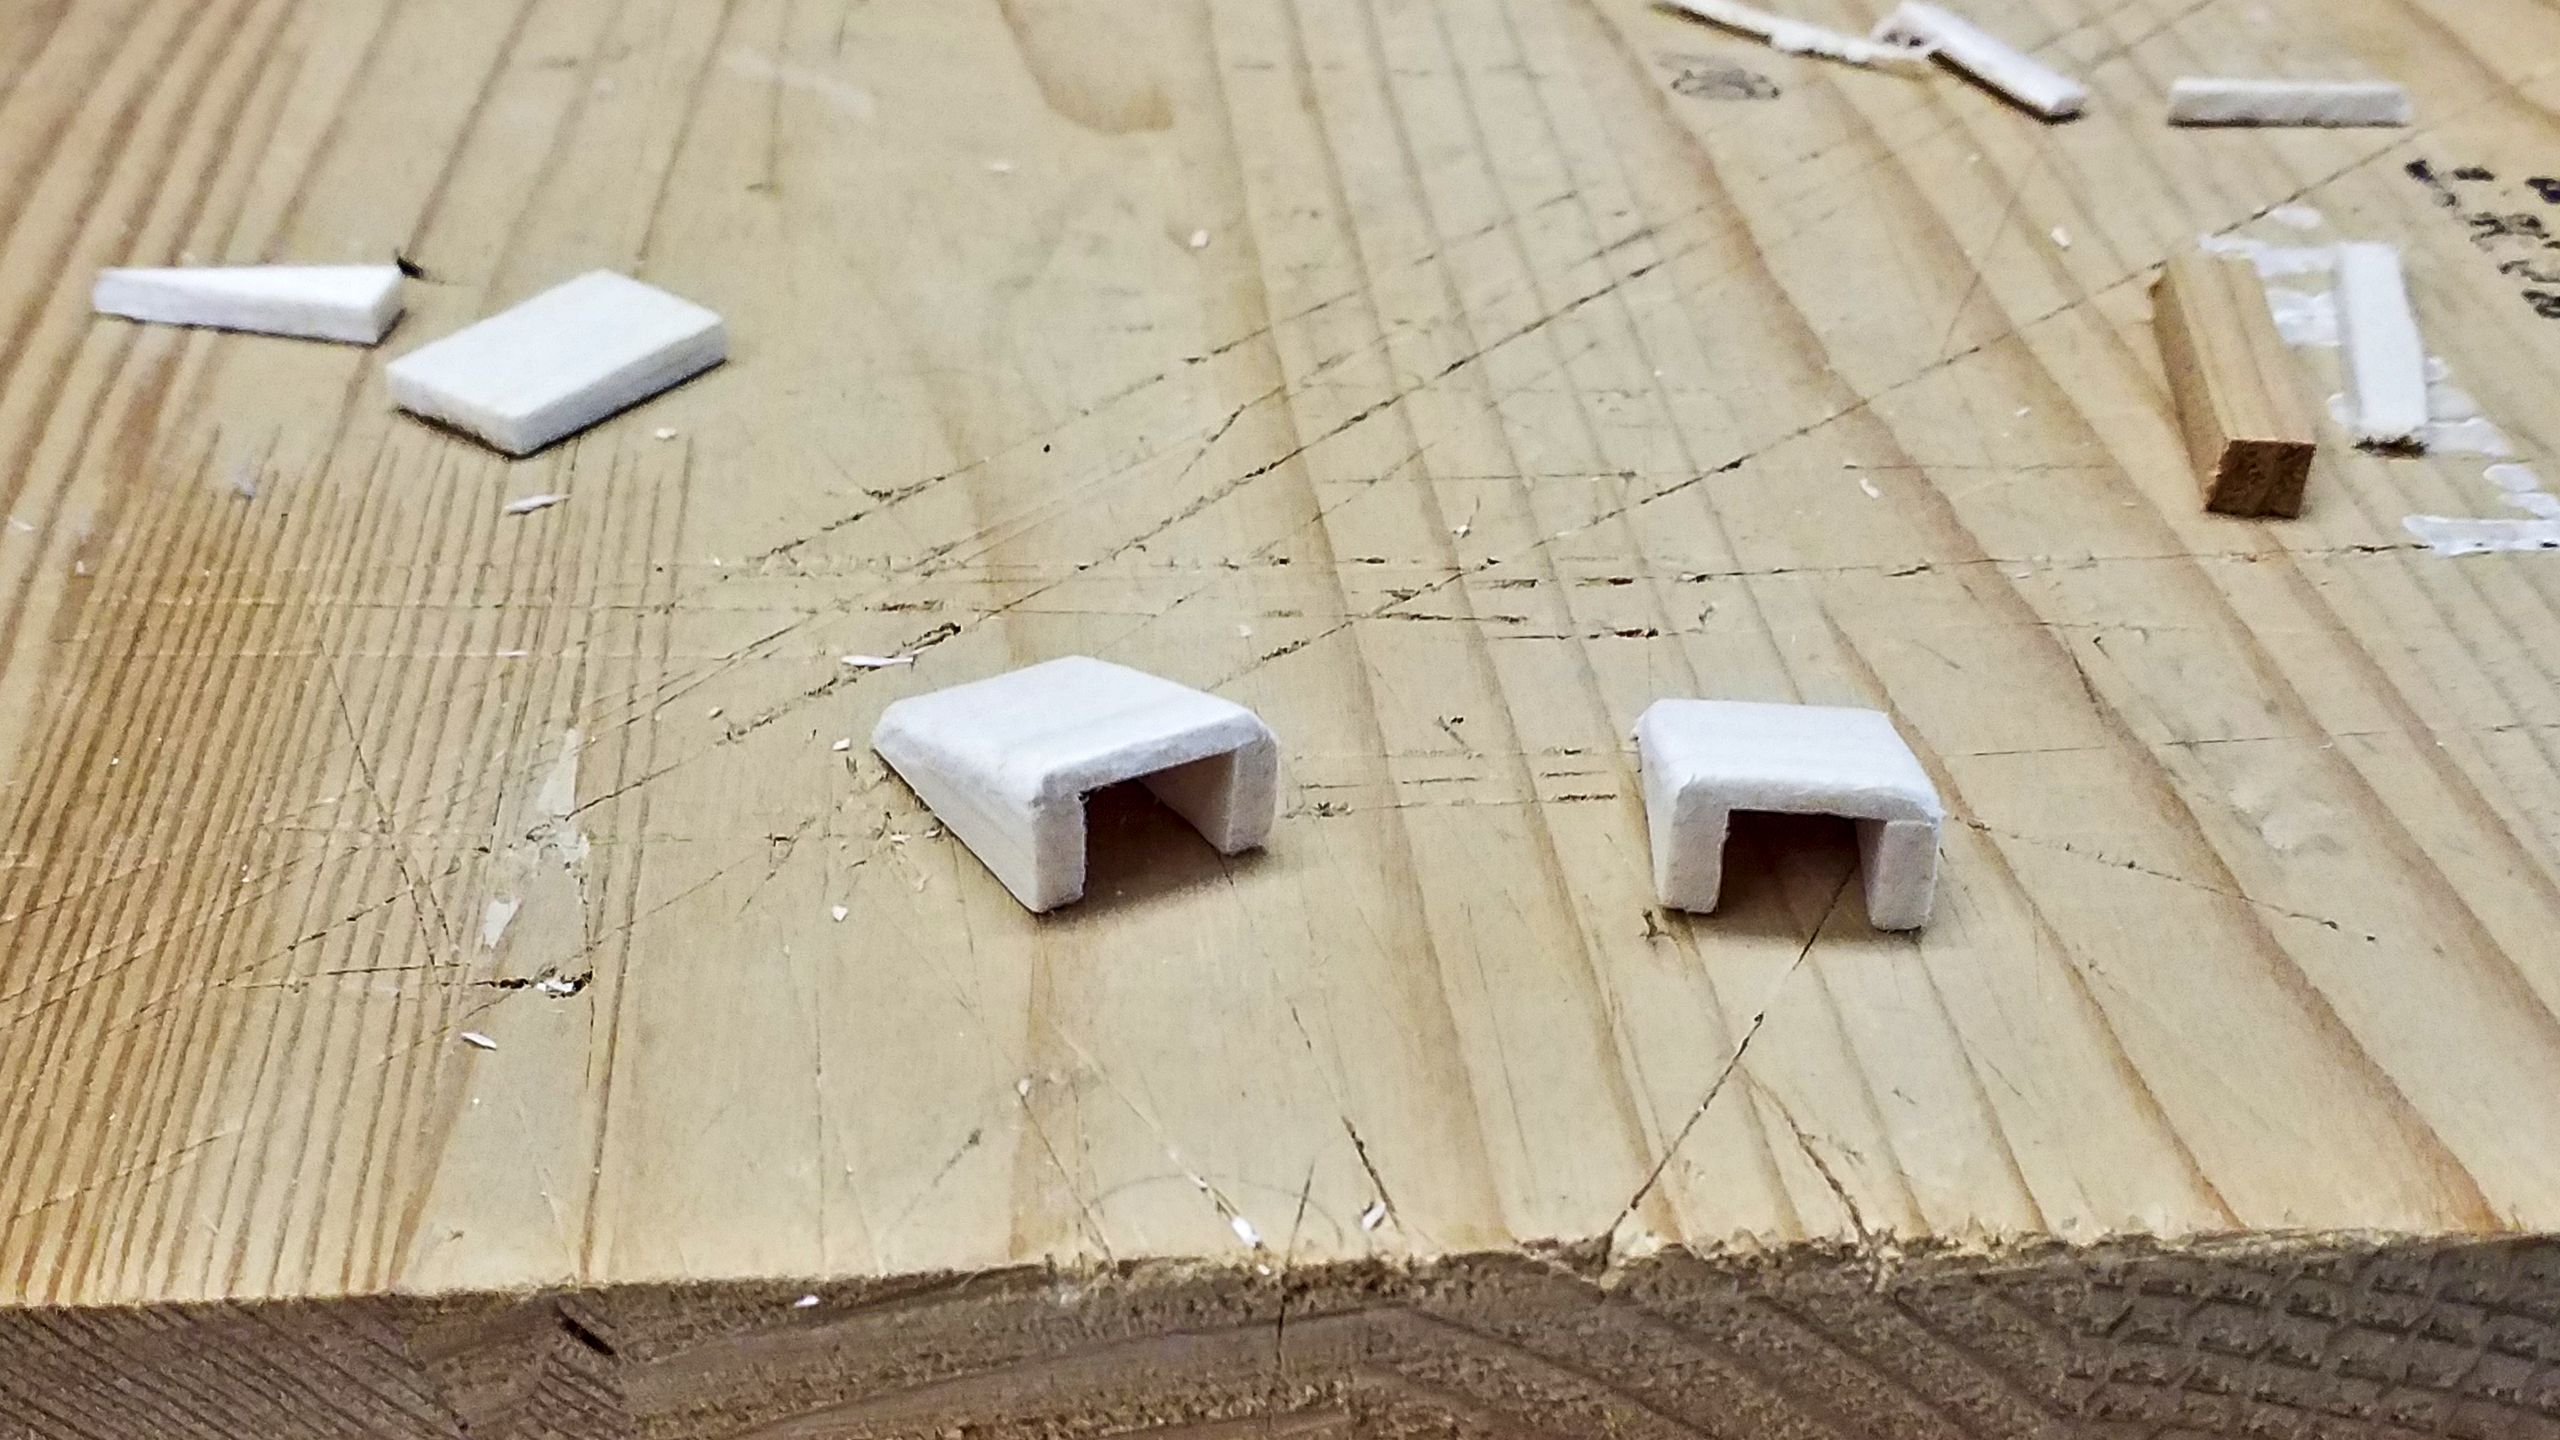
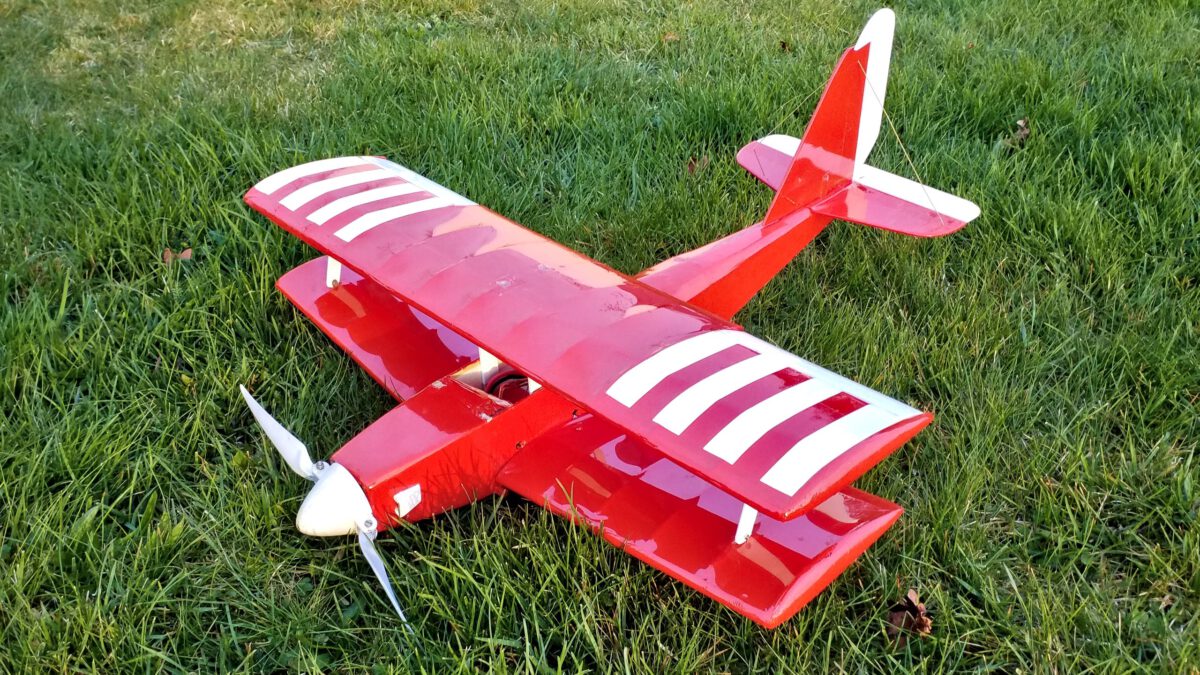
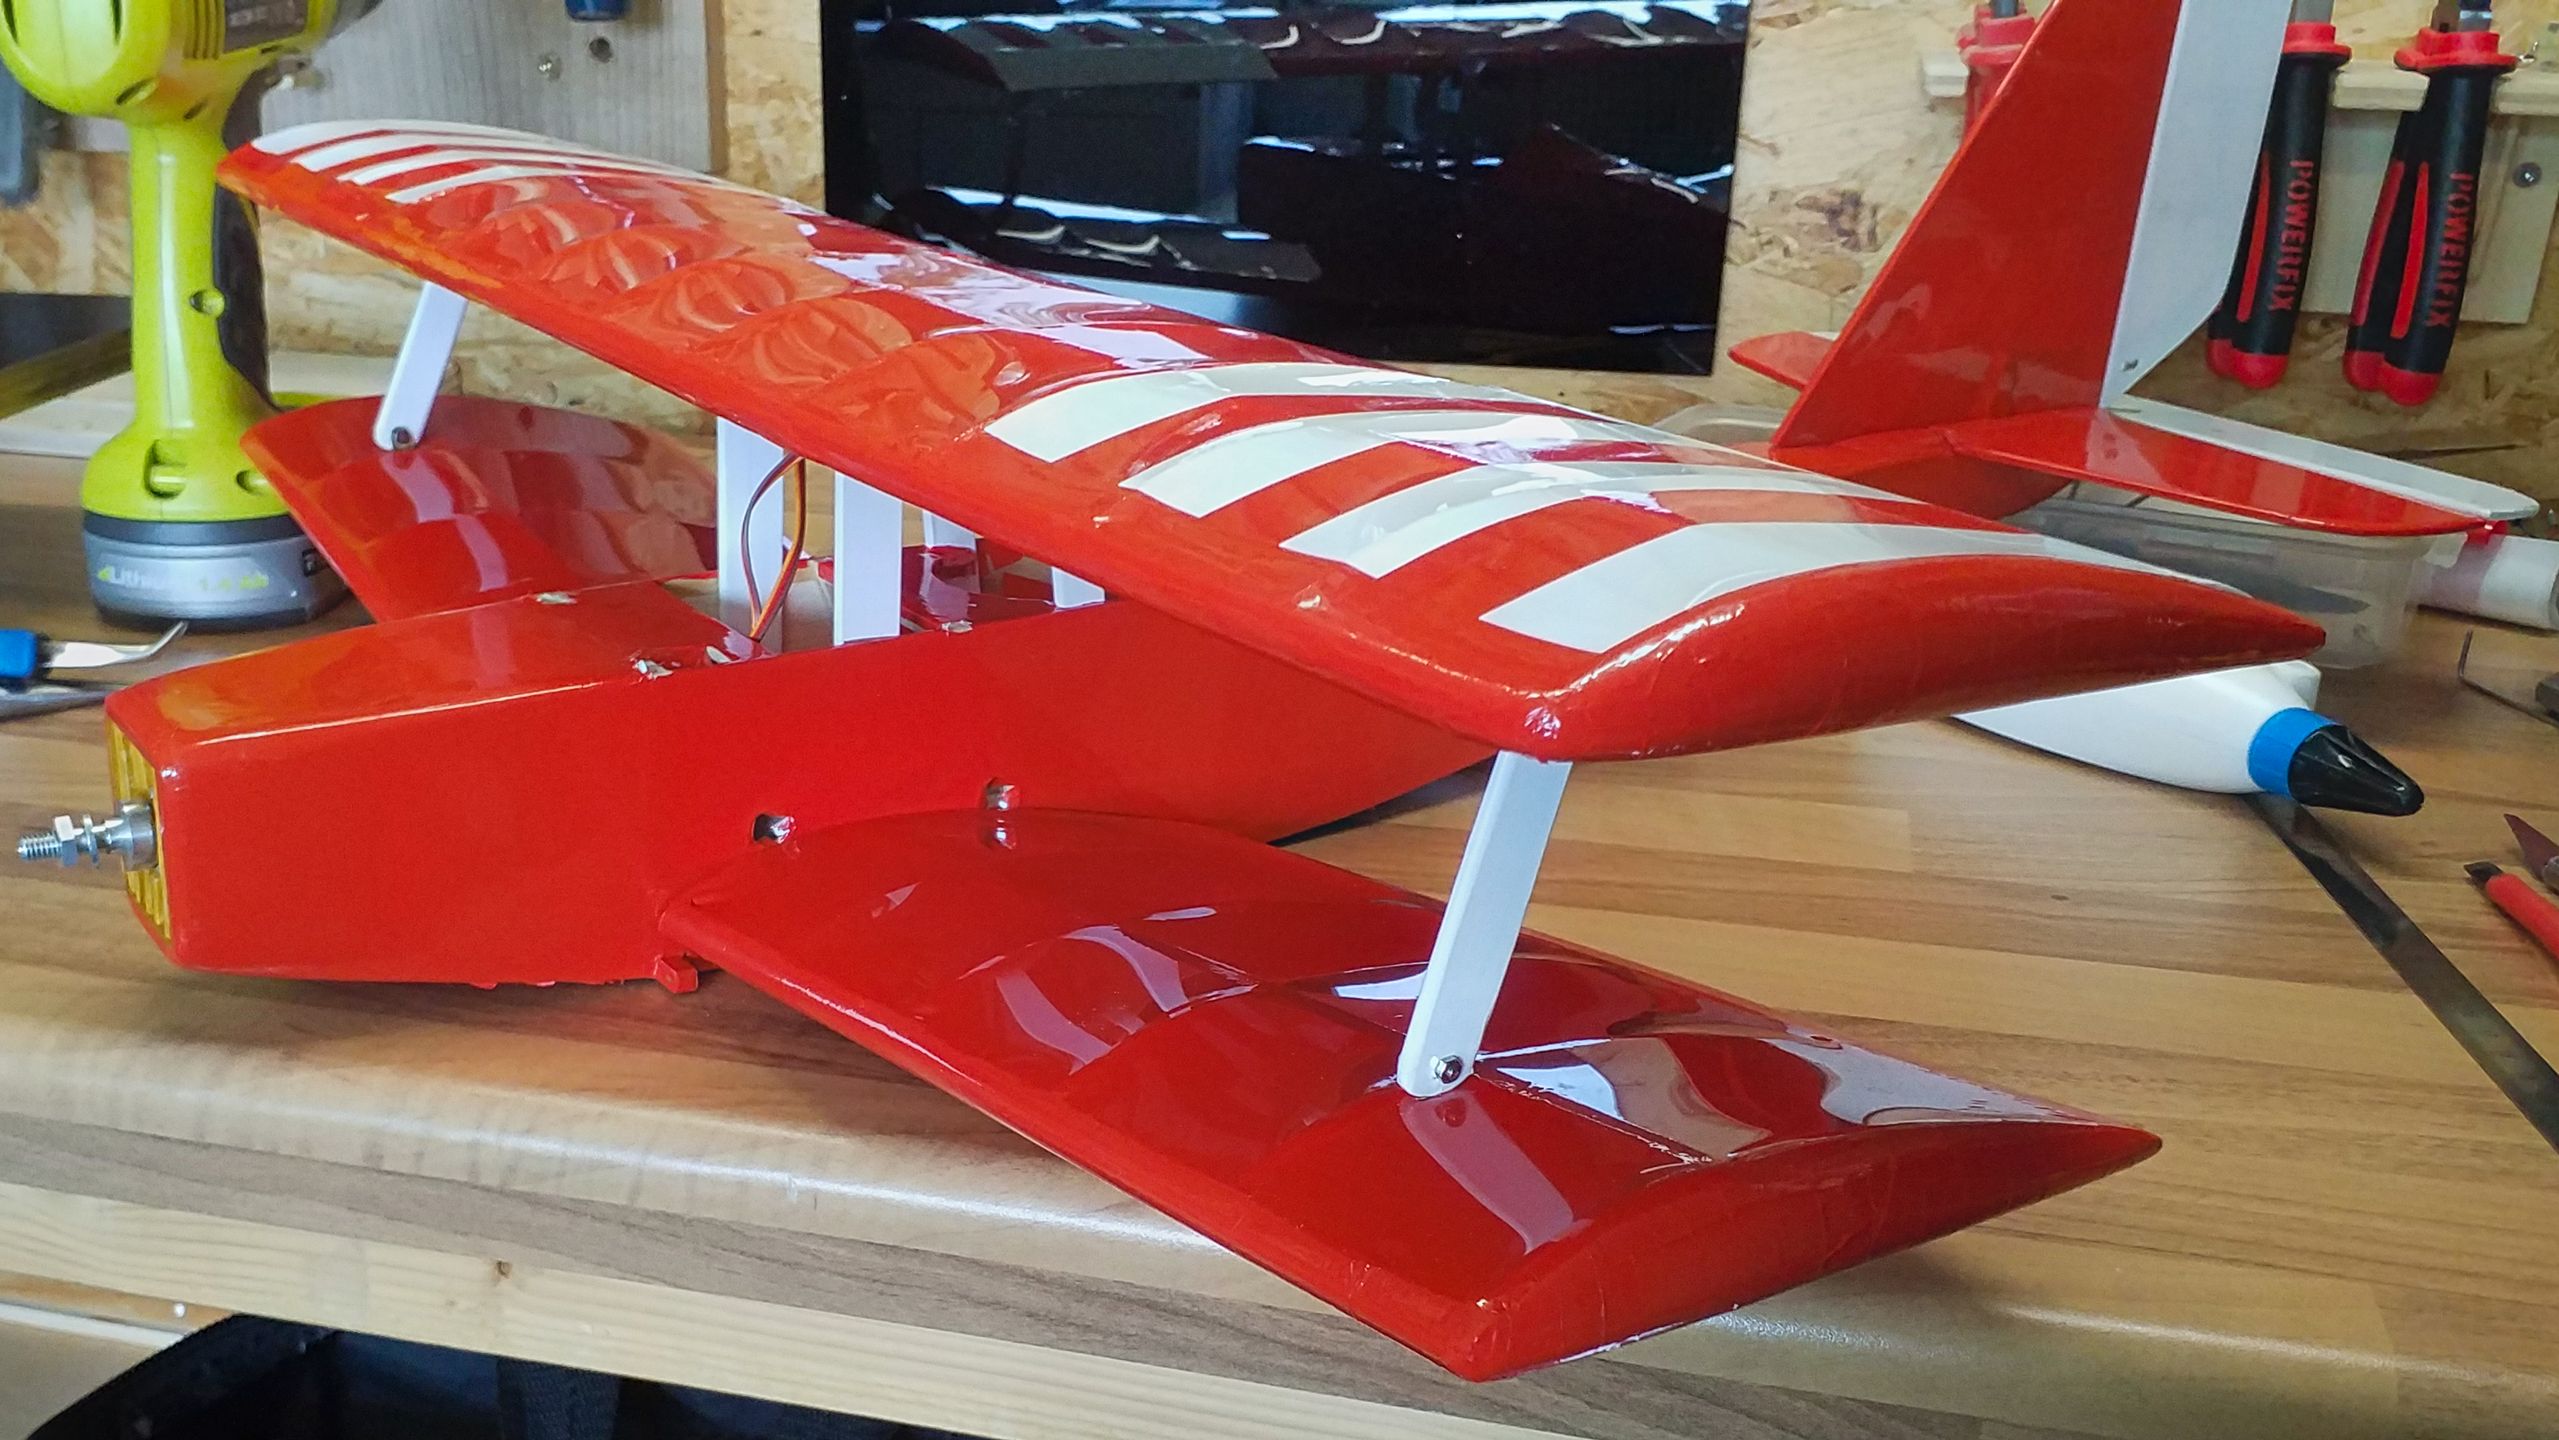
The motor frame now only has four small holes left for air intake and those are blocked by the spinner. Therefore, two additional intakes are made from balsa wood. They are glued to the sides of the nose, after cutting intake holes into the planking. And this is how the Joyrider now looks like:
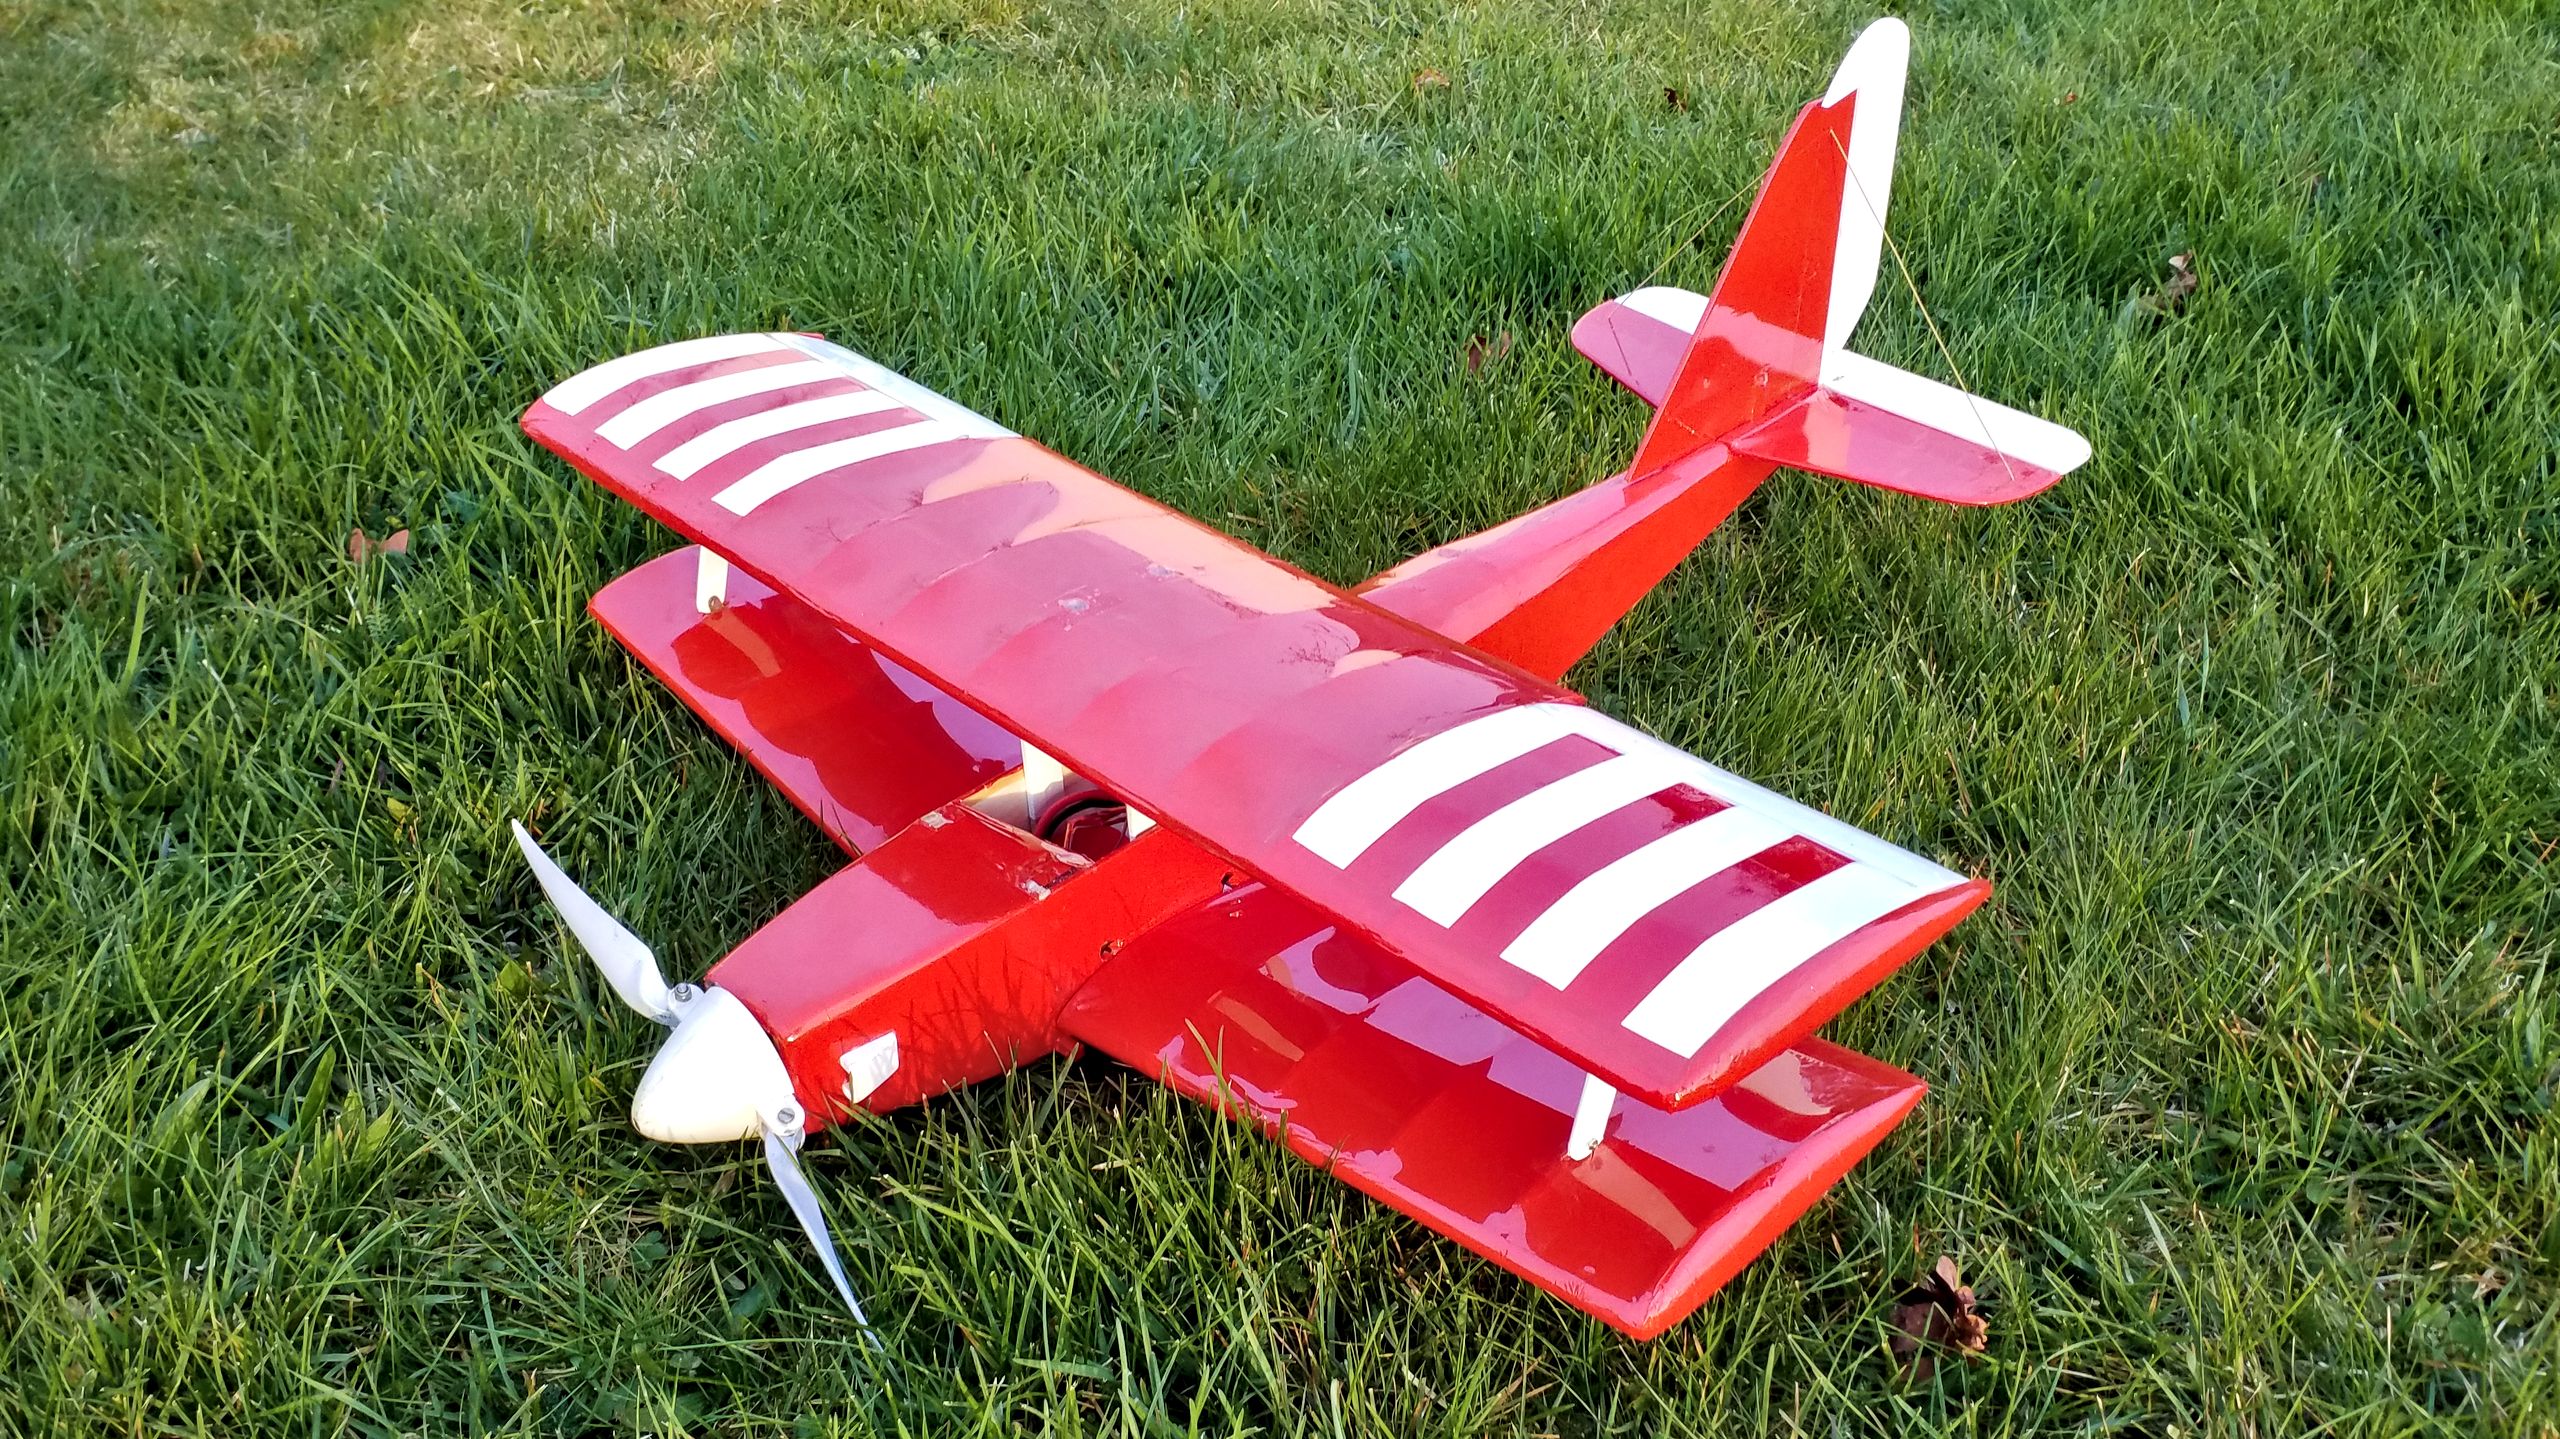
There’s little left of the flimsy, semiscale appearance. The undercarriage is gone, it simply has no chance of smoothing the landing. The small propeller has given way to a streamlined, dominant spinner, the radiator grille is gone. However, this always was a highly experimental undertaking. So I don’t mourn after bygone times, but look forward on what is to come from this evolution.
The Joyrider is still taxing my flying abilities. It’s all I can do to keep it in a smooth, controlled attitude and sprinkle in some aerobatics here and there. Landings are always risky and most of the time I have to apply a bit of superglue to an overstressed mounting afterwards. On the other hand, I’m learning a lot and actually like the challenge and change compared to my soaring plane.
There are still some To Dos and wishes left. And I’ll make sure to relate them. In the meantime I’ll try and make some video footage of actual flights.