
In order to build the Thermy 4 I will need building boards, which are in widespread use with model aircraft builders. They serve two purposes: First they are supposed to provide an absolutely even surface because most workbenches sag over time, which means one can’t build really straight wings or fuselages on top of them. It’s easy to check it out at home, simply put a spirit level on top of the workbench and look for the gap in the middle, which one almost always will find. Second, building boards facilitate storing subassemblies while one is continuing to work at other parts. And since my workbench is frequently needed for other purposes than the current project, one doesn’t want it to be cluttered with, say, a clamped half of a fuselage.
With the Joyrider, I made do with a textured coated board, however that was decisively too hard: it was hard labour to stick pins into it. Besides, this time I will need to construct parts measuring almost 1.5 metres in length and 30 cm in width. There are several ways to acquire a large building board. A common favourite, for they are cheap to come by, are flawed door leafs (that is the movable part of a door, sometimes called wings). Hollow core doors are lightweighted and sturdy at the same time.
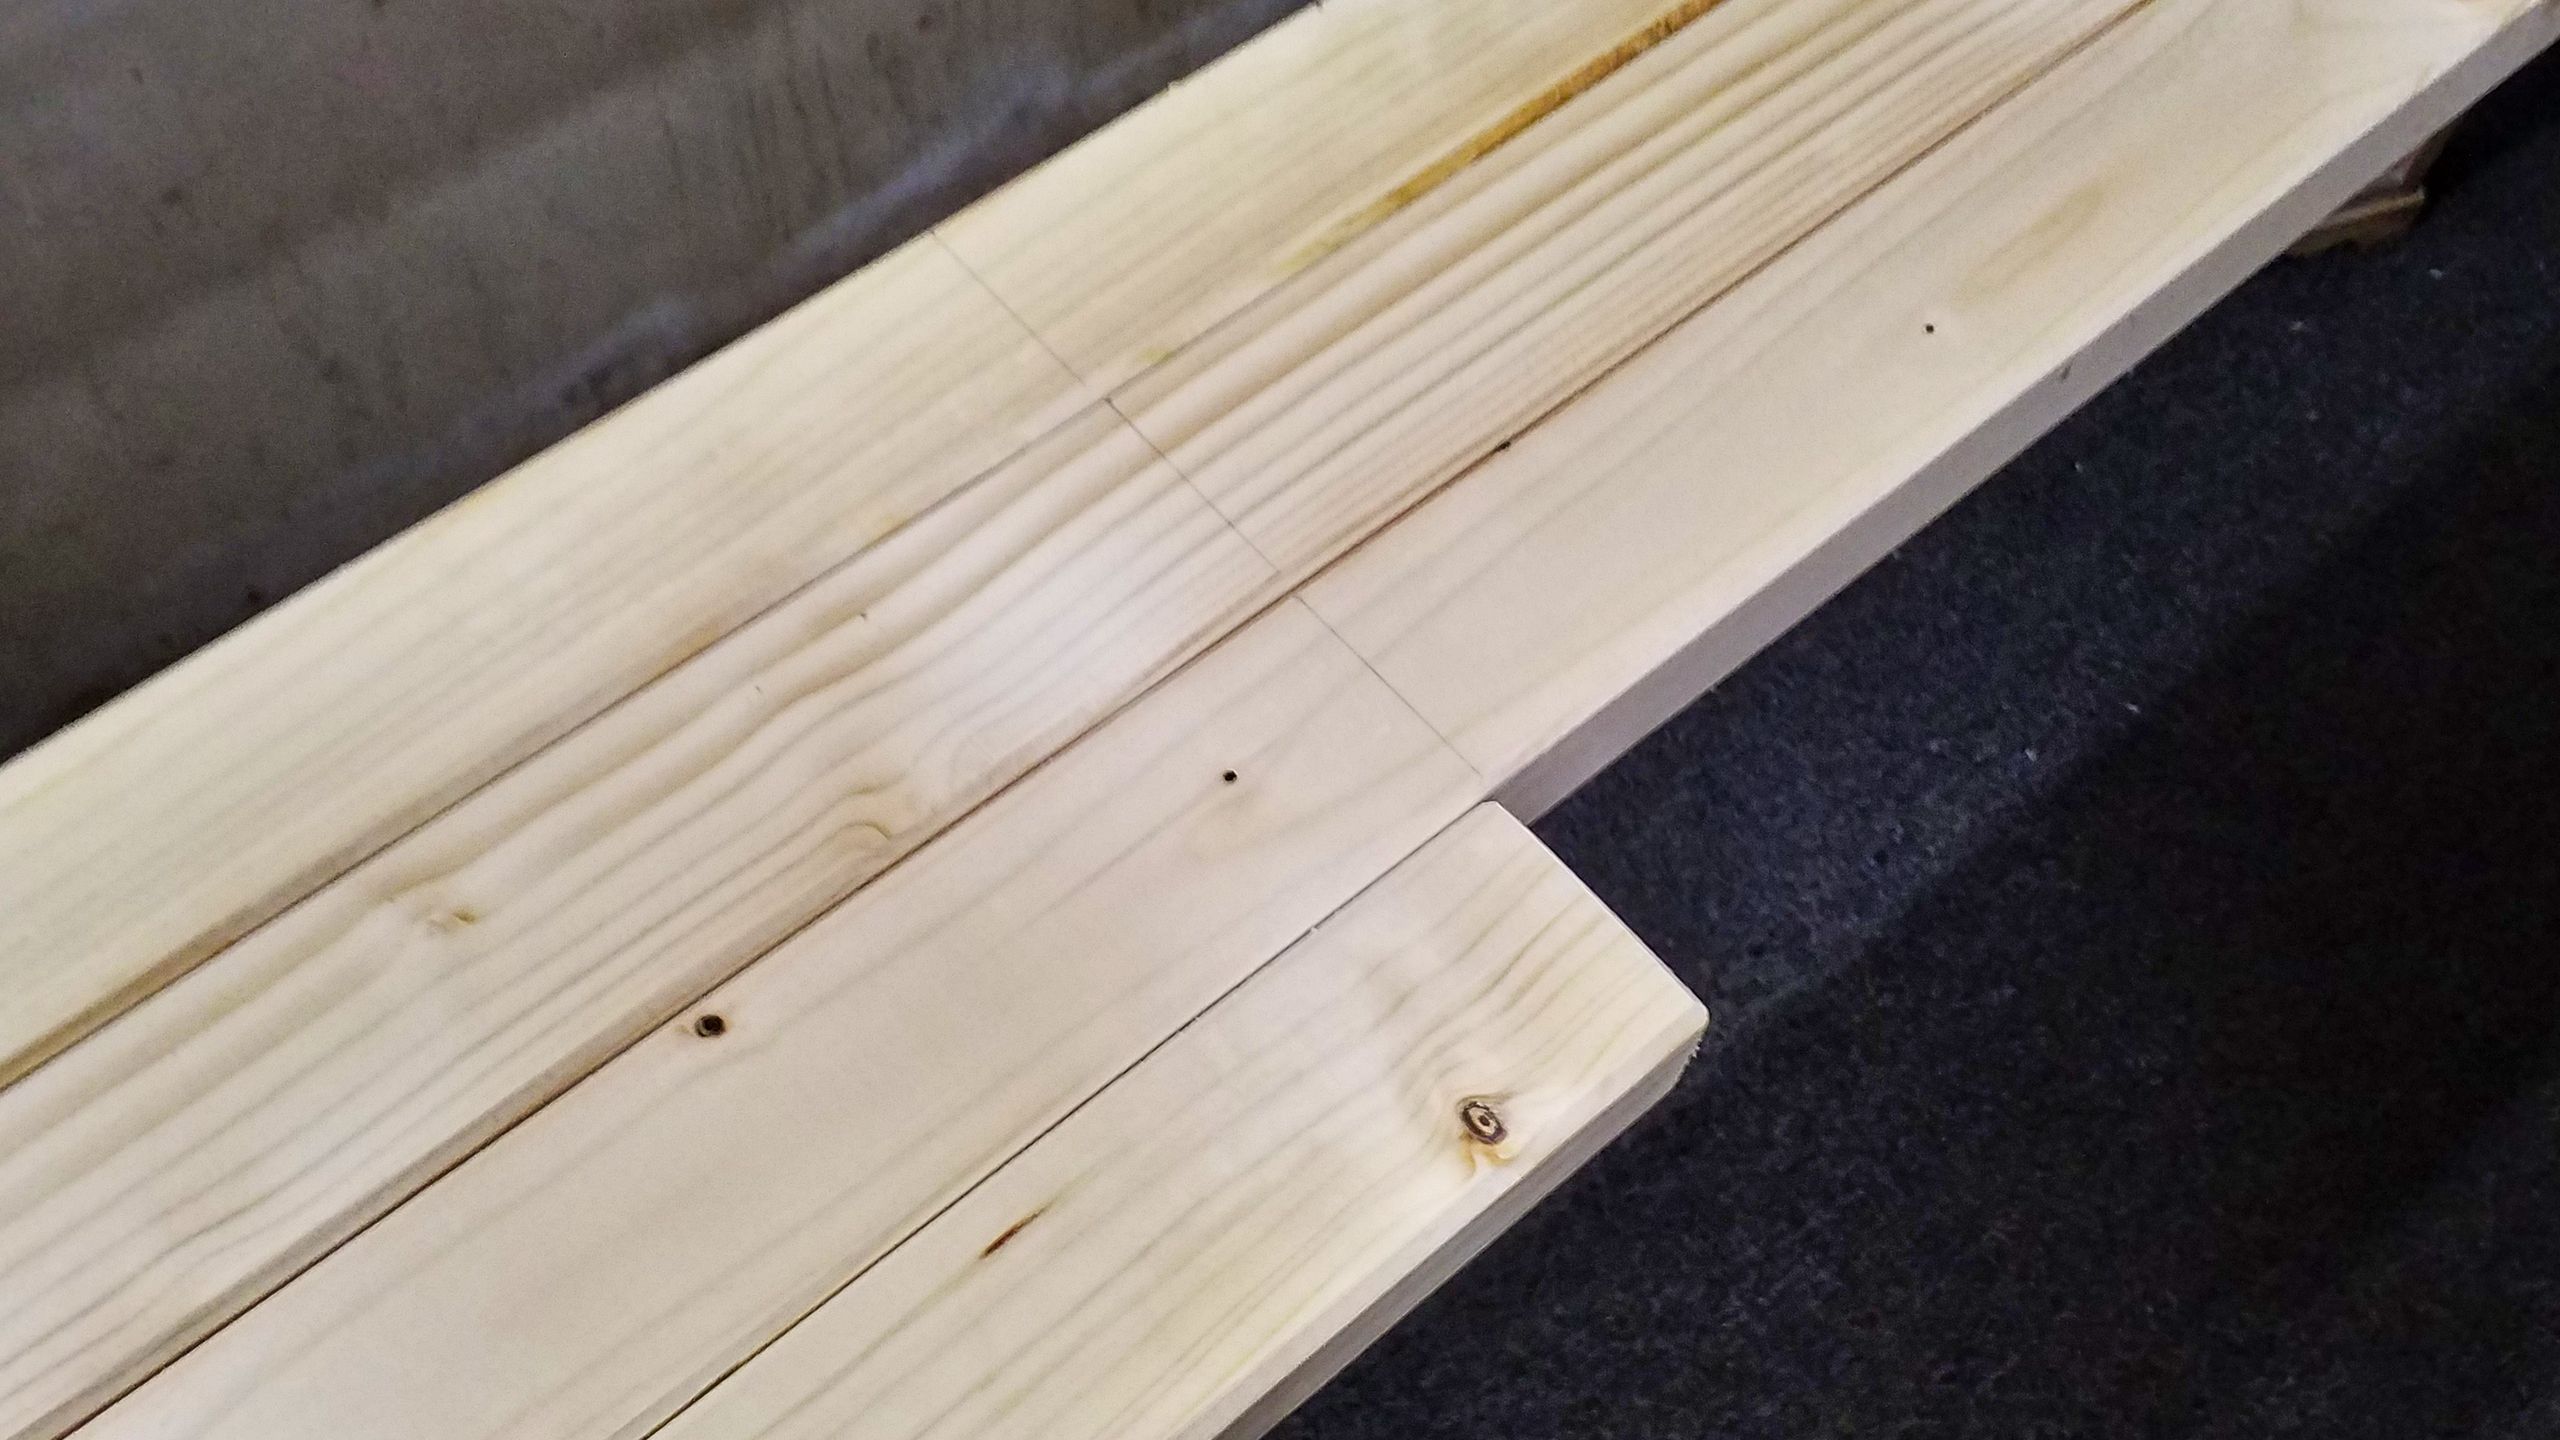
However, I happened to have two stone-aged boards of solid wood, which once upon a time served as side panels to some shelves in the children’s room. They are utterly heavy, but that doesn’t bother me too much. I find it quite useful, actually, because they don’t tend to slip easily. More importantly, they aren’t warped in any way, so I’ve got two building boards for free. First, the boards are cut to 1.5 metres of length, that makes them easier to store and handle.
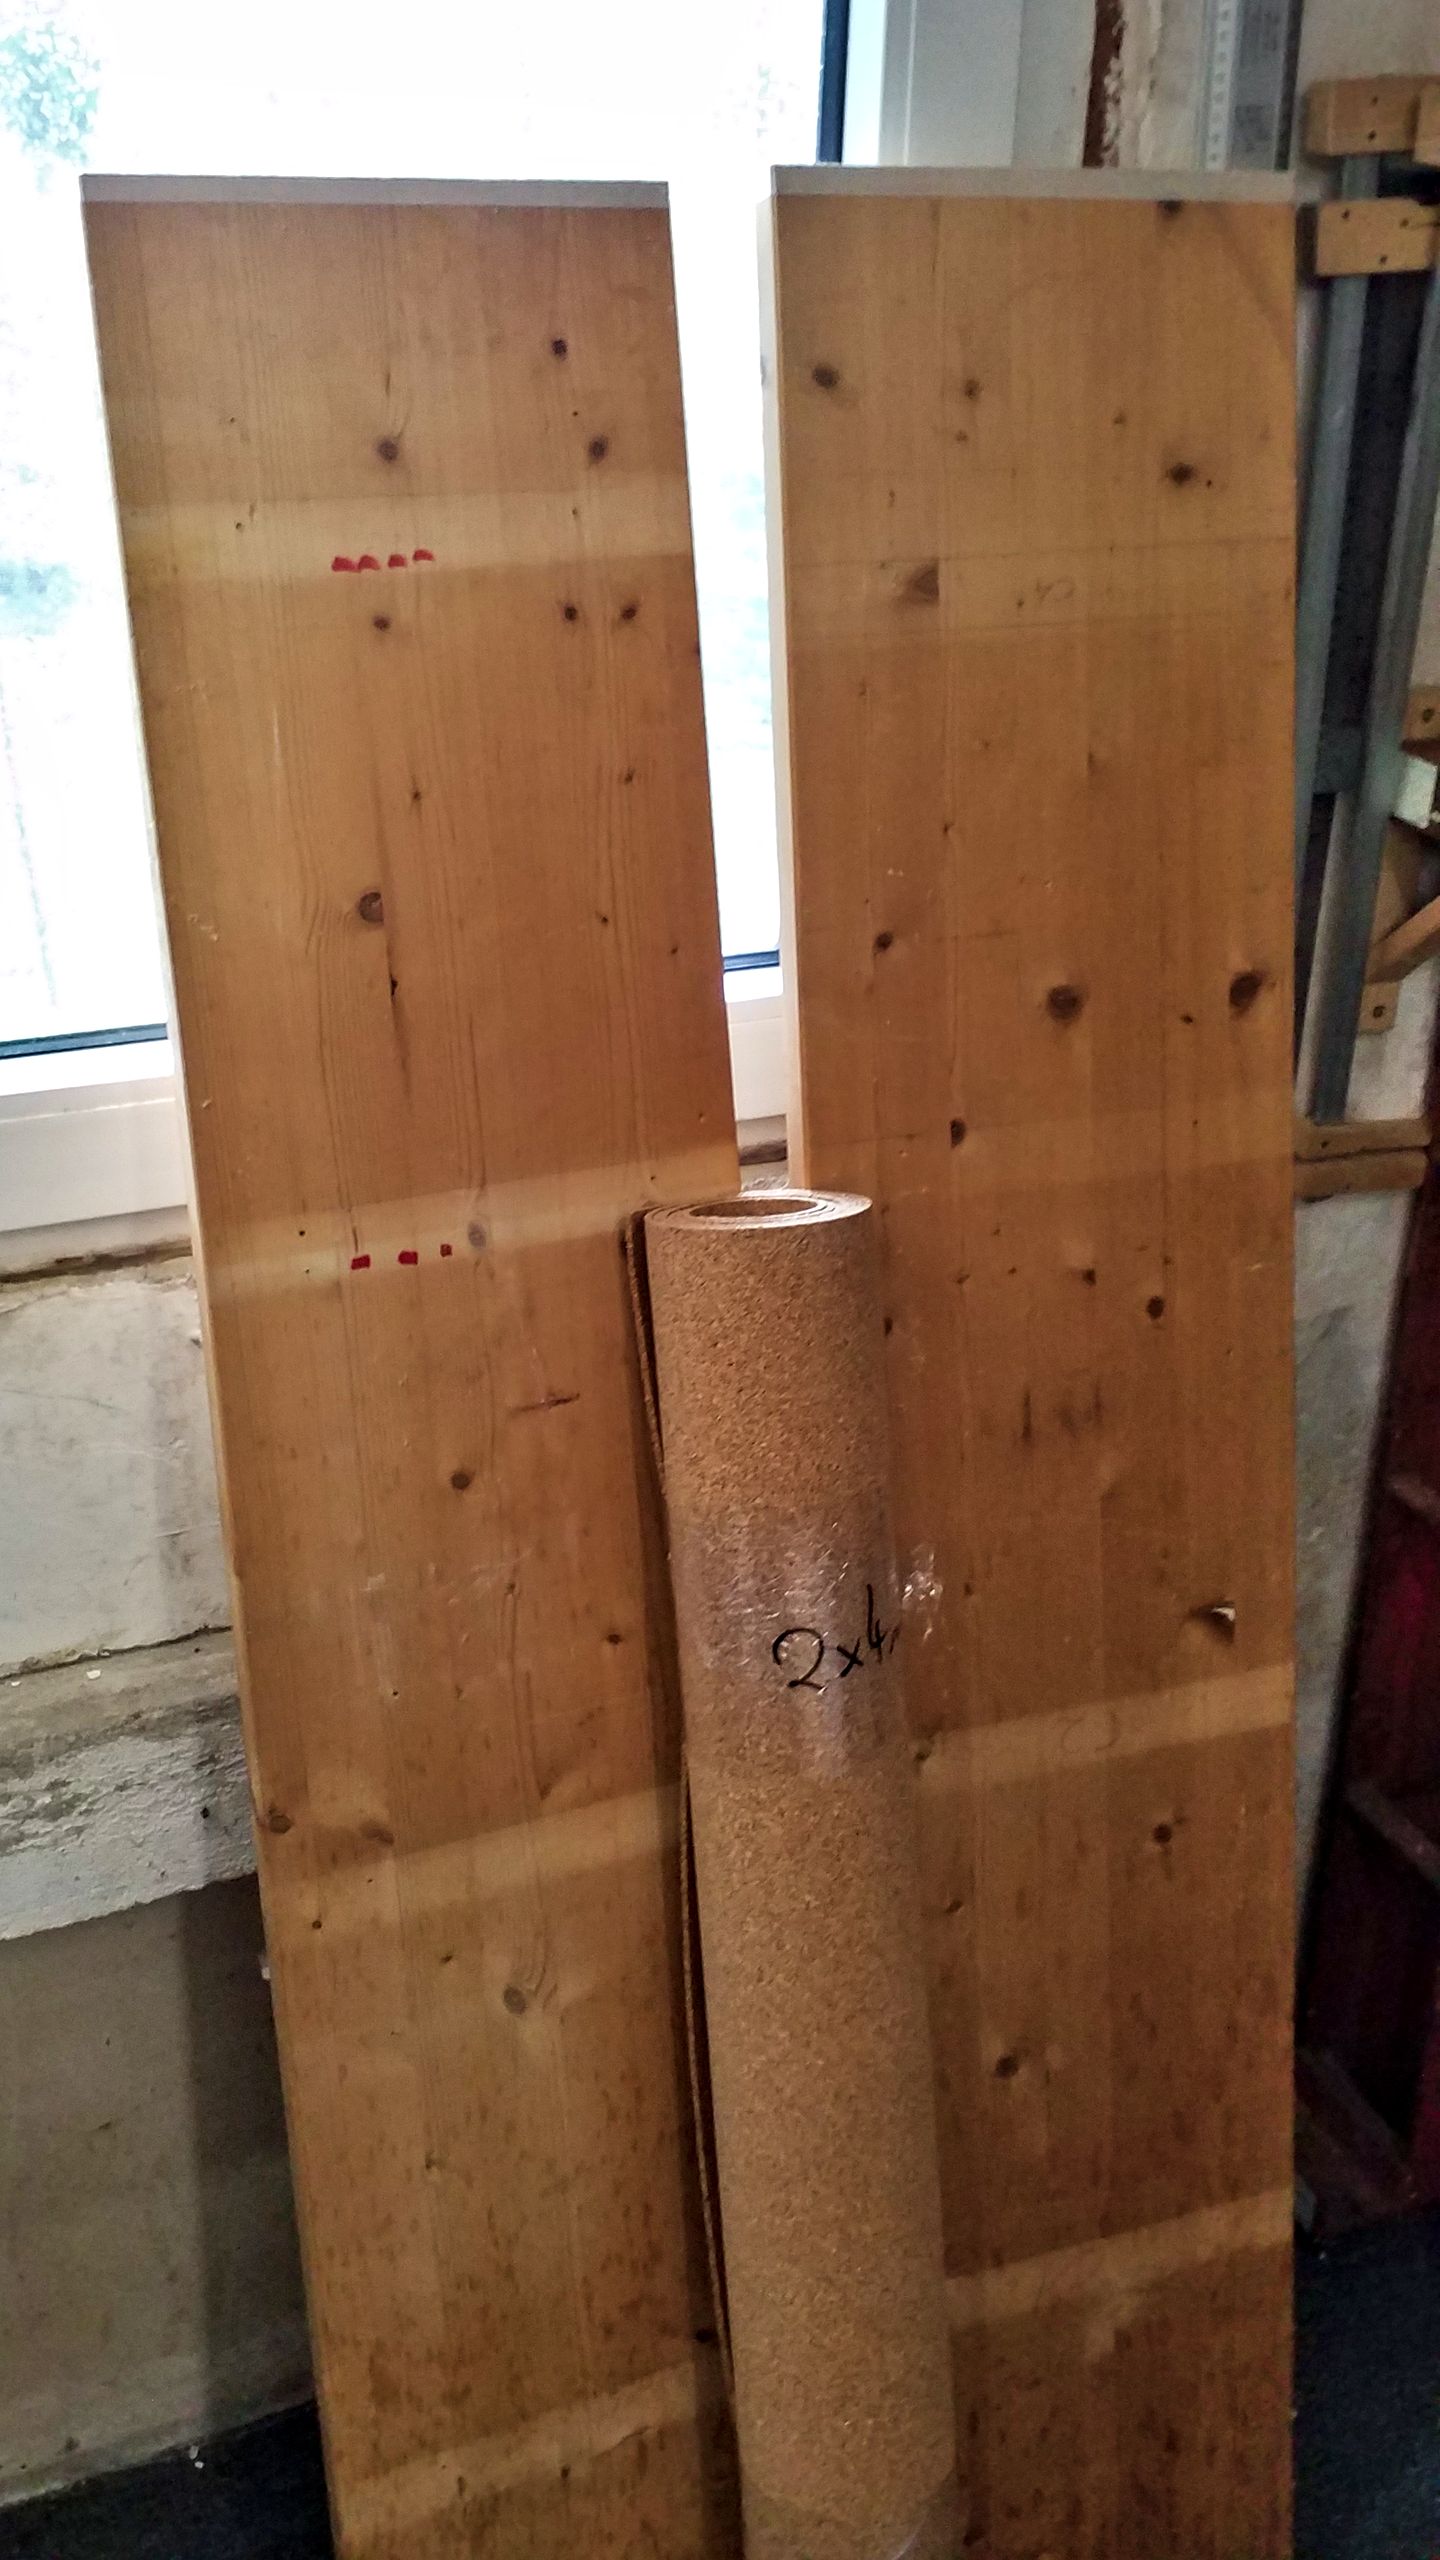
Since the boards are made from solid spruce, pins are easier to stick into them compared to textured coated board, but it’s still hard enough. The kind reader sureley has already noticed the roll of cork mat standing next to both the boards. It’s four millimetres thick, so the pins will have something to cling to. Out of this mat I’ve cut two lanes with a crafting knife. Beware: Use the sharpest, fresh blade possible, or else fraying might occur!
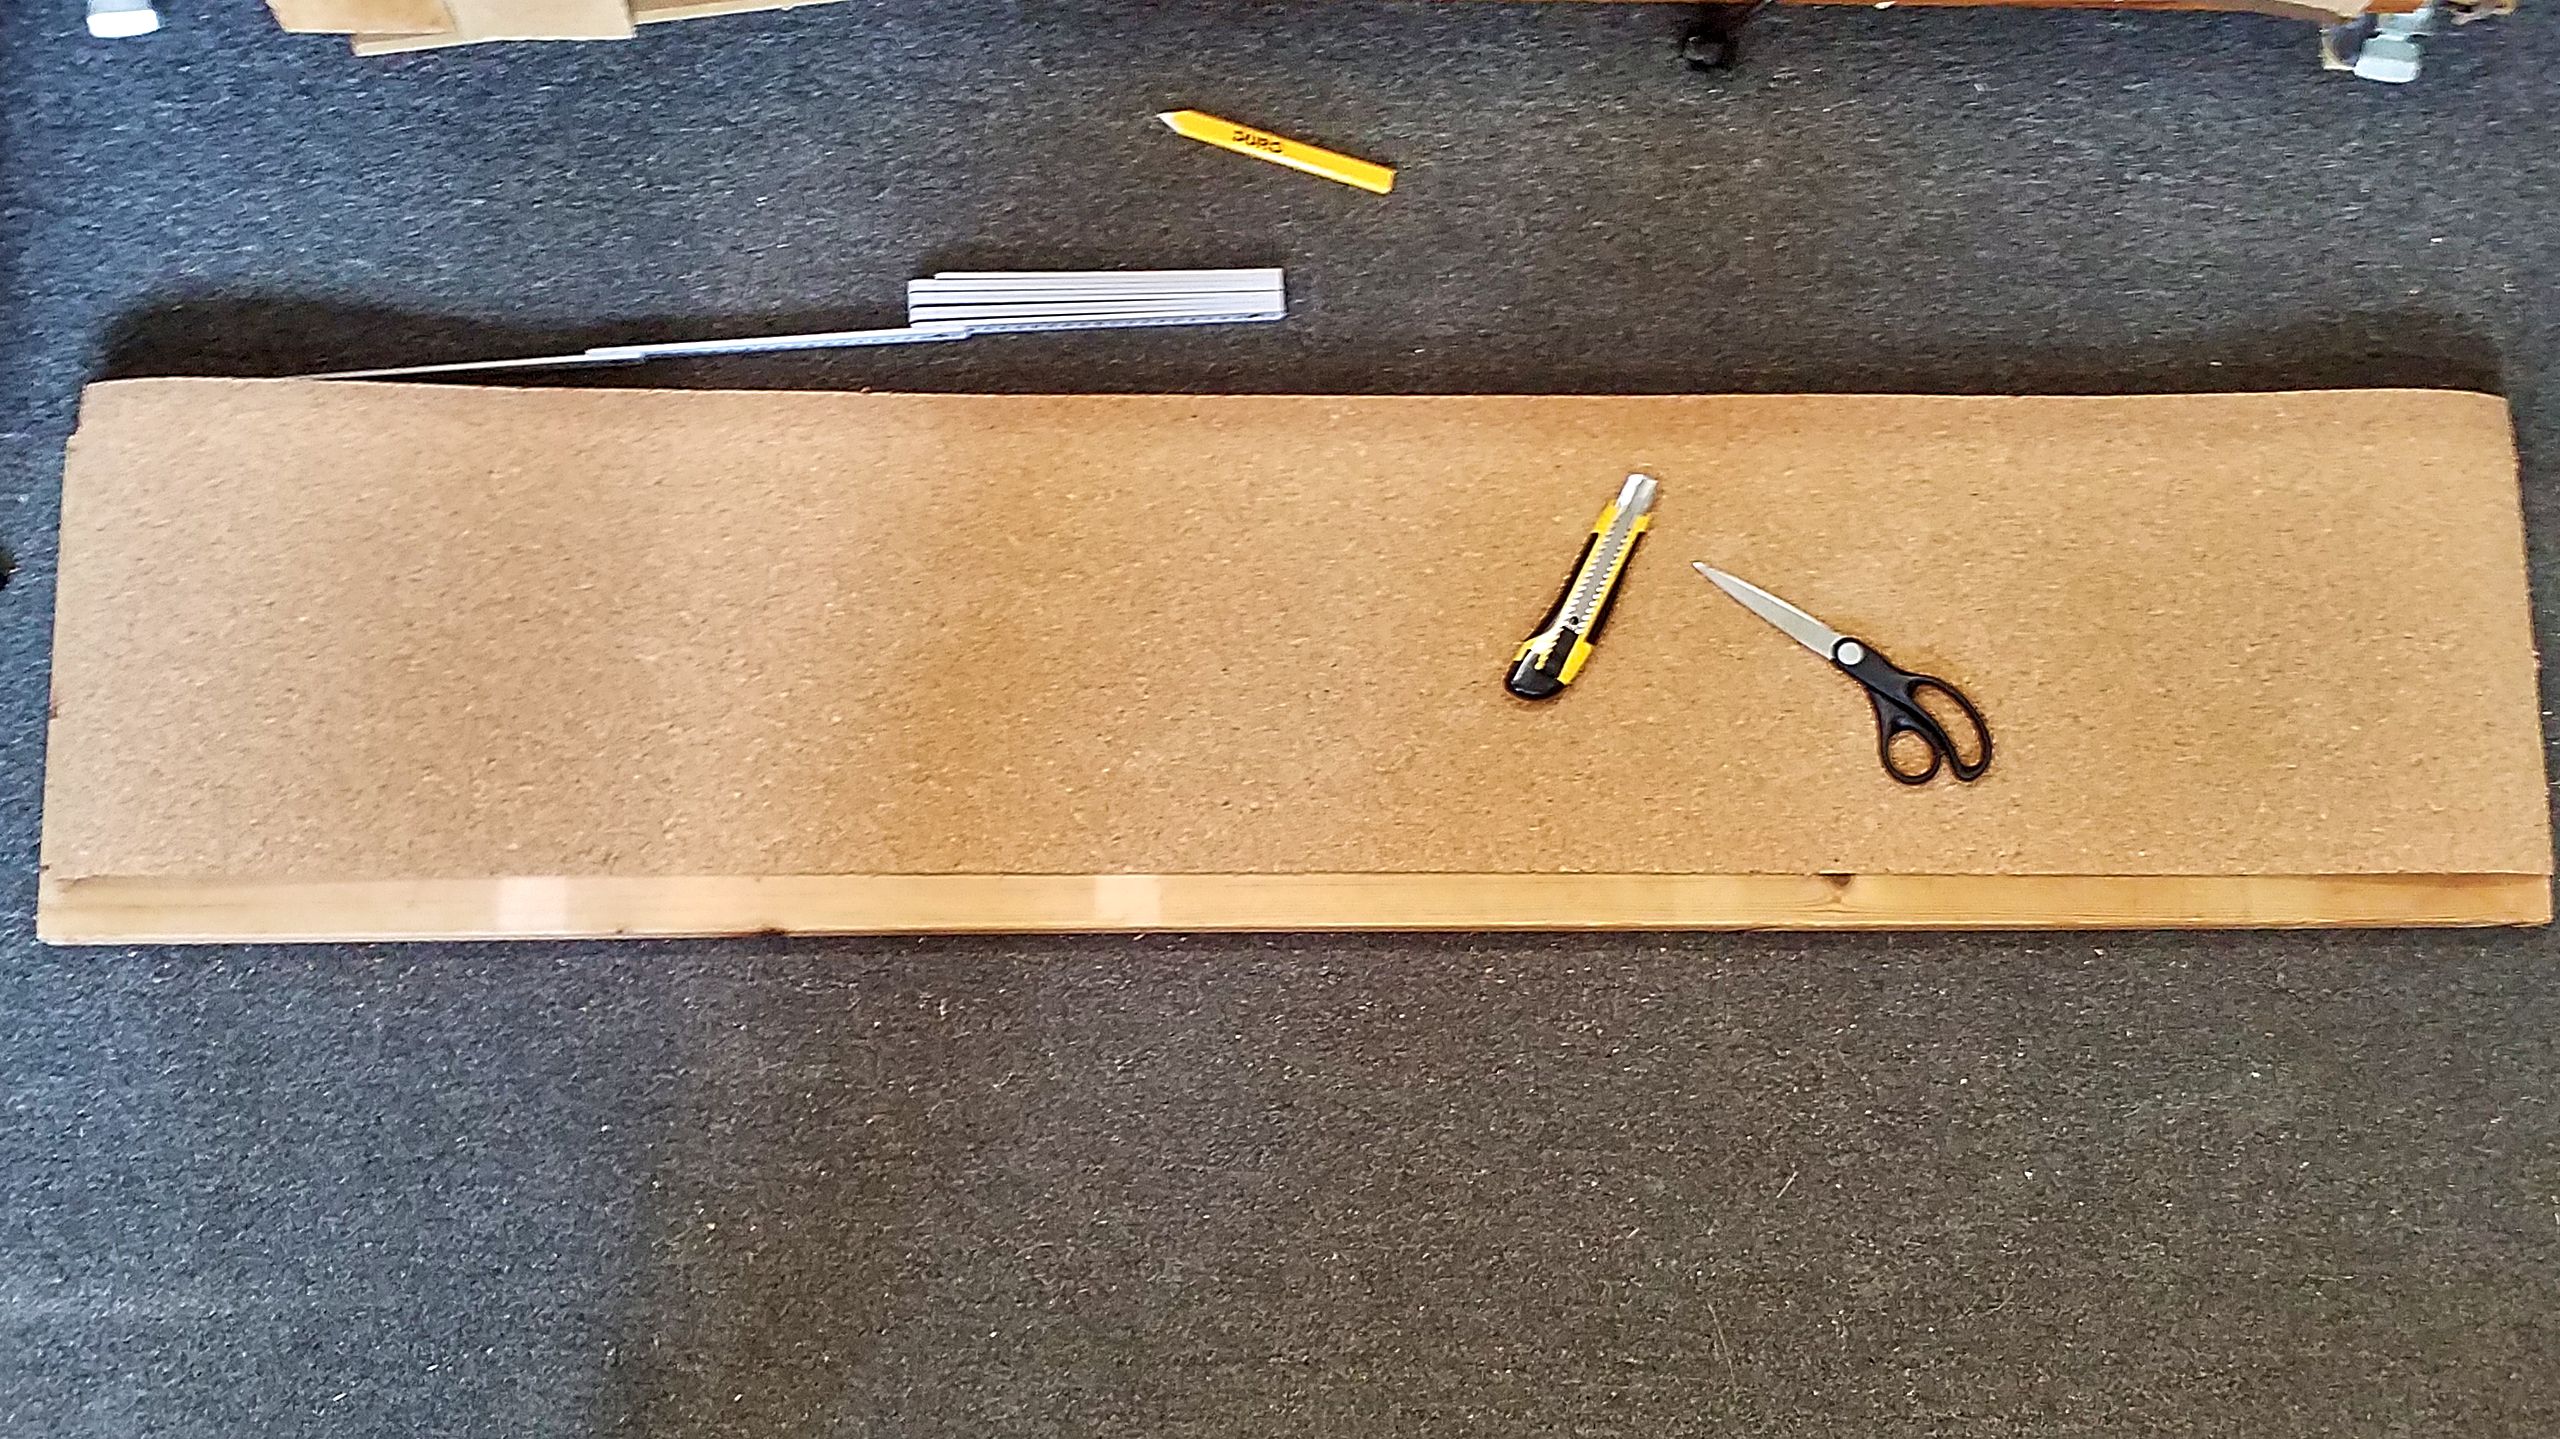
The lanes should be a bit undersized, so that the wooden edges can protect the delicate cork from jolts and fraying. For the first try, I’m using spray glue because it makes life so much easier and saves time… not a bit of it! That stuff easily makes a mess, one has to work very quickly and subsequent adjustments are next to impossible. With considerably more luck than brains I was quick to finish the first board… and frazzle my nerves.

In order to calm down I’m applying an edge protection to the cork mat. Ordinary hot glue does the job because on the one hand it hardens the crumbly edges and on the other hand it protects the flexible, but frail material from unfortunate jolts. Except from one or two painful moments while smoothing down the glue bead this works like a charm.

The second cork mat is fastened with white glue. After preparing the building board with a glue roller, the lane is slowly and piecemeal aligned and applied. Adjustments are easy to make and there are no aggressive solvents in the air. In my humble opinion, a lot better than spray glue!

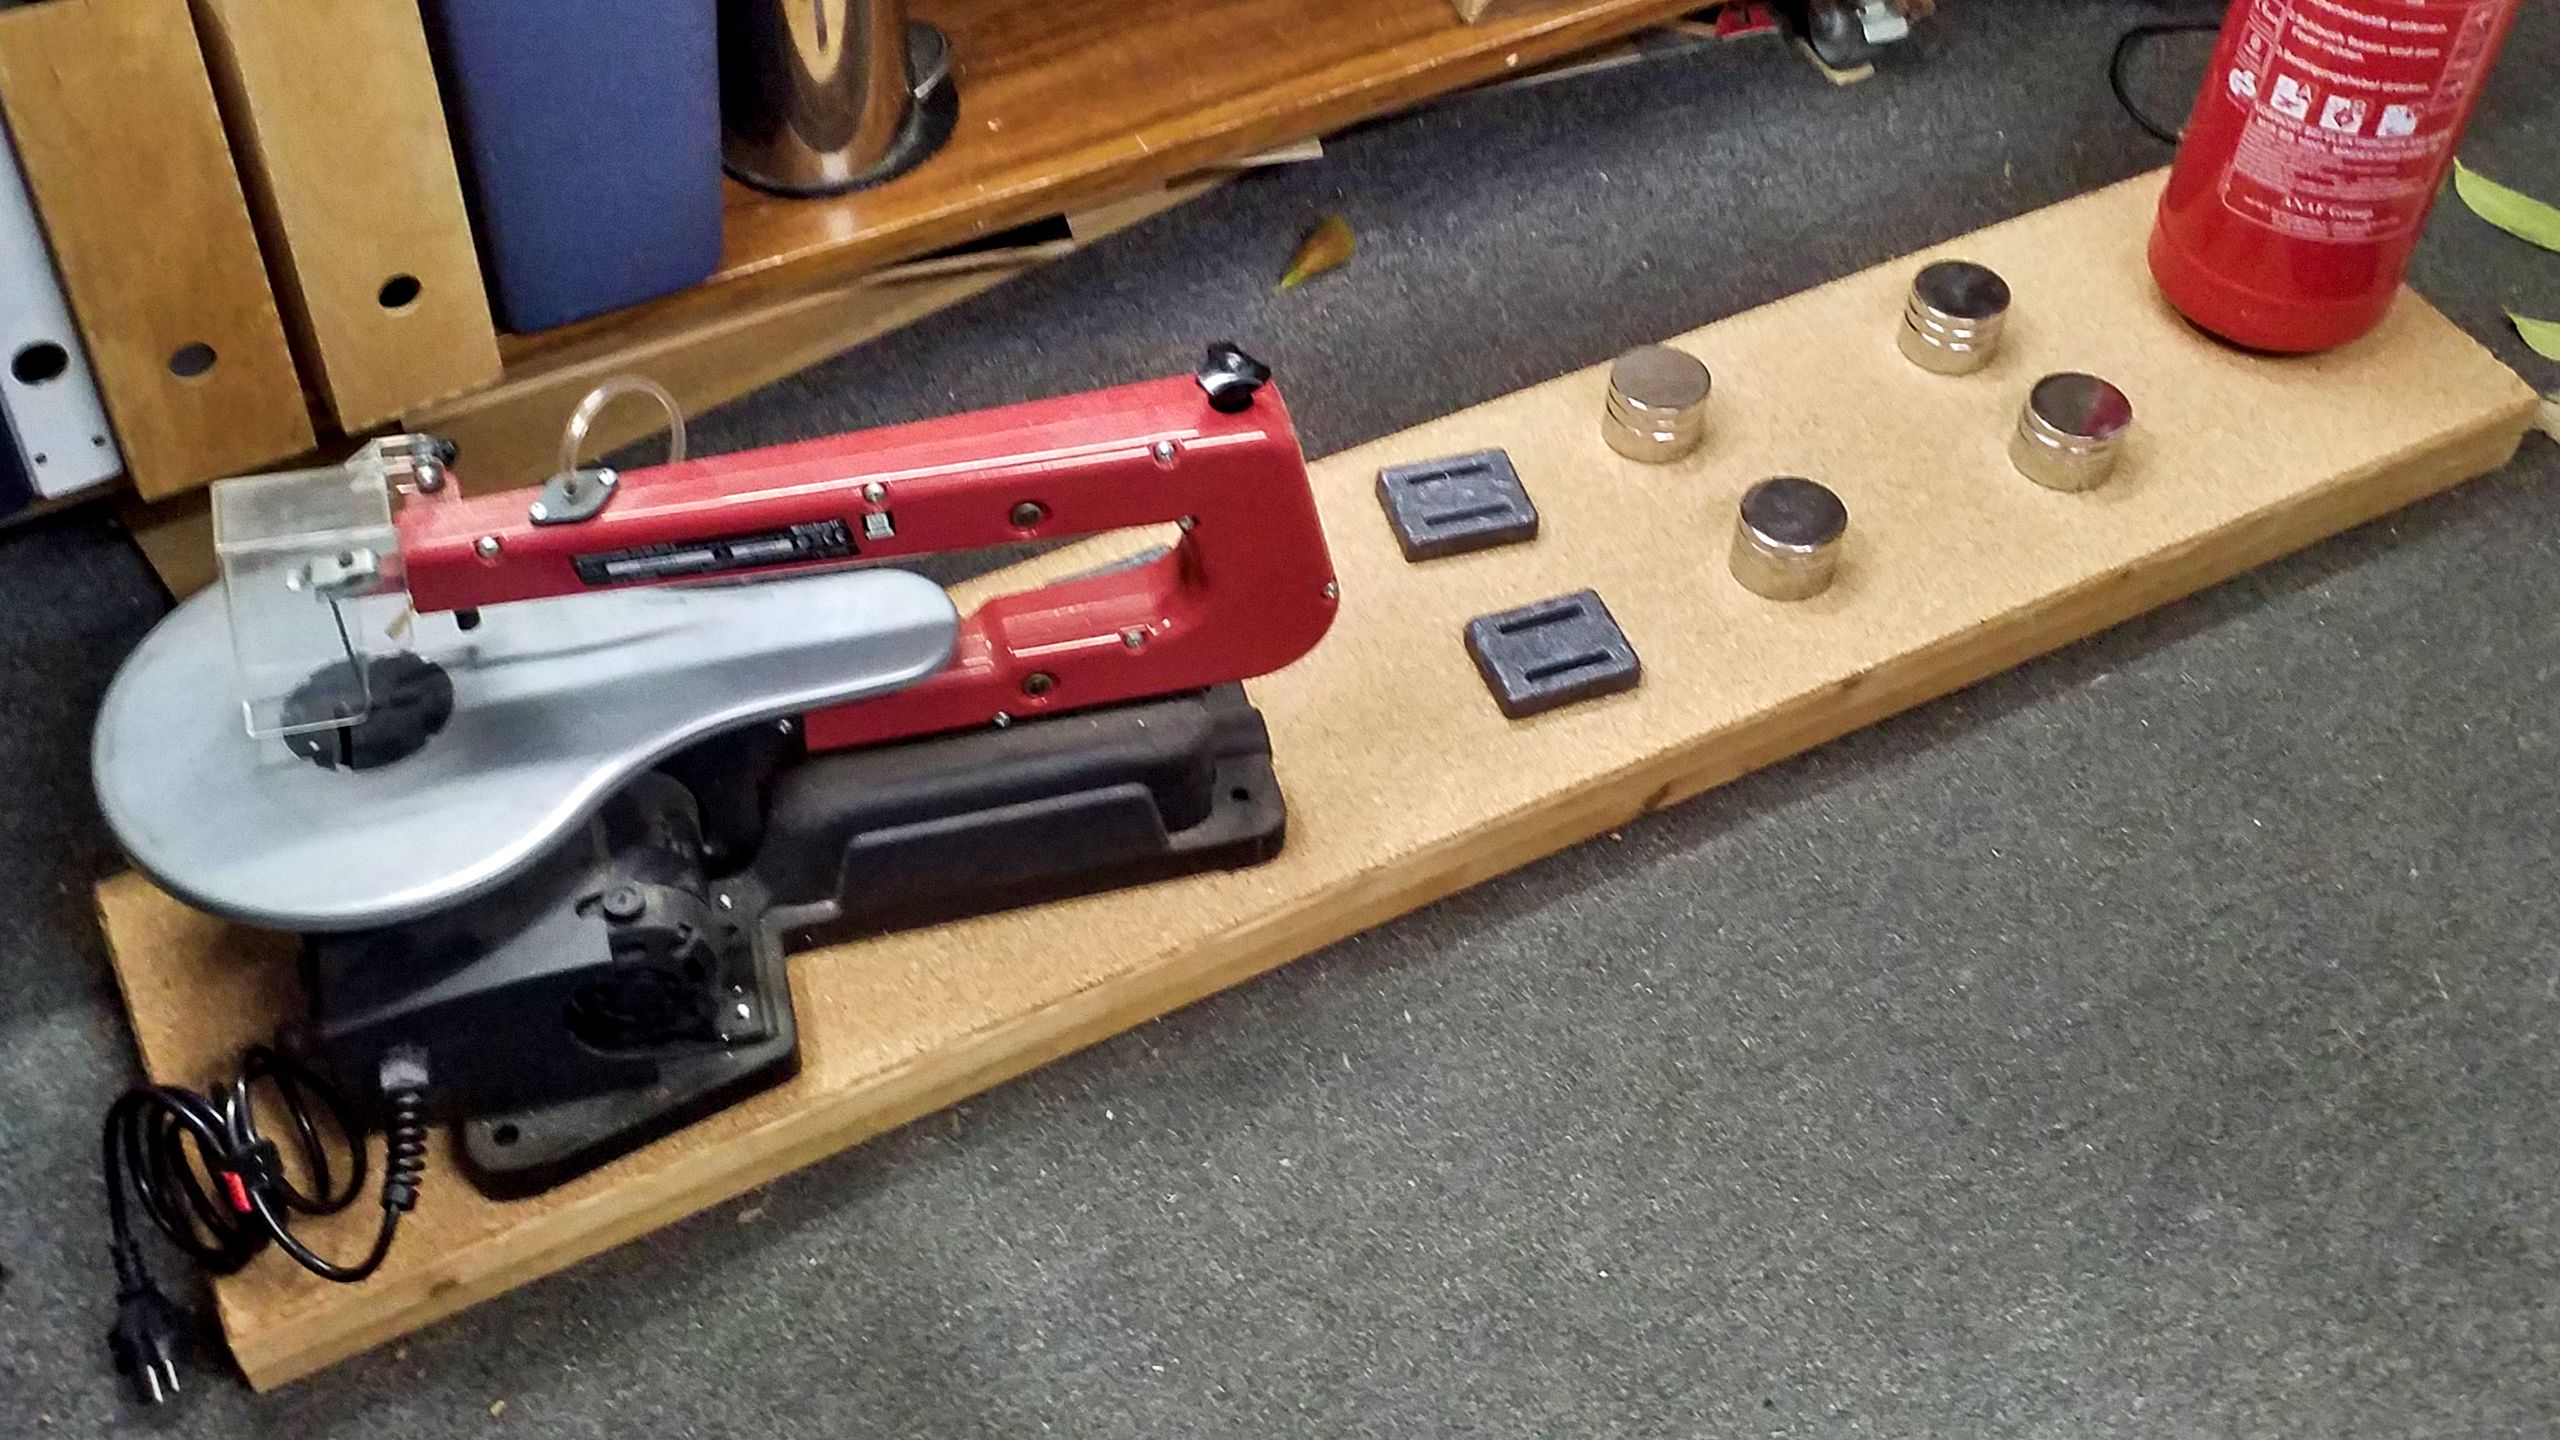
In turn, the mat needs to be pressed down. Fortunately, that’s easy to do when building two boards at a time: The setting board lies at the very bottom, on top of that comes the already finished board which in turn is loaded with every heavy item the workshop has to offer.
So far, so good. The building boards are finished and they keep their promise: Fastening pins is child’s play and they cling to the cork very well, one can easily drive small nails into the spruce and the cork closes without a traces after the nails are pulled out. Perfect!
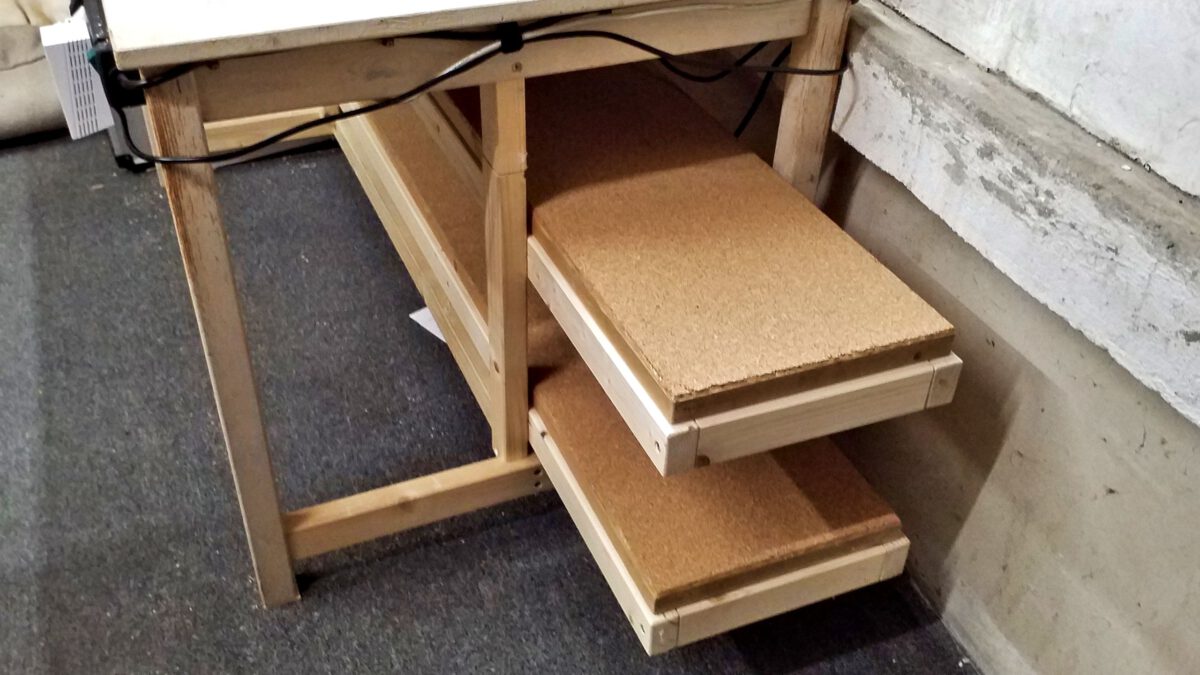
But where to store those boards when they aren’t needed? More importantly: where to put them while components are fastened to them? I took my time to look around in my workshop and finally found the one good spot left, namely under my working table next to the window. The table itself only measures 1.2 metres in length, so the boards protrude by 30 cm. However, they are close to the wall and they can easily be pulled out if they rest on shelve slats. So, such ones are to be constructed.
Here, I’m erring on the side of massive material because the boards will have to be supported while lying flat. What use would building boards be to me that start to sag while stored away? The slats are made from solid wood.
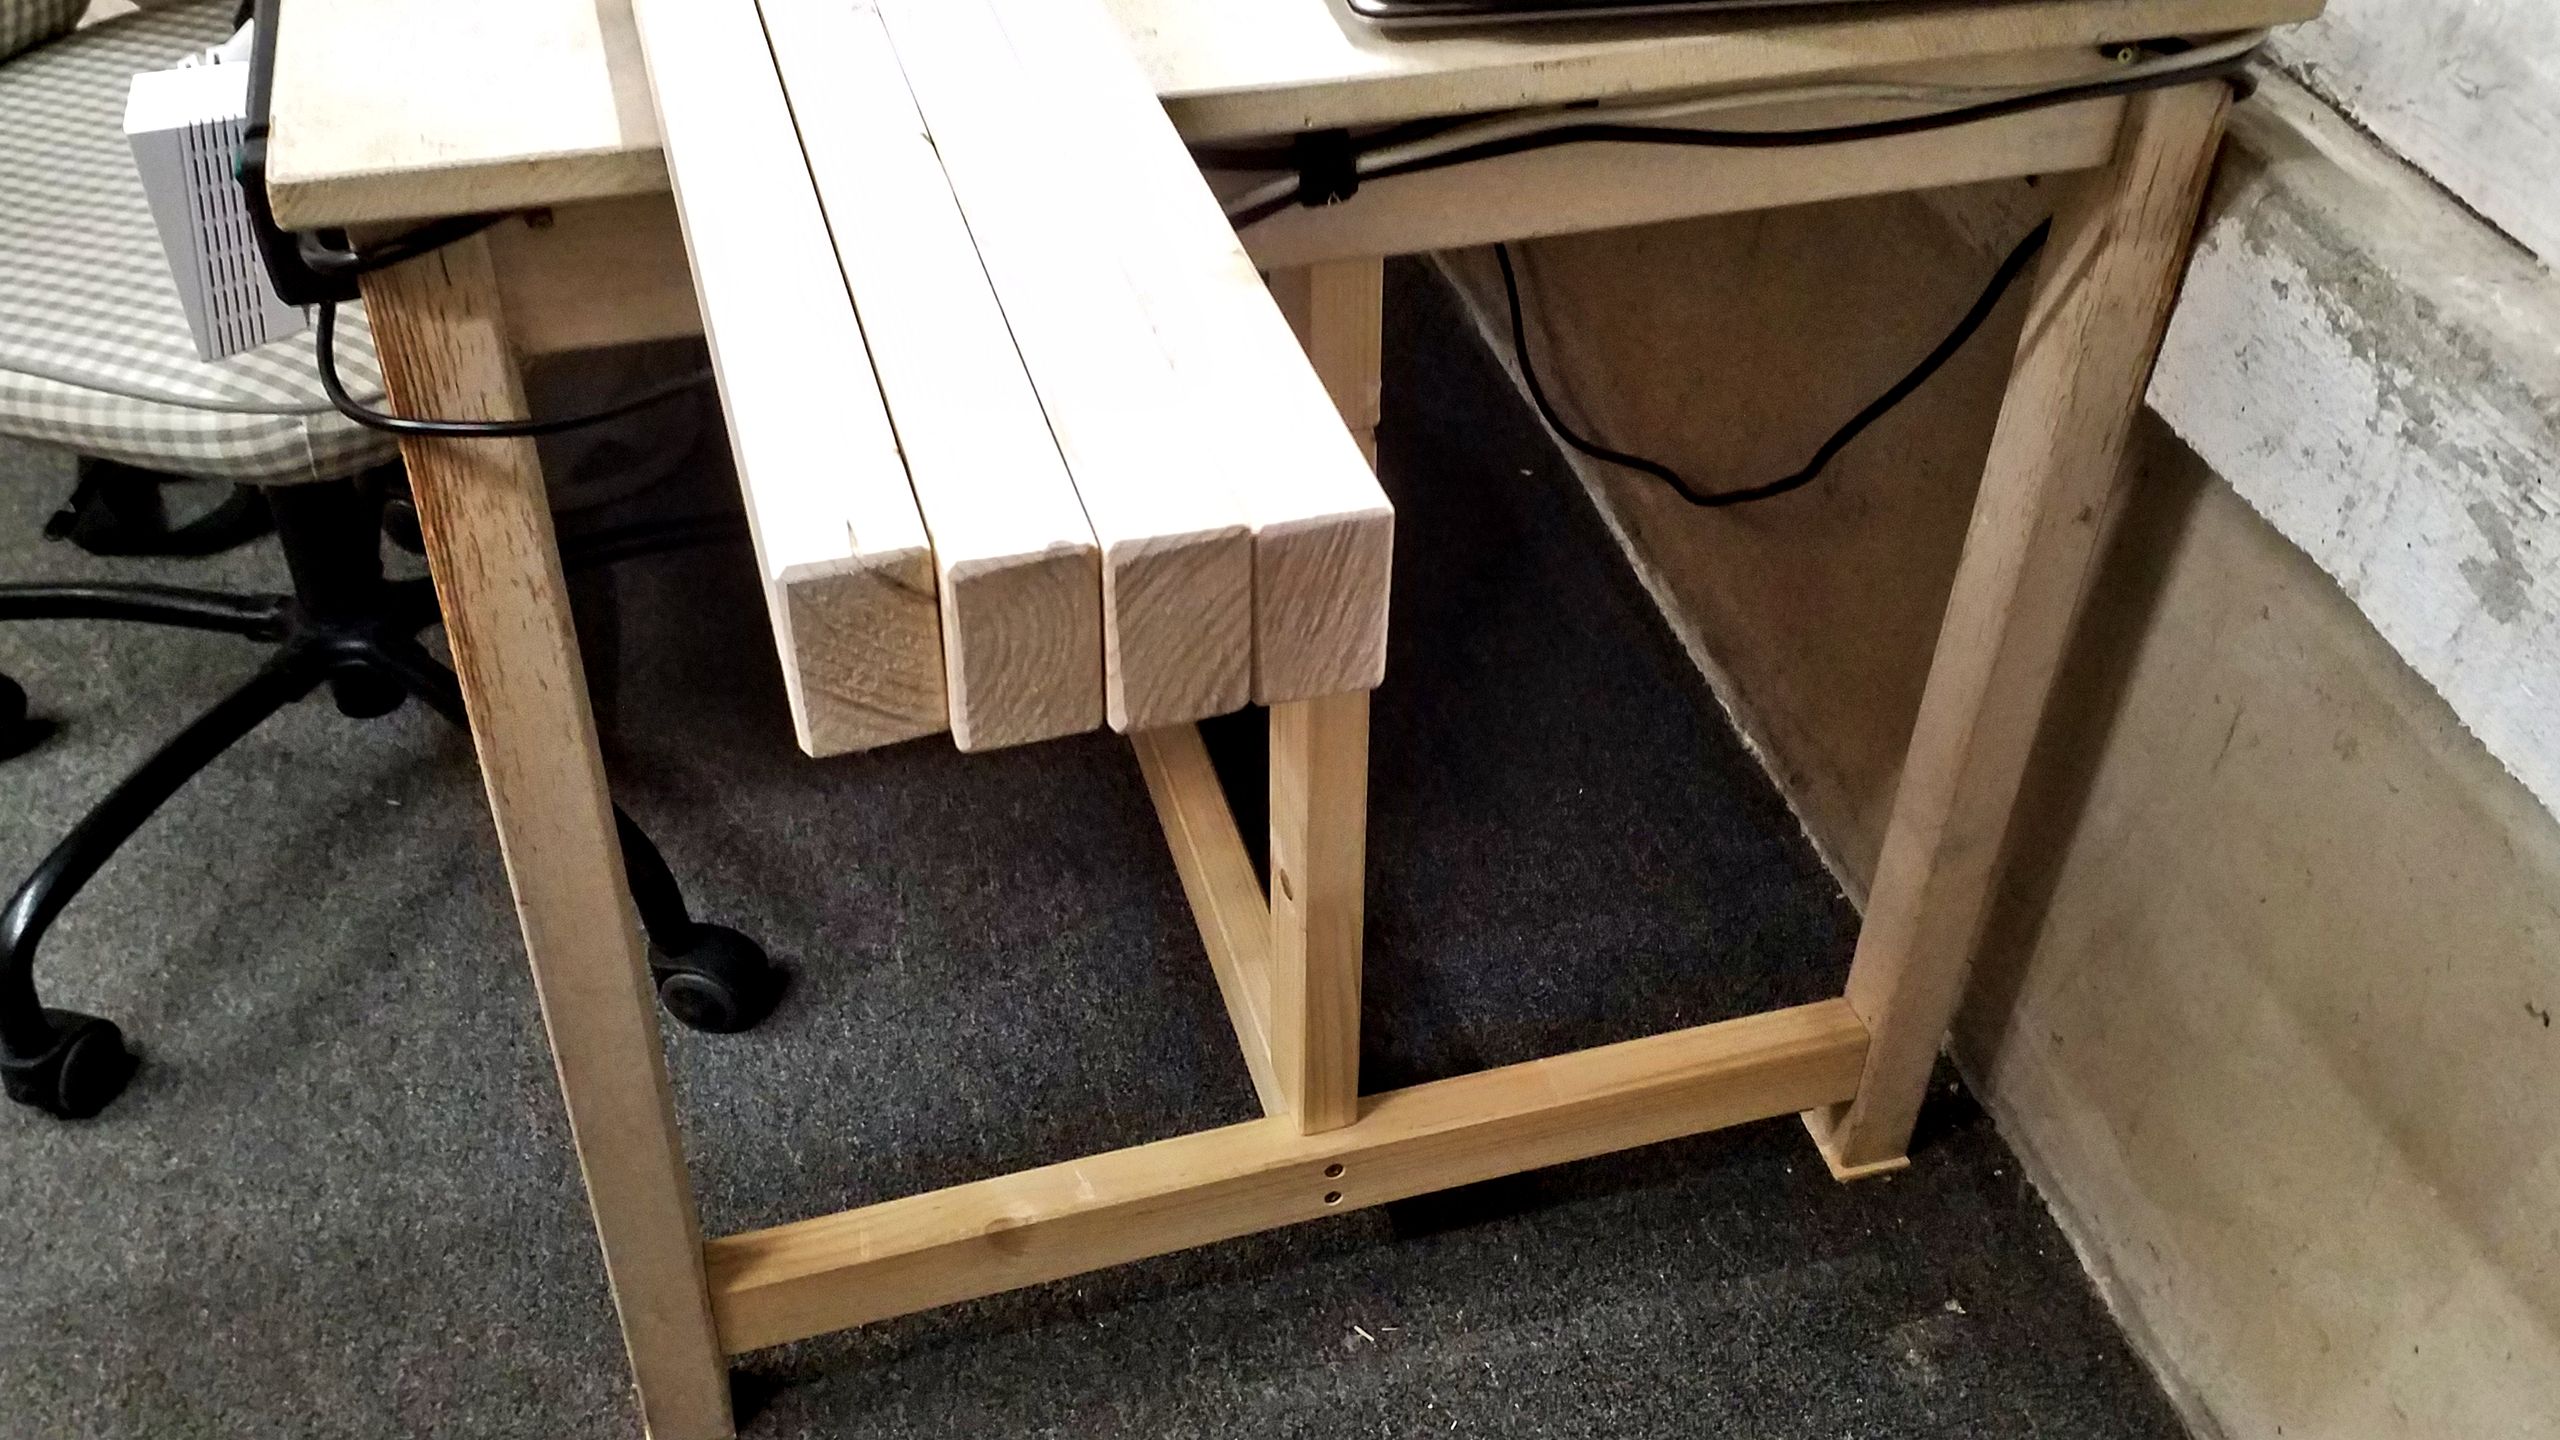
Those are screwed to the table’s substructure and compartmentalised with crosspieces in order to limit the free-hanging areas of the building boards as far as possible. Again, in order to protect the building boards from jolts, the slats are built with oversize: one bumps against the slats, rather than the boards. On top of that, the additional width makes it easier to thread the boards in and out of the slats.

And that’s how it looks from the front. However, the feet can accidently be placed on the lower building board while stretching the legs, which wouldn’t be good news for any components on that board.
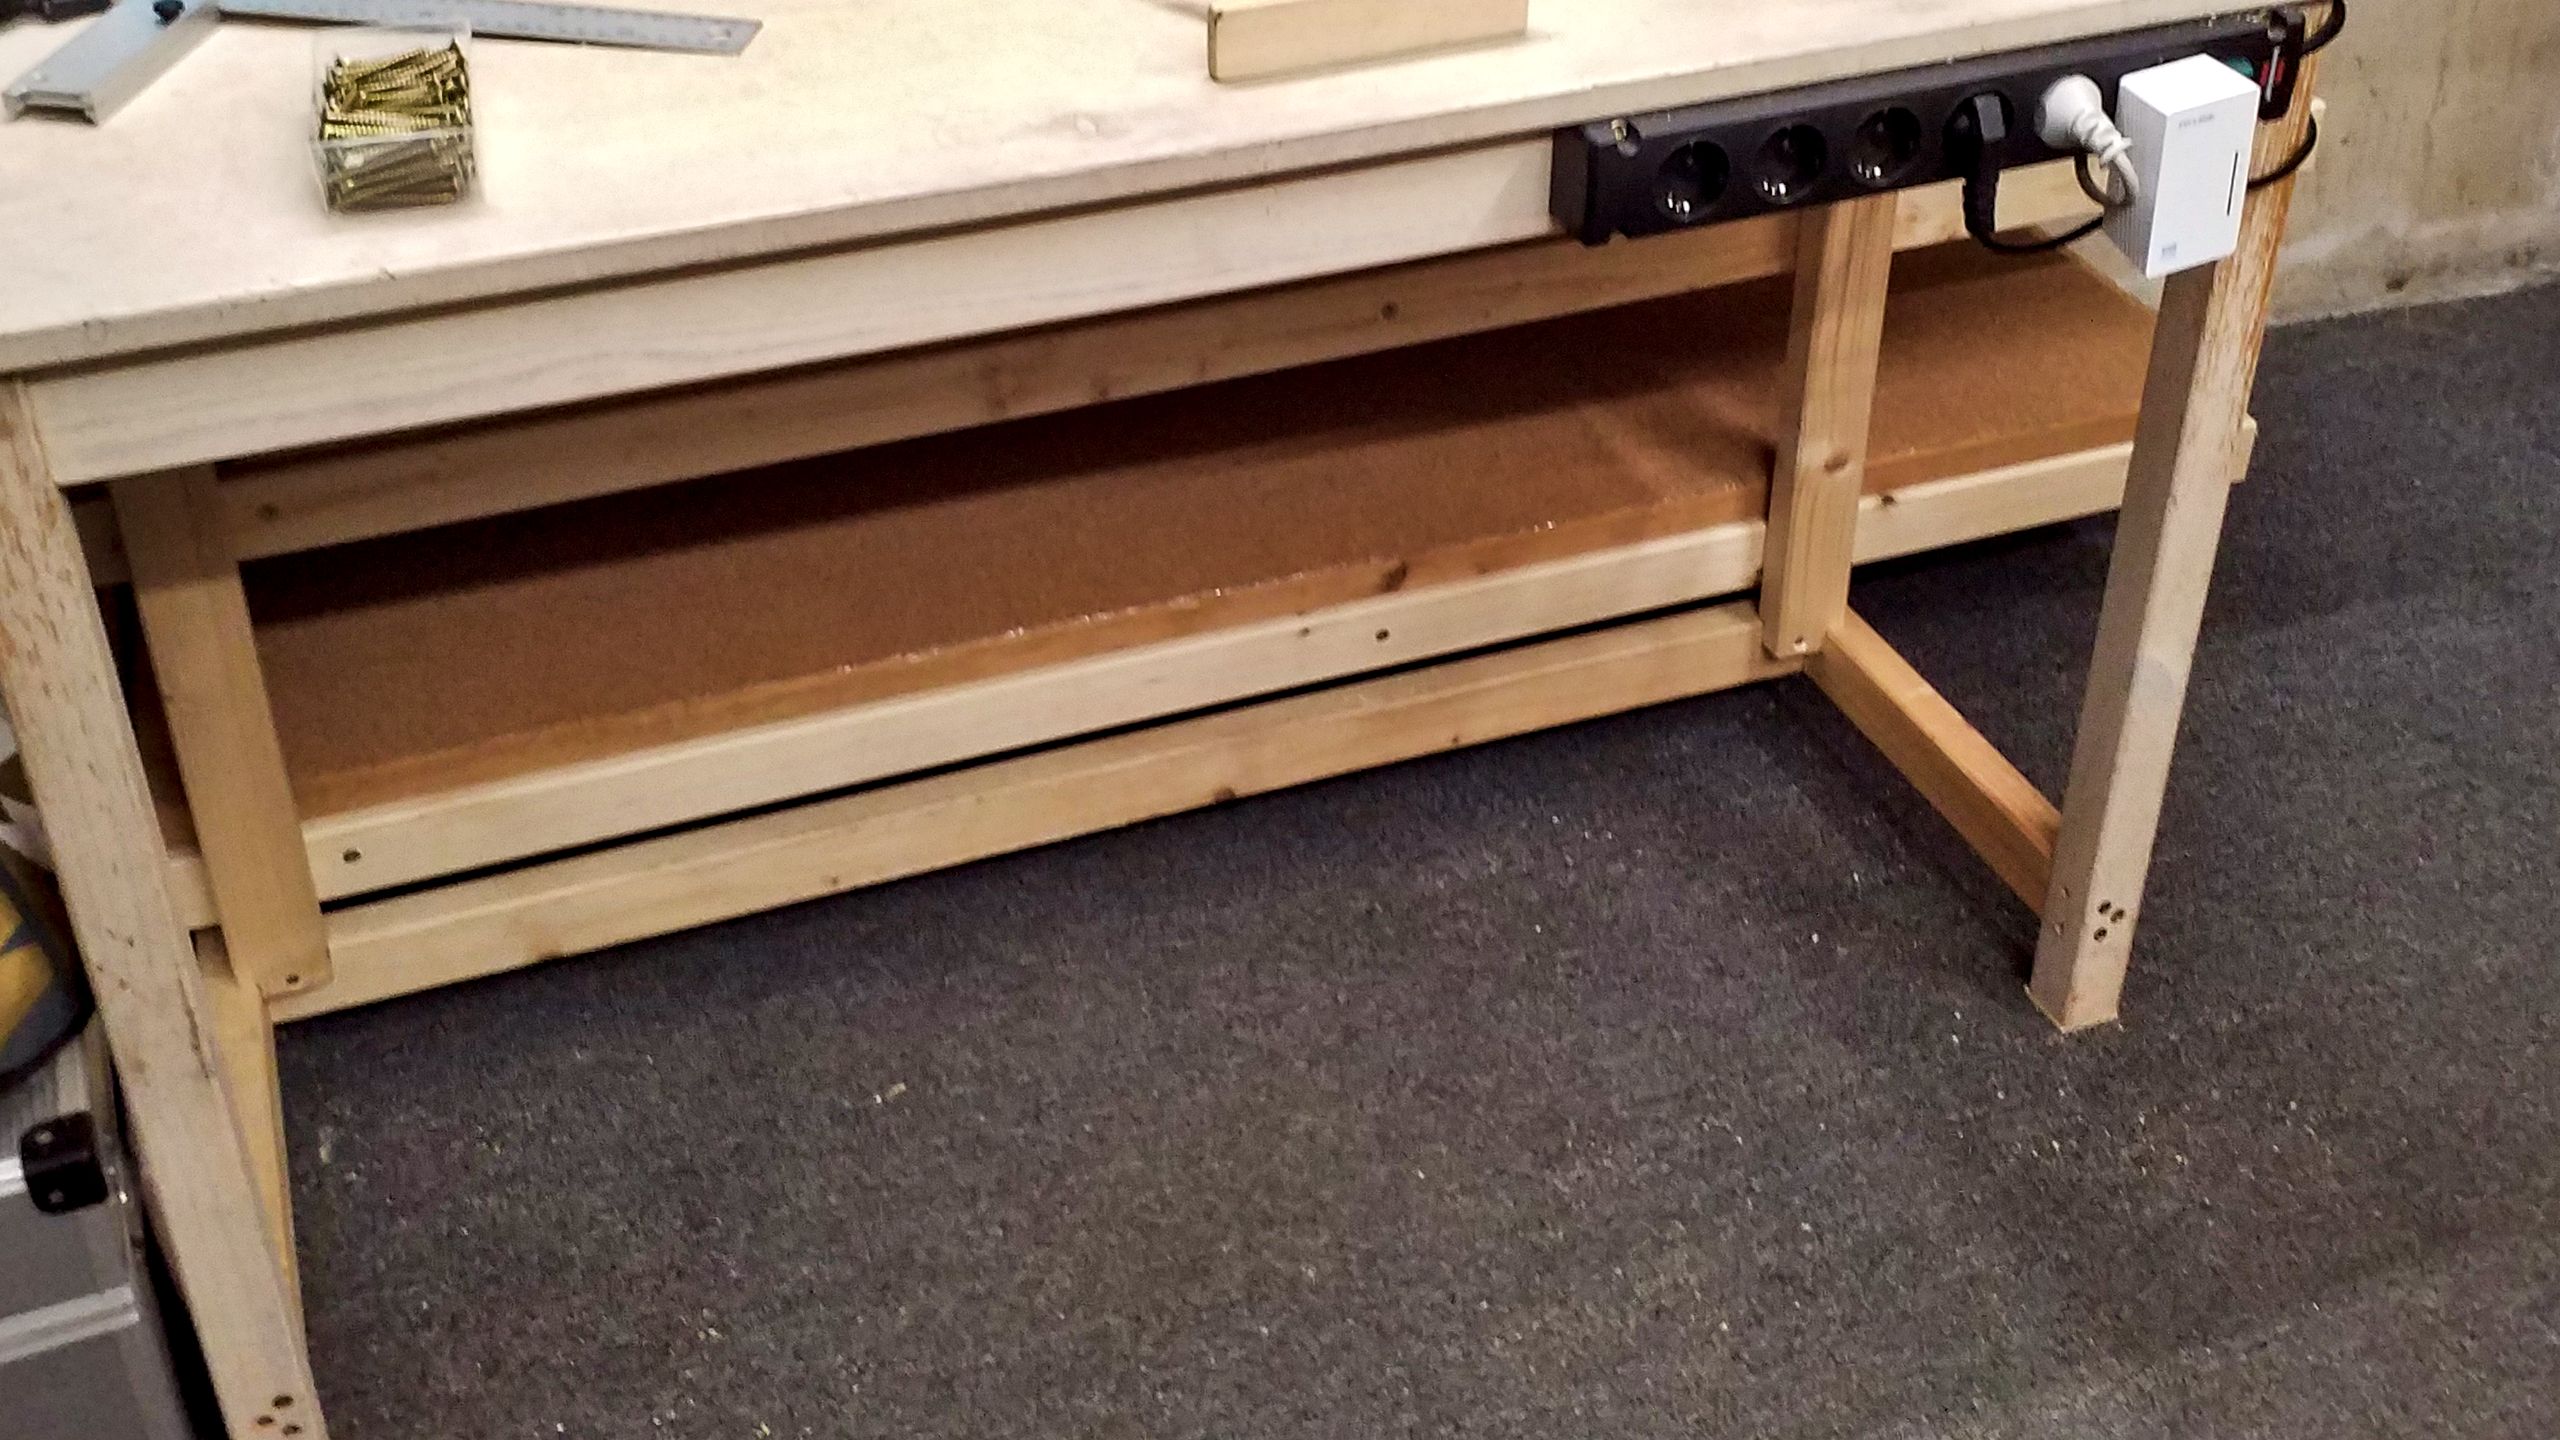
So I purchased a plywood offcut at the hardware store and screwed it in front of the slats. I have also elongated the table surface so that things falling off the table can’t land on the upper building board.
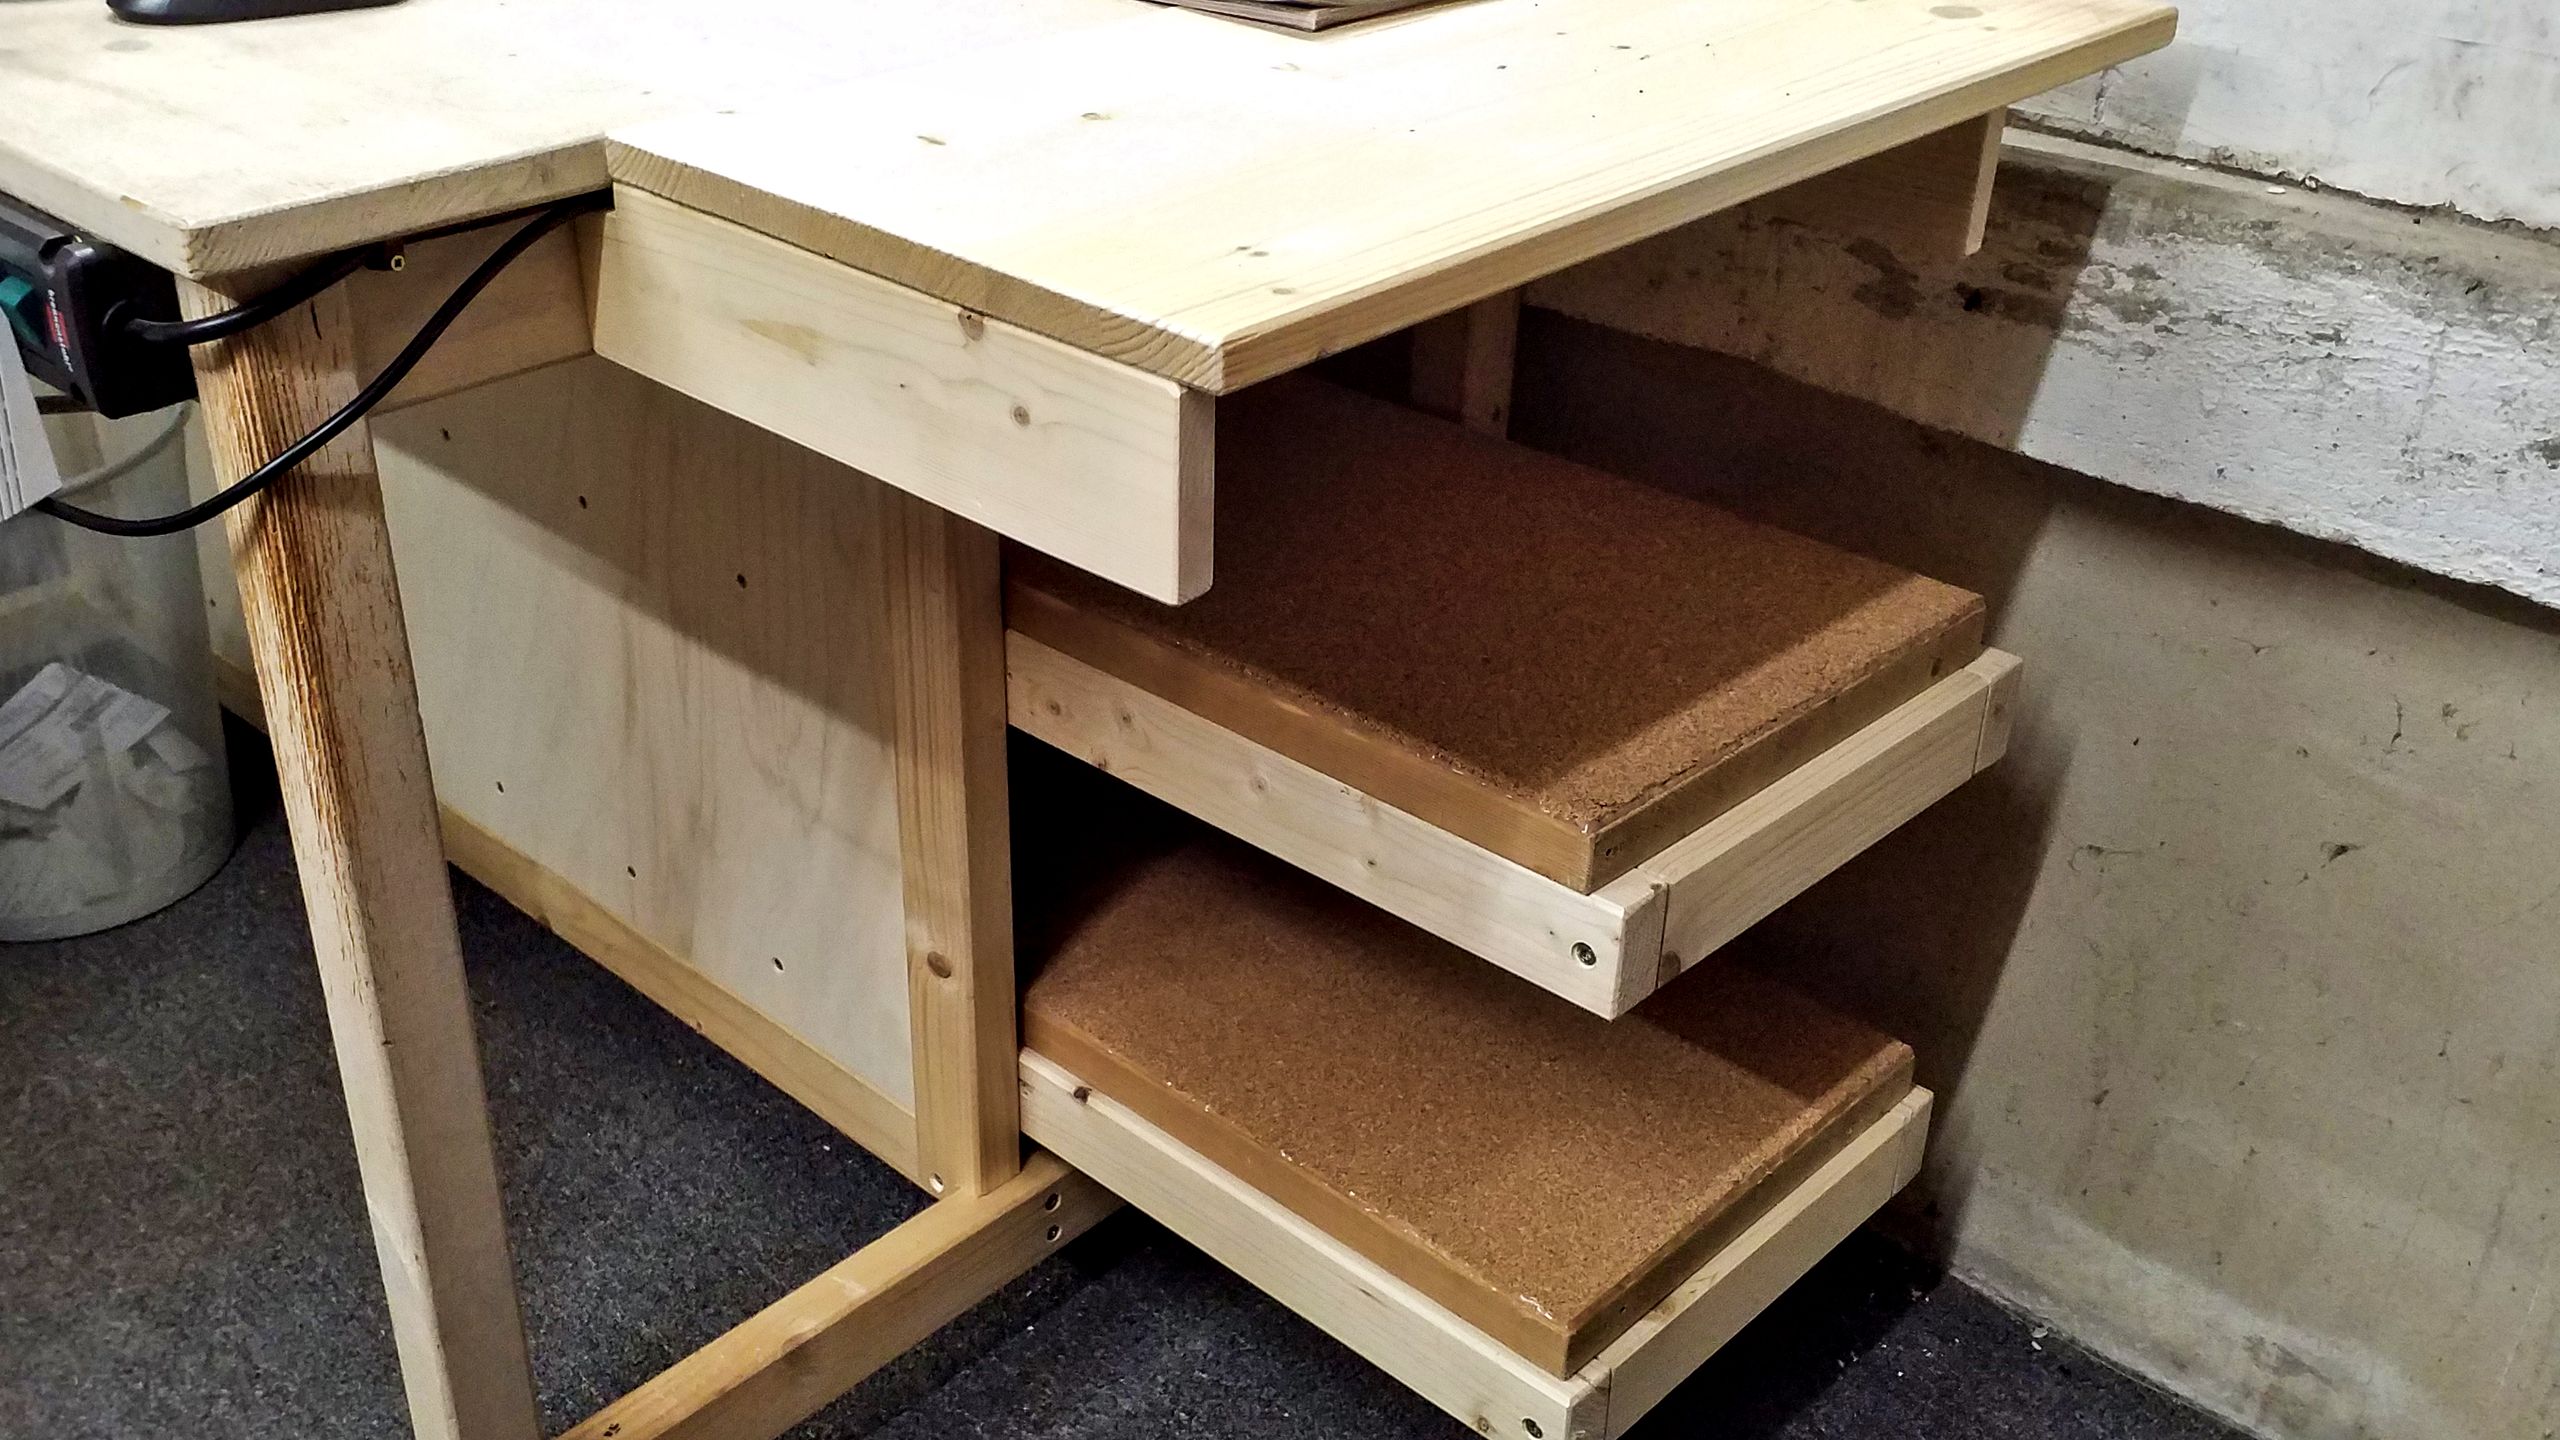
If I had to buy all the material, it would have cost me just shy of € 100. Acceptable from my point of view. Now I’ve got enough space in order to work on two subassemblies for the Thermy 4 simultaneously. Naturally, this is going to be some time in coming because there’s a lot of planning to do beforehand. And that’s up for next time.