Joyrider: Vertical Stabilizer

Before sanding the tip.

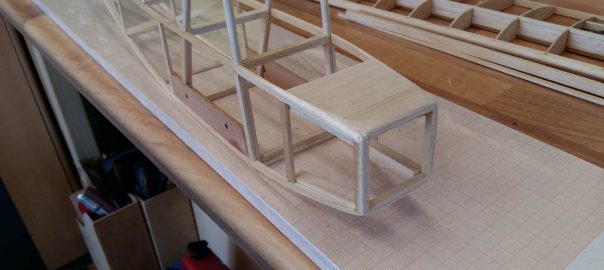
The structural work is coming to and end: since the horizontal stabilizer has made much progress, it’s the vertical stabilizer’s turn.

Horizontal stabilizer and elevator reinforced.

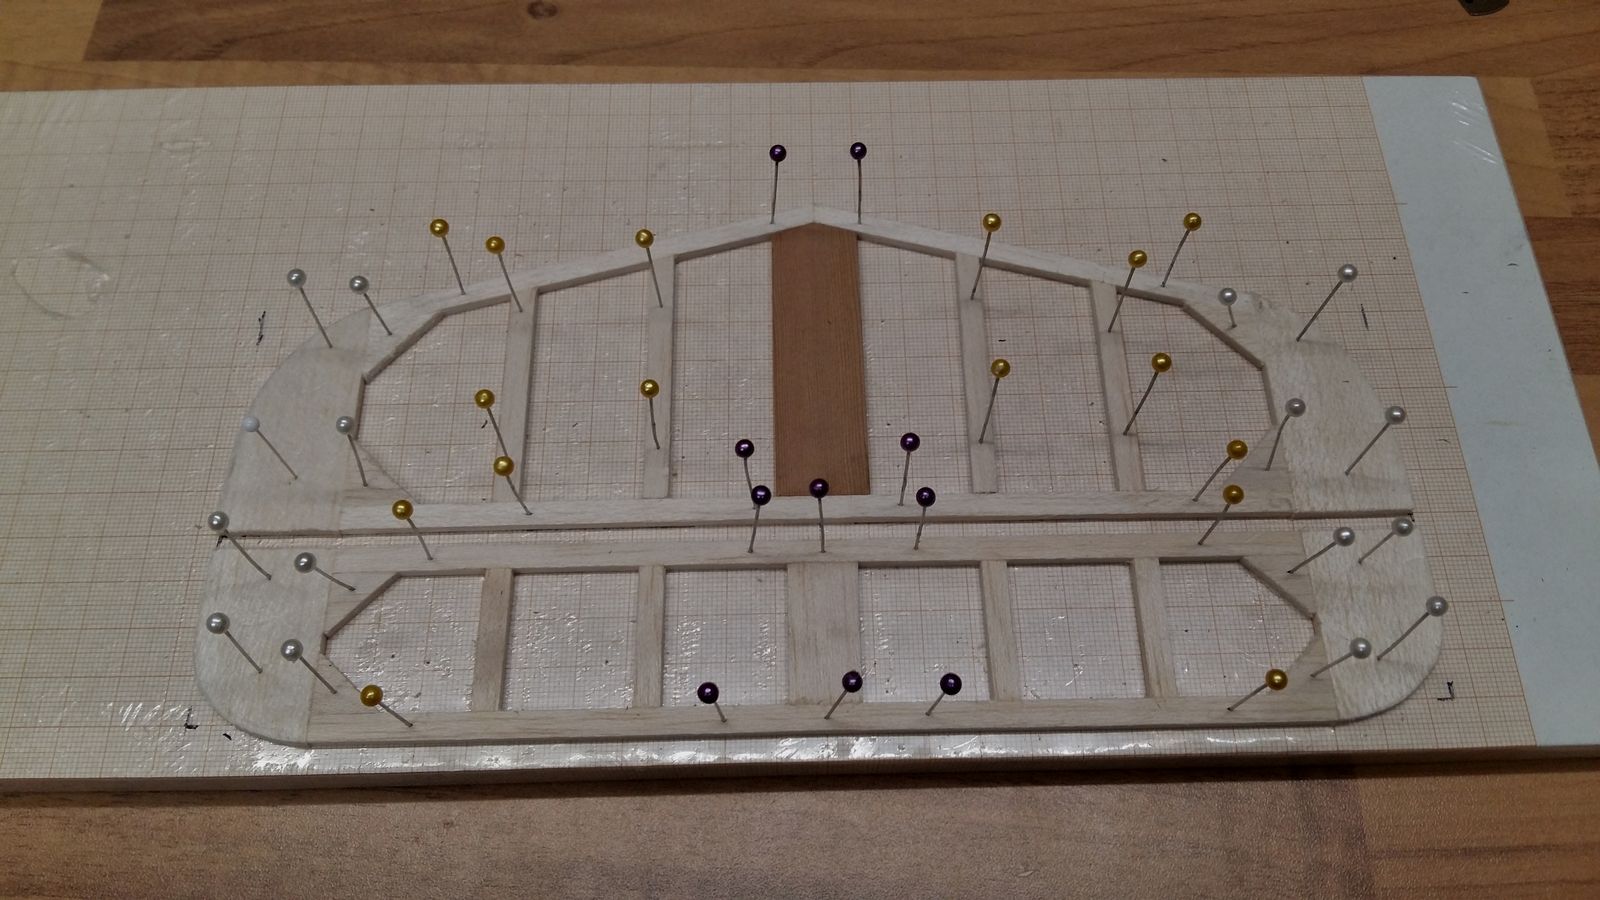
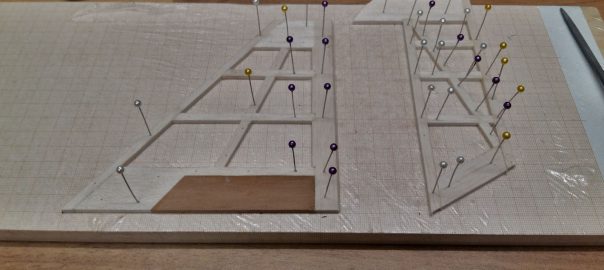
Horizontal stabilizer and elevator reinforced.Even while building the horizontal stabilizer I realized I made a design error: the thin leading and trailing struts have been glued to the tips as butt joints, lacking adhesion area and thus stability. I rectify this by reinforcing the corners with small wedges of balsa wood. And this enlightment directly flows into the vertical stabilizer.

Joyrider: Horizontal Stabilizer

The landing gear’s completion left only one step to finish the structural work: the tailplane. I copped out for a while to face this step because the tail plane ultimately makes or breaks the aircrafts stearability:

If it’s too small, you can’t control the model aircraft. If it’s too big, the bird responds like a proper boulder. This effect is additionally influenced by the fuselage’s length, as I’ve already mentioned while building the fuselage. That’s why I’m really glad to have found Christian Forrer’s web site, including an excel sheet for calculating model dimensions, before I started constructing my biplane in earnest. Based on the finished parts, I was able to determine the minimum size for the tail plane and get on with it.

Joyrider: Undercarriage

With the fuselage finished it’s time to focus on the undercarriage. I’ve got two major objectives concerning my model: I want to have the capability to take off from smooth runways and I need a suspended undercarriage in order to dampen jolts during landings.

That’s quite an order on such a small model. Since I don’t want to put tundra wheels on a biplane, I probably won’t even be able to take off from mowed grass runways, but tarmacs should do. As a principle I don’t want to omit the undercarriage because on the one hand it offers some protection to the propeller and on the other hand it’s just part of a prototypical look. In fact I only know of one biplane with retractable gear, that being the Polikarpov I-153 “Chaika”.

Joyrider: Nose

After framing the fuselage, the nose had to be tackled. This was the first time my skills got stretched to their limits and I had to rebuild repeatedly.

The main challenge was the quite accentuated curve that I expected the stringers to follow. I did manage to bend them accordingly on the fuselage’s halves while they were fixed to the construction board and the fixtures seemed to be stable. However, while trying to join the two halves I overtaxed the wood glue.

New Construction Report: Biplane “Joyrider”

About half a year after I started flying with my EasyGlider the desire for another model aircraft grew stronger.

I soon realized that I’d have to build my own models rather than buy premade ones. Especially larger models would quickly overtax my financial abilities. However, scratch building can consume a lot of money, too. So I decided to test my will: Do I really want to build a model aircraft from scratch?

Thus an old cardboard filled with balsa wood was ravaged, following the old saying: it only costs time. Taking stock, I realized that the materials wouldn’t quite suffice to build a whole plane. However, it would suffice to put my endurance under proper scrutiny.