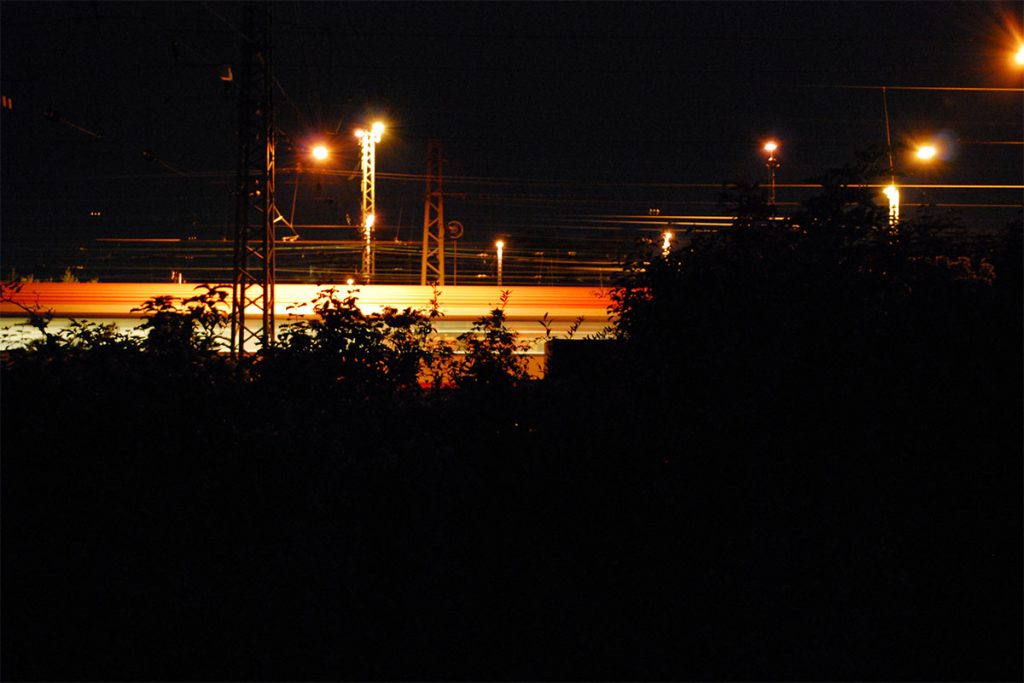
Picture 41 of 100 on the road to the prime lens.
Concerning Hobbies

Picture 41 of 100 on the road to the prime lens.
For some time I have tried to present this site in german as well as in english. That proved to be quite cumbersome, because on the one hand I had no proper way to structure the contents, and on the other hand I couldn’t link two language versions of the same content.
Because of that I have only posted in german for some months. However, I’ve got some feedback recently from english-speaking visitors, so I’d like to put some effort in keeping this site multilingual. This time I will try a plugin. This post is the first test with said plugin, namely Polylang.
Update August 7th: The existing posts are now linked with each other and can switched between german and english language via the flag symbol at the top.
There is still plenty left to do, namely Tags and a number of posts that have to be translated.
Update August 11th: Taxonomy is translated.

Picture 40 of 100 on the road to the prime lens.
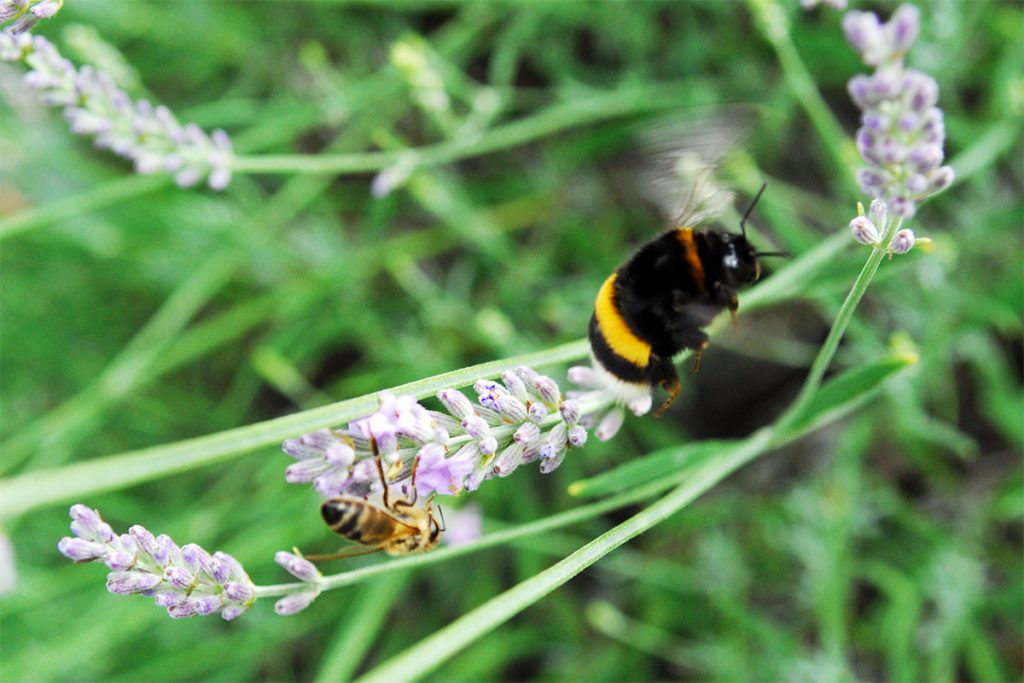
Picture 39 of 100 on the road to the prime lens.

Picture 38 of 100 on the road to the prime lens.
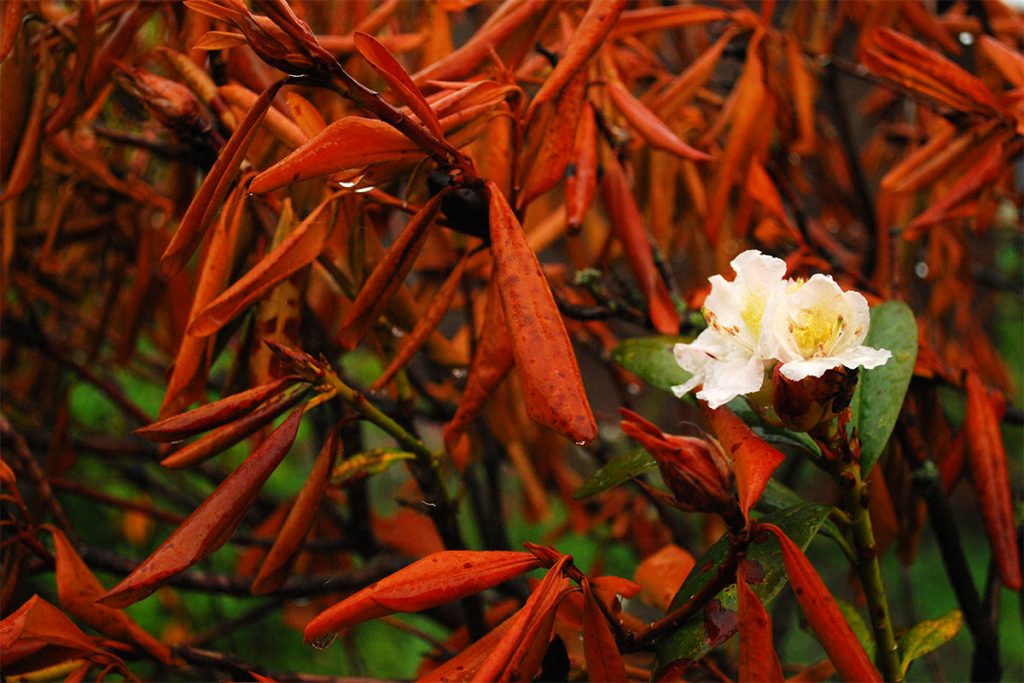
Picture 37 of 100 on the road to the prime lens.
With working couplers between loco and tender finished, I finally wanted to see some colour on the side walls. First, the stakes were painted with carmine red acrylic paint, as were the handrails. That turned out to be a bit tricky, but a second coating provided an acceptable surface.
After all handrails looked nice and the paint was dried, the red areas were masked with tape. You have to work carefully and pay attention to apply enough pressure at the edges of the tape, in order to avoid fresh paint to seep into the gaps of the wood’s grain.
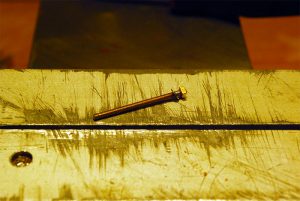
Of course, the electrical connection between loco and tender made it necesarry to add a coupling between the two before there could be any test runs. In order to stay close to the prototypical concepts and to make a long-lasting connection, I wanted to use threaded rods and square nuts. Unfortunately there was not enough room on the loco to use nbw on both ends, so I soldered a square nut onto a threaded rod with a diameter of 1,6mm. That way it looks like a genuine nbw from the outside, but can be screwed into the thick plastic frame.
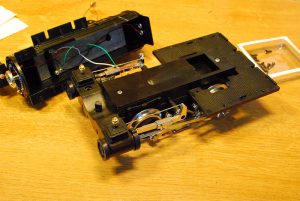
Now that the tender’s basic construction is finished, I wanted to achieve operational readiness. That required the porter loco to get converted from rail to battery power. The most important thing to keep in mind is to insulate the loco’s circuits from the rails in order to avoid “supplying” the rails with the battery’s current. Only then one is completely independent from other loco’s and can really enjoy the advantages of battery power.