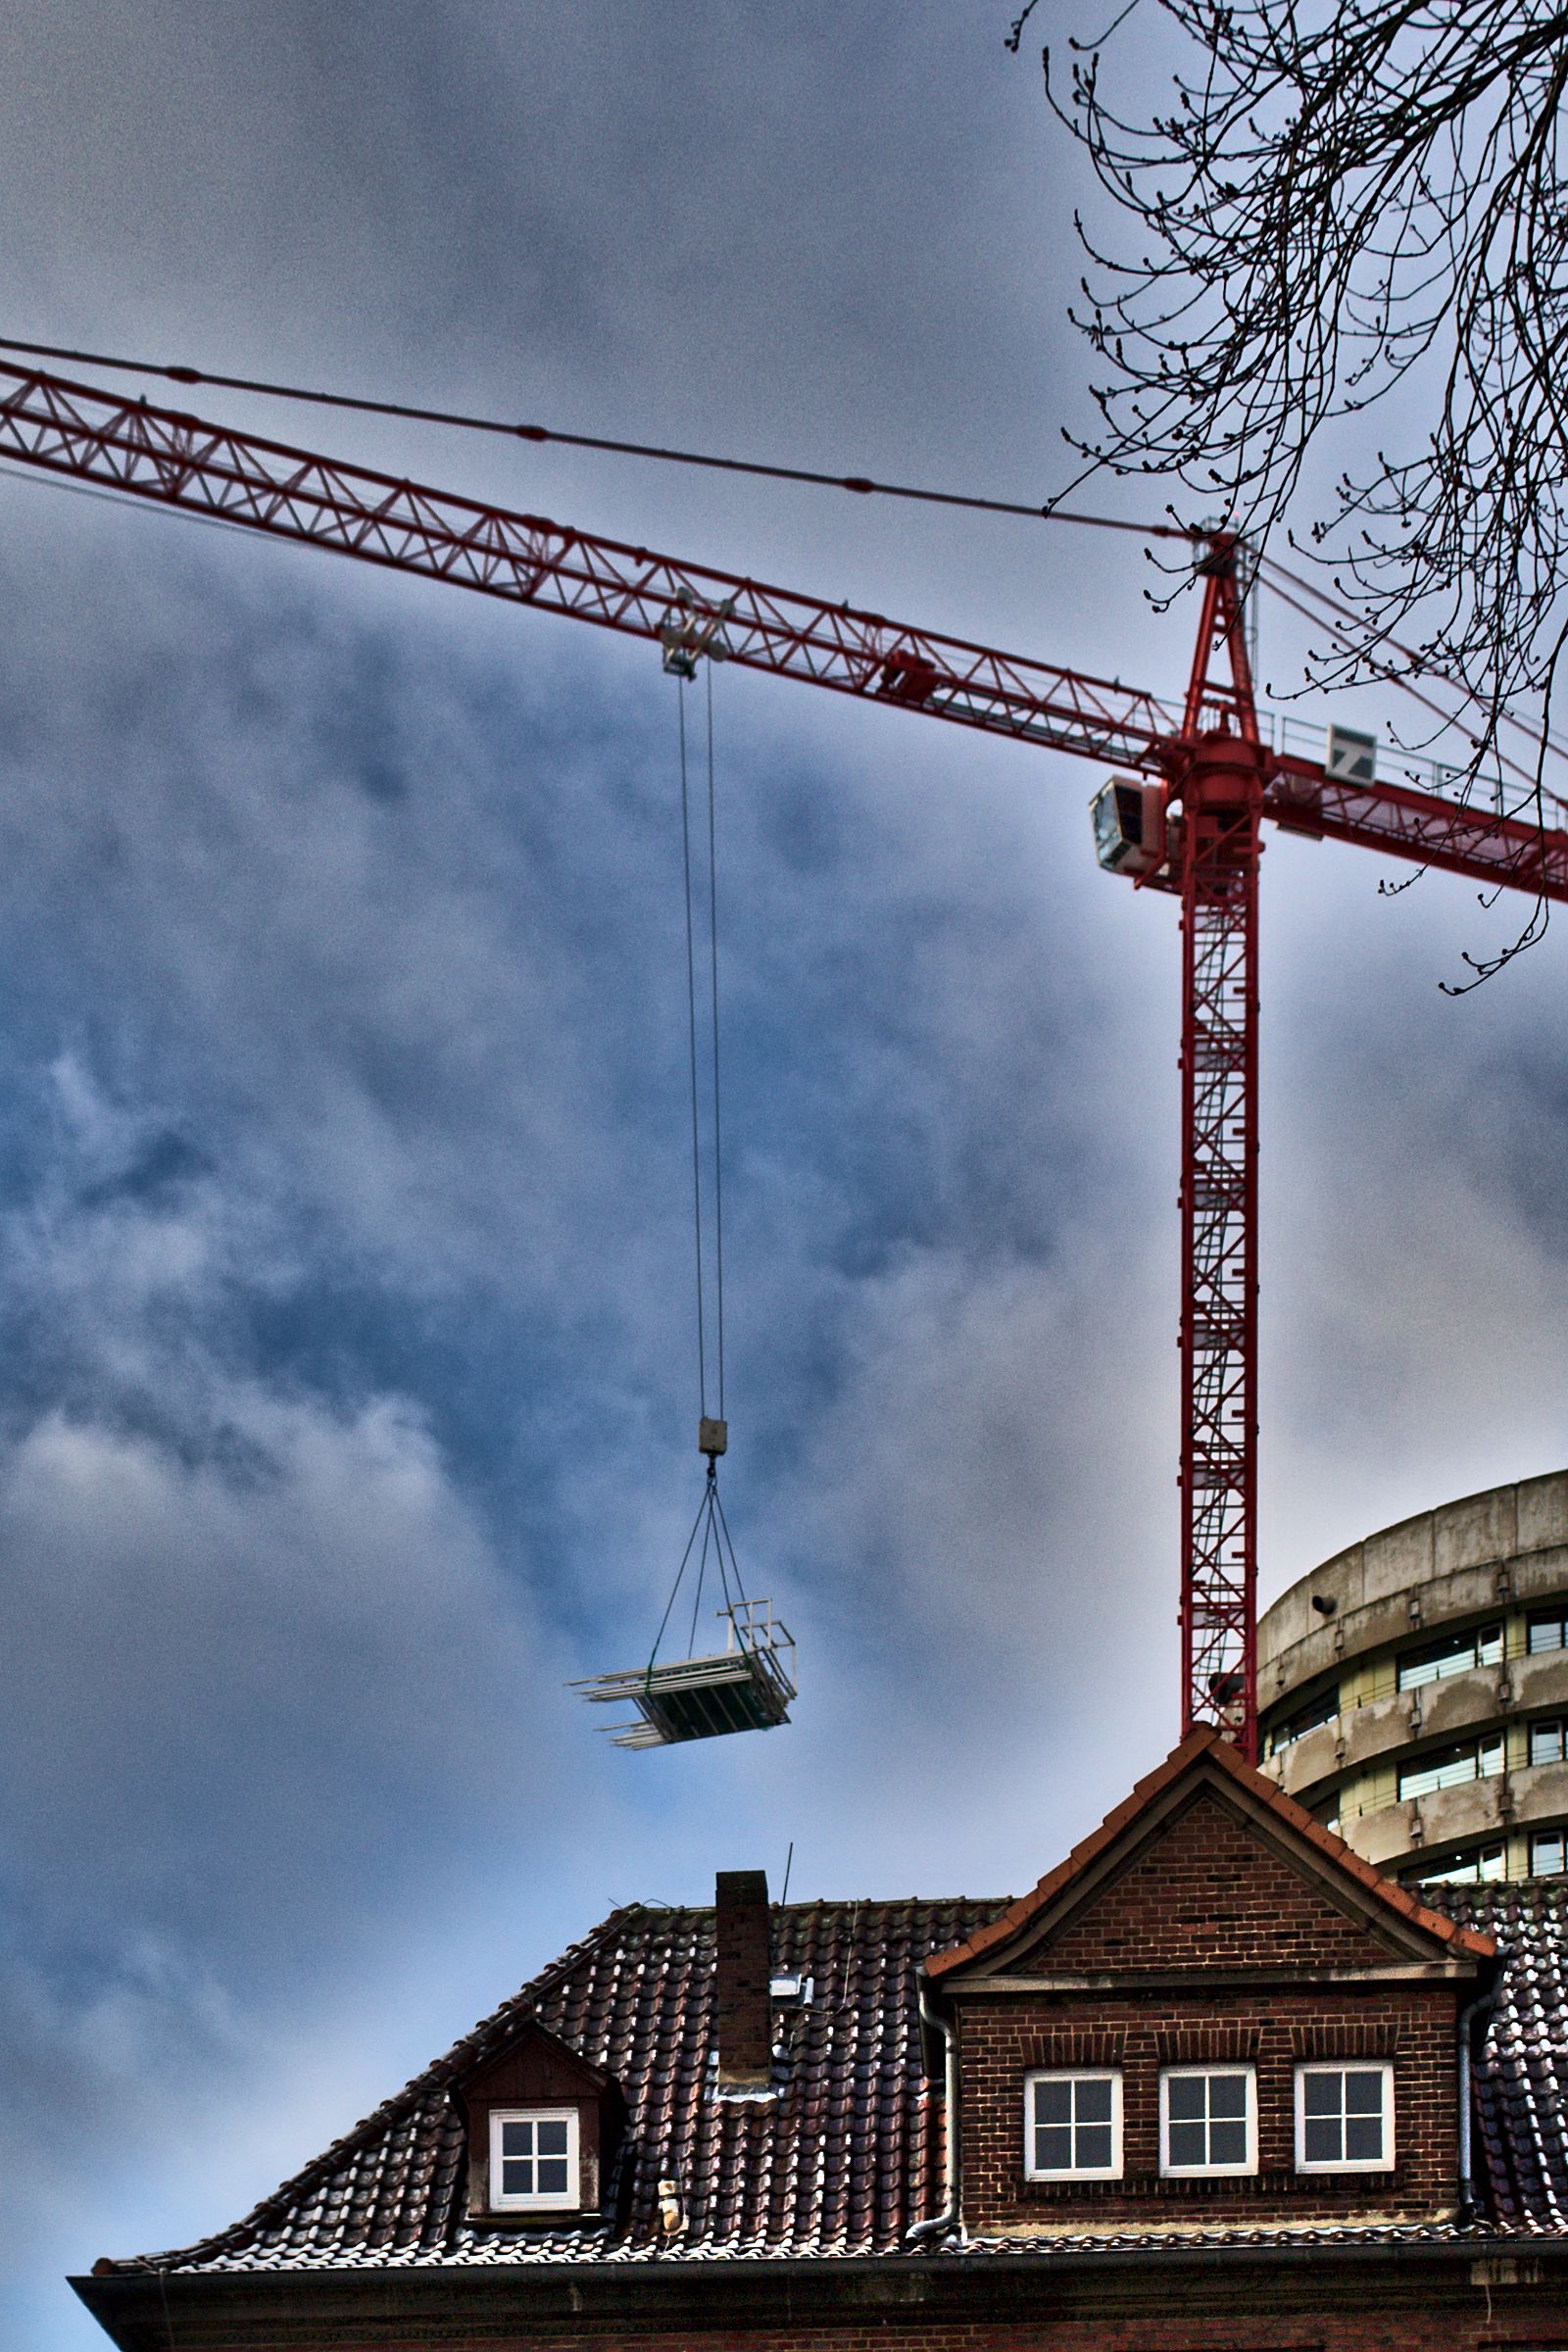
Heavy crane lifting frontage panels for one of the hospital’s towers.
Picture 51 of 100 on the road to the prime lens.

Concerning Hobbies
Heavy crane lifting frontage panels for one of the hospital’s towers.
Picture 51 of 100 on the road to the prime lens.
Since the first test run some time has passed by, but there have been only a few opportunities to make progress with the tender’s construction. Nevertheless I managed to slip into the shop now and then and today I’d like to summarize the progress.

The most important thing first: the tender’s got a knuckle coupler. On the one hand it seemed plausible to me, since I’m going to model a railroad at the beginning of the 20th century, as mentioned on creating the blueprints. On the other hand I’m hoping for easier operations. I’ve already got some experience with link and pin couplers and I find it quite cumbersome to pull and put the links and pins between the cars with a long set of tweezers. Knuckle couplers however allow for automatic coupling at the best of times, especially if you can set brakes on the cars. Decoupling is even easier if you have cut levers at the side of the cars or use an R/C-controlled servo to pull the pin.

By finishing the tender’s frame (german version, translation pending) it’s about time to focus on the side walls. Quite an important part is to build the stake pockets, with the prototype they form the link between the side walls and the frame, with the models most of the time it’s just cosmetics. Since I’d like to build as many parts as possibly by myself and some prototypical pictures revealed that sometimes simple solutions prevail in the 1 : 1 scale, I chose the most primitive approach.
Why do I always notice such things afterwards? There I was, building the smoke saddle with trouble and care, brazing the bracket to the frame, attaching crossbeams… and then the bracket is misplaced and the whole saddle sits lopsided on the frame! -___-
Hey everyone,
got some progress and some pictures!
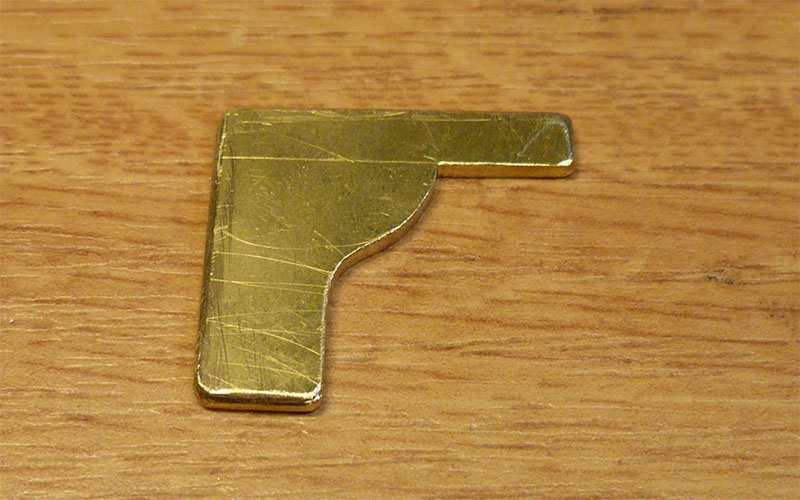
I started constructing the smokebox saddle. Since I own neither a lathe nor a milling machine I’m trying to make virtues out of necessities and hone my manual skills. The first step was to make a gauge for the saddle’s curves, so I could construct two symmetrical and identical parts.
Hello everyone,
here’s what happened the last few days.
First off, I constructed a simple tablet-like working space, so I can work on small parts in the living room without having to clean up everything afterwards. In the future I will saw new parts in the workshop, then take the half-finished parts and the fine tools to the living room, combining the best of both worlds, so to speak.
Hello there,
it’s 8 am, thunderstorms are rolling in after a week of intense heat (thermometer topped at 110 °F) and I can finally spare some minutes to keep you updated.
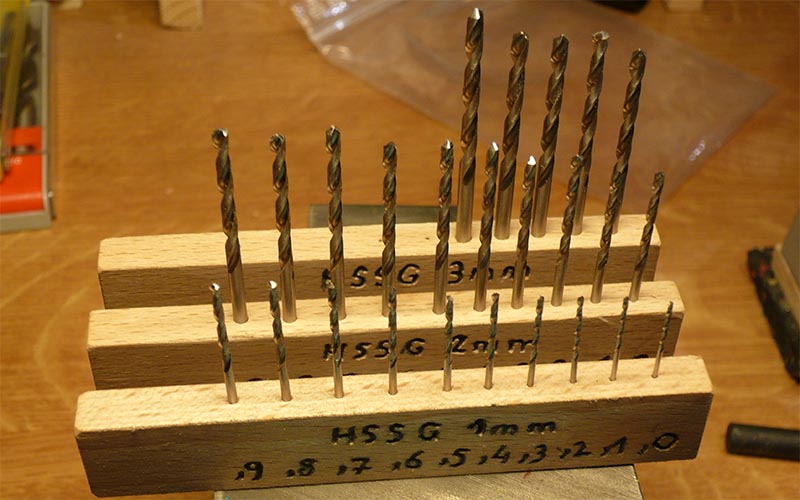
Last week I ordered a whole set of small drills, so far I had a very limited stock. Now my options are quite unlimited when it comes to making threads and clearance holes. I spent some time in the shop building a neat set of holders.
Hello all,
reshaping the cylinders is taking some time, pictures will follow. In the meantime, I could actually spent some time at the workshop.
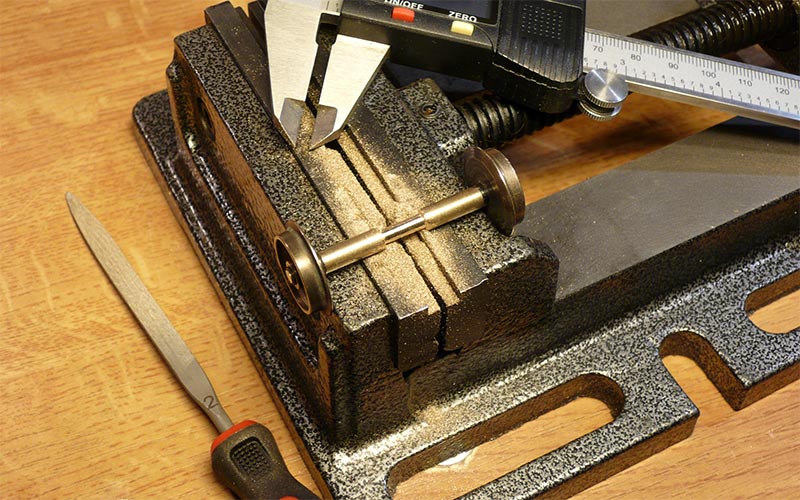
I don’t own a lathe, so I took on the trailing wheel with a file and a plan: since this particular wheelset can’t be disassembled, I’m trying to build a vice-like bearing. I aimed for reducing the axis’ diameter from 5 mm down to 3.5 mm with a 1/10th mm tolerance (that’s 1/256th inch).