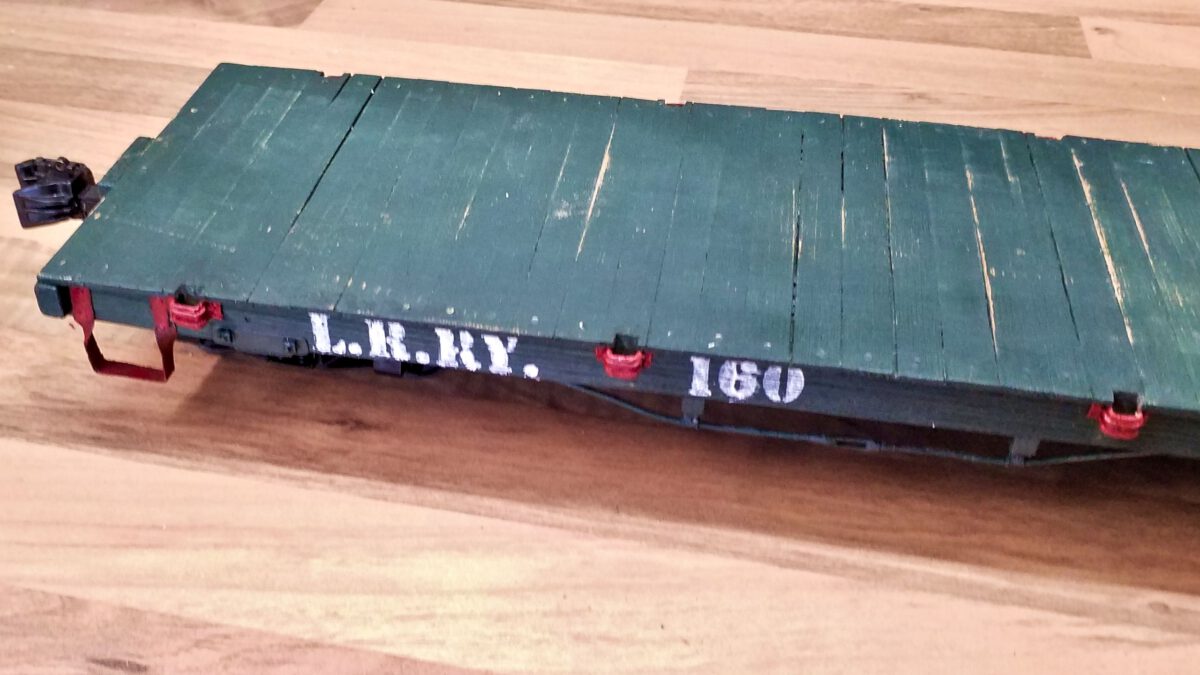
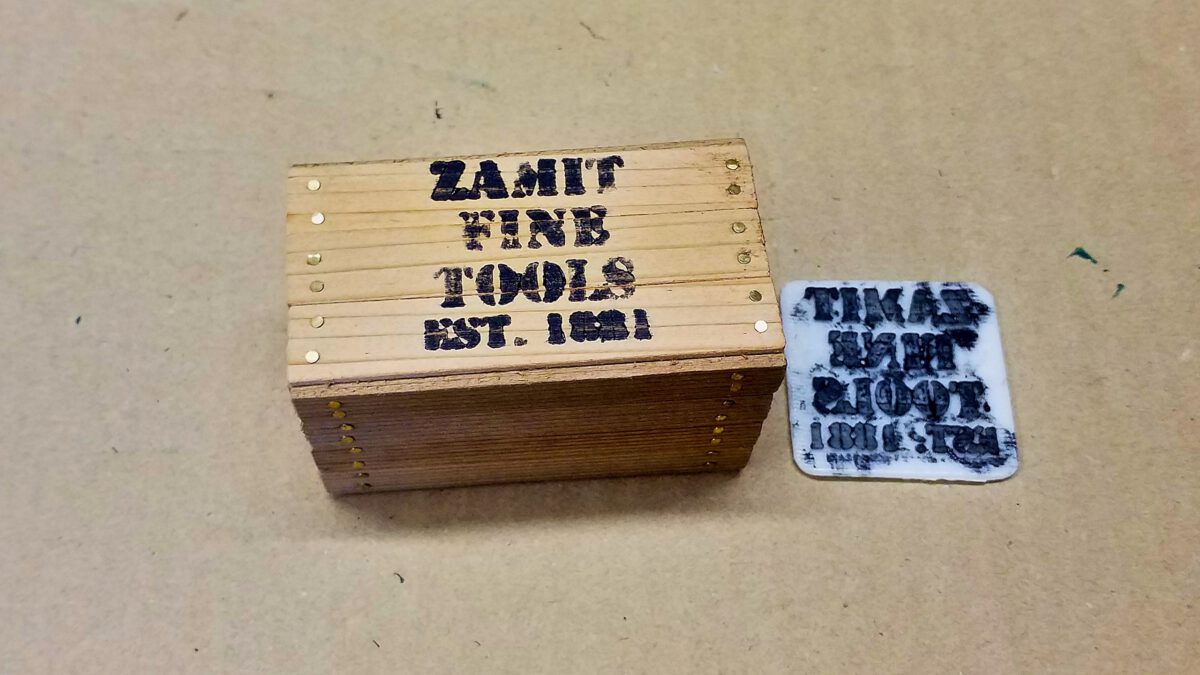
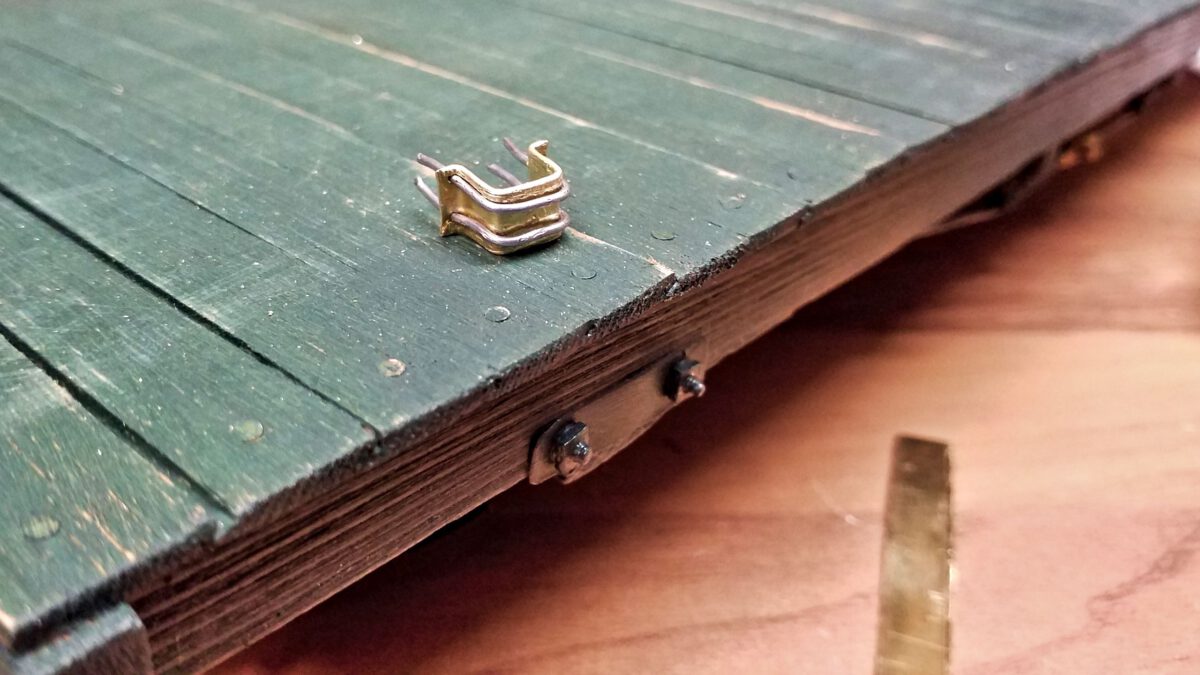
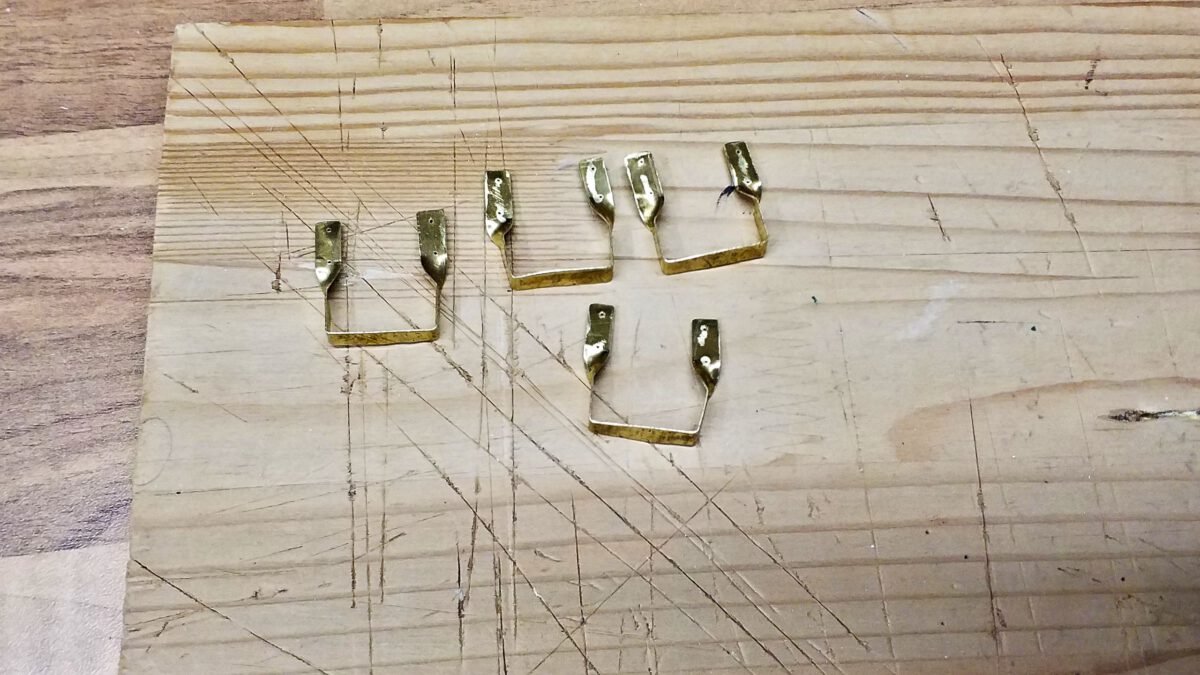
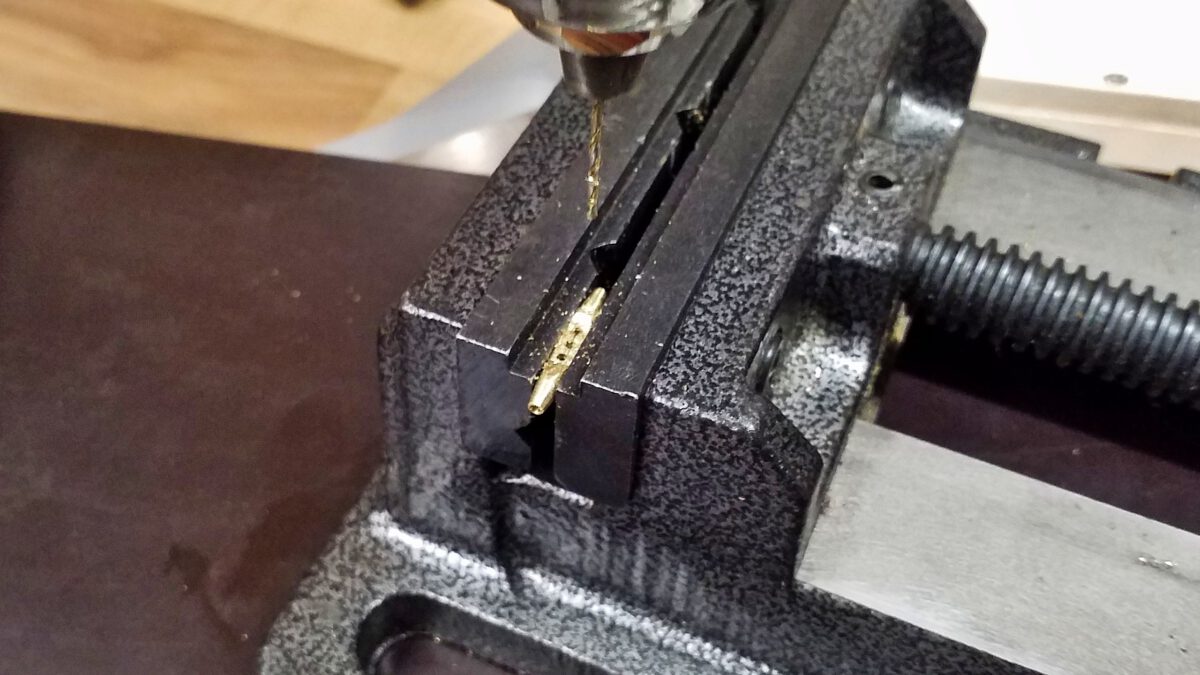
After finishing the stake pockets, I’d like to address the lettering. Encouraged by the good results of lettering the freight crates, I’ve created stamps for the railroad company, waggon number and some technical numbers. And I managed to find flexible 3D printing filament, namely TPU.
Tag: Detailing
Lettering Freight Crates with a 3D Printer
Since a good friend of mine has lent me his 3D printer, I’m trying to gain experience with it and find suitful fields of application. One of these experiments is to letter the freight crates which I’ve built for my model railway.
Flatcar Prototype: Stake Pockets
By constructing the steps the flatcar has gained some character, but of course this can only be the beginning. The next topic is to build the stake pockets. I’ve already constructed stake pockets for my porter’s tender and gained some valueable experience. I’ll profit from it while moving on.
Flatcar Prototype: Steps
After the flatcar has got its turnbuckles, the next step will be… well, steps so the Lead Road Railways’ conductors don’t have to do so many pullups any more.
I’ve already built steps for my porter’s tender, so these are charted territories for a change. In fact I took the tender’s steps’ measurements and copied them as a small batch.
And since I didn’t show much about how I made those steps, this time I’d like to give a detailed report.
Flatcar Prototype: Turnbuckles
By mounting the queenposts the waggon’s substructre is now ready for the turnbuckles. The prototype is used to adjust the trusses’ tension in order to avoid the waggon’s floor to sag. I decided to go for a scratch-build again, since the cast pieces are currently very hard to come by and on top of that they would have been the weakest link in my current construction. However, as a matter of fact it’s very time-consuming to build them manually.
Porter: Detailing and Knuckle Couplers
Since the first test run some time has passed by, but there have been only a few opportunities to make progress with the tender’s construction. Nevertheless I managed to slip into the shop now and then and today I’d like to summarize the progress.
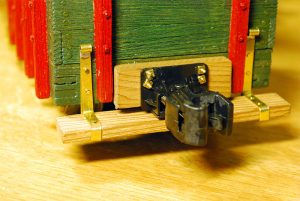
The most important thing first: the tender’s got a knuckle coupler. On the one hand it seemed plausible to me, since I’m going to model a railroad at the beginning of the 20th century, as mentioned on creating the blueprints. On the other hand I’m hoping for easier operations. I’ve already got some experience with link and pin couplers and I find it quite cumbersome to pull and put the links and pins between the cars with a long set of tweezers. Knuckle couplers however allow for automatic coupling at the best of times, especially if you can set brakes on the cars. Decoupling is even easier if you have cut levers at the side of the cars or use an R/C-controlled servo to pull the pin.

