How good to have you!
First time? Learn more about my hobbies and about me.

Concerning Hobbies
How good to have you!
First time? Learn more about my hobbies and about me.
With the finished priming the covering can commence. I like to use Oracover because it’s really easy to work with and yields very good results. I always start with the easiest parts in order to get re-used to the task. So first up is the rudder.

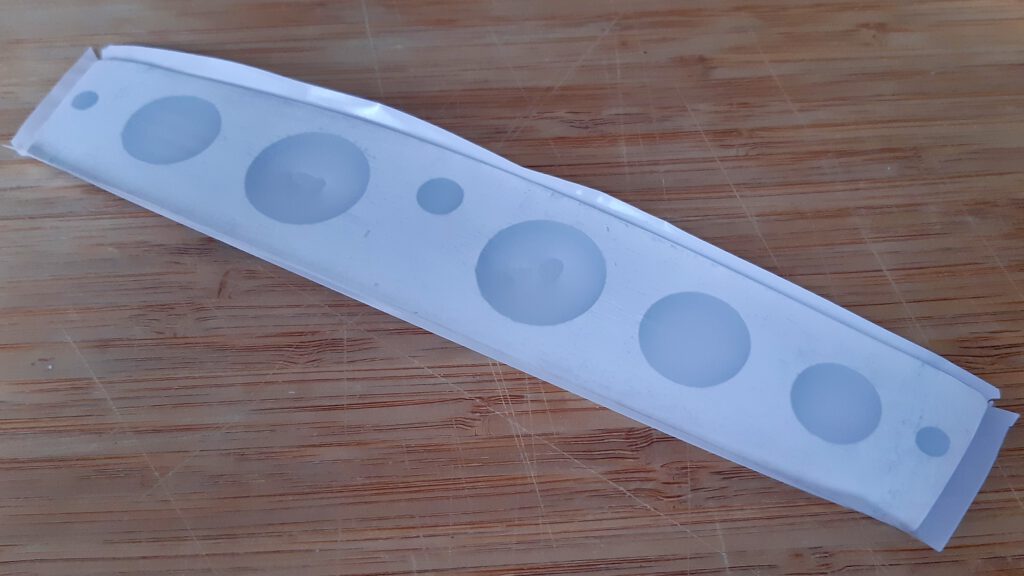
…and one can easily spot that I managed to fuse the foil in the recesses. In this case I was lucky and could get them apart with some additional heat, but often enough one has to start over. With due warning received, the ailerons come up next. On the left side of the pictures some creases are still visible, which will disappear in the last step which is heating up the whole area.
Say what? Why prime an aircraft that is going to be covered in foil?
Yes, I can’t help it: I have to try my own ideas again. The Spin is going to be covered in transparent white and red, so the interior is going to be visible. And I’m not too happy with the colour contrasts of the different parts made from carbon fibre and wood, the scorch marks left from the laser cutting are hard to completely remove, too.
And that’s why I tasked myself with priming the construction before applying the covering with film.
After examining the kit for the Spin construction starts swiftly. The construction manual reliably leads step-by-step through the phases. There are no blueprints and they aren’t necessary because all parts fit into each other like a 3D puzzle. First off, the fuselage.
Now that I’ve finally got more time for my hobbies, I’m granting myself an old wish: a pure glider. After much to and fro, I’ve decided on the Spin made by Skyglide (german website).
Finally, there’s some progress to report. After a long interruption and some changes I’m back.
Let’s briefly graze the essentials: due to a move I relocated everything concerning my model railway to my father’s and a good friend’s of mine. Only my oldest LGB loco, a Stainz, is at my place and awaits reconfiguration as an accu-powered R/C loco.
The model aircraft flying had to lie dormant for a long time, too, but now I’m active again. I shelved building the Ka8b because I simply lack the time to cut every piece by hand. The existing parts are stored and it’s quite possible that I will continue the build. However it’s very unlikely to happen this year.
Instead, I purchased a small DLG kit.
Today, I’d like to announce my new model aircraft building project: A Schleicher K 8b (or short: Ka8b) on a scale of 1 : 5.
She’s a one-seater soaring plane from the 1950s, and due to her simple, but rugged construction she’s still in service today, especially suitable for beginners making their first solo flights.
That sound a bit like me, doesn’t it…
Sorry for the lack of updates. Today I’d like to announce that the project “semiscale-soaring plane based on Thermy 4” is cancelled.
With this project, I overstretched myself (again). The initial idea of a modified nose grew into a complete redesign of the fuselage… and the wings would benefit from some changes as well… I’m staying true to myself in tackling too big plans entirely too fast. The constant reader might remember my thoughts on new hobby priorities.
The fact is that I’m only starting to learn model aircraft construction. The Joyrider does well, but she suffers from design flaws because she was built planless by all accounts. And I really should build a proved soaring plane before trying to design one by myself.
As a repentant sinner I’ve chosen a new project as compensation. More on that shortly.
A friend of mine visited on the weekend to get an opportunity for his son and himself to practice some R/C aircraft piloting. Needless to say, the prospect of having some interested folks around spurred me into getting the Joyrider into tip-top shape… and it gave me the opportunity to try and fulfil one of those wishes left over, as mentioned in my post about taking stock. That is: banner towing.
After drafting a first version of the nose, there’s work to do on the fuselage. So this week, it’s going to be a lot of frames to draw.
Since the Maiden Flight during Summer last year, the Joyrider has spent about one and a half hours in the air, while spending up to eight hours in the workshop and the rest of the time on shelf. It has been a rough ride, with many setbacks. However there’s a happy ending. Today, I’d like to take stock of what happened since the first flight tests.