What’s New?

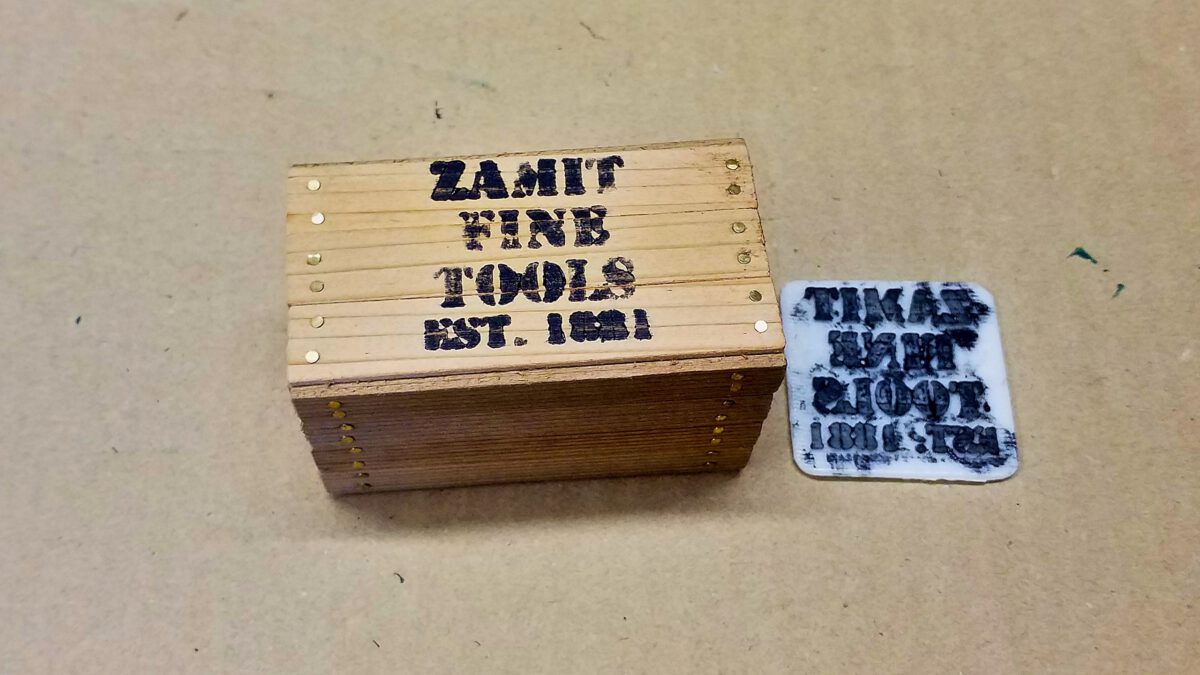
Finally, there’s some progress to report. After a long interruption and some changes I’m back.

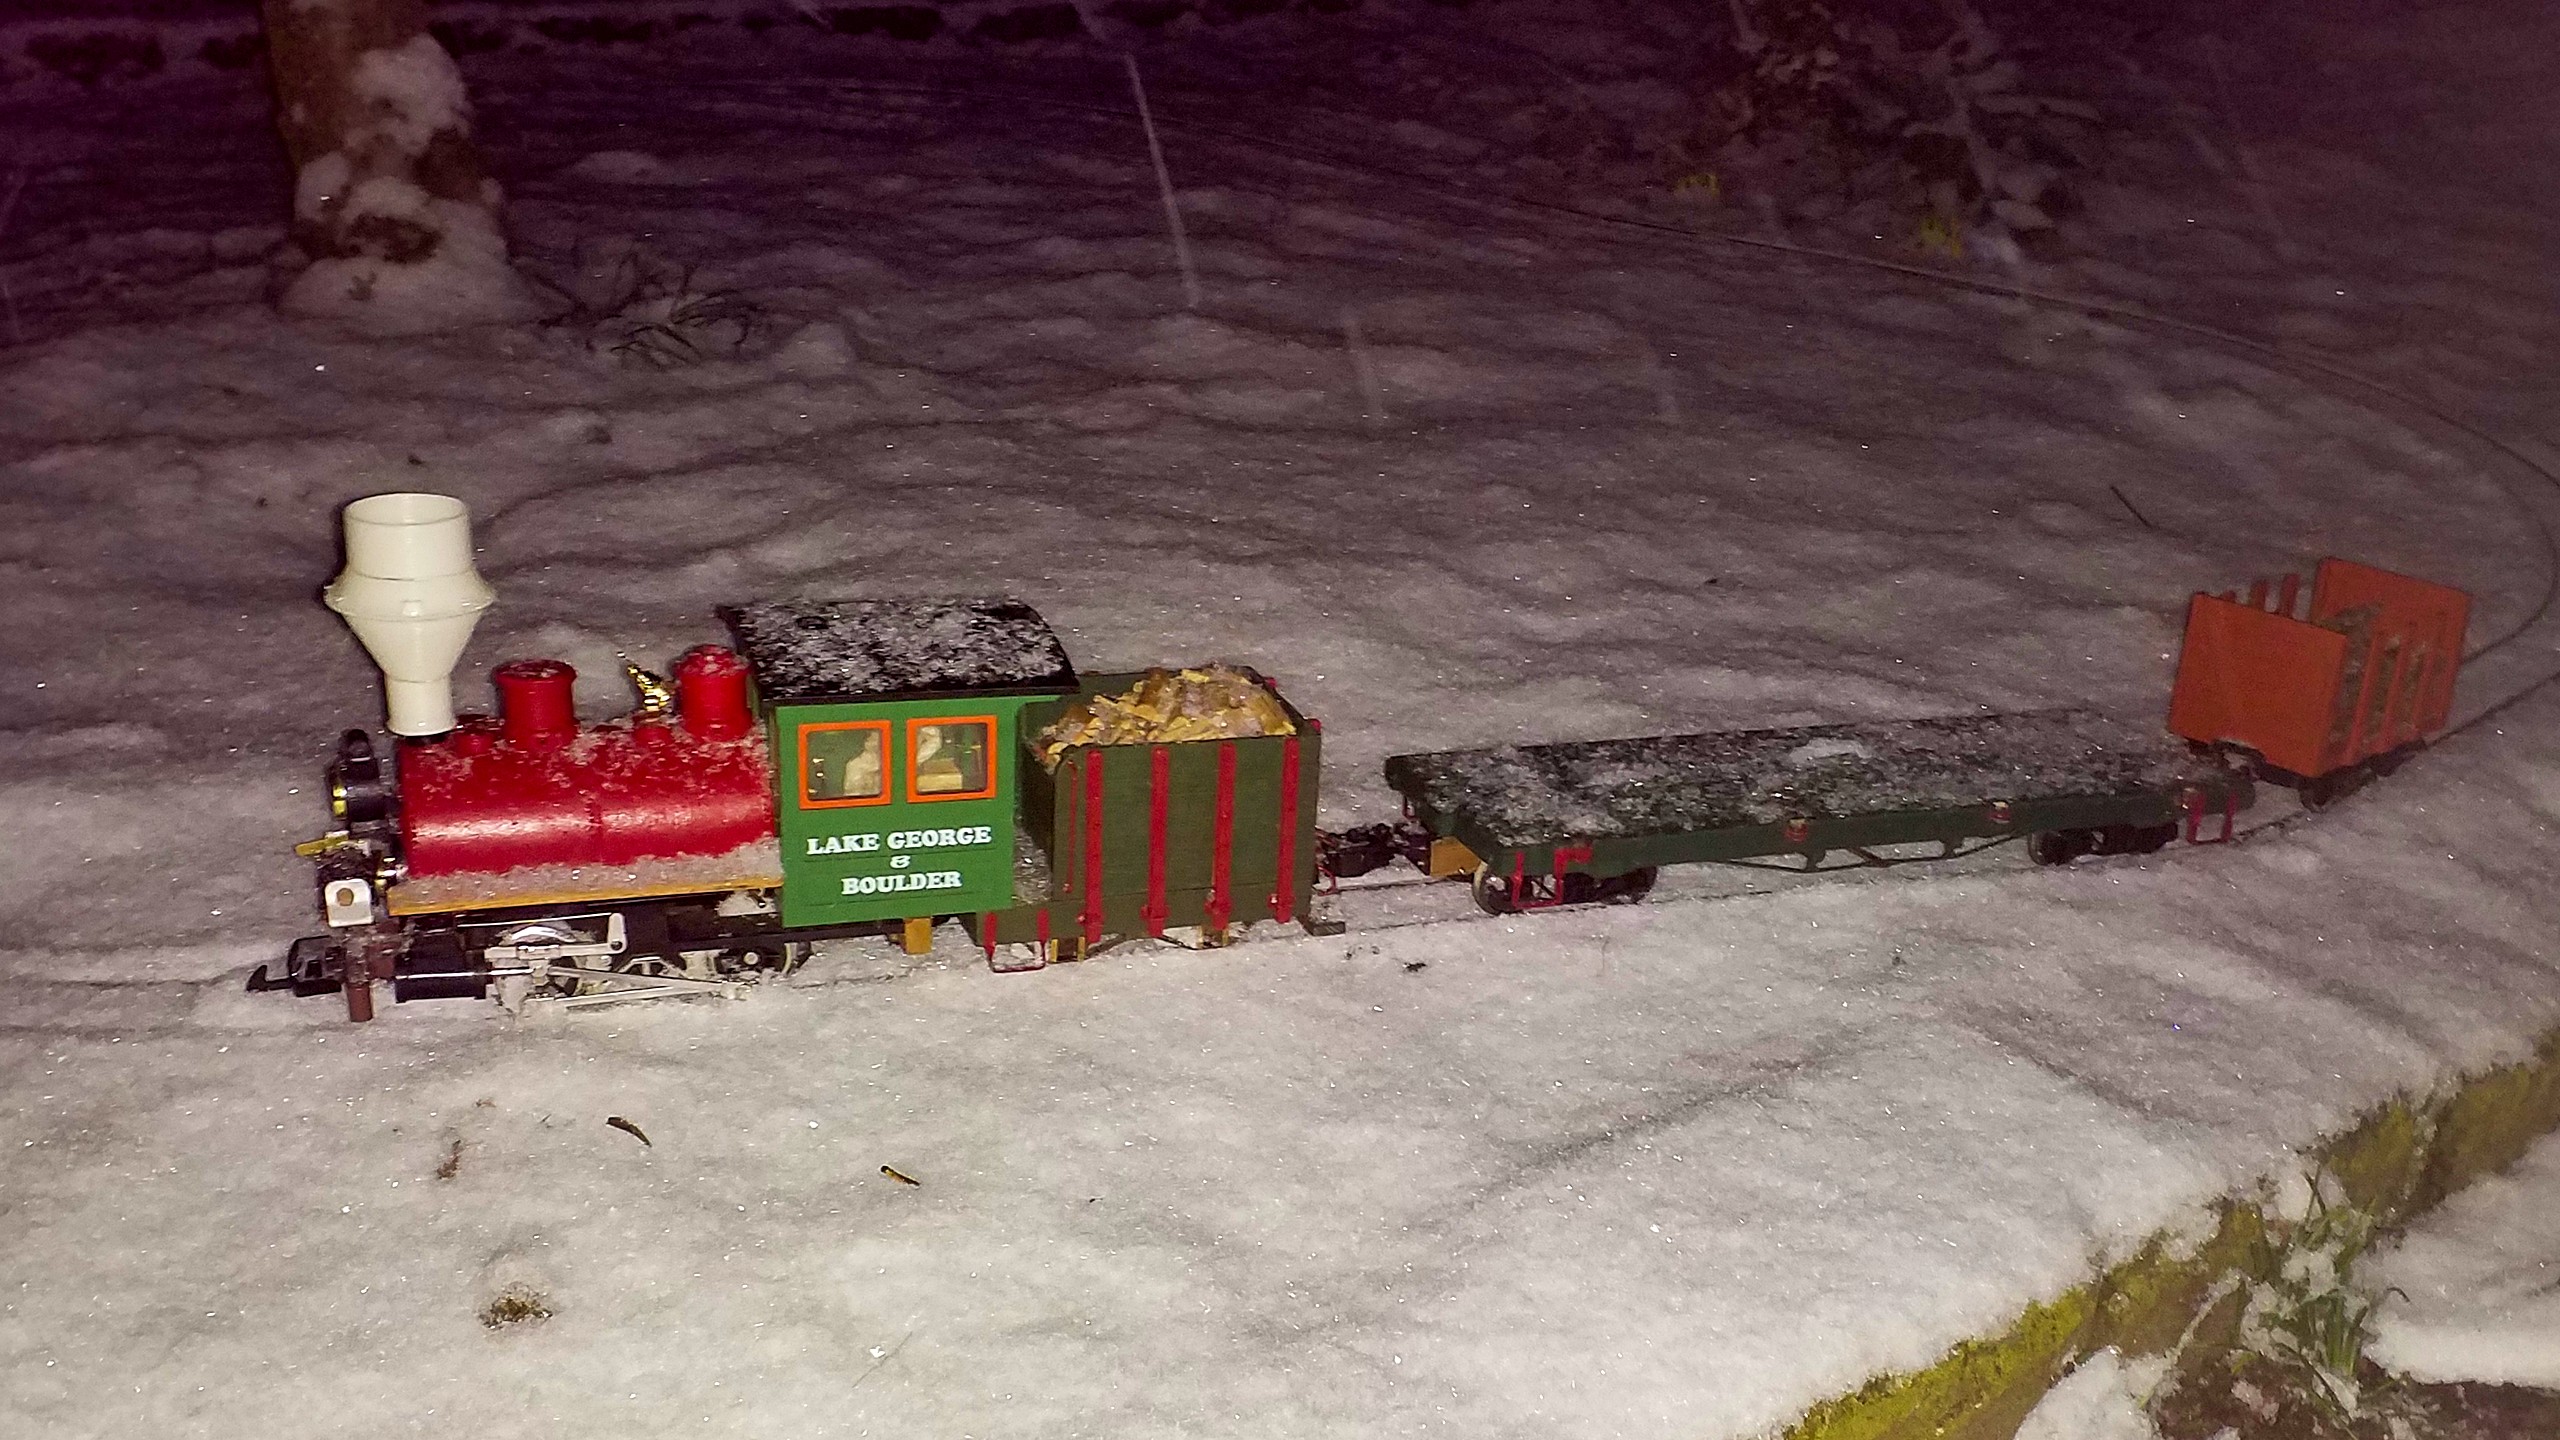
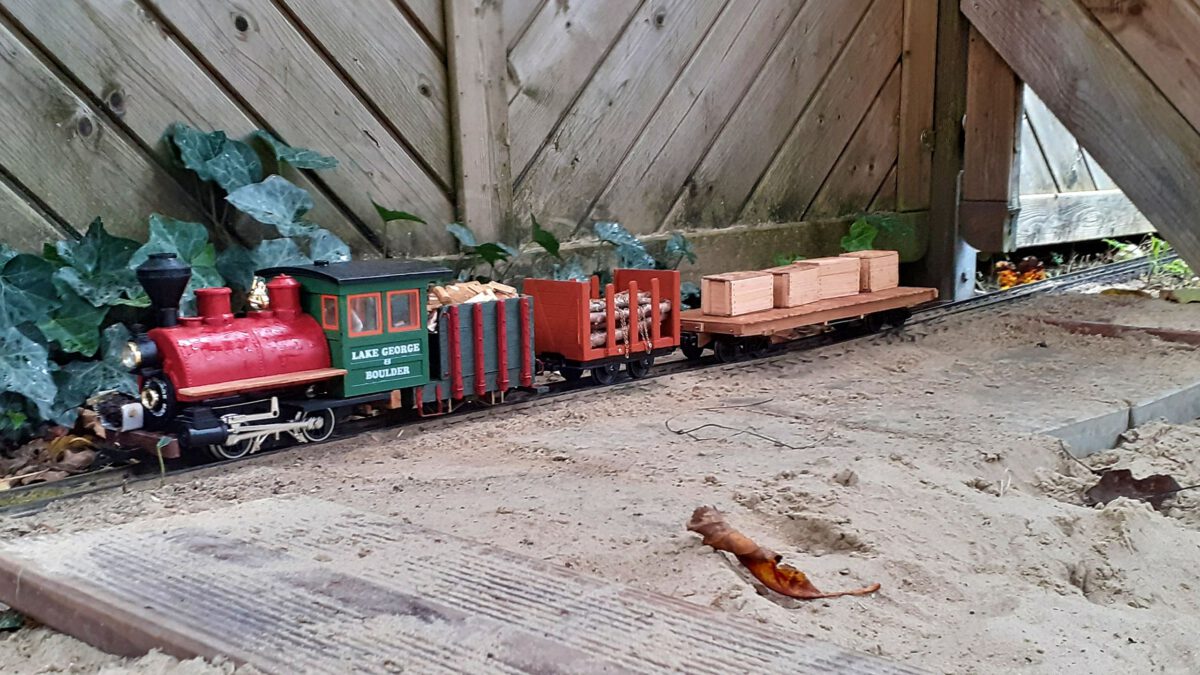
Let’s briefly graze the essentials: due to a move I relocated everything concerning my model railway to my father’s and a good friend’s of mine. Only my oldest LGB loco, a Stainz, is at my place and awaits reconfiguration as an accu-powered R/C loco.

The model aircraft flying had to lie dormant for a long time, too, but now I’m active again. I shelved building the Ka8b because I simply lack the time to cut every piece by hand. The existing parts are stored and it’s quite possible that I will continue the build. However it’s very unlikely to happen this year.

Instead, I purchased a small DLG kit.

Flatcar Prototype: Lettering

Railway company and waggon number are finished.

After finishing the stake pockets, I’d like to address the lettering. Encouraged by the good results of lettering the freight crates, I’ve created stamps for the railroad company, waggon number and some technical numbers. And I managed to find flexible 3D printing filament, namely TPU.

Flatcar Prototype: Stake Pockets

Stake pocket with fastening wires ready for mounting.

By constructing the steps the flatcar has gained some character, but of course this can only be the beginning. The next topic is to build the stake pockets. I’ve already constructed stake pockets for my porter’s tender and gained some valueable experience. I’ll profit from it while moving on.

Flatcar Prototype: Steps

The steps are ready for painting.

After the flatcar has got its turnbuckles, the next step will be… well, steps so the Lead Road Railways’ conductors don’t have to do so many pullups any more.

I’ve already built steps for my porter’s tender, so these are charted territories for a change. In fact I took the tender’s steps’ measurements and copied them as a small batch.

And since I didn’t show much about how I made those steps, this time I’d like to give a detailed report.

Flatcar Prototype: Turnbuckles

The flanks are predrilled in the centre.

By mounting the queenposts the waggon’s substructre is now ready for the turnbuckles. The prototype is used to adjust the trusses’ tension in order to avoid the waggon’s floor to sag. I decided to go for a scratch-build again, since the cast pieces are currently very hard to come by and on top of that they would have been the weakest link in my current construction. However, as a matter of fact it’s very time-consuming to build them manually.

No.1 Porter: Snow Plough

Underway on the cleared track with the flatcar.

Last week, after many years we finally had snowfall. I couldn’t miss out on that one, so out came the rolling stock and off we go!

Januar 17th, 2021: Operations in the snow, for the first time since the 1990s.

The joy got somewhat marred, though, since the falling snow caused all the wheels to build up ice and caused many derailments. However, the snow remained and when the snowfall finally stopped at 11 o’clock the next morning, the whole layout was covered in a white blanket. I just couldn’t miss out on that opportunity! So, off to the workshop.

Below, I’d like to show how one can improvise a working snow plough in less than one hour.

Flatcars Prototype: Detailing the Underside

The queenposts withstand the forces.

After busying myself for a while with the bogies and couplers, it’s time to start detailing the flatcar. Though they are not that striking at first glance, the details will significantly add up to the overall picture. And since they are the most visible parts, I’m starting with the trusses or more specifically the queenposts.

Operation Session Autumn 2020

Short Train on duty.

This time, believe it or not, we’ve had three battery-powered units in service, most of the time each had its own operator, too. Alas, the weather didn’t play along all the time, so a spontaneous layout extension was realized at the roofed porch. My No.1 braved the rain several times and did quite well. The encapsulated electronics really pay for themselves.

Loading Ramp: Deck and Load

The platform's boards are nailed in place.

Since the operation session draws closer I’m focused on having a working interim result rather than completing all steps perfectly. So the ramp is now being put into working order. First off, the individually constructed bents have to get connected. After that, it’s planking time.