Joyrider: Last Details

Upper and lower wing are now linked with each other.

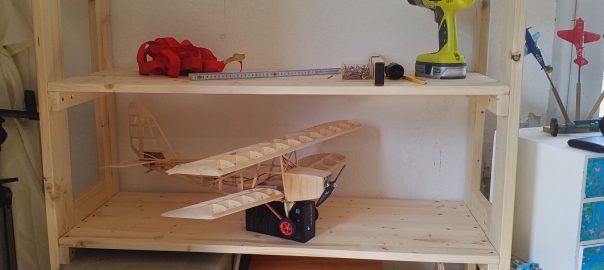
By finishing the linkage the out-fitting has come to and end an I can take care of the last details. Those cover two areas: the fuselage and the wings.

The fuselage needs a couple of maintenance hatches in order to easily gain access to the drive unit, and the tailplane’s servos and fixture. The fuselages’ belly needs to get reinforced, too. And last but not least I’d like to add some details to the nose.

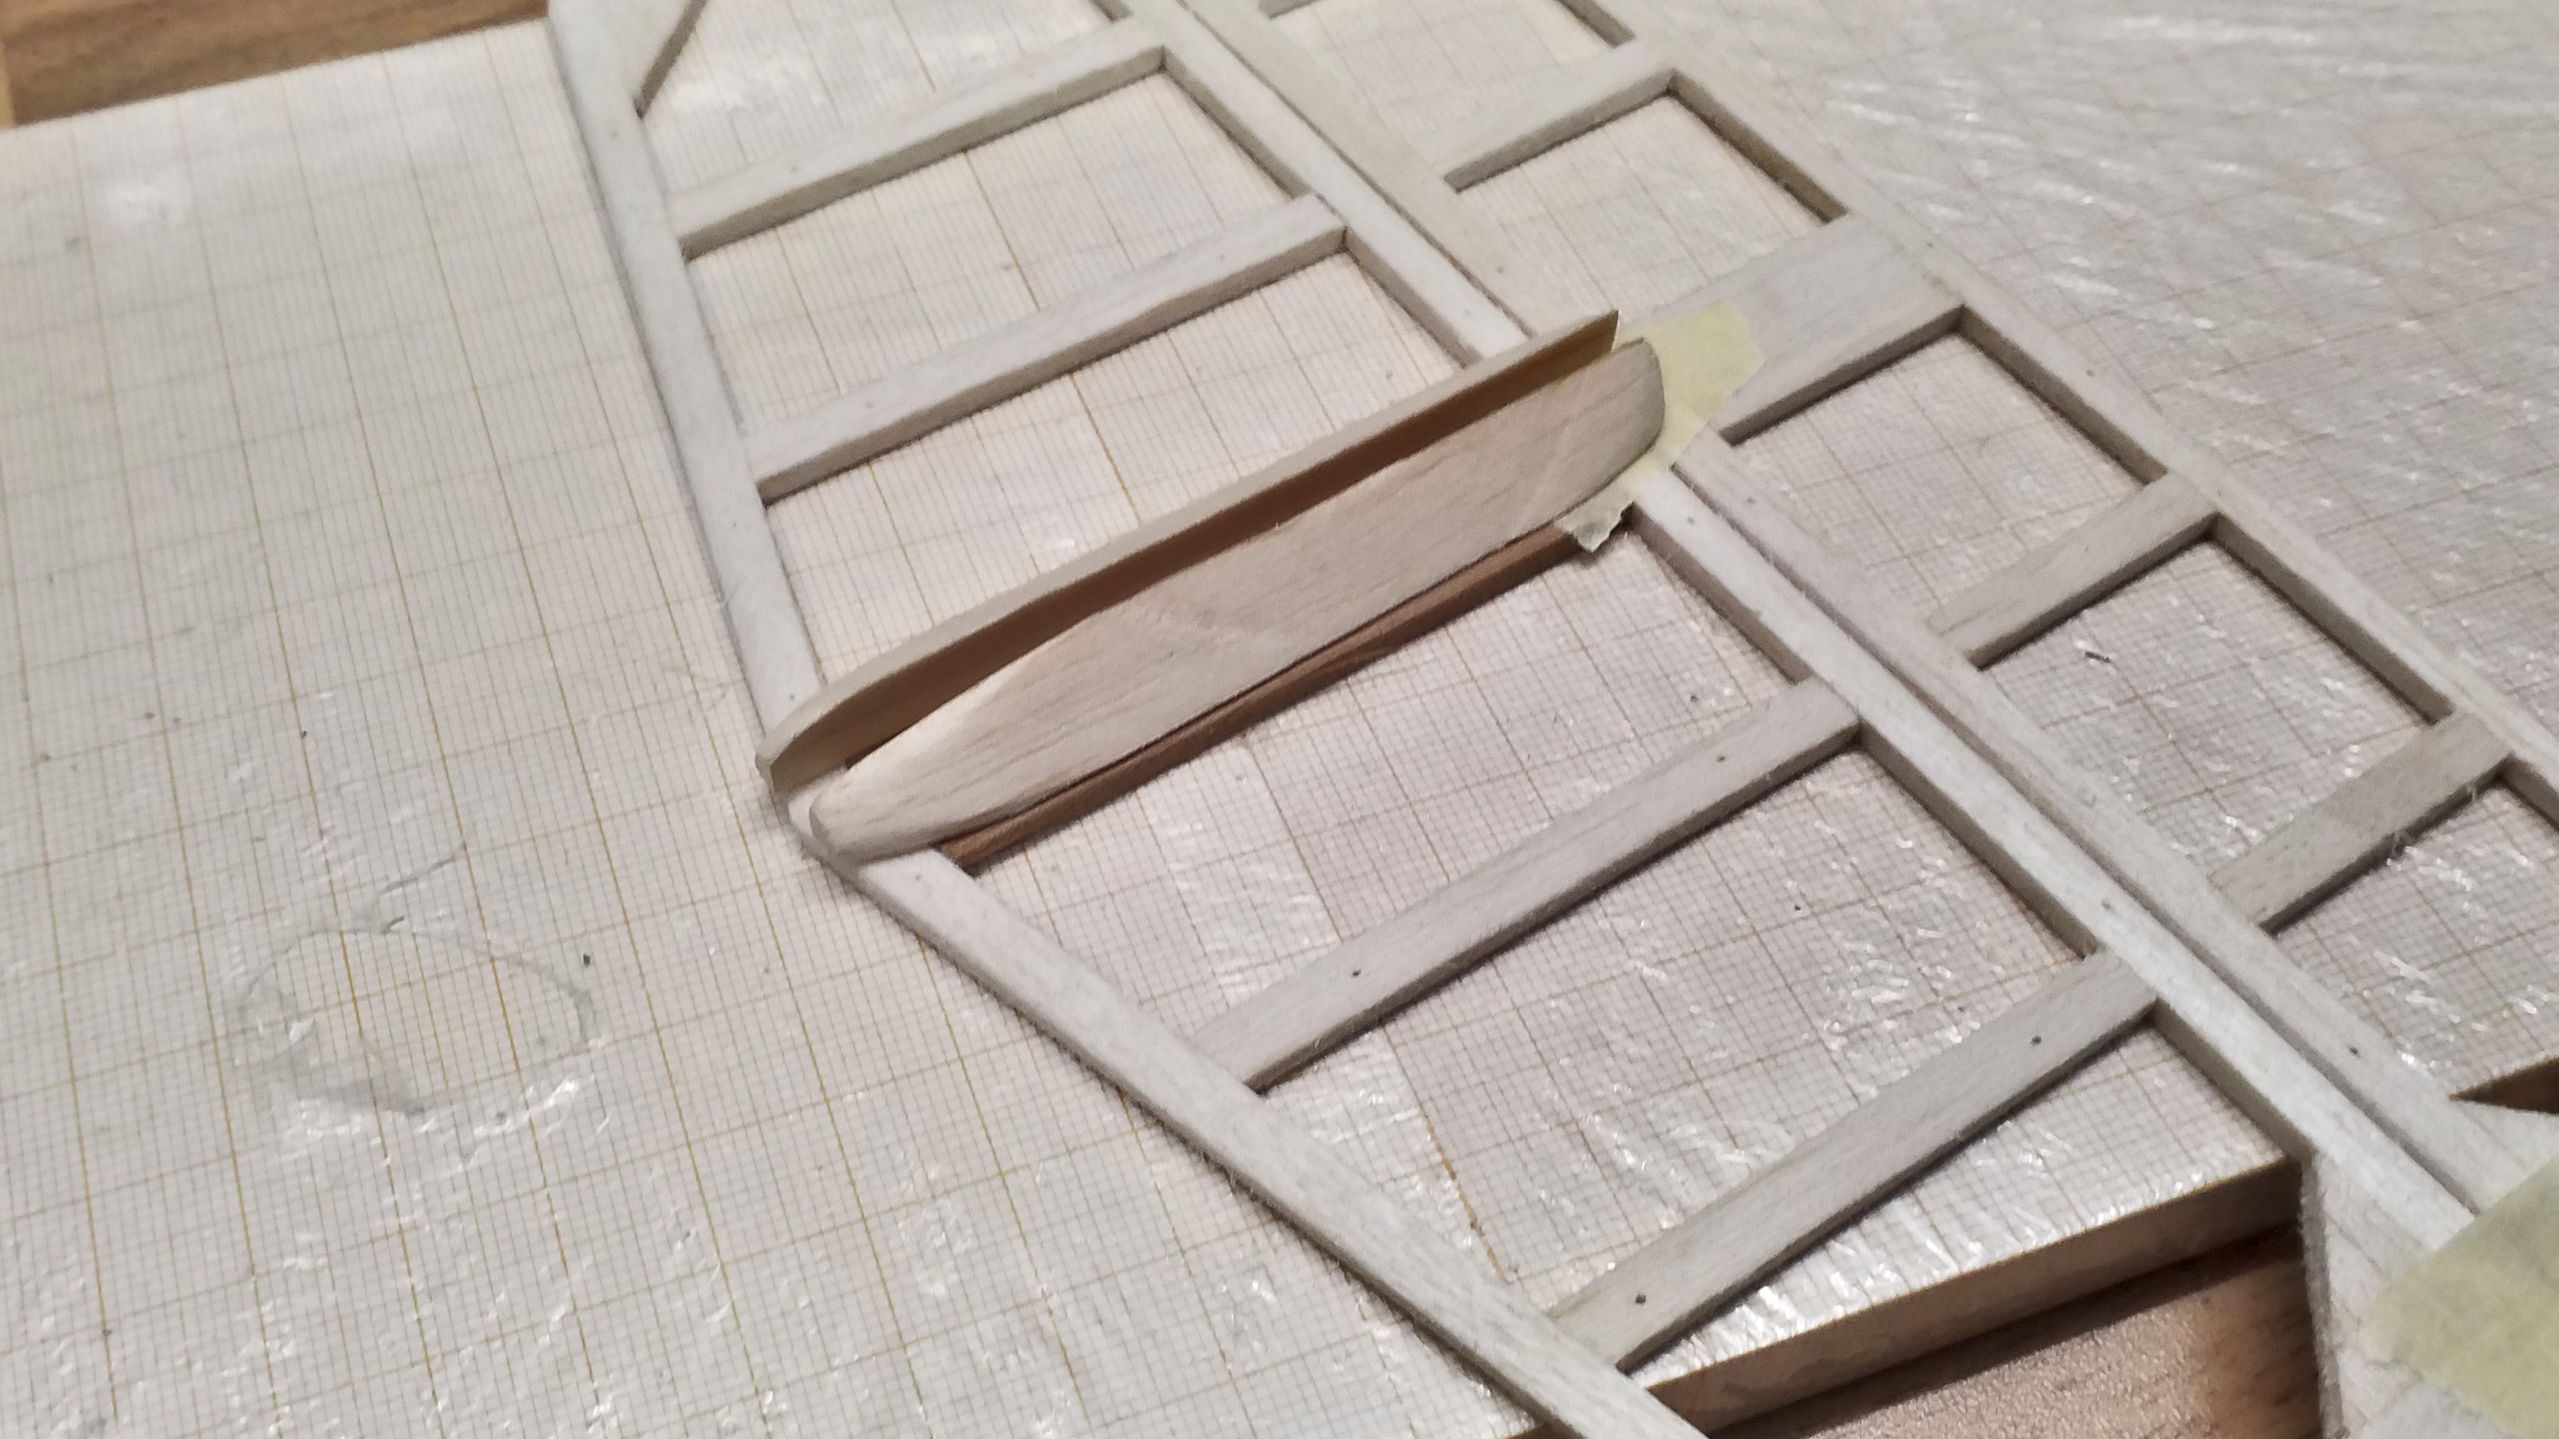
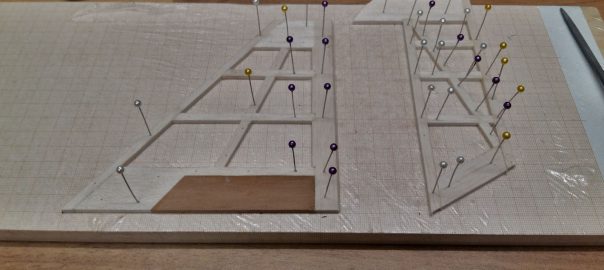
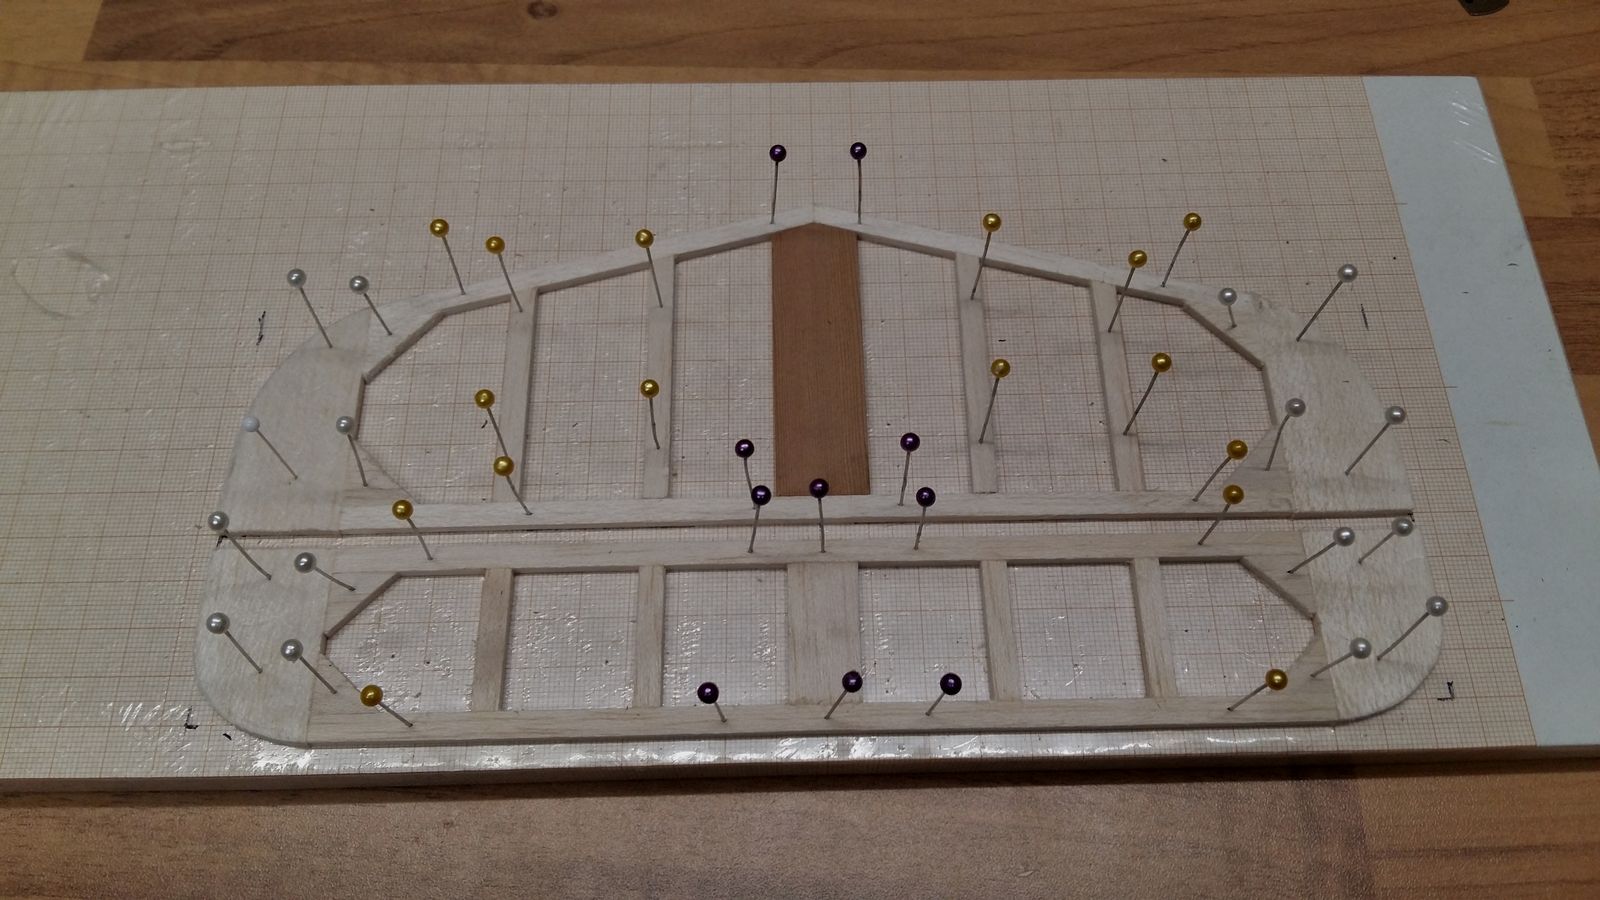
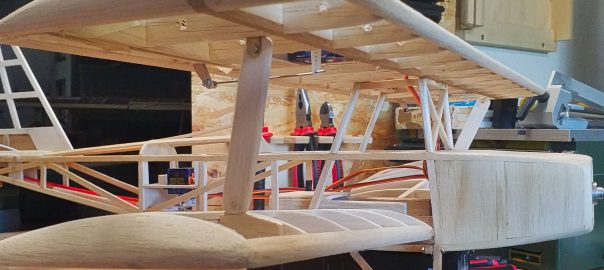
The wings need an additional strutting in order to stabilize the lower wings. And it will surely add to the good looks.

Workshop: New Storage Shelf

The board mountings and floorboards are fixated with screws.

Due to well-known reasons I’ve been in home office for a couple of weeks. And since mixing private life and work is downright unhealthy, some office space had to be found in the workshop. That was the trigger to finally create some more storage area.

The most importent requirement which has to be met is a full metre of board-width in order to store raw materiels for modeling. Additionally, the lowest compartment is supposed to accomodate two pedestals which really come in handy while working but tend to be in the way in the meantime.

Bogies: Prototype

The first prototype is finished.

As I’ve already described, I’d like to build a consistent set of waggons to build a short train for my porter loco.  Of course, that entails waggons. Which run on bogies. Turns out, it’s not that easy to find suitable bogies for Fn3 which stay in a reasonable pricing range. So during winter 2020, I started busying myself with the construction of a bogie prototype.

A particular “thank you” goes out to Gerd, AKA “Waldbahner”, who published a nice series of posts about 5” bogies on his website. I let myself wantonly inspire by those. Extra thanks to Gerd, who kindly allowed me to use some of his pictures of his own projects.

Workshop: Boring Table for the Drill Stand

Model making constantly requires drilling holes that are perpendicular to the work piece’s plane. To bore at right angles by eyesight doesn’t sound too difficult, but one has to observe two right angles at the same time and that tends to be a tad difficult with just two eyes.

Salvation comes in the shape of a drill press, or for those to be short a bob or two, a drill stand which guides the power drill. Alas, most of the latter don’t have a boring table, so bigger work pieces tend to wobble and one can’t fixate them either. And just maybe one would like to use a gauge or stop in order to facilitate repeated drilling?

Workshop: Finishing the Cross Cut Sled and Accessories

Length stop for cross cut sled.

The cross cut sled is assembled, but not precisely adjusted, yet. This calls for patience and precise work, as I’ve learned from painful experience. In total, I needed six attempts until I was satisfied with the results. However, I am now!

Via Michael Truppe’s video channel “Let’s Bastel” I learned about the fice-cut-test. This was apparently invented by William Ng, who demonstrates and elaborates on the underlying principles it in a youtube video. Truppe summarizes it in german.

Workshop: Fences for the Cross Cut Sled

Sled bottom is being cut.

The easy part was constructing the sled bottom. Now it’s getting straight at the nitty-gritties, namely construction the fences and attaching them.

The front fence needs to be as level as possible, so it can’t just be cut from a single piece of board. Almost any board has some kind of warp which is simply inacceptable for a precise fence. Thus, the front fence has to be comprised of a cornered construction that is self-centering.

Workshop: Cross Cut Sled for the Miniature Table Saw

The runners' glue is curing.

As I mentioned in the construction report, I made a mistake while building the vertical stabilizer for my biplane, namely not chafing the trailing edge. Attempting to correct this using the transverse stop thoroughly failed. In order not to have to repeat this experience, I’m building a cross cut sled for the circular table saw.

However, a cross cut sled is capable of many more things. For once it facilitates to repeatively cut slats to length, thus one can skimp on a mitre saw. And then one can use it to get small boards back to right angles which were cut crookedly, so they can be rip cut again. So today is about the first part of a mini project which will facilitate my other handicraft.

Joyrider: Tailplane Assembly

Construction is finished.

Finishing the vertical stabilizer only leaves the tailplane’s assembly. Here, three important objectives have to be met: the horizontal stabilizer must be in parallel to the long axis, so must the vertical stabilizer, and the vertical stabilizer has to be at right angles to the horizontal stabilizer.

The most important contribution to the right angles is provided by clean, perpendicular cuts, which I can achieve easily thanks to my table saw. In order to further stabilize this orientation, I’ve constructed two guides from balsa wood and sanded them into a streamlined shape.

The vertical stabilizer's guide is in progress.
The vertical stabilizer’s guide is in progress.

Joyrider: Vertical Stabilizer

Before sanding the tip.

The structural work is coming to and end: since the horizontal stabilizer has made much progress, it’s the vertical stabilizer’s turn.

Horizontal stabilizer and elevator reinforced.

Horizontal stabilizer and elevator reinforced.Even while building the horizontal stabilizer I realized I made a design error: the thin leading and trailing struts have been glued to the tips as butt joints, lacking adhesion area and thus stability. I rectify this by reinforcing the corners with small wedges of balsa wood. And this enlightment directly flows into the vertical stabilizer.

Joyrider: Horizontal Stabilizer

The landing gear’s completion left only one step to finish the structural work: the tailplane. I copped out for a while to face this step because the tail plane ultimately makes or breaks the aircrafts stearability:

If it’s too small, you can’t control the model aircraft. If it’s too big, the bird responds like a proper boulder. This effect is additionally influenced by the fuselage’s length, as I’ve already mentioned while building the fuselage. That’s why I’m really glad to have found Christian Forrer’s web site, including an excel sheet for calculating model dimensions, before I started constructing my biplane in earnest. Based on the finished parts, I was able to determine the minimum size for the tail plane and get on with it.