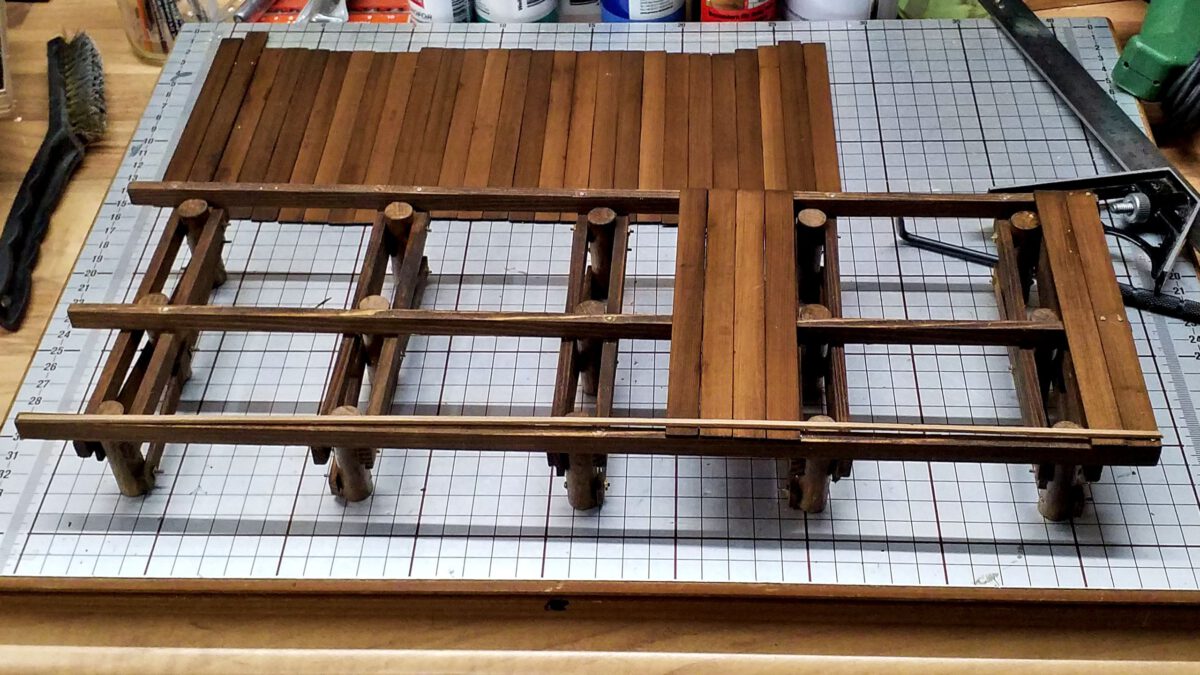
Since the operation session draws closer I’m focused on having a working interim result rather than completing all steps perfectly. So the ramp is now being put into working order. First off, the individually constructed bents have to get connected. After that, it’s planking time.
Tag: Construction
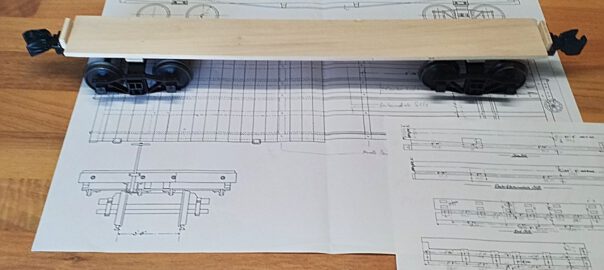
Flatcar Prototype: Bogie-Mounted Couplers
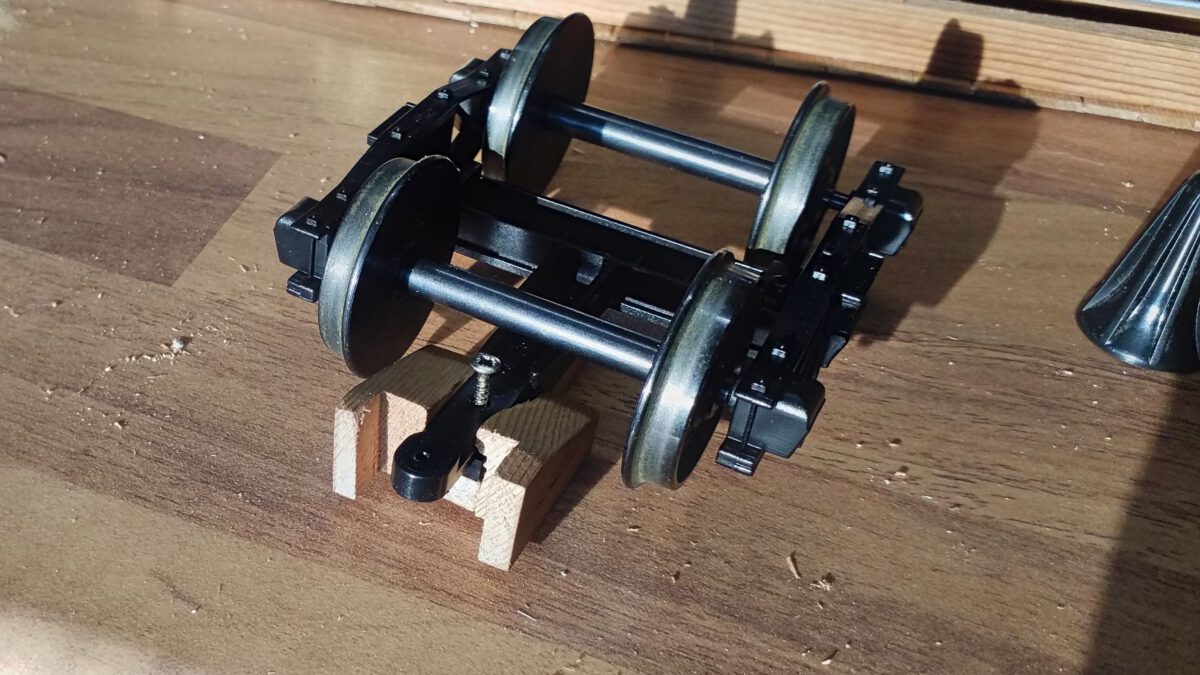
Based on my lessons learned during the last operation session, I’ve already started to mount couplers to the bogies. The result works very well, however I’m not quite happy with the looks: too clumsy, too heavy. So I’m trying a more delicate approach for the second coupler.
New Construction Report: Loading Ramp
In order to prepare for the next operation session, I set myself the goal to arrange for some operations. So this time there will be no new waggon, but a loading ramp and some cargo.
The ramp’s design is inspired by Scott Perry’s Blog, who has published a very nice and extensive series. If you look for a step-by-step guide, you can find it there.
Flatcars Prototype: Lessons Learned from the Operation Session
Our Summer Operation Session was a lot of fun, but most of all it was informative. I learned three very important lessons concerning my flatcar prototype:
- Frame-mounted couplers need large radii
- Bogies need clearance for operational reliability
- Bogie-mounted couplers increase reliabilty
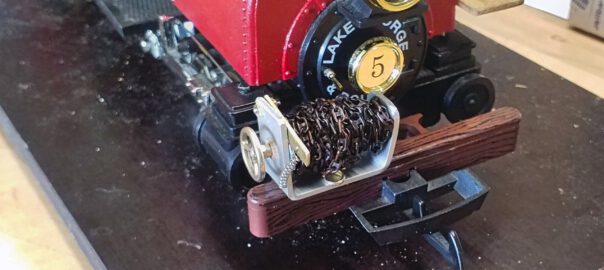
No.1 Porter: Chain Winch
Besides other insights, the Summer Operation Session 2020 revealed that my Porter needs a better stowing place for the shunting chain.
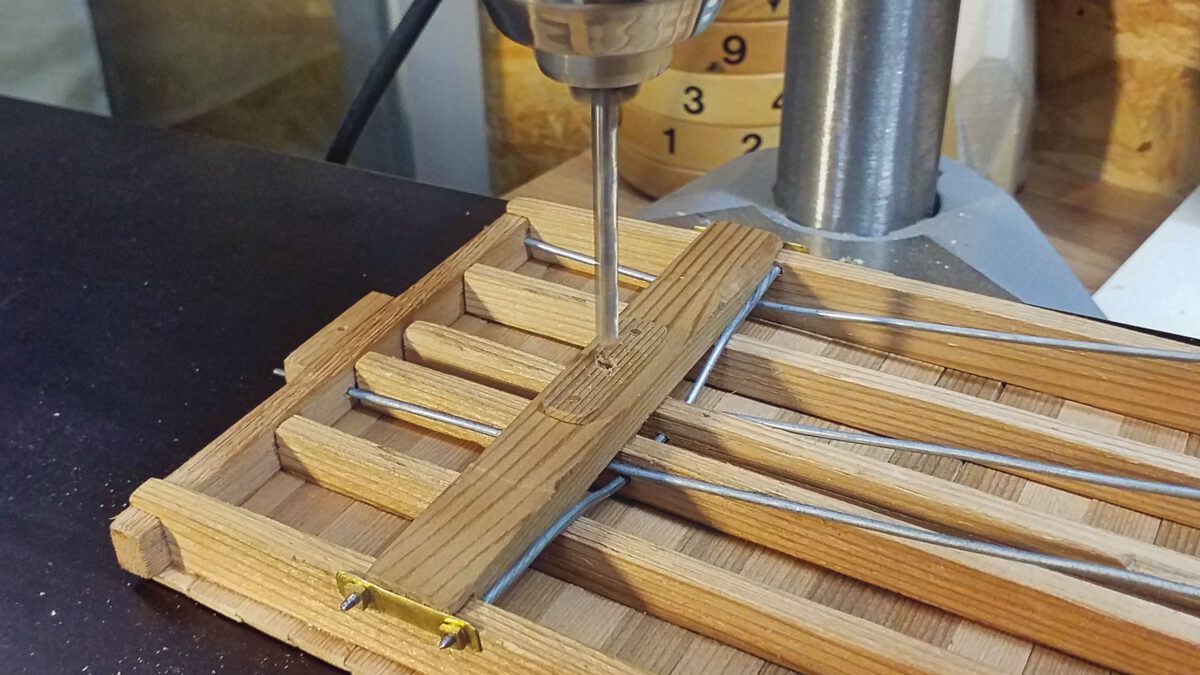
On the one hand the chain easily drops from the loco if it isn’t properly secured, on the other hand it’s quite fidgety to fixate the chain at a given lenght. So I more or less spontaneously got the idea to tinker on a chain winch.
The first steps happend on a whin and I was sure that they wouldn’t succeed, that’s why I didn’t take any pictures. But after I realized I was onto something, I made some after the fact.
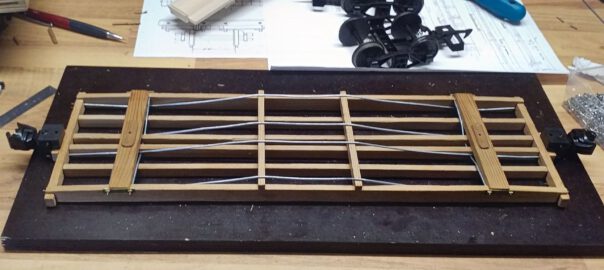
Flatcars Prototype: Floor and Trusses
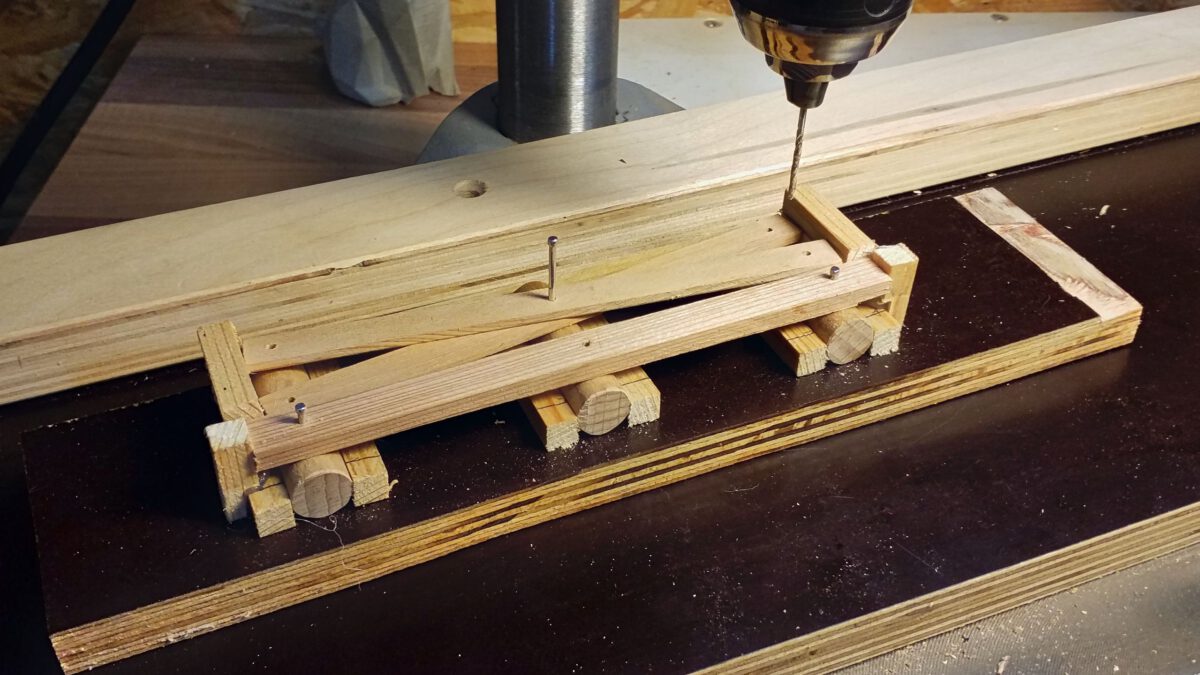
After preparing the frame and floor boards, construction can continue with the underframe. The main components are the body bolsters, needle beams and trusses. Unfortunately, I don’t have got a complete set of diagrams, so I had to guesstimate concerning the longitudinal and cross trusses. However, it’s not rocket science.
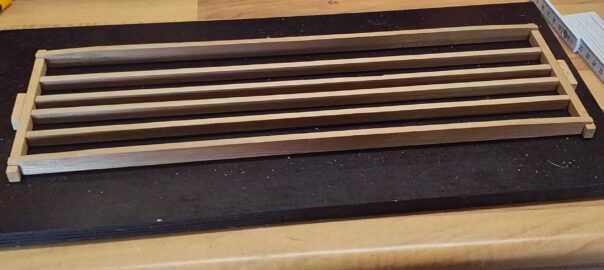
Flatcars Prototype: Materials and Frame
Based on my experiences from the flatcar experiments I’ve decided to construct a prototype for 26′ flatcars. The model is going to be built from red cedar and purchased Piko bogies.
Flatcars: Experiments
Before I start the actual construction of my planned flatcars, I’d like to know first which limits the tracks will pose on them. I’ve only ever known classic model waggons, which have their couplers on beams attached to the bogies. This design ensures high operational reliability because the couplers can follow even the tightest curve radii. However, it’s not a pretty sight.
So I’d like to build a few test waggons in order to learn how the couplers perform when attached to the waggon’s body.
Joyrider: Setbacks and Corrections
Finishing the covering was another milestone for me and I was very confident that the maiden flight would turn out just fine.
Then the first complete assembly came along and with it some new challenges. Namely undercarriage and center of gravity.
Joyrider: Covering
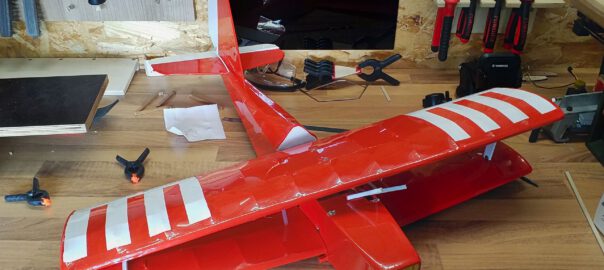
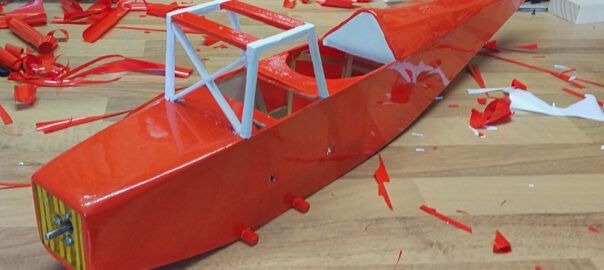
After the details are finished I can finally focus on the covering. Some model builders seem to regard covering as an irksome work and necesarry evil, but I actually enjoy it. To me it’s like a metamorphosis: the bare framing of the aicraft, as pretty as it is, equals a caterpillar, which is yet to become a butterfly.
Nonetheless it’s a lot of work all the more if one wants to get a creases-free result. In the process, I didn’t manage to take a lot of pictures, but I’d like to give an example and point out some crucial points.

