
New Project: Aerial Footage

The EasyGlider in its element.

Alright, you got me: I’m talking about more than just aerial photography, but about footage made from the ground, too. But first things first.

As I’ve already outlined, I’m an active R/C pilot again since august 2018 and I’ve started to scratch-build a biplane in 2019, too. I ‘ve managed to post about the latter over the last few months and I do hope that some readers had fun reading those posts and maybe could even learn something useful from it.

However, the flying season is about to kick off in earnest. Of course, I want to fly and at the latest after the biplane is finished, I (hopefully!) won’t spend much time in the workshop. So what to post about here?
Shunting Session In The Smallest Places

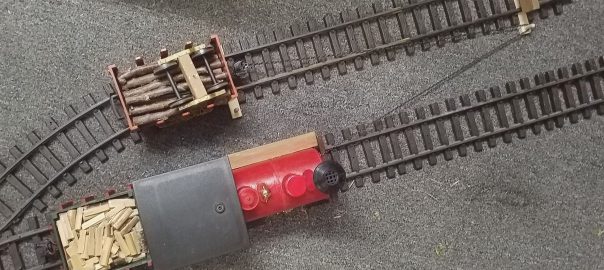
The waggon is tugged to the far-sided unloading point at the bumper.

It’s Gerd’s fault, again! 😉 Not long ago, he posted a beautiful video on one of his operation sessions in time lapse:

Please accept YouTube cookies to play this video. By accepting you will be accessing content from YouTube, a service provided by an external third party.

YouTube privacy policy

If you accept this notice, your choice will be saved and the page will refresh.

What excited me particularly was the use of a chain for shunting, at 0:38 and 5:18. So when a rainy afternoon forced me to stay in the work shop, I couldn’t resist. Within a few minutes a mini layout was patched together from snap track.

What ensued were three hour’s worth of pure shunting enjoyment. And yet another proof that fantasy and some improvasation can make up for a whole layout.

Joyrider: Covering

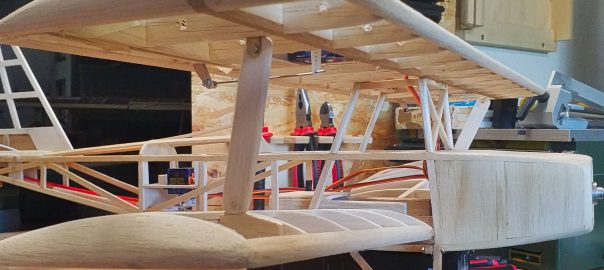
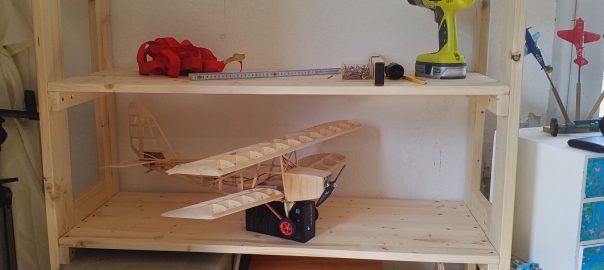
The upper wing's mounting, the undercarriage's mounting and the seatback are finished.

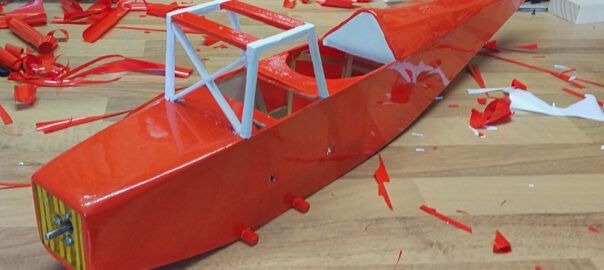
After the details are finished I can finally focus on the covering. Some model builders seem to regard covering as an irksome work and necesarry evil, but I actually enjoy it. To me it’s like a metamorphosis: the bare framing of the aicraft, as pretty as it is, equals a caterpillar, which is yet to become a butterfly.

Nonetheless it’s a lot of work all the more if one wants to get a creases-free result. In the process, I didn’t manage to take a lot of pictures, but I’d like to give an example and point out some crucial points.

Joyrider: Last Details

Upper and lower wing are now linked with each other.

By finishing the linkage the out-fitting has come to and end an I can take care of the last details. Those cover two areas: the fuselage and the wings.

The fuselage needs a couple of maintenance hatches in order to easily gain access to the drive unit, and the tailplane’s servos and fixture. The fuselages’ belly needs to get reinforced, too. And last but not least I’d like to add some details to the nose.

The wings need an additional strutting in order to stabilize the lower wings. And it will surely add to the good looks.

Workshop: New Storage Shelf

The board mountings and floorboards are fixated with screws.

Due to well-known reasons I’ve been in home office for a couple of weeks. And since mixing private life and work is downright unhealthy, some office space had to be found in the workshop. That was the trigger to finally create some more storage area.

The most importent requirement which has to be met is a full metre of board-width in order to store raw materiels for modeling. Additionally, the lowest compartment is supposed to accomodate two pedestals which really come in handy while working but tend to be in the way in the meantime.

Bogies: Prototype

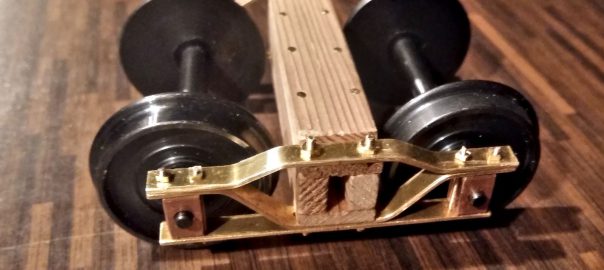
The first prototype is finished.

As I’ve already described, I’d like to build a consistent set of waggons to build a short train for my porter loco.  Of course, that entails waggons. Which run on bogies. Turns out, it’s not that easy to find suitable bogies for Fn3 which stay in a reasonable pricing range. So during winter 2020, I started busying myself with the construction of a bogie prototype.

A particular “thank you” goes out to Gerd, AKA “Waldbahner”, who published a nice series of posts about 5” bogies on his website. I let myself wantonly inspire by those. Extra thanks to Gerd, who kindly allowed me to use some of his pictures of his own projects.

Workshop: Boring Table for the Drill Stand

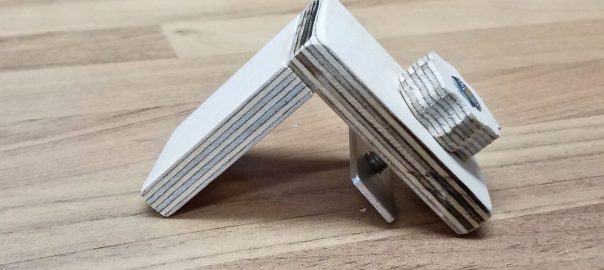
Model making constantly requires drilling holes that are perpendicular to the work piece’s plane. To bore at right angles by eyesight doesn’t sound too difficult, but one has to observe two right angles at the same time and that tends to be a tad difficult with just two eyes.

Salvation comes in the shape of a drill press, or for those to be short a bob or two, a drill stand which guides the power drill. Alas, most of the latter don’t have a boring table, so bigger work pieces tend to wobble and one can’t fixate them either. And just maybe one would like to use a gauge or stop in order to facilitate repeated drilling?

Joyrider: Linkage

The ailerons' linkage is finished.

As soon as the tailplane’s servos fitting-out was done I busied myself with the linkage. To start off with, I made a few errors which had to be corrected. I will describe those errors as well as the solutions, so perhaps somebody can learn from my mistakes.

Since I’m not too sure what forces I will have to account for, I’m erring on the safe side. At any rate, I reproduced the linkage used with the Easy Glider and chose a combination of 1 mm steel rod, 2-to-1 mm and 3-to-2 mm bowden tubes.

Joyrider: Fitting the Servos

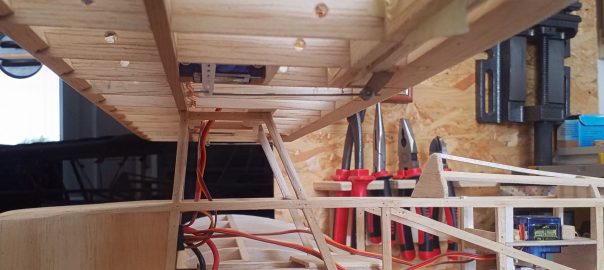
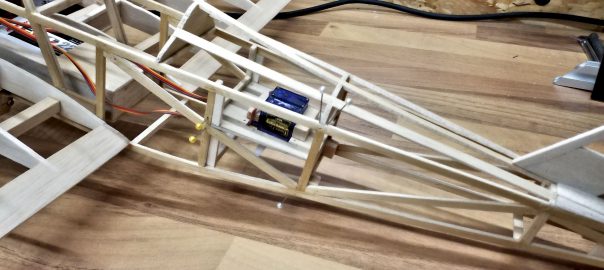
The servos are fixed in place.

Fitting the engine has sent my motivation soaring, so to speak. So I launched myself at fiting the servos.

Alas, I soon realized that my “planless” construction made my life a tad more difficult. In order to soundly fit the servos, the fuselage has to be reinforced and strutted. I had partially anticipated this and thus constructed the belly with very few slats. Nevertheless I’ve come to realize that one’s way better off if the servo mounting’s fixture is built into the fuselage from the get-go.

Workshop: Finishing the Cross Cut Sled and Accessories

Length stop for cross cut sled.

The cross cut sled is assembled, but not precisely adjusted, yet. This calls for patience and precise work, as I’ve learned from painful experience. In total, I needed six attempts until I was satisfied with the results. However, I am now!

Via Michael Truppe’s video channel “Let’s Bastel” I learned about the fice-cut-test. This was apparently invented by William Ng, who demonstrates and elaborates on the underlying principles it in a youtube video. Truppe summarizes it in german.